The ePortfolio and Student Evaluation A training presentation by: Amy Cannady Robin Drewry Bonnie...
30
The ePortfolio and Student Evaluation A training presentation by: Amy Cannady Robin Drewry Bonnie Hicks
-
Upload
vernon-maxwell -
Category
Documents
-
view
215 -
download
0
Transcript of The ePortfolio and Student Evaluation A training presentation by: Amy Cannady Robin Drewry Bonnie...
The ePortfolio and Student Evaluation
A training presentation by: Amy Cannady Robin Drewry Bonnie Hicks

Purpose of This PresentationDemonstrate the implementation of an ePortfolio in the classroom for student evaluation
Evaluate individual student work or group projects
Provide resources and support for procedures and technology used in the ePortfolio 2ePortfolio Training Presentation

Why use an ePortfolio?
Students learn to:collect materials for a project in one central location
present their assignments in an organized, logical manner
further their use of technology in the learning process
3ePortfolio Training Presentation
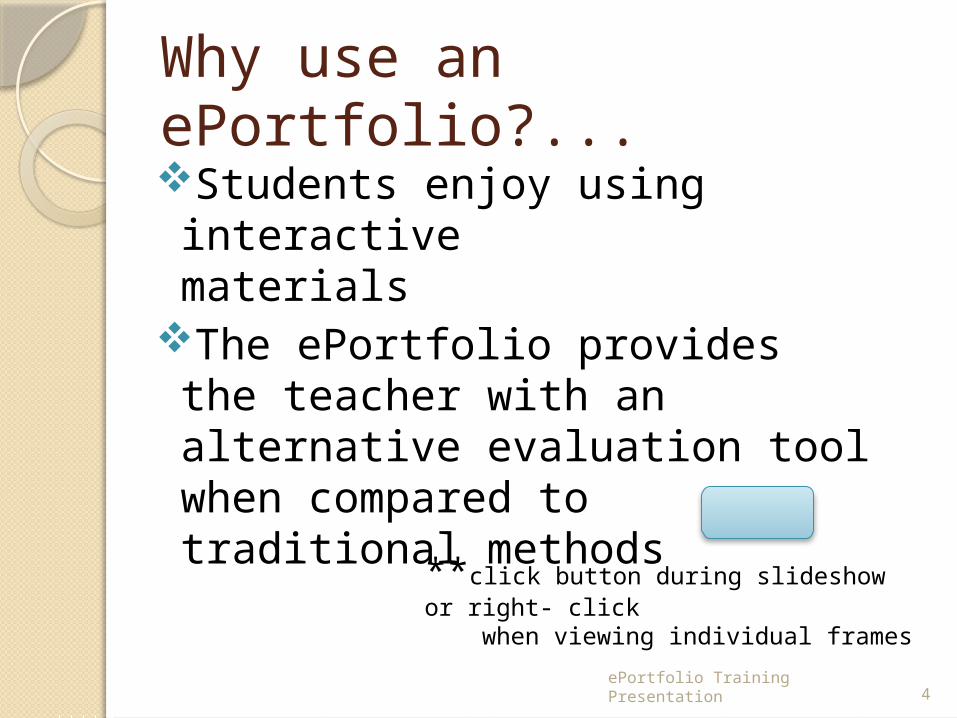
Why use an ePortfolio?...Students enjoy using interactive materials
The ePortfolio provides the teacher with an alternative evaluation tool when compared to traditional methods
4ePortfolio Training Presentation
**click button during slideshow or right- click when viewing individual frames

Basic outline of the ePortfolio…Part 1Title slide should be the first and include:Title of the projectName(s) of student or students contributing to the project
Other information required by teacher Name of class Class section or period, and date
5ePortfolio Training Presentation
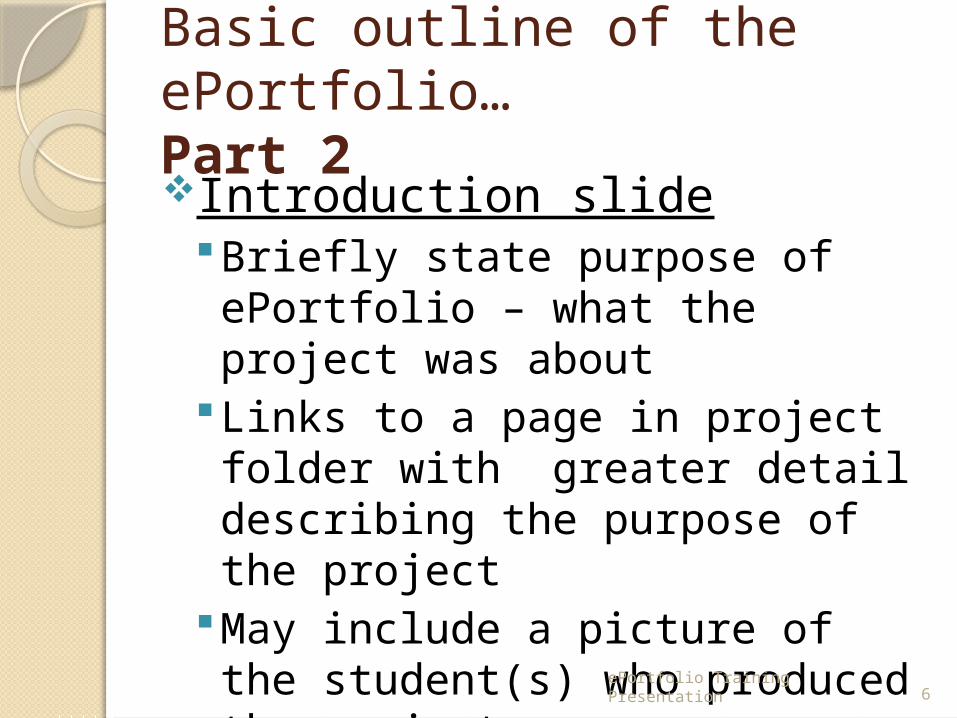
Basic outline of the ePortfolio…Part 2Introduction slide
Briefly state purpose of ePortfolio – what the project was about
Links to a page in project folder with greater detail describing the purpose of the project
May include a picture of the student(s) who produced the project 6ePortfolio Training Presentation

Basic outline of the ePortfolio…Part 3Body of work
Slides list all work contained in the project folder
Possible outline with links to various sections of the project
Links to any multimedia included in the project - stress all files stay in the project folder
7ePortfolio Training Presentation

Basic outline of the ePortfolio…Part 4Credits
Students should list all references used for developing ePortfolio - i.e. clipart from Microsoft Office, photographs by “student name”, music from Freeplay.com, etc.
List all participating students
8ePortfolio Training Presentation
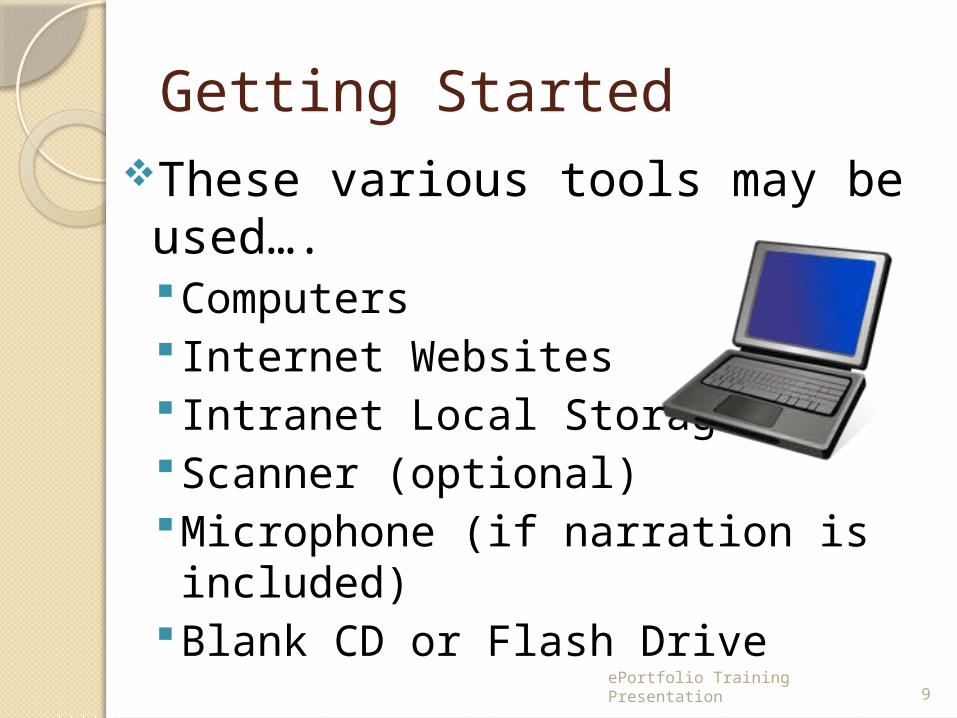
Getting StartedThese various tools may be used…. Computers Internet Websites Intranet Local StorageScanner (optional)Microphone (if narration is included)
Blank CD or Flash Drive9ePortfolio Training Presentation
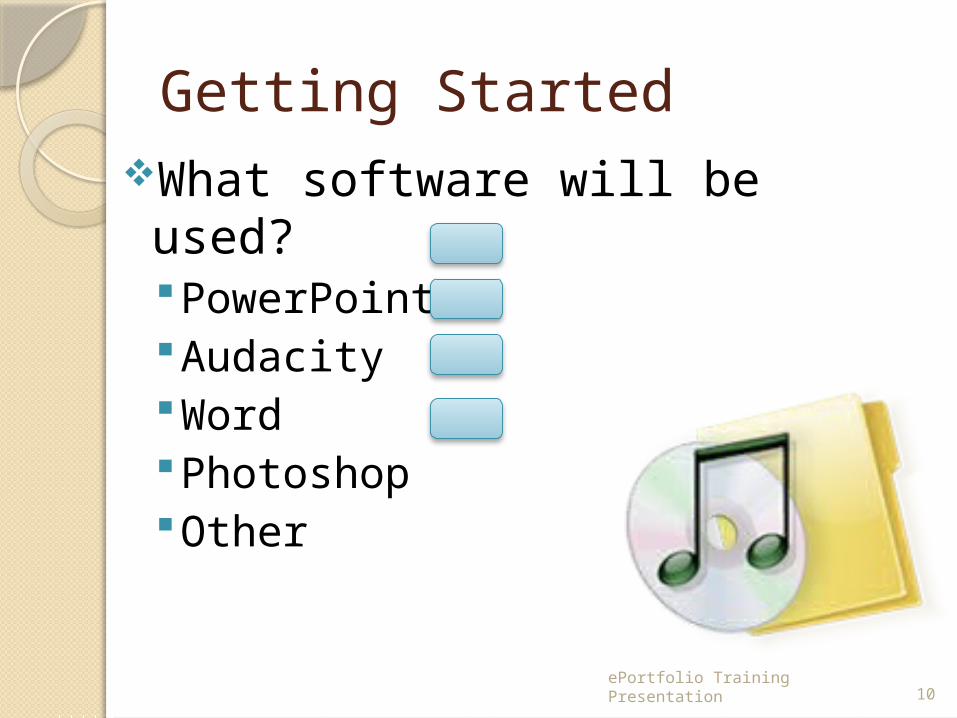
Getting StartedWhat software will be used?
PowerPointAudacityWordPhotoshopOther
10ePortfolio Training Presentation
Getting StartedWhat skills should the students know or be instructed on?Presentation software (PowerPoint)Use of audio files (Audacity)Word processing (Word)Accessing student file storage on the Intranet (S-drive)
11ePortfolio Training Presentation

Putting the ePortfolio together…
Students collect all assignments for project in one folder
Once project folder is named, do not change the name
12ePortfolio Training Presentation
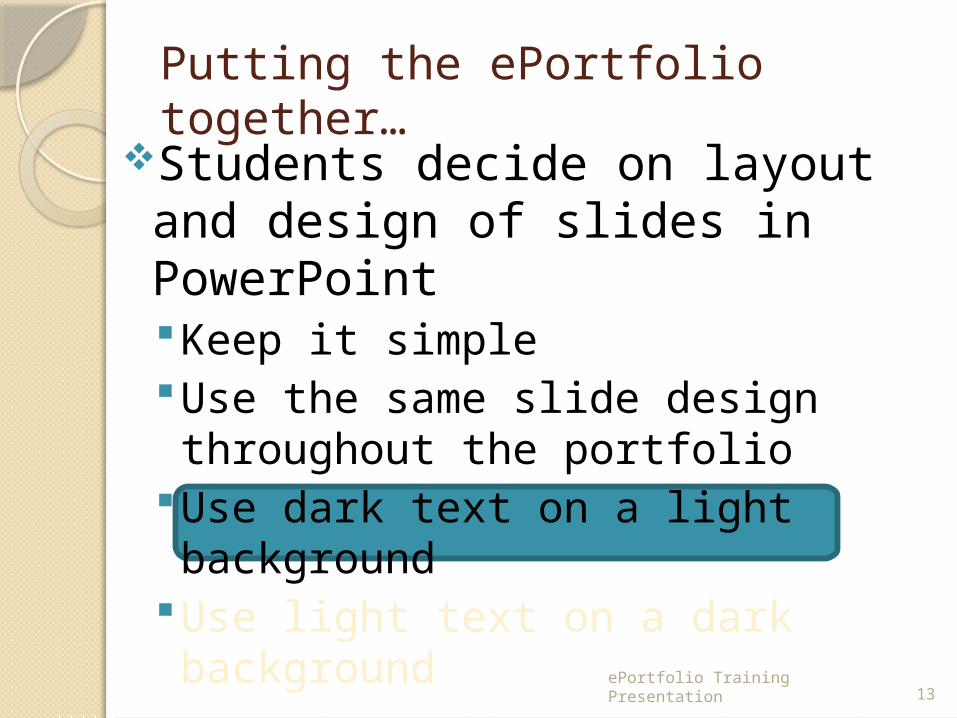
Putting the ePortfolio together…Students decide on layout and design of slides in PowerPointKeep it simpleUse the same slide design throughout the portfolio
Use dark text on a light background
Use light text on a dark background
13ePortfolio Training Presentation

Putting the ePortfolio together…
Keep animations to a minimumAvoid putting too much on one page
Summarize,6-8 lines per slideUse text size 32 or larger for easy viewing
ePortfolio Training Presentation 14
Putting the ePortfolio together…
Create hyperlinks to assignments located in project folder.Students should test their linksLeave all assignments in project folder - anything moved from that folder will break its hyperlink.
15ePortfolio Training Presentation
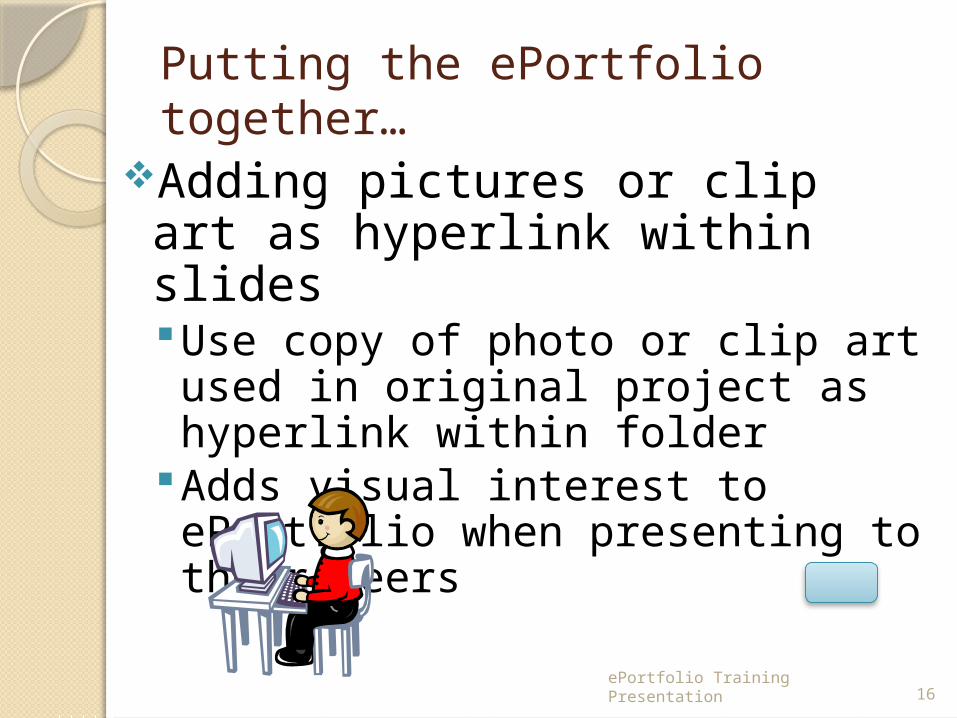
Putting the ePortfolio together…
Adding pictures or clip art as hyperlink within slidesUse copy of photo or clip art used in original project as hyperlink within folder
Adds visual interest to ePortfolio when presenting to their peers
16ePortfolio Training Presentation

Putting the ePortfolio together…
New clip art may be found in a variety of places. Microsoft Office clipart libraryGoogle clipart
Narration or music may be added for additional interest
17ePortfolio Training Presentation
Resources…To ensure success implementing
the ePortfolio to enhance your class feel free to contact:Amy CannadyRobin Drewry Bonnie Hicks
We’ll be glad to schedule a time for additional help
18ePortfolio Training Presentation

Finishing…How to burn the final ePortfolio to CD or flash drive
19ePortfolio Training Presentation

Credits:Produced by:
Amy Cannady
Robin Drewry
Bonnie Hicks
20ePortfolio Training Presentation
End of Presentation. Click Escape to Exit

Additional Instructions….Save student work on the S-Drive. Open My Network Places Choose S-Drive Select your teacher folder Select appropriate class period folder Create a student folder for each
student or project group Students save ALL their files to this one
folder for the ePortfolio. Each folder must have a unique name that does not change.
ePortfolio Training Presentation 21
Back
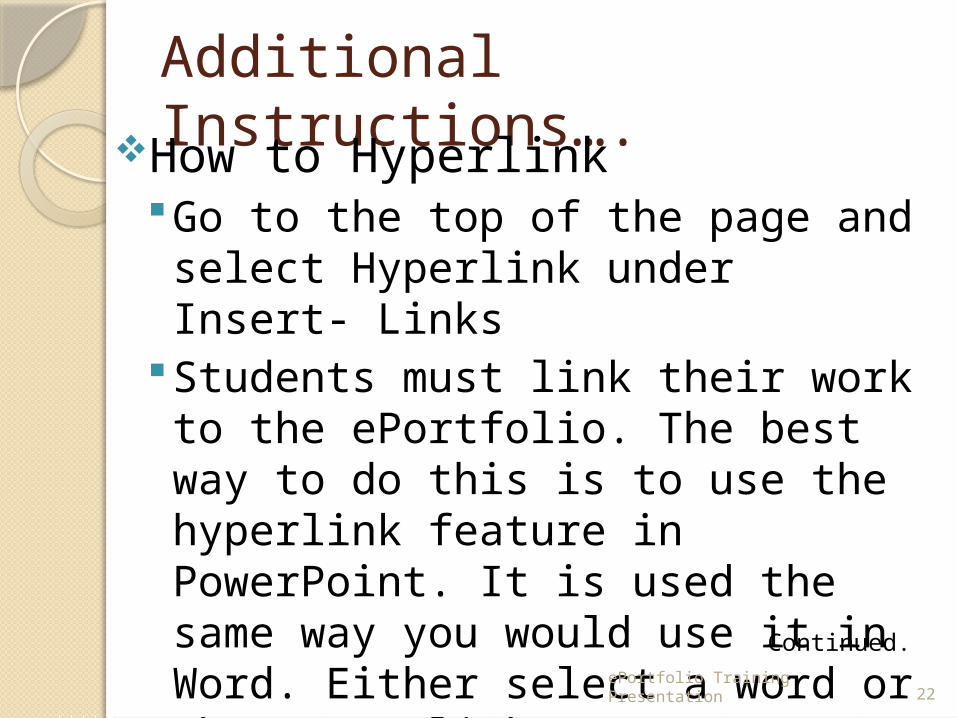
Additional Instructions….How to Hyperlink
Go to the top of the page and select Hyperlink under Insert- Links
Students must link their work to the ePortfolio. The best way to do this is to use the hyperlink feature in PowerPoint. It is used the same way you would use it in Word. Either select a word or phrase to link or create a button such as the one you used to get here.
ePortfolio Training Presentation 22
Continued...

Additional Instructions….Find the source you would like to link to – in the student’s folder on the S-drive.
Check the link by either right clicking on the linked item in Powerpoint and selecting “Open Link” or select the Slide Show icon to test the link in your show. Point to the button or word that is linked and you should see a hand pointing ePortfolio Training Presentation 23
Cont.Continued...

Additional Instructions….Students may link to sites on the web in addition to files already stored in their student folder. The same procedure is followed except that they would “browse the web” in the hyperlink window to find their source.
ePortfolio Training Presentation 24
Back

Additional Instructions….How to add Clip Art
Decide if you will use pictures or clip art, don’t mix styles.
Under the “Insert” tab select the type of media you will insert. For clip art you will be given choices in the right hand column of places to look for clip art. For pictures, search the web or use pictures already used in the project by going to the file that holds the picture and right clicking on it. ePortfolio Training Presentation 25
Back

Additional Instructions….Clip ArtOffice Online is one source for
clipart. Look at the bottom of the right hand column in PowerPoint after selecting clipart under the “Insert” tab.
You may also go to Google Images to find clipart. There are many sources that can be used.
ePortfolio Training Presentation 26
Back

Additional Instructions….How to add narration to your ePortfolio You will need a microphone and sound
editing software. Go to Audacity.com and download their
free sound editing program. Record the narration. Use Audacity to convert your sound files
from wav to mp3 Use Insert Sound feature of PowerPoint
ePortfolio Training Presentation 27
Continued...

Additional Instructions….How to add Music to your ePortfolio There are a number of sources from
which you can import sound files. FreePlayMusic is one source. (Please consider copyright laws before using someone’s music)
Download the file to be used (mp3 if possible)to the same folder that contains the PPT file.
Use Insert Sound feature of PowerPoint-select Sound From File
Feel free to ask for help with this!!
ePortfolio Training Presentation 28
Back

Additional Instructions….Burn to CD or save to a flash drive.Make sure all the files used in the project are in the same folder with the PowerPoint file. Be sure not to change the names of any of the files that have been linked to the presentation.
Go to PowerPoint’s main menu on the far left and select Publish, then Package for CD. Follow the instructions.
ePortfolio Training Presentation 29
Continued...

Additional Instructions…. If saving to a flash drive, simply
drag the entire project folder to the flash drive. To save space you might want to zip the file. If so, right click the project folder, choose “send to” then compressed folder (zip). The zipped folder will show a zipper on the folder icon. When re-opening choose “Extract All Files.” ePortfolio Training Presentation 30
Back


![Jessica Cannady[1]](https://static.fdocuments.in/doc/165x107/54c44a424a79598c398b45b4/jessica-cannady1.jpg)