Sunflower Project Role Mapping Workshop January, 2010.
75
Sunflower Project Role Mapping Workshop January, 2010
-
Upload
monique-wedge -
Category
Documents
-
view
214 -
download
0
Transcript of Sunflower Project Role Mapping Workshop January, 2010.

Sunflower ProjectRole Mapping Workshop
January, 2010

2
Welcome

3
Welcome and Introductions
• Presenters:
– Bryan Loudermilk, Agency Readiness Team Lead
– Annette Witt, Finance Team Manager

4
Role Mapping Workshop Agenda
WelcomeIntroduction to Role MappingPolicy ConsiderationsUser Role WorkbookRole Mapping HandbookAssigning Roles to UsersWorkflow SetupSettingsCompleting Your Role Mapping TaskWrap-up

5
Introduction to Role Mapping

6
Role Mapping Workshop Objectives
After this workshop you should:
• Understand the purpose of role mapping
• Know how to use the User Role Workbook and Role Mapping Handbook
• Be ready to complete your agency’s role mapping task

7
Role Mapping Overview
• Role mapping is where you will:1. Assign security roles to specific users2. Define row level security (agency level access) for your agency’s
users3. Setup workflow for your agency’s transactions
• Role mapping affects these systems:– SMART– Data Warehouse– Time & Labor module in SHARP
• To complete the role mapping task, you will use the Role Mapping Handbook as a reference to help you complete the User Role Workbook– These tools will be discussed in this presentation

8
1. Assign Security Roles
• Also referred to as User Roles
• Security roles define specific modules, pages, and functions a user can access
• For example:– The Agency AP Processor role allows users to
create and update vouchers in SMART– The Finance Power User role allows users to create
and view Financial reports in the Data Warehouse

9
2. Define Row Level Security
• Allows users to access their agency’s data but not other agencies’ data– The “row” in row level security refers to rows in the
database– Row level security in SMART is at the Business
Unit (agency) level
• Each user will have access to one business unit in SMART and the Data Warehouse– There are a few exceptions, which the project will
address with each agency in the coming weeks

10
3. Setup Workflow
• Workflow routes transactions through the approval process
• Applies to:– General Ledger journal entries– Vouchers– Travel & Expense transactions– Purchase requisitions
• Workflow configuration options were described in the Workflow Workshops– During role mapping you will document your agency’s workflow
configuration– Workflow Workshop presentations are now available on the
Sunflower Project website at: http://www.da.ks.gov/smart/newsandannouncements.html

11
Why Role Mapping Matters
Role Mapping/ Workflow
Security Setup
Role mapping results will be used to configure security for all users.
Security configuration will begin immediately after the role mapping activity is completed. Users cannot access SMART until their individual security roles are configured.

12
Why Role Mapping Matters (continued)
Role Mapping/ Workflow
Security Setup
Training
Role mapping results will be used to load users into the Learning Management System (LMS) in preparation for training registration in March.
Seats in training sessions are limited and registration is first come, first served.
Agencies with late role mapping tasks may find it difficult to schedule users in convenient Instructor-Led Training (ILT) sessions
13
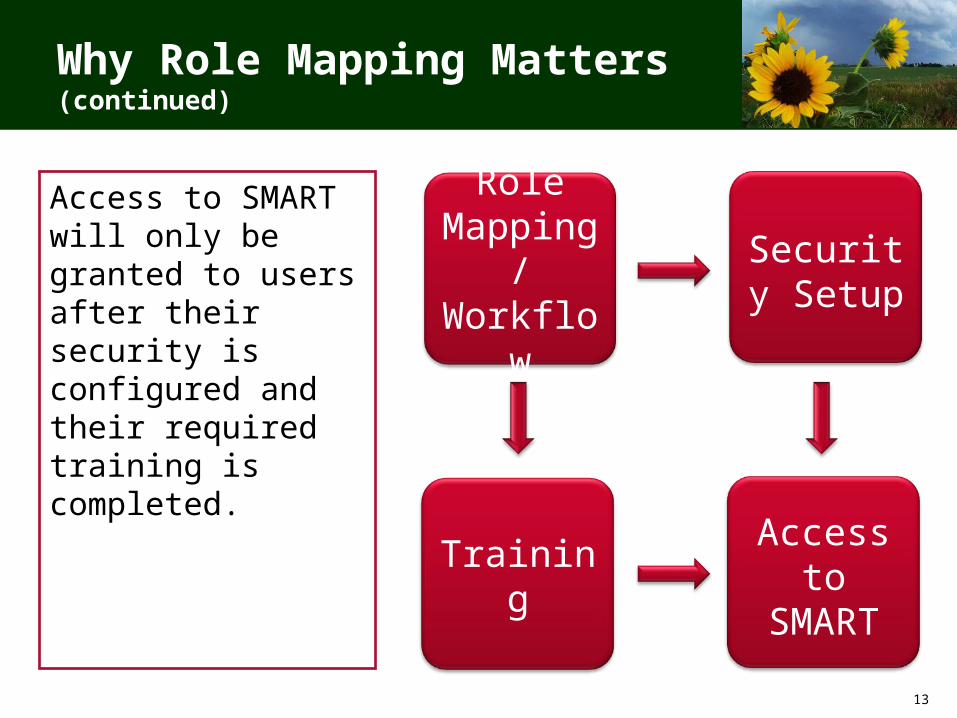
Why Role Mapping Matters (continued)
Role Mapping/ Workflow
Security Setup
TrainingAccess
to SMART
Access to SMART will only be granted to users after their security is configured and their required training is completed.

14
Role Mapping Timeline
Jan 2010 Feb 2010 Mar 2010 Apr 2010 May 2010
Complete Role Mapping Task
Maintain Role Mapping Updates
2/5/10 – Role Mapping Task Due
5/14/10 – Last day to submit updates before go-live

15
Policy Considerations

16
Separation of Duties
• Internal Controls – Necessary to prevent or detect irregularities• Key concept of internal control is separation of duties, a.k.a. segregation of
incompatible duties• Internal controls are the responsibility of management• Three types of functions considered incompatible and should be subject to
segregation:– Authorization of transactions– Record keeping– Custody of assets
• Document the flow of transactions:– Who performs each step of each process?– What is involved in each step of each process?– Any resulting documentation (purchase order, receiving report, etc.)
• Consider the resources available to your agency and whether there are other compensating controls in place
• The Sunflower Project Finance Team can help agencies with the cost benefit analysis for implementing segregation of duties or any other internal control policies and procedures

17
Non-Employees in SMART
• The Sunflower Project must approve any requests for non-employee access to SMART
• Who can be mapped to user roles in SMART?– It is appropriate for auditors to have view-only access to SMART
• Includes agency auditors, independent auditors, and Federal auditors– Under some circumstances it is appropriate for Federal employees
to have view-only access to SMART• If they work with the agency on a regular basis and that work requires
access to financial records– Additional considerations
• Does the individual currently have access to STARS? If not, it may not be appropriate to grant access to SMART
• There may be other individuals who should have view-only access to SMART. Email [email protected] with any questions

18
User Role Workbook

19
Overview of the User Role Workbook
• The User Role Workbook is an Excel document used to enter your agency’s role mapping selections
• Your workbook is unique to your agency because it lists your agency’s employees. It also contains:– List of user roles by module– Worksheets to enter your workflow configuration
• The role mapping task consists of completing the User Role Workbook with your agency’s role mapping selections

20
Users in the User Role Workbook
• Your User Role Workbook contains a list of agency employees downloaded from SHARP
• You may need to update the user list:– Add users
– Update employee information
• Follow instructions to make these updates to avoid disabling some of the document’s features

21
Adding Users
• You may need to add a user, including:– Employees of another agency who process
financial transactions on behalf of your agency– New hires not listed as employees in SHARP when
the User Role Workbook was created– Federal auditors
• Enter new users in blank rows at the end of the worksheet– Do not insert or delete rows in the document as this
will disable some of the document’s features

22
Updating Employee Information
• You may update information in the User Role Workbook if needed– Data is from SHARP – changes in the User Role
Workbook will not update SHARP
• Email address is required and is used for workflow in SMART– SMART and SHARP email addresses can be different– Update the email address for SMART users if:
• Email address is blank• Email in SMART is to be different than SHARP• Email address is required for employees mapped to a role• Email address is not required for employees who are not
mapped to any roles
23
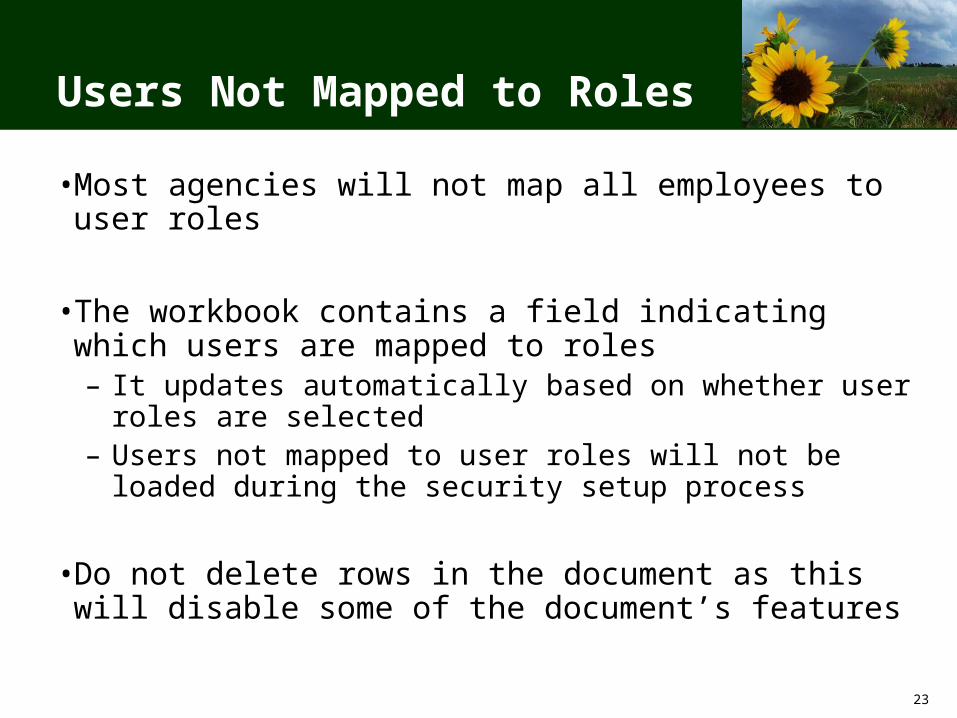
Users Not Mapped to Roles
• Most agencies will not map all employees to user roles
• The workbook contains a field indicating which users are mapped to roles– It updates automatically based on whether user roles
are selected– Users not mapped to user roles will not be loaded
during the security setup process
• Do not delete rows in the document as this will disable some of the document’s features

24
Users in the User Role Workbook
Asterisk indicates a required field
Enter new users in the first blank rowDo Not Insert rows
Enter or update email address to be used in SMART
Column indicates whether each user is mapped to rolesDo Not Delete Rows

25
Conventions and Standards:Tabs and Examples
• The User Role Workbook contains 11 tabs each capturing specific security and configuration data– Tabs build upon each other and must be completed in
sequence as defined in the Role Mapping Handbook
• The User Role Workbook is not formatted for printing. It is intended to be an electronic document
• Examples are provided in the User Role Workbook for illustrative purposes. They occupy the first few rows of each tab and are highlighted in blue
26
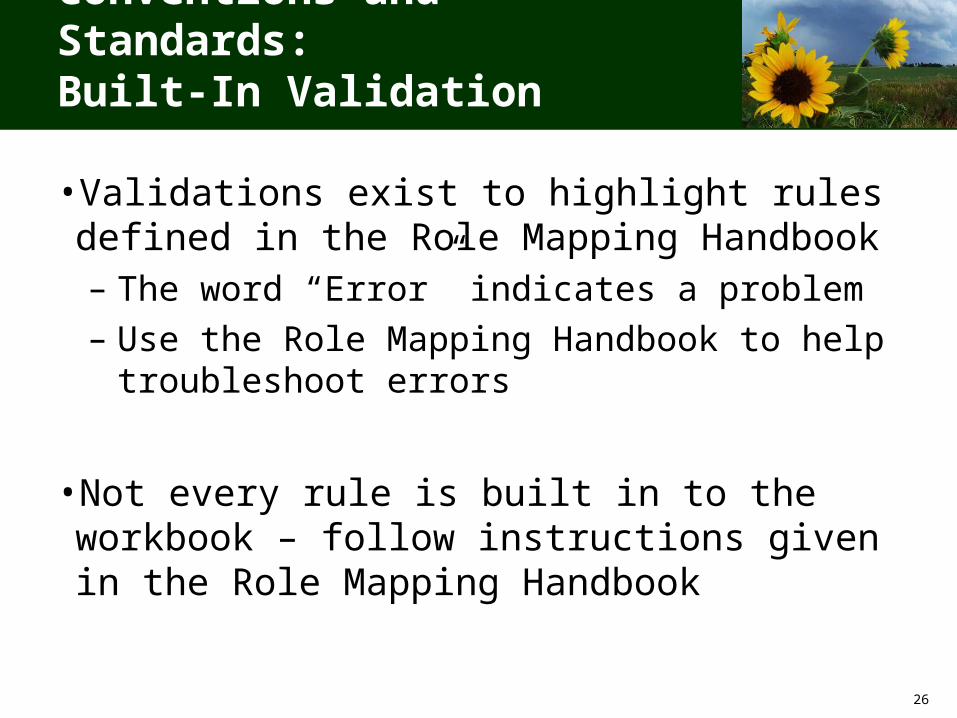
Conventions and Standards:Built-In Validation
• Validations exist to highlight rules defined in the Role Mapping Handbook– The word “Error” indicates a problem
– Use the Role Mapping Handbook to help troubleshoot errors
• Not every rule is built in to the workbook – follow instructions given in the Role Mapping Handbook

27
Conventions and Standards:Identifying Users
• Workflow and some settings require you to identify a user in the User Role Workbook
• Users are always identified by last name, first name, middle initial (optional), and employee ID– Built-in validation always requires last name, first name,
and employee ID
• The workbook is formatted so that you can copy and paste these values from tab to tab– Copy and paste – instead of typing – to reduce the risk
of data entry errors

28
Working With Users in the User Role Workbook
Copy and paste first four cells from User Role tab to other tabs as needed Validation columns will
highlight errors indicating additional data required
29
Conventions and Standards:Sharing the File
• Some agencies may wish to have several people involved in completing role mapping
• The following are recommendations when sharing the User Role Workbook Excel file:– Use one copy of the file and take turns accessing it– Users’ personal information can be copied/pasted
between files, but other data should not be– Copying from files containing conditional formatting,
data validation, or other features can corrupt the User Role Workbook
30
Training Calculator
• User Role Workbook contains a Training Calculator tab– Lists training courses by module– Calculates approximate training hours for each user – Based on the roles selected on the User Roles tab
• Adding or removing roles from a user will automatically adjust the training hours
• Required training MUST be completed before user ID’s will be activated– Consider the training commitment when mapping users to roles
NOTE: The Training Calculator provides an estimate of each user’s training commitment based on training plans as of January 4, 2010 – the actual amount of training for each user may vary

31
Training Calculator
Total training hours by user
Training assignments based on selected roles

32
Role Mapping Handbook

33
Overview of the Role Mapping Handbook
• The Role Mapping Handbook is a reference document used to guide your agency’s role mapping selections and help in completion of the User Role Workbook
• The Role Mapping Handbook contains detailed instructions, including:– Introduction to Role Mapping– How to begin the Role Mapping process– Descriptions of user roles, configuration settings, and
workflow setup– Directions for sending and receiving the User Role
Workbook securely
34
Where to Start
• Before you begin mapping users to roles, carefully read:– Section 1.0: Introduction to Role Mapping– Section 2.0: How to Begin the Role Mapping Task
• These sections provide context and general instructions you should apply as you complete the task
• The rest of the handbook walks you through the Role Mapping task– Each section describes one step in the role mapping process– The ordering of sections is intentional, since some steps
depend on the results of previous steps– For this reason, it is helpful to start at the beginning of the
handbook and work through the sections in order

35
Conventions and Standards:Typical Handbook Section
• After Section 2.0, all sections contain these parts:
– Who Should Complete this Section?• Provides criteria to help you decide which steps you should
complete• Explains how to proceed if skipping a section• Read this before skipping any sections
– How to Complete this Section• Contains descriptions of each user role and setting• Explains workflow requirements• Describes how to complete the User Role Workbook
– Next Step• Explains how to proceed after completing the section

36
Conventions and Standards:Built-In Validation
• All built-in validation in the User Role Workbook is described in the Role Mapping Handbook– Each validation column in the workbook has a related
section in the Role Mapping Handbook– Use this to troubleshoot errors
37
Conventions and Standards:Built-In Validation
• It is normal to encounter errors that will be resolved in another step– For example, when you list users on the GL Workflow tab,
they will all display errors until you assign their user roles on the User Roles tab in the next step
• Check for errors after completing all steps related to one module– For example, check for errors after completing steps related
to General Ledger on the GL Workflow tab and in the General Ledger section of the User Roles tab
• All errors should be resolved before the User Role Workbook is submitted

38
Assigning Roles to Users

39
Selecting User Roles
• All user roles are selected on the User Roles tab• To map a user to a role, enter an X in the associated row and column
Enter an X to map a user to a role

40
Additional Requirements
• Some roles require additional information, such as:– Assigning other roles
– Adding the user to workflow
– Defining settings, such as default ChartFields
• Any additional requirements are described in the Role Mapping Handbook– Built-in validation identifies related errors

41
Built-In Validation
This error indicates the user must also be mapped to the GL Viewer role
This error indicates the user must also be listed in the appropriate GL Workflow step

42
Workflow Setup

43
About Workflow
• Workflow must be setup for:– General Ledger journals– Vouchers– Travel and Expense documents– Purchase requisitions
• The workflow tabs in the User Role Workbook are designed to be visual representations of your agency’s workflow– Workflow will be configured based on your entries
in the workflow tabs

44
General Ledger Workflow
• If your agency will enter GL journals, workflow is required
• GL workflow consists of processors and up to three pooled approval steps– In pooled approval, all approvers are notified of a new transaction
for approval– Any one approver can approve the journal and it will advance to
the next approval step– At least one level of approval is required
• Level 3 is required – Levels 1 and 2 are optional
• Processors and approvers can be listed in multiple workflow steps– Approval is based on the approver’s highest level of approval
authority

45
GL Workflow Tab
Copy and paste users into each workflow step
Errors will display until you assign the user role associated to each workflow step

46
Accounts Payable Workflow
• If your agency will enter vouchers, workflow is required
• AP workflow consists of:– One or more origin codes– Processors and up to three pooled approval steps for
each origin code
• Defining multiple origin codes allows you to define different approval paths for vouchers based on regions or other divisions within an agency

47
Entering AP Workflow
• For each origin code:– Enter a description– List processors– List approvers in each approval pool
• Fiscal Office is required – Set A and Set B are optional
• A user can be listed as a processor in only one origin
• A user can be listed as an approver in multiple workflow steps and multiple origins– Approval is based on the approver’s highest level of
approval authority

48
AP Workflow Tab
Errors will display until you assign the user role associated to each workflow step
Copy and paste users into each workflow step under the origins your agency will use
You must enter a description of each origin your agency will use

49
Travel & Expense Workflow
• If any of your agency’s employees will be reimbursed for travel or expenses via expense reports in SMART, workflow is required
• Travel & Expense workflow consists of Expense Payees and three required approval steps:– Expense Payee– Supervisor– Department Manager– Fiscal Office
NOTE: The Project Manager approval step discussed in Workflow Workshops has been removed
50
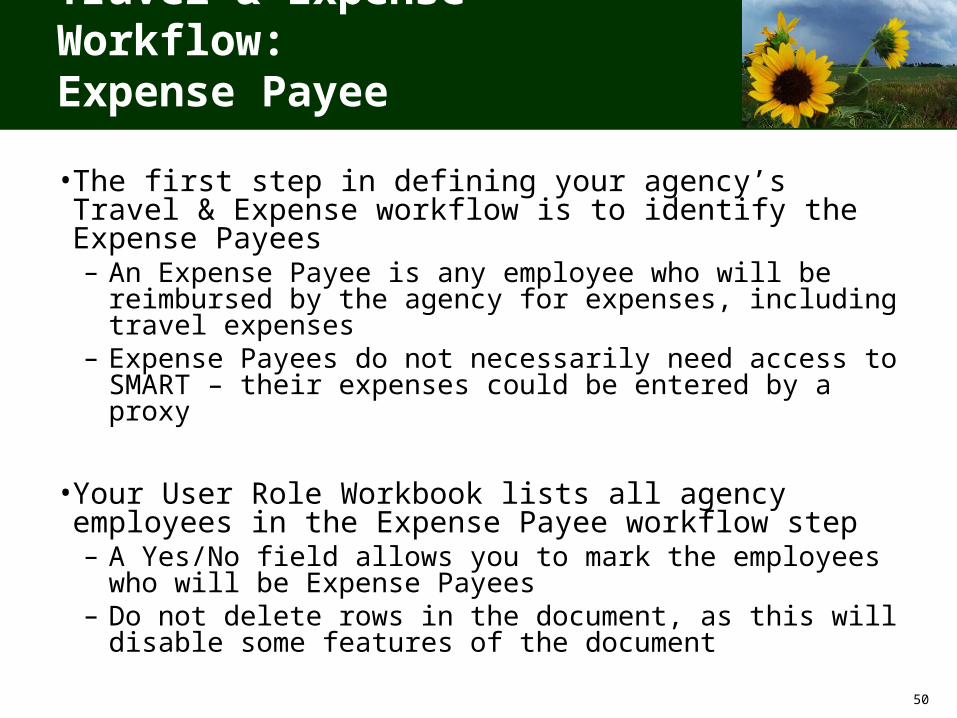
Travel & Expense Workflow:Expense Payee
• The first step in defining your agency’s Travel & Expense workflow is to identify the Expense Payees– An Expense Payee is any employee who will be
reimbursed by the agency for expenses, including travel expenses
– Expense Payees do not necessarily need access to SMART – their expenses could be entered by a proxy
• Your User Role Workbook lists all agency employees in the Expense Payee workflow step– A Yes/No field allows you to mark the employees who
will be Expense Payees– Do not delete rows in the document, as this will disable
some features of the document

51
Travel & Expense Workflow:Supervisor
• The first approval step is the supervisor of the payee
• Your User Role Workbook lists each employee’s Supervisor, as listed in SHARP– You may select a different supervisor for the
purpose of workflow by copying the supervisor’s personal information from the User Roles tab
– Each payee must have exactly one Supervisor– One supervisor may be associated with multiple
Expense Payees

52
T&E Workflow Tab:Payees and Supervisors
Errors will display until you assign the user role associated to each workflow step
Change the supervisor for the purpose of workflow if needed. Enter a supervisor if blank
Select “Yes” to indicate the user is an Expense Payee

53
Travel & Expense Workflow:Department Manager
• The second approval step is the Department Manager of the department entered on the transaction
• Department Managers must be defined for each Department ID that can be used in Travel and Expense– List Department Managers and assign a range of Department IDs to each
one– You may create a pooled approval step by assigning multiple people to the
same Department IDs

54
Travel & Expense Workflow:Fiscal Office
• The third approval step is the Fiscal Office – a pooled approval step– Enter approvers by copying the approver’s personal
information from the User Roles tab– The approvers in the Fiscal Office pool for Travel &
Expense should be the same as the approvers in the Fiscal Office pool for Accounts Payable

55
Purchasing Workflow
• If your agency will enter purchase requisitions in SMART, workflow is required
• Purchasing workflow consists of requestors and up to three levels of approval
• Requestor vs. Requisitioner– A Requestor is a person who can be selected on a
requisition as the person requesting a good or service– A Requisitioner enters the purchase requisition in
SMART– Workflow is determined by the Requestor’s settings– The Requestor role does not have access to SMART

56
PO Workflow Tab
Errors will display until you assign the user role associated to each workflow step.
Copy and paste users into each workflow step.

57
Requestor(No SMART Access)
Approver 1 Approver 2 Approver 3
Amy Amy
Ben Ben Amy
Cathy Doug Ben Amy
Ellen Fred Gail Hal
Purchasing Workflow Guidelines
• A user may appear in the PO Workflow tab multiple times– For example, once as a Requestor, once as Amy’s
Approver, and once as Ben’s approver

58
Requestor(No SMART Access)
Approver 1 Approver 2 Approver 3
Amy Amy
Ben Ben Amy
Cathy Doug Ben Amy
Ellen Fred Gail Hal
Irene Amy Jim
Purchasing Workflow Guidelines
• A user may appear in the Requestor workflow step and at most one Approval step– For example, if Doug is Approver 1 for Cathy, he
cannot be listed in the Approver 2 or Approver 3 workflow steps
– The example below is invalid because Amy appears in two different Approver steps

59
Purchasing Workflow Guidelines
• Users listed in the PO Workflow tab multiple times must always have the same approver– For example, if Ben is Doug’s Approver in one row
of the workflow setup, Ben must always be Doug’s Approver
– The example below is invalid because Doug has two different Approvers
Requestor(No SMART Access)
Approver 1 Approver 2 Approver 3
Amy Amy
Ben Ben Amy
Cathy Doug Ben Amy
Ellen Fred Gail Hal
Irene Doug Gail Hal

60
Settings

61
Settings
• Settings are additional information needed to setup users who have certain roles
• For example,– Requestors must have a default “Ship To” location code– Expense Payees must have proxies (or the Agency Expense
Processor user role)
• Settings are required for users with certain roles in these areas:– Accounts Payable– Special Accounts (Imprest, Petty Cash, KDOR Tax Refund
payments)– Travel & Expense– Purchasing

62
Settings in the Role Mapping Handbook
• Whenever settings are required, they are listed next to the User Role description in the Role Mapping Handbook
• The Role Mapping Handbook also provides a description of each setting

63
Entering Settings
• In your user role workbook, most settings are restricted to values that are valid for your agency– Select a value from the drop-down
• Settings that are not restricted to valid values are free-form– Take care to enter values that are appropriate for your
agency
64
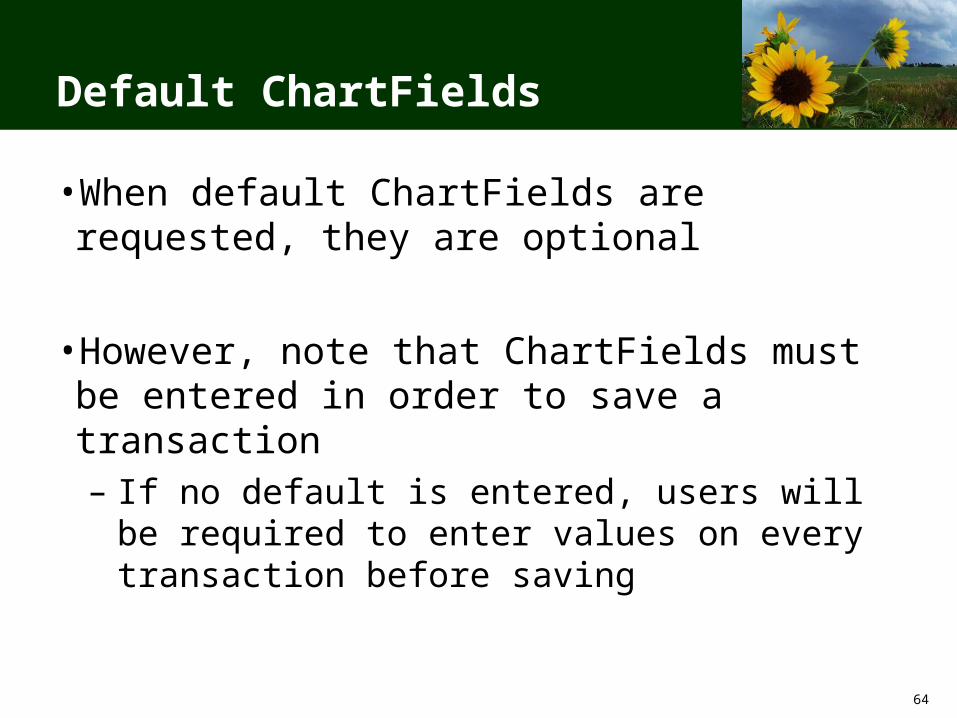
Default ChartFields
• When default ChartFields are requested, they are optional
• However, note that ChartFields must be entered in order to save a transaction– If no default is entered, users will be required to
enter values on every transaction before saving

65
Completing Your Role Mapping Task

66
Submitting the User Role Workbook
• The Role Mapping task is due by February 5
• Submit your User Role Workbook by the deadline to allow timely training registration– Agencies submitting role mapping after the
deadline may find it difficult to schedule users in convenient Instructor-Led Training (ILT) sessions
• Follow instructions provided in the Role Mapping Handbook to submit your User Role Workbook

67
Handling Sensitive Data
• The User Role Workbook contains sensitive data, including names, email addresses, and employee IDs of agency employees and information on financial accounts
• Methods are in place to safeguard this sensitive data
• Review and understand the instructions in the Role Mapping Handbook before emailing your User Role Workbook

68
Designate a Security Liaison
• Security Liaison designation must be communicated to the Sunflower Project prior to submitting your role mapping task, send an email that includes the following elements:
– Sent from the agency Chief Fiscal Officer (or agency designee) to [email protected]
– States the first and last name of the SMART Security Liaison and (if applicable) the back-up
– Copied to the SMART Security Liaison and (if applicable) the back-up

69
Maintain Your User Role Workbook
• You may discover changes to user roles, workflow, or settings due to turnover or for other reasons
• Any changes should be communicated to the Sunflower Project as soon as possible to avoid delays in training registration
• Changes could result in additional training requirements– The project cannot guarantee seats in training for changes
submitted after the initial deadline (February 5)– SMART user IDs will not be activated until the required
training is completed, which may be after go-live for some users

70
Maintain Your User Role Workbook (continued)
• When submitting updates:– Submit the entire workbook
– Follow instructions provided in the Role Mapping Handbook
• Changes will be accepted through May 14– Changes after that date will be made after go-live
using the post go-live security request process

71
Wrap-Up

72
Agency Next Steps
1. Read Sections 1 and 2 of the Role Mapping Handbook
2. Complete and submit the role mapping task ASAP, but no later than February 5
3. Contact [email protected] with questions if needed

73
Project Resources
• Sunflower Project website: http://www.da.ks.gov/smart/
• Sunflower Project Email Address: [email protected]
• Sunflower Project List-serv– Sunflower Infolist– Subscribe at http://www.da.ks.gov/smart/
• Sunflower Project Site: Sunflower Project, 915 SW Harrison, Room 1181, Topeka, Kansas 66612

74
Questions?

75
Please Share Your Feedback
Registered participants will receive a communication containing the URL to an online evaluation form for this Role Mapping Workshop
Thank You forParticipating!