
Spring 2014. Proper Drainage Safe Long-lasting Contractor’s Responsibility But inspector’s...
29
Construction Misc. Inspection Spring 2014
-
Upload
evan-purks -
Category
Documents
-
view
215 -
download
0
Transcript of Spring 2014. Proper Drainage Safe Long-lasting Contractor’s Responsibility But inspector’s...

Construction Misc. Inspection
Spring 2014

Proper Drainage Safe Long-lasting
Contractor’s Responsibility But inspector’s confirm correct installation
Refer to contract docs and grade stakes
SS and Culvert Inspection - Why is it Important?
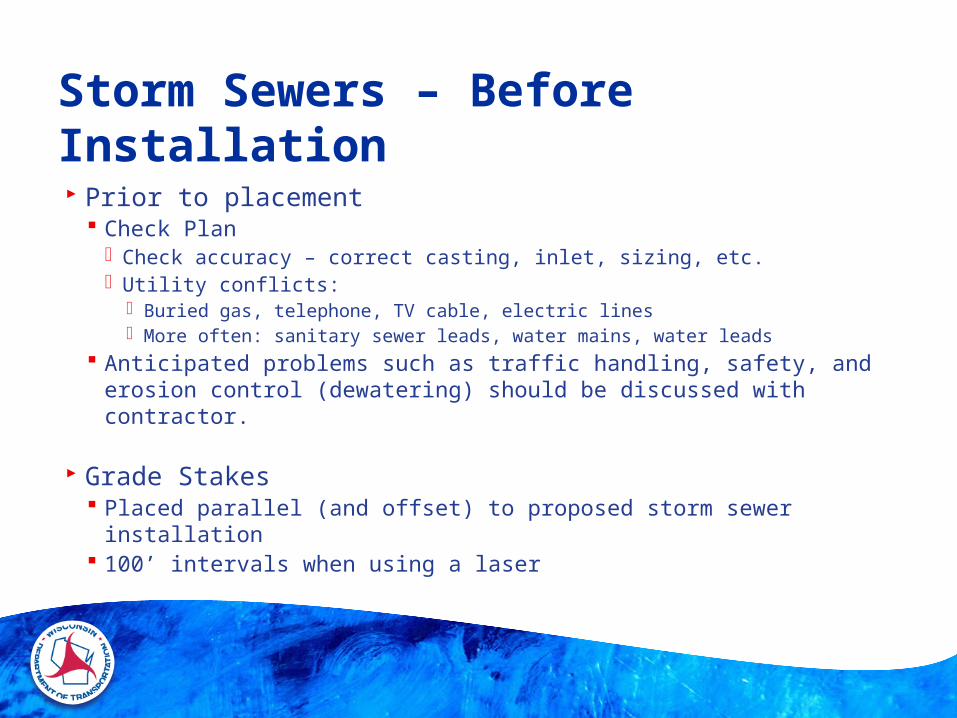
Prior to placement Check Plan
Check accuracy – correct casting, inlet, sizing, etc. Utility conflicts:
Buried gas, telephone, TV cable, electric lines More often: sanitary sewer leads, water mains, water leads
Anticipated problems such as traffic handling, safety, and erosion control (dewatering) should be discussed with contractor.
Grade Stakes Placed parallel (and offset) to proposed storm sewer installation 100’ intervals when using a laser
Storm Sewers – Before Installation
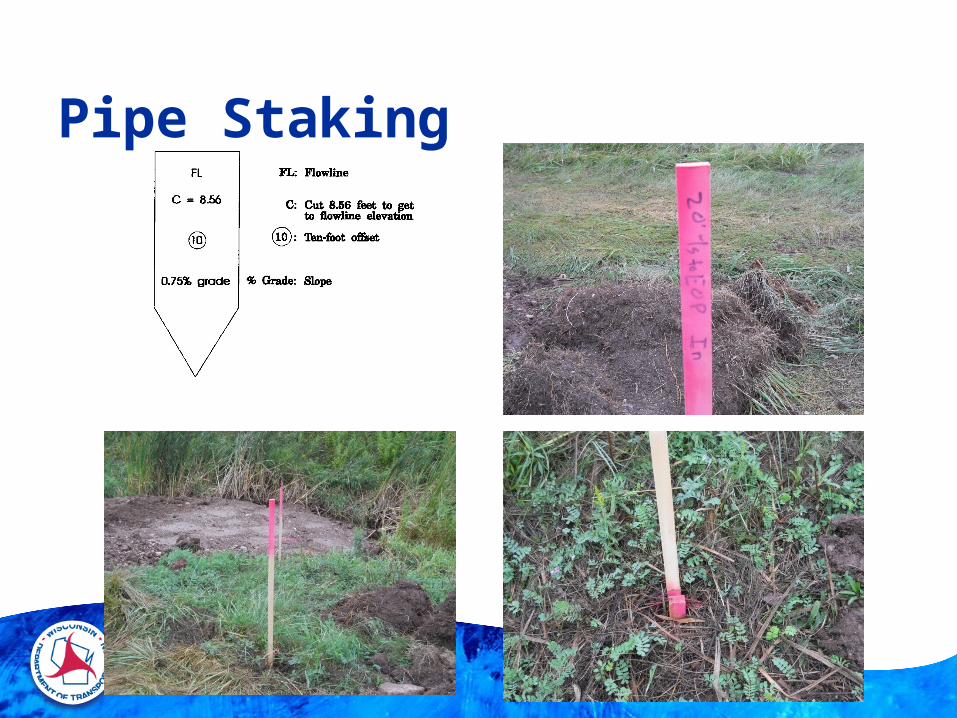
Pipe Staking
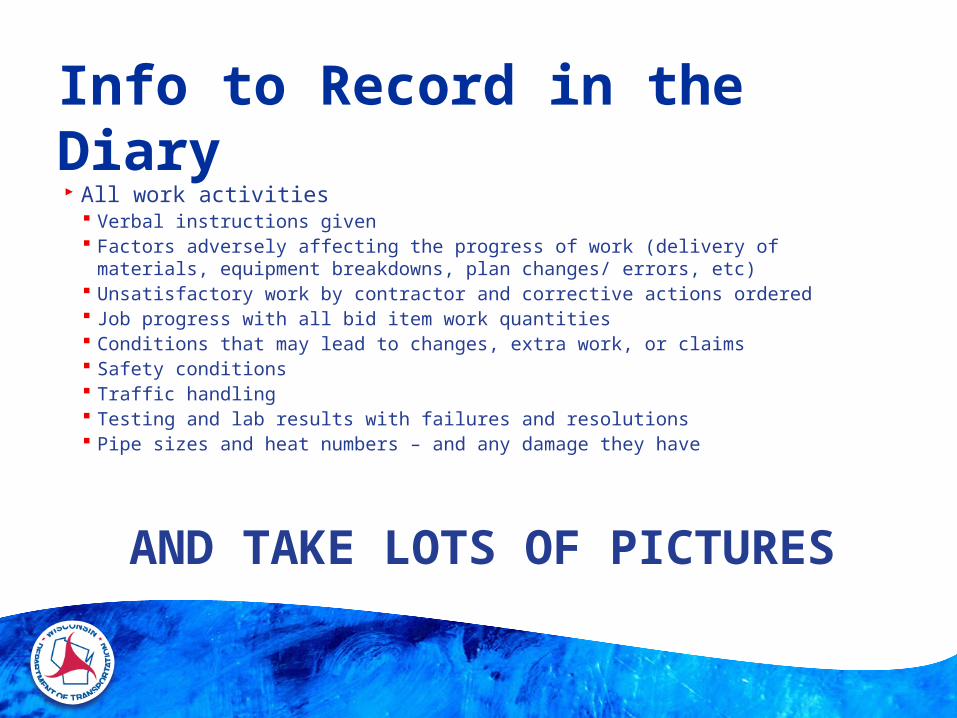
All work activities Verbal instructions given Factors adversely affecting the progress of work (delivery of materials, equipment
breakdowns, plan changes/ errors, etc) Unsatisfactory work by contractor and corrective actions ordered Job progress with all bid item work quantities Conditions that may lead to changes, extra work, or claims Safety conditions Traffic handling Testing and lab results with failures and resolutions Pipe sizes and heat numbers – and any damage they have
AND TAKE LOTS OF PICTURES
Info to Record in the Diary

Get the appropriate paperwork Check approved list for pipe manufacturers
Found in the “WisDOT Materials Testing Information, Materials Tracking Approved Product Lists”
Get the certification and Bill of Lading From driver or contractor’s rep Standard statement at the bottom of Bill of Lading should be signed Place in project records
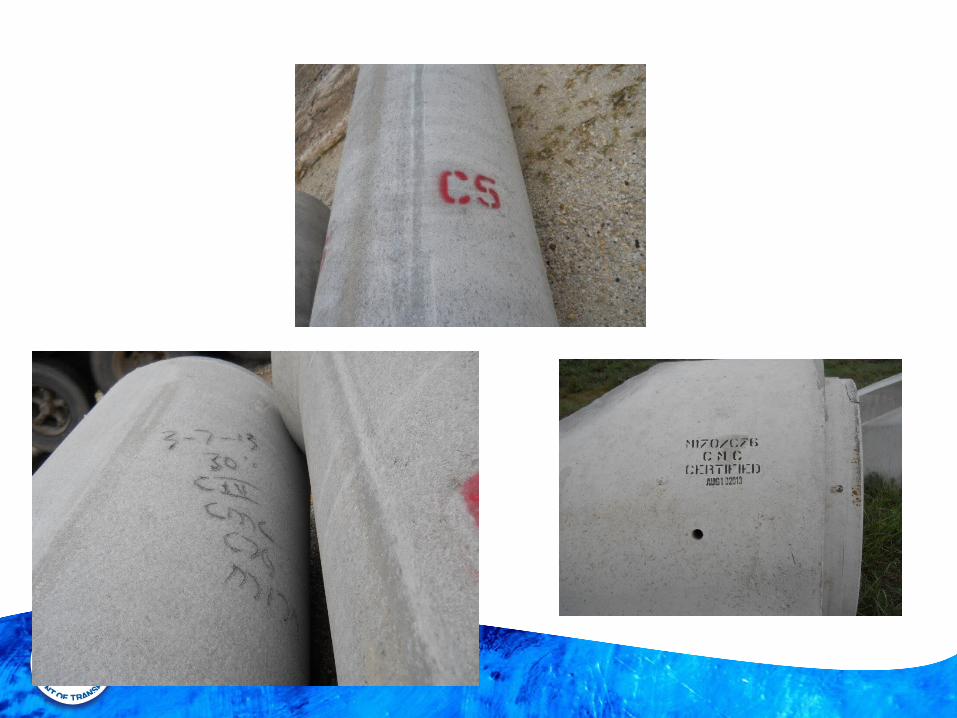
Spot check delivered materials Do this while the truck is still loaded or after the material has been distributed Check Markings on Pipe, All Pipes Should Have A Manufacturer Marking
Conduct a visual inspection of the material received Watch the unloading
Document any rough handling of the pipe If a pipe doesn’t look good, call it to the project engineer’s attention
Accepting Material
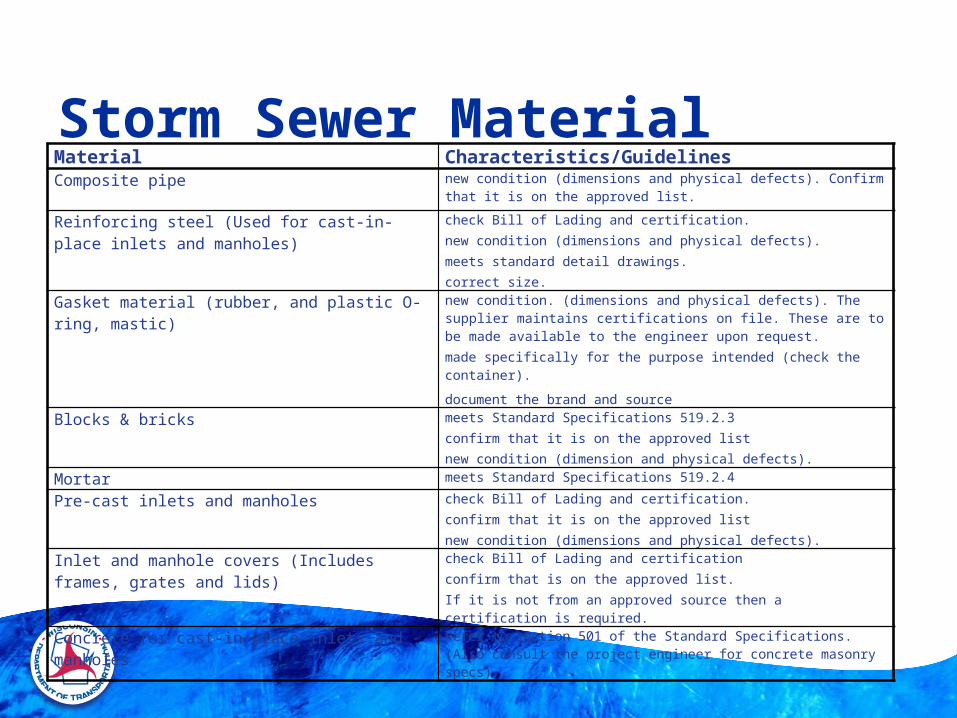
Storm Sewer MaterialMaterial Characteristics/GuidelinesComposite pipe new condition (dimensions and physical defects). Confirm that it is on the
approved list.
Reinforcing steel (Used for cast-in-place inlets and manholes)
check Bill of Lading and certification.new condition (dimensions and physical defects).meets standard detail drawings.correct size.
Gasket material (rubber, and plastic O-ring, mastic) new condition. (dimensions and physical defects). The supplier maintains certifications on file. These are to be made available to the engineer upon request. made specifically for the purpose intended (check the container).
document the brand and source
Blocks & bricks meets Standard Specifications 519.2.3confirm that it is on the approved listnew condition (dimension and physical defects).
Mortar meets Standard Specifications 519.2.4
Pre-cast inlets and manholes check Bill of Lading and certification.confirm that it is on the approved listnew condition (dimensions and physical defects).
Inlet and manhole covers (Includes frames, grates and lids)
check Bill of Lading and certificationconfirm that is on the approved list.If it is not from an approved source then a certification is required.
Concrete for cast-in-place inlets and manholes Refer to section 501 of the Standard Specifications. (Also consult the project engineer for concrete masonry specs).
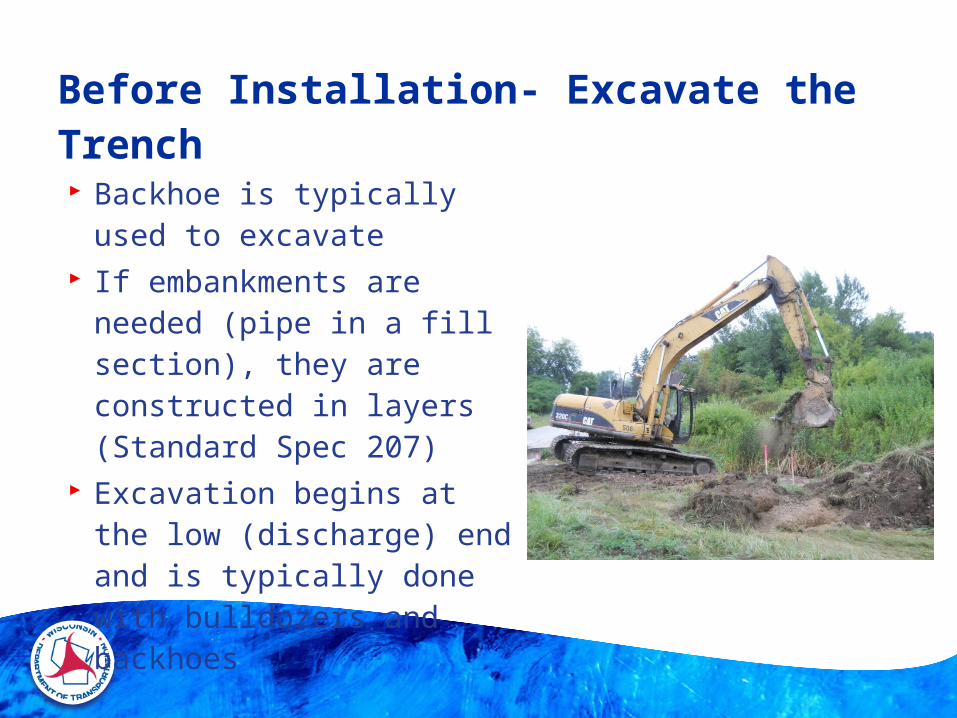
Backhoe is typically used to excavate
If embankments are needed (pipe in a fill section), they are constructed in layers (Standard Spec 207)
Excavation begins at the low (discharge) end and is typically done with bulldozers and backhoes
Before Installation- Excavate the Trench
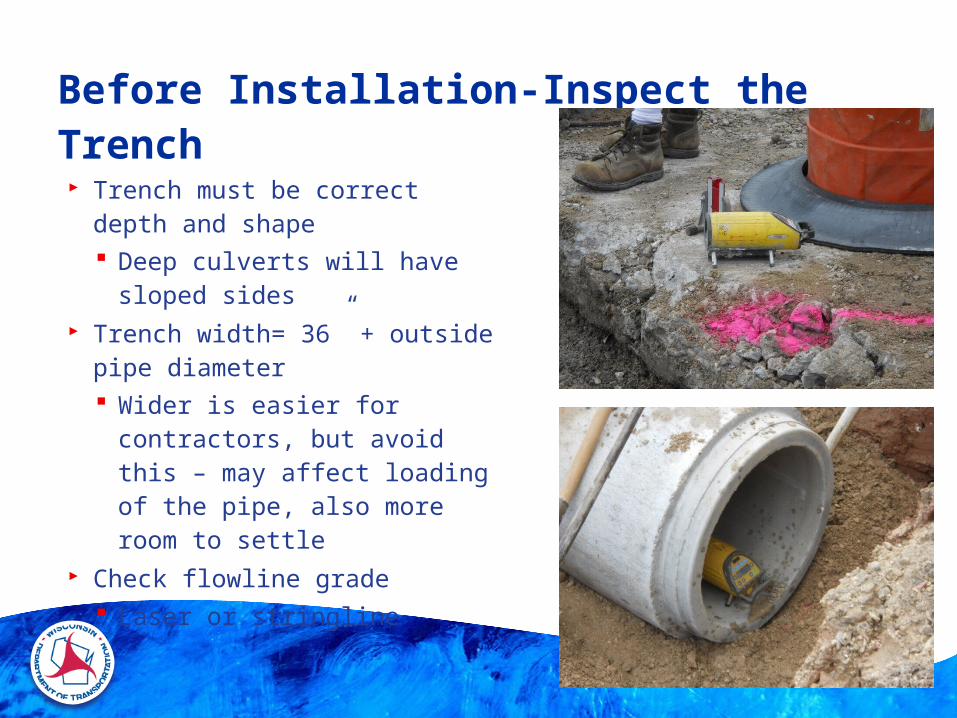
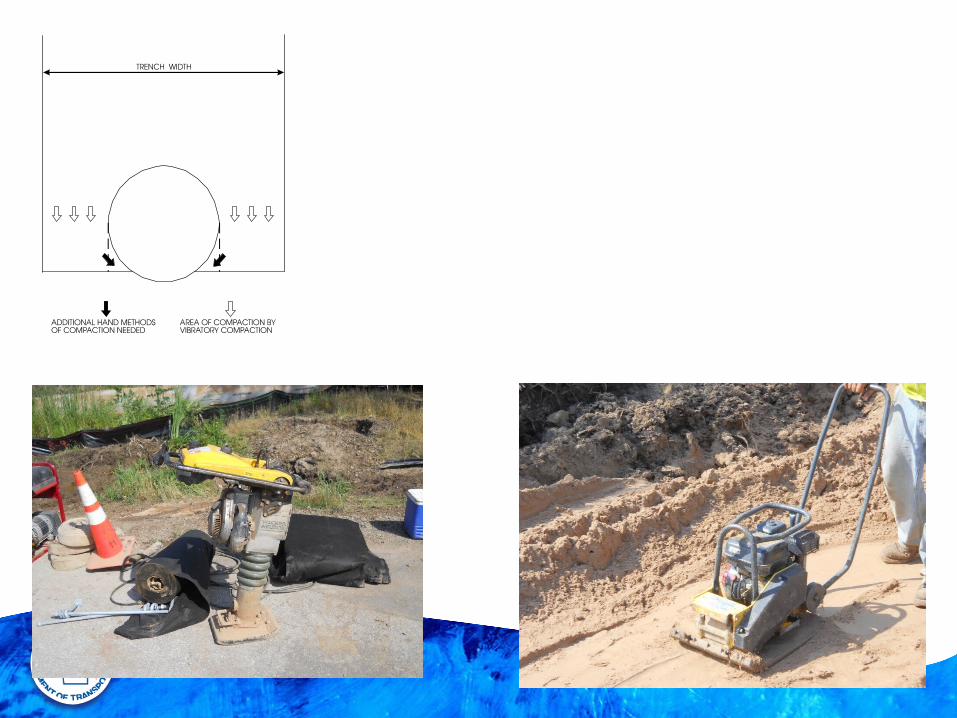
Trench must be correct depth and shape Deep culverts will have sloped
sides Trench width= 36” + outside pipe
diameter Wider is easier for contractors,
but avoid this – may affect loading of the pipe, also more room to settle
Check flowline grade Laser or stringline
Before Installation-Inspect the Trench

Typical Culvert/Storm Sewer Trench(Shallow to Medium Depth) Typical Culvert/Storm Sewer Trench
(Medium to Deep)
Foundation of bed Pipe foundation: native material that supports the pipe Pipe bedding: material that is in contact with the bottom
of the pipe Pipe bedding: granular backfill or Clear Stone Figures on the next page show the foundation
requirements based on the foundation material
Before Installation- Prepare the Foundation
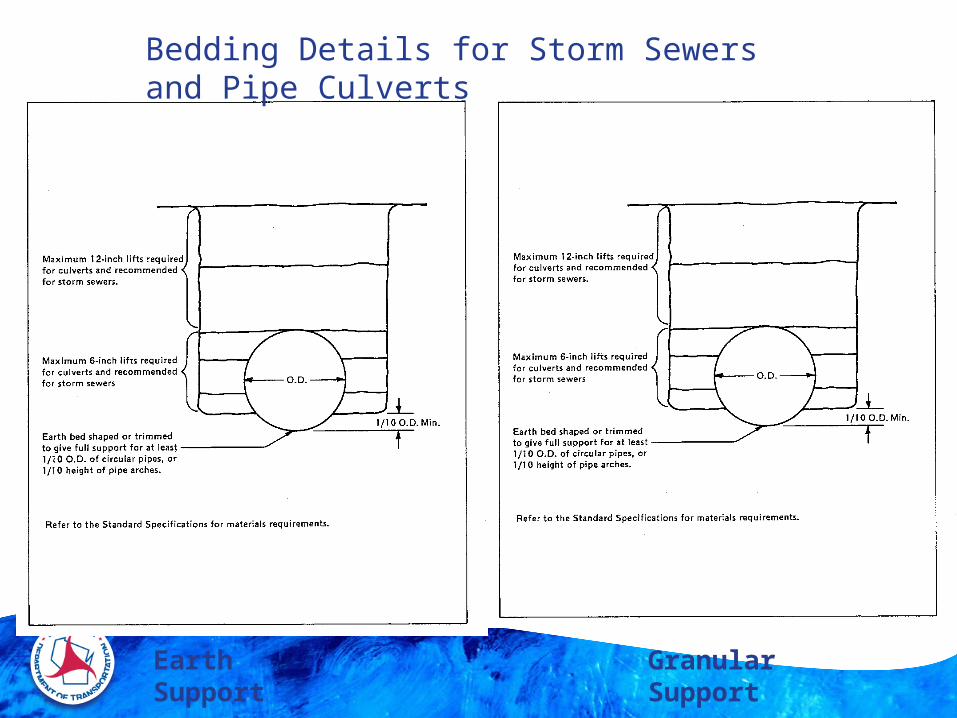
Earth Support
Bedding Details for Storm Sewers and Pipe Culverts
Granular Support
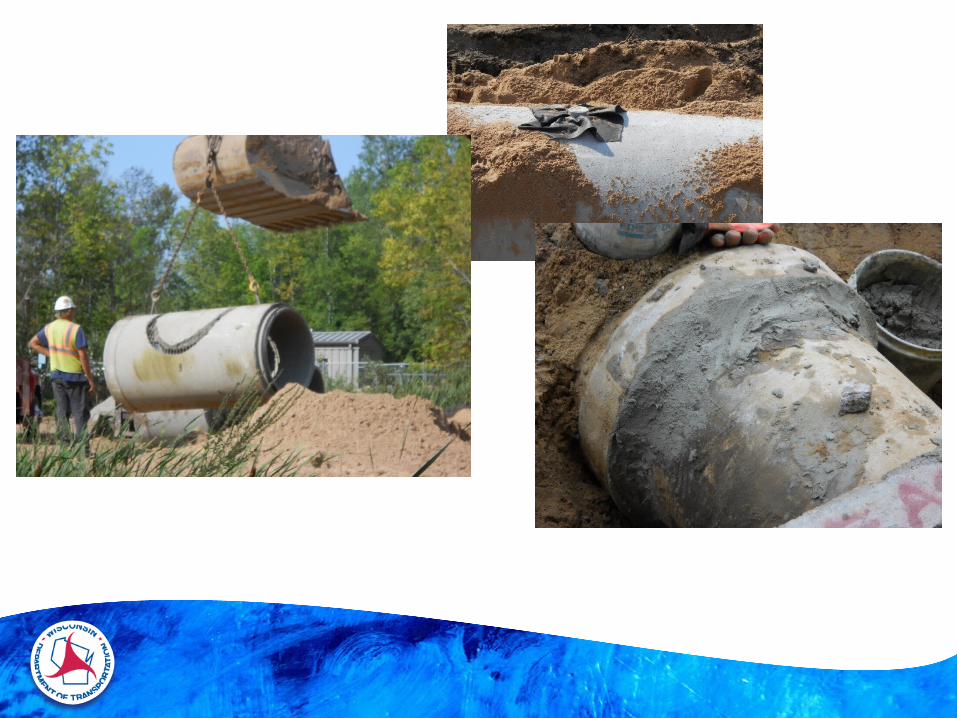
The spigot, or tongue, ends should point in the direction of flow
Check rubber O-rings installation or mastic placement
Pipe, or joint, ties needed on steep grades and to possibly at bends (counter the thrust of water)
Storm Sewer- Laying the Pipe
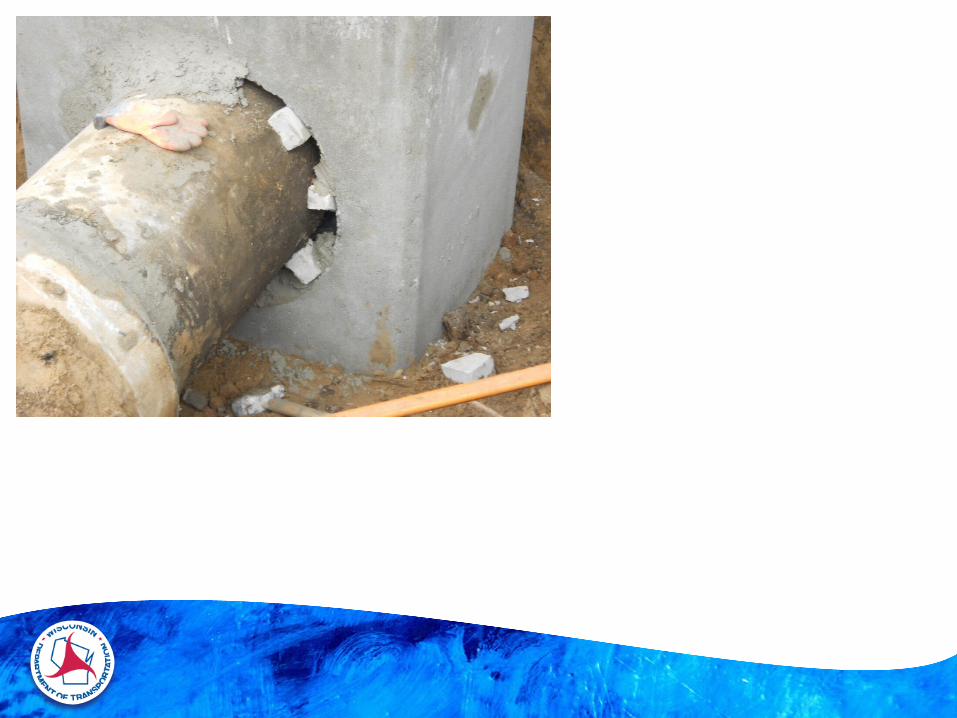
Frames, grates, and covers are usually installed in conjunction with curb and gutter installation or paving
Concrete brick or block masonry, brick masonry or pre-cast concrete masonry set on mortar beds will not be backfilled until at least 3 days after completion
Backfill placed in continuous horizontal layers not more than 8” thick Never allow contractor to dump loads of backfill directly into the structure
trench and against the unit (may cause mis-alignment) Know the type of frame prior to placing storm sewer pipe to ensure proper
alignment with the curb & gutter Good practice to require a hand held concrete vibrator to flow concrete
completely under the frame casting Almost everything is either cast-in-place or precast
SS-During Installation- Inlets and Manholes
Make sure contractor is using appropriate and adequate material
Ensure compaction below the round of the pipe Backfill in layers not exceeding 6”, to the elevation of the top
of the pipe, 8” layers above that Entire length of layer must be compacted before next is
placed Equipment
Sides of trench: plate compactor or tamper Granular backfill/material: vibratory plate compactor Silty or clayey type backfill: tamping compactor (jumping jack)
After Installation- Backfilling/Compacting
Backfilling material should be Granular Backfill (Subsection 209 of the Standard Specs) EXCEPT that NO particles of the following sizes should be placed around the pipe and to 6” above the pipe
Pipe Type Particle Size Concrete pipe 6 inches
Composite pipe 1½ inches
In some cases, the use of puddling or water flooding for consolidating the backfill material may be used
Storm Sewer- Backfilling/Compacting

Storm sewer pipe – LF Measured from pipe end at a free outlet to the center
of the end catch basin, manhole or inlet, etc, or center to center
Inlets, manholes, and castings are paid for by the unit SPVs common for storm sewer info
SS- After Installation- Payment
History WisDOT used to have full control of all aspects of construction survey In about year 2000, contractors became involved and new bid items were created
to shift survey costs from WisDOT overhead to improvement funds. The use of contractor staking steadily increase to what it is today
First Priority Checking Project Control Points (CP’s) and Bench Marks (BM’s)
Machine Control Grading- GPS Contractor decision if they have this technology. It only replaces subgrade staking
(blue tops) and slope staking requirements. WisDOT supplies the design survey files and contractor develops a model. Not all projects are suitable to use GPS.
Surveying – Inspection
Accuracy It is generally accepted the error of closure in establishing or
checking an intermediate bench mark be not more than 0.02 ft, while for other level work such as taking cross sections or setting grade and slope stakes and similar work, an error of closure on a bench mark of 0.05 ft is allowable.
Surveying – Inspection
Lath - number of uses for locations, stationing, rough grading elevations, right of way, to guard important ground points. Long ¼ inch thick wood about 2 inches wide. Can write detailed information on lath.
Hubs - generally used to set elevations and designate offset information. Generally 2 in. X 2 in. X 1 ft. long or less.
Stakes or Slope Stakes- generally used for writing information. ½ inch X 3 in. X 18 inches long.
Right of Way - land or property considered public domain controlled by the State or other governing authority
Surveying – Terminology
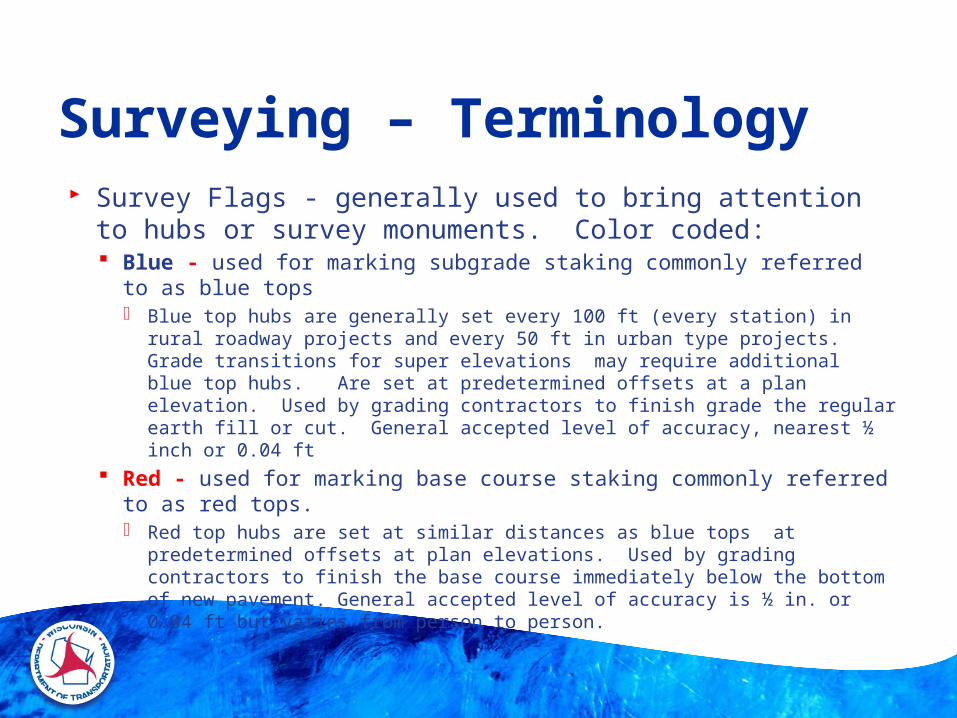
Survey Flags - generally used to bring attention to hubs or survey monuments. Color coded: Blue - used for marking subgrade staking commonly referred to as blue tops
Blue top hubs are generally set every 100 ft (every station) in rural roadway projects and every 50 ft in urban type projects. Grade transitions for super elevations may require additional blue top hubs. Are set at predetermined offsets at a plan elevation. Used by grading contractors to finish grade the regular earth fill or cut. General accepted level of accuracy, nearest ½ inch or 0.04 ft
Red - used for marking base course staking commonly referred to as red tops. Red top hubs are set at similar distances as blue tops at predetermined offsets at plan
elevations. Used by grading contractors to finish the base course immediately below the bottom of new pavement. General accepted level of accuracy is ½ in. or 0.04 ft but varies from person to person.
Surveying – Terminology
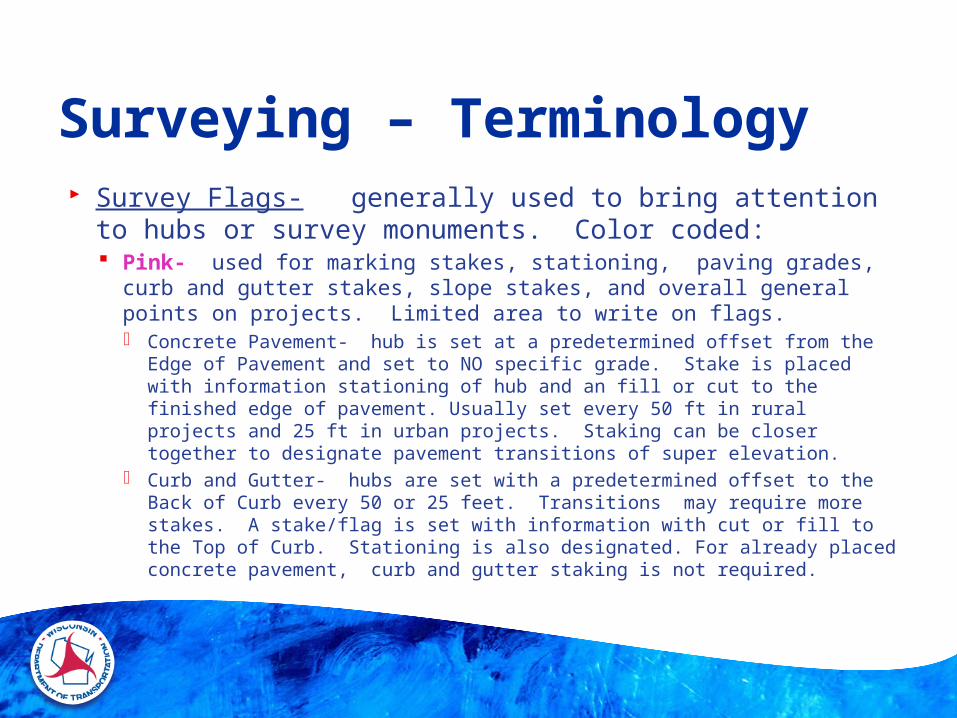
Survey Flags- generally used to bring attention to hubs or survey monuments. Color coded: Pink- used for marking stakes, stationing, paving grades, curb and gutter
stakes, slope stakes, and overall general points on projects. Limited area to write on flags. Concrete Pavement- hub is set at a predetermined offset from the Edge of Pavement and
set to NO specific grade. Stake is placed with information stationing of hub and an fill or cut to the finished edge of pavement. Usually set every 50 ft in rural projects and 25 ft in urban projects. Staking can be closer together to designate pavement transitions of super elevation.
Curb and Gutter- hubs are set with a predetermined offset to the Back of Curb every 50 or 25 feet. Transitions may require more stakes. A stake/flag is set with information with cut or fill to the Top of Curb. Stationing is also designated. For already placed concrete pavement, curb and gutter staking is not required.
Surveying – Terminology
SLOPE STAKING Slope stakes are used by the grading contractor to build the roadway to the plan
grades. These stakes are typically offset a predetermined distance from the slope intercept (contractor choice). These stakes serve many purposes: designate the lateral grading limits by designating the slope intercept designate stationing/offsets give horizontal and vertical measurements from the stake to specific points on the finished
roadway subgrade. Designate the shape/depth of the ditch cut if required Designate the fill slope if in a fill situation Provide a check as to the accuracy of the original design survey cross sections. If not
accurate, take a new cross section.
Surveying – Terminology
Right of Way Stakes and Posts Designate with ½ inch rebar driven at least 2 feet into the ground and to an
elevation at or just below the ground surface. Accuracy within ½ inch. Yellow cap inserted on the top of the rebar.
A Marker Post and r/w placard sign installed to the side of the rebar. Location of R/W stakes usually at bend points or intermediate stakes on long
tangents. Marker posts are not typically placed in lawn areas.
Established Bench Marks, Section Corners, Other PDS generally protects /preserves important survey points and sometimes the
project will reset section corners and bench marks as required.
Surveying – Terminology