Smoothing Linework June 2012, Planetary Mappers Meeting.
26
Smoothing Linework June 2012, Planetary Mappers Meeting
-
Upload
jared-bishop -
Category
Documents
-
view
221 -
download
7
Transcript of Smoothing Linework June 2012, Planetary Mappers Meeting.

Smoothing Linework
June 2012, Planetary Mappers Meeting

Smoothing ContactsWhat is smoothing:• Smoothing allows you to add curvature to linework making it
arcuate instead of straight between vertices
Why you should smooth:• Smoothing enhances the look of the map, eliminates
jaggedness, and can help with triple junction relationships

Smoothing ContactsHow does ArcMap smooth lines:• There are 3 ways to smooth lines in ArcGIS:• Manual Bezier Interpolation with offset parameter• PAEK - Polynomial Approximation with Exponential Kernel with tolerance• Bezier Interpolation with no input parameters
Manual Smoothing:• This feature allows the user to operate within the ArcMap program,
select a feature(s), set the maximum allowable offset, and smooth the line(s)• This method uses the Bezier interpolation method • Pros:• Allows smoothing on the fly• Cons:• Does not respect snapping• Lines can be wildly offset in some locations

Smoothing ContactsPAEK v. Bezier Interpolation:• PAEK - asks for a smoothing tolerance, uses it as a length between
new vertices along the curve. Does not pass through existing vertices• Higher tolerance = higher length between vertices = less
preserved detail• Lower tolerance = less length between vertices = more preserved
detail• Allows you to preserve the location of endpoints
• Bezier Interpolation – use a subset of the existing vertices to fit curves• Same method as the manual version• Except there is no offset specified• Offsets increase between vertices• Less original detail is preserved• Does not preserve endpoint locations

Smoothing ContactsUsing the Smooth Line Tool:• Located in the ArcToolbox menu in ArcMap• Under Cartography Tools• In Generalization• Double click to open the Smooth Line dialog box

Smoothing ContactsUsing the Smooth Line Tool:• Add your Input Features from the dropdown list, drag and drop
from the Table of Contents or add from a folder• Specify the save location and name of the Output Feature Class• Choose a Smoothing Algorithm – PAEK or Bezier Interpolation
• If using PAEK:• Set Smoothing Tolerance• Preserve Endpoint
• If using Bezier:• Tolerance and Preserve
Endpoints will beunavailable

Smoothing ContactsUsing the Smooth Line Tool:• Handling Topological Errors option• Allows user to flag errors created by the smoothing process• Creates a binary column in the table and flags errors • Can be helpful & doesn’t increase processing time, but we don’t
typically use it
•We will introduce an alternative, more specificmethod for findingerrors associatedwith smoothingyour linework inthe next section

Smoothing ContactsSummary:• 3 ways to smooth your linework• Manual Bezier with offset, available on the Advanced Editor Toolbar• PAEK with tolerance and Bezier Interpolation in Arctoolbox
• For contacts, we recommend using PAEK because:• It preserves endpoints• You took the time to snap your contacts, you want to preserve that
work• You have the ability to tweak the tolerance and the curvature
• TIP: Always keep the unsmoothed version of the contacts• You’ll need this to edit the contacts after the reviews come back• We do not recommend editing smoothed linework• You will have straight line segment where you edit

Smoothing ContactsHands-on Demonstration

Topology

TopologyWhat is topology:• Topology is the arrangement of how point, line, and polygon
features share geometry. Topology is employed to do the following:• Constrain how features share geometry. For example, adjacent polygons
such as geologic units have shared edges, and contacts have shared nodes and snapping relationships.
• Define and enforce data integrity rules: e.g., no gaps should exist between geologic units, there should be no overlapping or intersecting lines, etc.
• Support topological relationship queries and navigation, such as to identify feature adjacency and connectivity.
How do we typically use topology
• We look at snapping, overlapping and intersecting relationships of the contacts at major phases during the construction of a geologic map• Anytime before we build geologic polygons• After running a smoothing algorithm

TopologyCreating Topology• Open ArcCatalog
• Navigate to your .gdb
• In the Contents window• Right click a blank area
• Select New from the popup
• Select Topology
• A new window will open

TopologyCreating Topology
Press Next to continue

TopologyCreating Topology
• Add a memorable name• Use the name of the feature class• Also use the word topology• e.g., Contact_Topology
• A note about cluster tolerance:• Please leave this as the default• This is a calculated value• You cannot enter a smaller value• A larger value will not have a
beneficial effect
Click Next to continue

TopologyCreating Topology
• Select the feature class(es)
• Click Next to continue

TopologyCreating Topology
• This screen allows you to set arank on to determine how farthe feature class will movewhen it is validated
• In this example we only have one feature class
• If you have more than one,decide which feature classyou are willing to give morefreedom of movement
Click Next to continue

TopologyCreating Topology
• Adding Rules• Click the Add Rule button
• The Add Rule dialog pop-up:• Choose the features• Choose the Rule• If necessary, choose a
2nd feature class
• The rule that is currentlyselected is both visualand verbally described
• Check the Show Errors boxto display the errors in the visual description
• Click ok to add another rule,repeat as necessary

TopologyCreating Topology
• Rules for lines• Must Not Overlap• One feature may not overlap another feature
• Must Not Intersect• One feature must not intersect another feature without a node at the
intersection
• Must not have Dangles• All nodes must be snapped to an edge, vertex, or node• Must not have Pseudos• A line with more that 2 nodes• Must Not Self-Overlap• One feature cannot overlap itself
• Must Not Self-Intersect• One feature cannot cross itself without a node at the intersection
• Add all the rules that apply, click OK
• Click Next to continue

TopologyCreating Topology
• Last screen is a summary of the:• Name• Tolerances• Feature classes and ranks• Rules
• Click Finish to build the Topology
• When Topology is finished building,a popup will ask if you would like tovalidate? • NO is the correct answer• We will do it later, when we can undo it!
• Click Next to continue

TopologyNow you have your very own topology
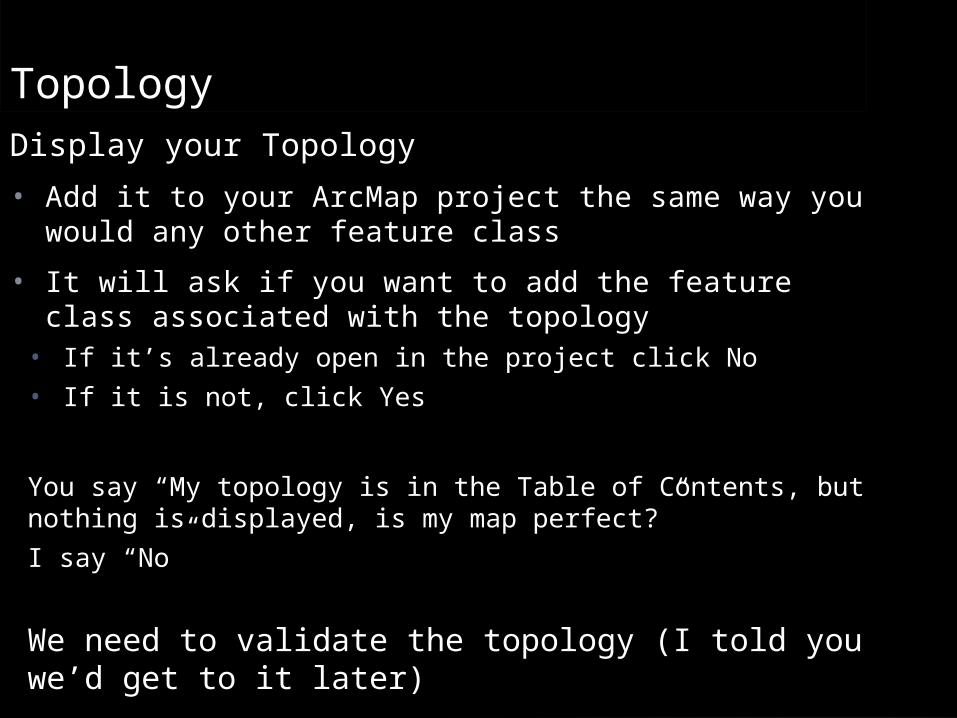
TopologyDisplay your Topology
• Add it to your ArcMap project the same way you would any other feature class
• It will ask if you want to add the feature class associated with the topology• If it’s already open in the project click No• If it is not, click Yes
You say “My topology is in the Table of Contents, but nothing is displayed, is my map perfect?”
I say “No”
We need to validate the topology (I told you we’d get to it later)

TopologyValidate Topology

TopologyValidate Topology
• Start editing thefeature class associated withthe topology

TopologyValidate Topology
The topology toolbarbecomes active andyou can validate fromthe Validate Topologyin the Current ExtentButton (Highlightedin blue)
Give the computer time to validate
It’s checking every linein the feature class, this can a while

TopologyValidate Topology

Topology Hands-on Demonstration