Sheet Metal Part Design in PTC Pro_ENGINEER - CAD CAM Australia
3
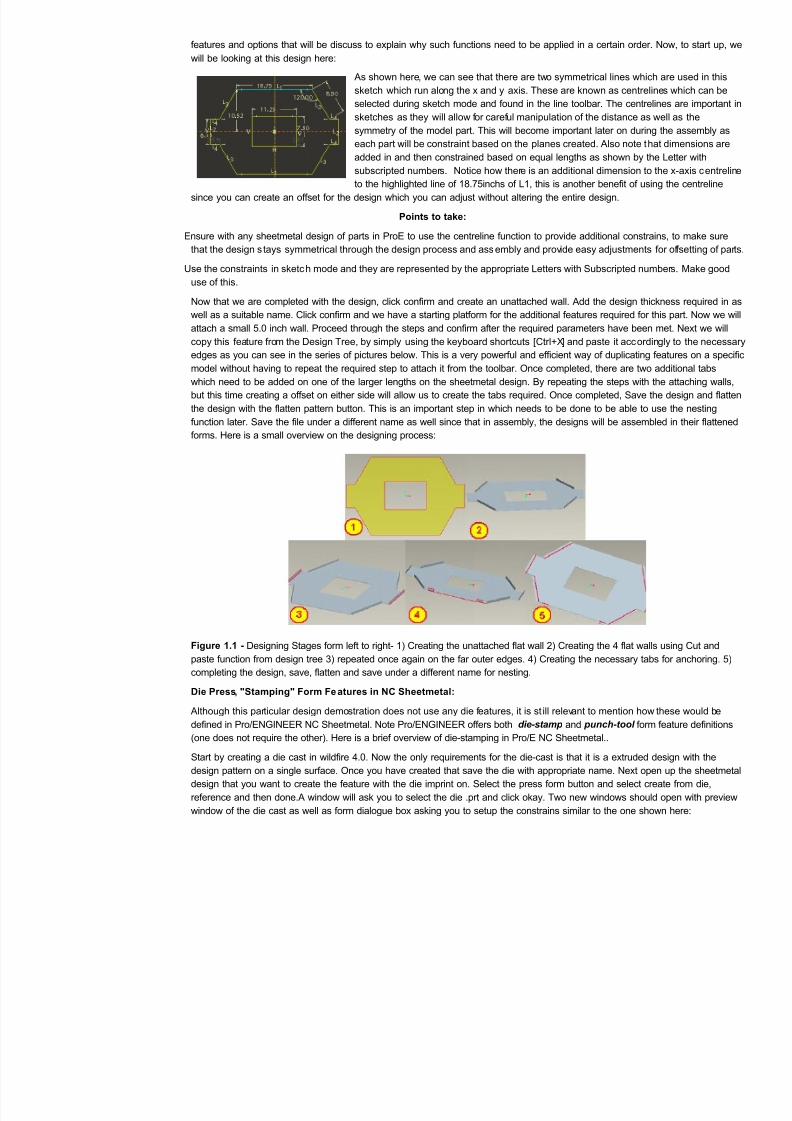
search... CAD CAM / Australia A service of the CADDIT.NETwork. Sheet Metal Part Design in PTC Pro/ENGINEER Next > To start creating sheet metal layout, go to the right hand side toolbar an d click on the sketc h button. This will open a men u similar to the image shown her e. Select the plane in which you switch to use to s ketch in. For simplicity, we will be using the front plane. Select the front plane and click okay. This will now reorientate your screen to have the front plane facing you, ready to sketch the design. Ensure that you have your design in the right shape and form, use the centreline tool located in the line tool button. Click the c entrelin e tool to orientate on top of the axis in the front plane. This will help when apply constrains to the model later in this tutorial. To start sk etching, simply use the toolbar to the right to access any of the draw ing tools. Once the rough drawing of the sketch has been made, the design can now give it specific dimensions as well as c onstraints. To show the dimen sions of the sketc h, click the Normal (dimensions tool) button on the right hand side and the workspace should showup w ith grey dimension lines on your sketch. When completed click okay and double click on a dimension to edit the dimension. Now click t he “constrain” bu tton to add constrains to the model as required. Once the sketc h is c ompleted , clic k the tic k box on t he middle of the r ight hard toolb ar to complete the sk etch and switch back to the sheet metal workspace. Now to create the base of the sheet metal design in which the sketc h will be based of f, select the flat (create unattached wall) button and a preview of the sheet metal will appear in the workspace. On the top under the main toolbars, the opinions for the sheet metal thickness as well as the name of the feature can be changed here (this is known as the flat wall Dashboard). Once completed, click the green tick icon to confirm the changes which is located on the far top right of the workspace window. This is the base of which the rest of sheet metal design will come from. The additional features which can be added such as walls, flang es, S bends, holes, punching, pressing and etc will be attached to this main piece. Note also the info rmation in which can be tracked on the Design Tree with each additional part can be rolled back and copied form here. Editing of a particular part can be done by right clicking the mouse on the part and selecting edit definition. This will bring up the window in which you initially designed the add- on featur e to the design allow you to change the necessary parameters to meet the specification required. There are multiple functions which can be added to the sheet metal designs in wildfire4.0. Creating attached flat or flange walls with reliefs ranging from Point, corner reliefs to edge rips and bends. To attach a new wall to the sheet metal design, select either create flat wall or create flange wall and the dashboard for either one of the two opinions will appear. There are various opinions in which are available to customise and edit the attachment of the wall. The placement tab will highlight red if the wall creation was selected without highlighting an edge to attach it to. The shape tab allows for the creation of custom walls with specific features that might be needed that is access ed by the sk etch button. Also t he Shape tab allow s for the user to define the he ight of the wall as well to define offsets from the attachment edge of the wall. Note: It is important to note that different profiles are available for the user to use in their creation of the flat wall. Theses are Rectangle, Trapezoid, L, T and user defined. Flange wall creation has similar feature where there are list of profiles available for the user to decide on. These are fou nd above the p lacement and shape tabs . Demonstration 1: Now through out this tutorial, there will be a design model which will be designed in Pro Engineer wildfire 4.0. This is done to demonstrate on how each part can be done with a few tricks and tips along the way. Also through this tutorial, there will be Main Menu CAD CAM Home CAD/CAM Demos CAD/CAM Videos CAD/CA M P hotos CAD/CAM Jobs Sitemap Login User Username Password Remember Me Login Forgot your password? Forgot your username? Create an account Ne ws Creo (Pro/ENGINEER) Wi ndchill Free DVD CADCAM.com.au FAQ Contac t Us
Transcript of Sheet Metal Part Design in PTC Pro_ENGINEER - CAD CAM Australia

7/27/2019 Sheet Metal Part Design in PTC Pro_ENGINEER - CAD CAM Australia
http://slidepdf.com/reader/full/sheet-metal-part-design-in-ptc-proengineer-cad-cam-australia 1/3
7/27/2019 Sheet Metal Part Design in PTC Pro_ENGINEER - CAD CAM Australia
http://slidepdf.com/reader/full/sheet-metal-part-design-in-ptc-proengineer-cad-cam-australia 2/3

7/27/2019 Sheet Metal Part Design in PTC Pro_ENGINEER - CAD CAM Australia
http://slidepdf.com/reader/full/sheet-metal-part-design-in-ptc-proengineer-cad-cam-australia 3/3