ROBOTC for VEX Robotics (VEX IQ) On-Line Session 2014 My name is Jason McKenna I will be leading you...
100
ROBOTC for VEX Robotics (VEX IQ) On-Line Session 2014 My name is Jason McKenna I will be leading you through these sessions • Teacher for 17 years • Hopewell Area School District—Gifted Coordinator • History and Elementary Education Certified
-
Upload
kory-barrett -
Category
Documents
-
view
229 -
download
2
Transcript of ROBOTC for VEX Robotics (VEX IQ) On-Line Session 2014 My name is Jason McKenna I will be leading you...
ROBOTC for VEX Robotics (VEX IQ)On-Line Session 2014
My name is Jason McKenna I will be leading you through these sessions
• Teacher for 17 years• Hopewell Area School District—Gifted Coordinator• History and Elementary Education Certified

Part 0Class Procedures

Class Procedure
• Classes will all be recorded• Goals of the class• Navigating through the class• I can unmute you to speak, just raise your
hand• Ask questions also via the chat or Q&A Box• Questions will be geared towards beginners

Tech Check
Tech Check
• Voice communication– Introduce yourself– Checkmark yourself
• Screen sharing– DEMO: Starting ROBOTC– LAB: Show your ROBOTC
What can you teach with a robot?
Type your thoughts in the space below
Tools
Tools
• CS2NLearn - The Learning Management System (LMS)
– Logging in, and where to post homework
• Three Main Pieces of Software– 1. WebEX – 2. ROBOTC Application– 3. ROBOTC Curriculum / Tutorial Videos

Tools• The Forums
–Class Forum for announcements and asking questions can be found under the Announcements and Information section:
–http://www.robotc.net/forums/• Active ROBOTC Community
MondayHardware Overview

Hardware Overview• VEX IQ Brain
– 12 Ports: Connect any device to any port!
• Remote Control– Wireless 900mhz remote control allows both autonomous
programming and remote control
• Smart Motors– Tons of features
• Available Sensors– Bumper (Physical Touch)– Touch LED (Capacitive Touch)– Color– Gyro– Distance (Sonar)
Preparing the VEX IQ Robot
• Before we can begin programming, we’ll need to get a few things prepared– Updating VEX IQ Brain– Updating VEX IQ Motors– Updating VEX IQ Sensors– Installing ROBOTC Firmware
• Software Required:– VEX IQ Firmware Update utility– ROBOTC for VEX Robotics 4.X
VEX IQ Robot—Firmware Update

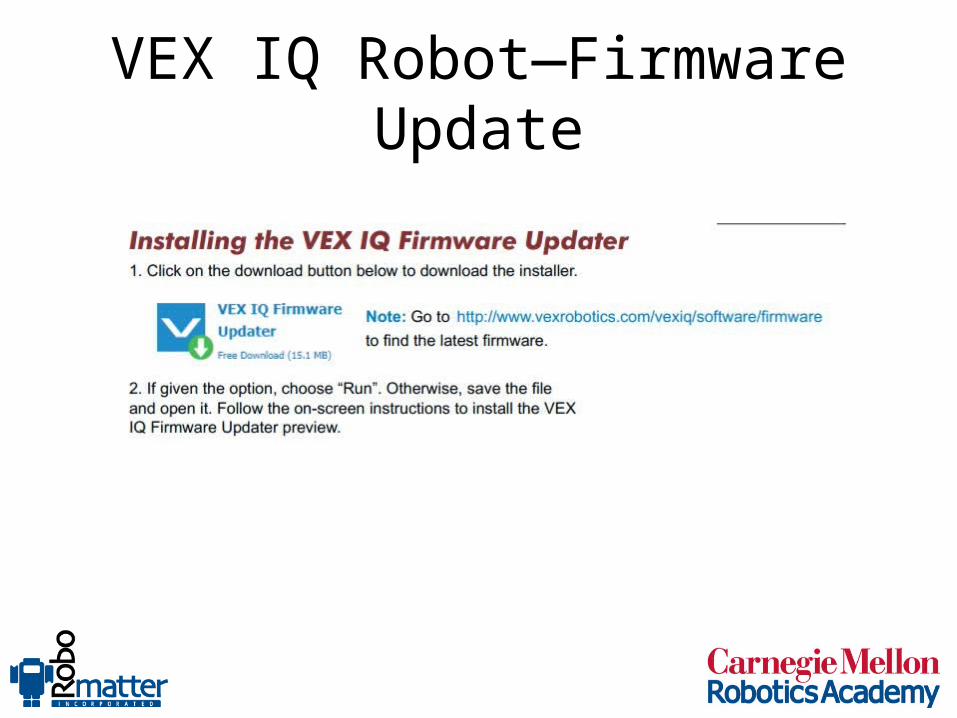
VEX IQ Robot—Firmware Update
1. Plug all devices into the Robot Brain and plug the Robot brain into your computer via USB
2. Turn on the Robot Brain
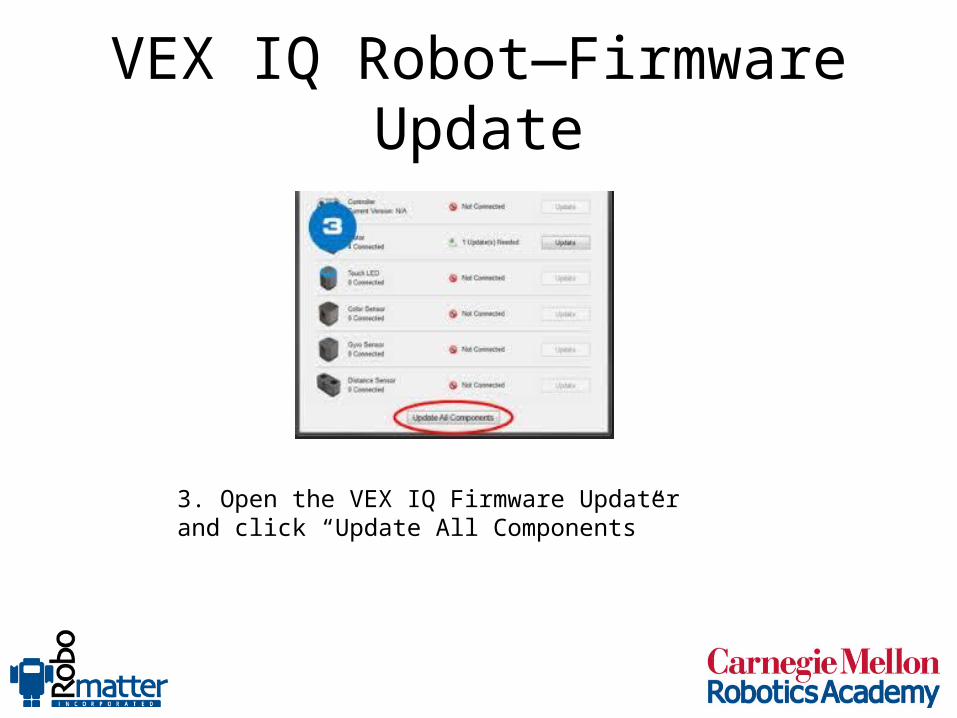
VEX IQ Robot—Firmware Update
3. Open the VEX IQ Firmware Updater and click “Update All Components”

VEX IQ Hardware Configuration
• Important Note:– Your VEX IQ brain will only
recognize newly connected devices when first “powered up”
– If you connect, move, or disconnect any VEX IQ device - make sure to power your robot off and then back on!
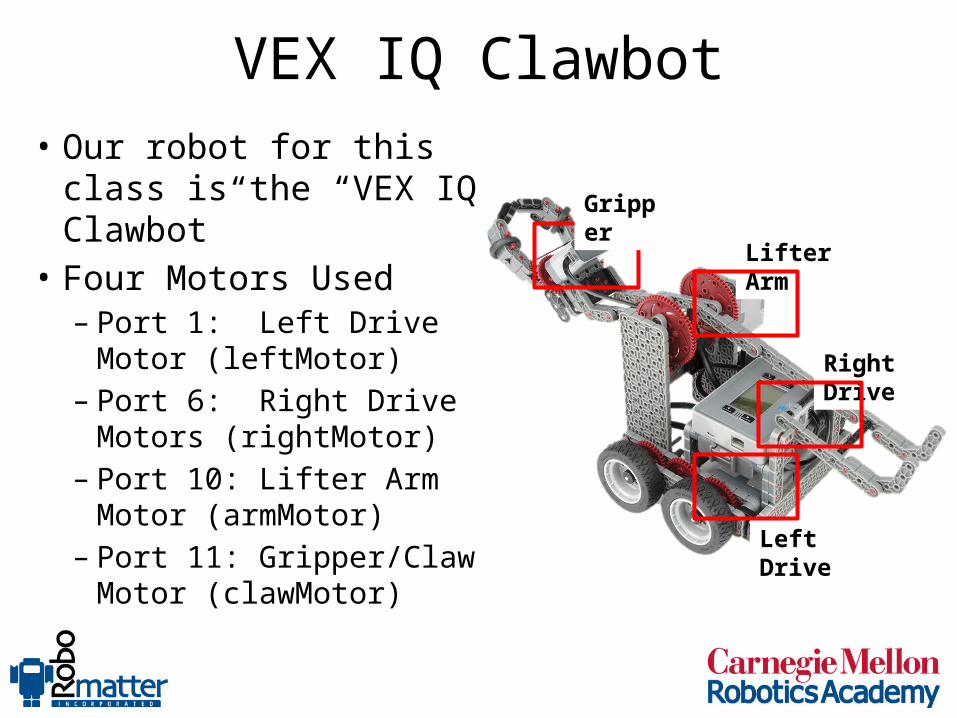
VEX IQ Clawbot• Our robot for this class is
the “VEX IQ Clawbot”• Four Motors Used
– Port 1: Left Drive Motor (leftMotor)
– Port 6: Right Drive Motors (rightMotor)
– Port 10: Lifter Arm Motor (armMotor)
– Port 11: Gripper/Claw Motor (clawMotor)
Left Drive
Right Drive
Lifter Arm
Gripper

VEX IQ Clawbot
• Standard Sensor Ports–Port 2: Touch LED–Port 3: Color sensor–Port 4: Gyro sensor–Port 7: Distance Sensor–Port 8: Bumper Switch

Battery—charge after today’s class

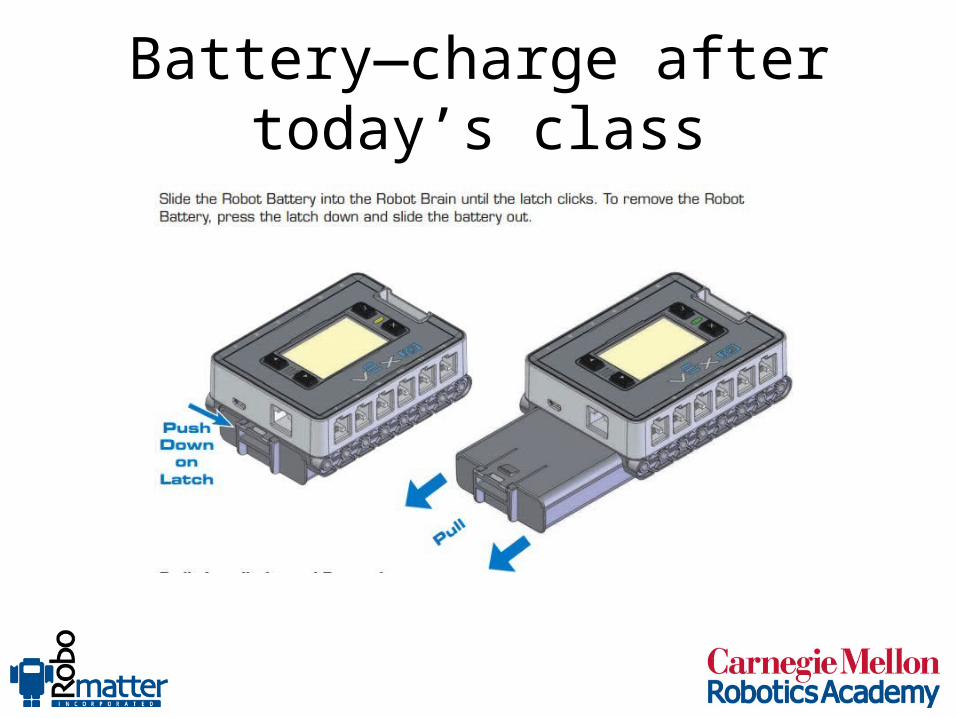
Battery—charge after today’s class
Battery—charge after today’s class

Getting Started
• Watch About VEX IQ & Your First Program Videos in the Getting Started Section
• Videos discuss the VEX IQ System, writing your first program, and downloading your first program
• These videos will get you acquainted with ROBOTC Graphical and the VEX IQ Curriculum
• The 3rd video in the Your First Program Sections discusses camera controls in the Robot Virtual World, we can skip that video for right now.

MondayFirst Program – Moving Forward

Before You BeginMake sure you have done the following:
– Updated the VEX IQ Brain, Motors and Sensors– Installed ROBOTC Firmware– Chose the correct compiler target

Moving Forward
• The basics of programming with the ROBOTC Graphical Programming language is to take a command from the function library and drag it into the editor.
• Let’s start with the Forward command block

Moving Forward
• Mini Challenge: 50 cm Challenge– Program your robot to travel exactly 50 cm!– Place two pieces of tape so they are 50cm apart
from each other on the VEX IQ Challenge Field– Place your robot so that the front wheels are on
the tape.

Backward Command
• What happens when you use a Backward command in your program instead of a Forward command? Write a program using a Backward command instead. Try it!
Moving Forward
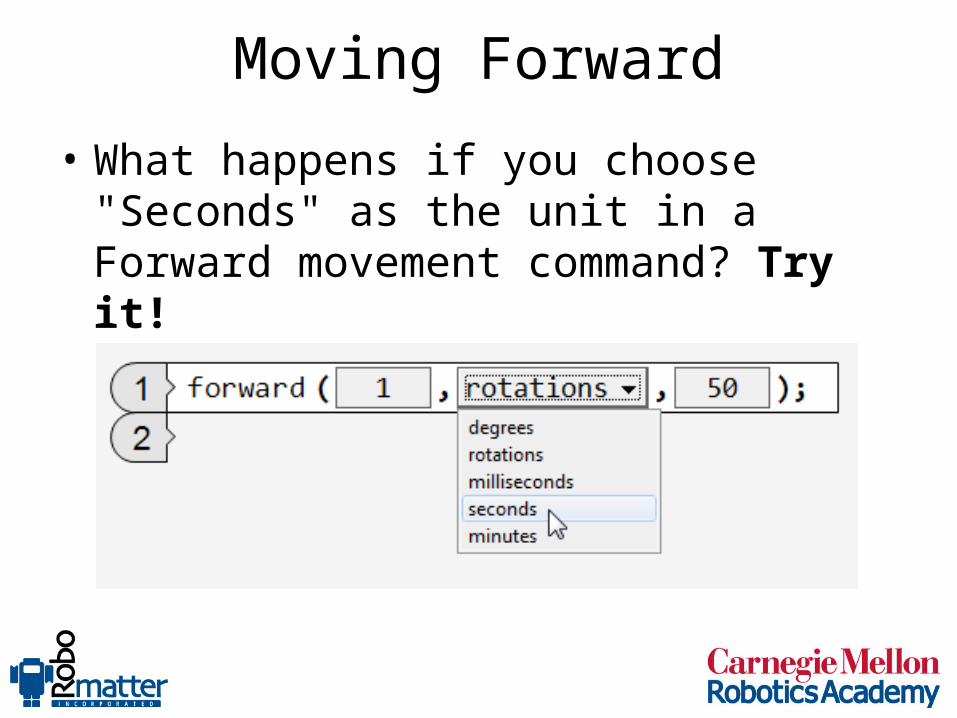
• What happens if you choose "Seconds" as the unit in a Forward movement command? Try it!

Arm Control
• In order to control the arm of our VEX IQ Clawbot, we will need to use a new Command Block: the moveMotor Command Block
Change your setting to 315 degrees. Positive values raise the arm and negative values lower the arm. Try it!
Arm Control--Gearing• The arm motor needs to turn 315 degrees to move
the arm between the up and down positions, but the arm itself does not move 315 degrees. This is because the gears that connect the motor to the arm are not the same size.
• The gear on the motor is very small compared to the gear that is actually attached to the arm. The smaller gear will need to turn many times in order to turn the larger gear around even once.

Arm Control--Gearing• However, this configuration also provides the motor
with "mechanical advantage", trading more rotations for more strength as it turns. This allows the motor to keep the arm under control even when the robot is holding something that makes the arm heavy.
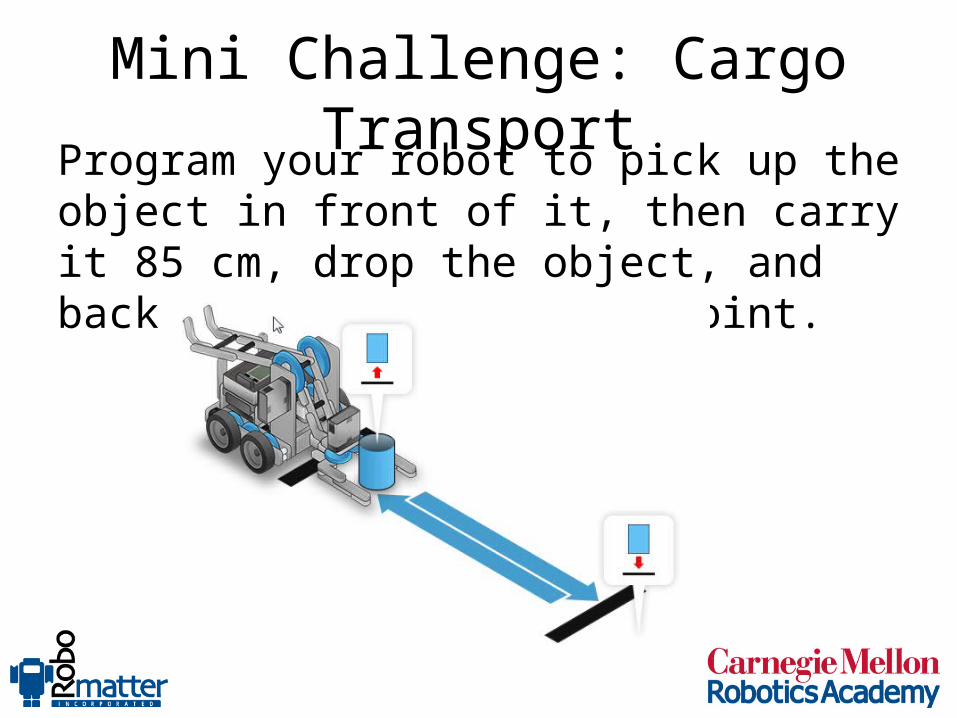
Mini Challenge: Cargo Transport
Program your robot to pick up the object in front of it, then carry it 85 cm, drop the object, and back up to its starting point.

Sensabot Challenge
View the curriculum video on the Sensabot: Section 1 of the Moving Forward Chapter. Then, review the Sensabot challenge by viewing the challenge tab of the Moving Forward chapter.
– If you get done early, program the TouchLED sensor to flash a different color every time the robot raises its arm.
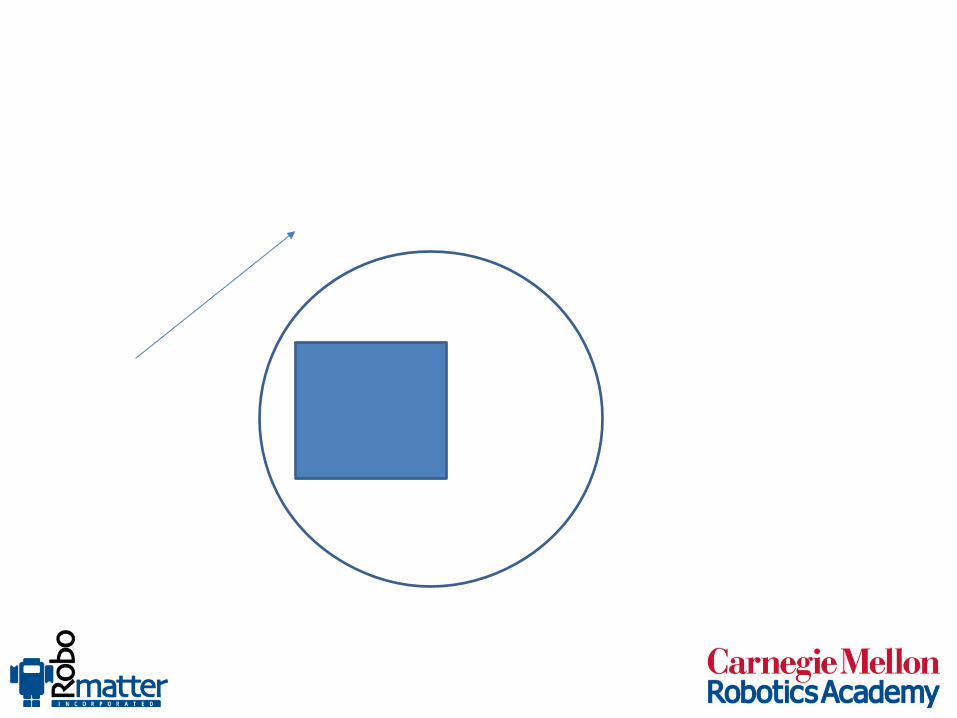
Turning in Place
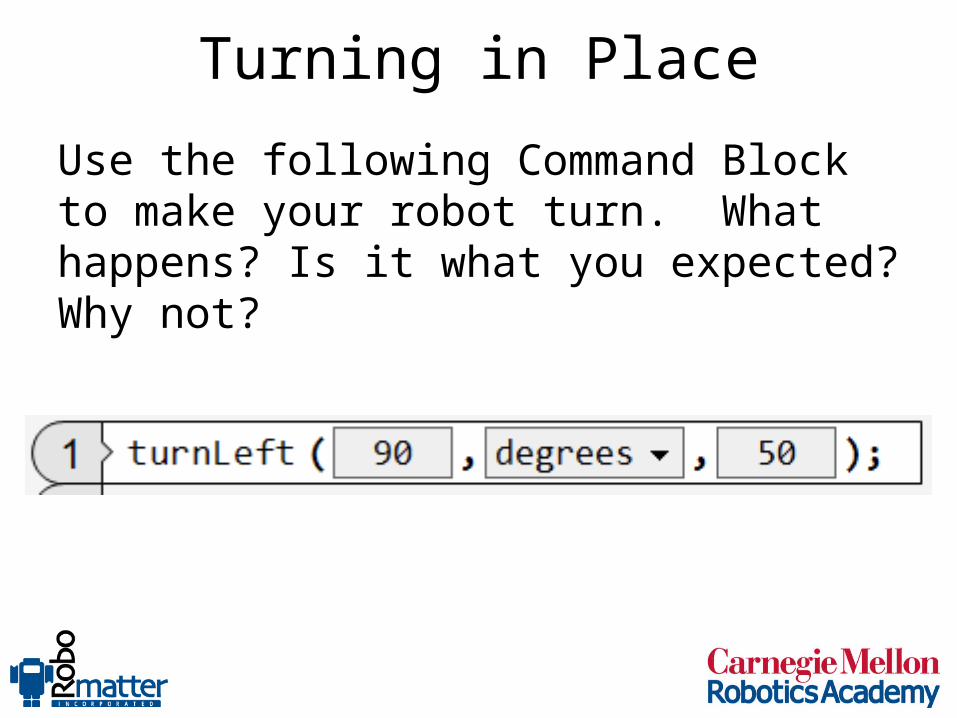
Use the following Command Block to make your robot turn. What happens? Is it what you expected? Why not?

Precise Distance
D = C * R
90 = 20 * R R = 4.5
Turning in Place
Units of Turn• What happens if you switch the second box of
the turnLeft or turnRight command from Rotations to Degrees? Try it!

Turning in Place
Mini Challenge: 90 Degree Turn Challenge• Program your robot to turn exactly 90 degrees
to its right!– Place two pieces of tape so they form 90 degree
angles.– Place your robot so it faces along one piece of
tape, and program it so that it turns to face directly along the next piece.
Software Overview

What is ROBOTC?• A complete ‘C’ programming language for robotics.
– Developed for Teaching, Powerful enough for Hobbyists/Professionals– Developed in Microsoft Visual C++ 2008
• Extremely easy to use for both beginners and advanced users– Most “robot functions” are a single line commands.
• Competition Friendly/Approved– Easy to use template architecture allows students to create basic
competition-ready program in only minutes.
What is ROBOTC?• Developed for Education
– Students learn in a friendly environment about C-Based programming– Friendlier Compiler, GUI Device Configuration, Code Templates
• C-Based programming offers more transferability of job-related skills compared to graphical languages.
• C is the most popular programming language in the world!– Used in development of LINUX, Windows and Mac Operating Systems
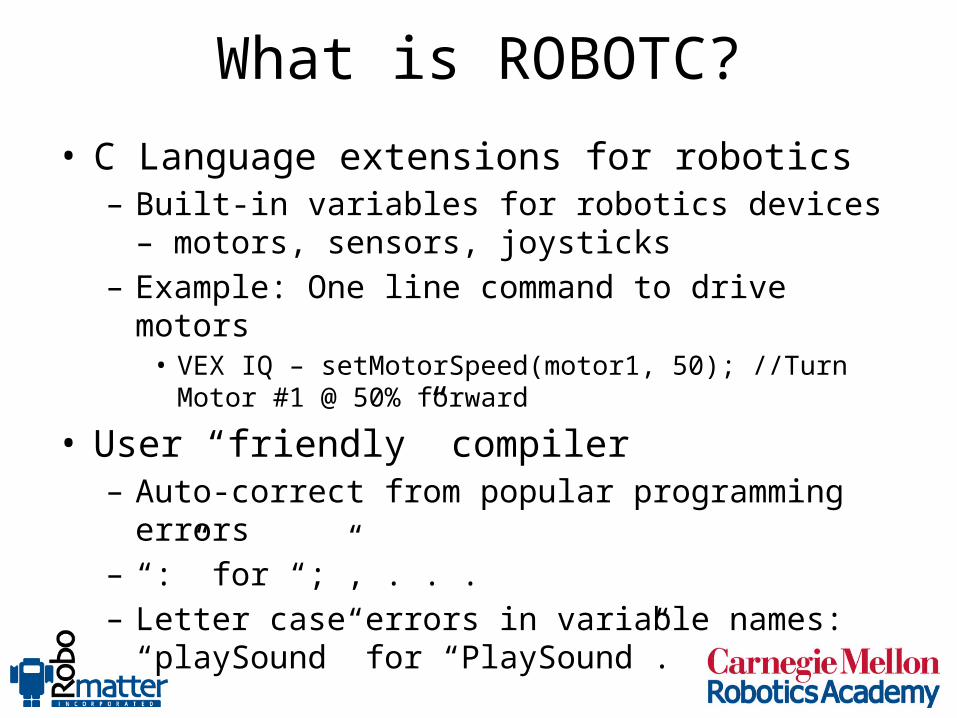
What is ROBOTC?• C Language extensions for robotics
– Built-in variables for robotics devices – motors, sensors, joysticks
– Example: One line command to drive motors• VEX IQ – setMotorSpeed(motor1, 50); //Turn Motor #1 @ 50%
forward
• User “friendly” compiler– Auto-correct from popular programming errors– “:” for “;”, . . .– Letter case errors in variable names: “playSound” for
“PlaySound”.

Student Paced Instruction• Everyone learns different things at different paces
– This class is no different…• Everyone MUST move at a different pace
– Going too fast results in failure and frustration– Going too slow results in loss of attention (i.e. future
failure)• Teaching ROBOTC VEX IQ Curriculum can be used as
a teaching aid– One instructor can’t teach at 20 different paces
simultaneously– One instructor plus 20 computers can!

Big Ideas and Teaching
Big Ideas
• What can you teach with a robot?• How do you teach with a robot?• What do I need to know about programming?

Preconceptions & Pedagogy
• Preconceptions– You have preconceptions
• Students have preconceptions
– New information has to be reconciled with existing beliefs– Something has to give!– Contradictory statements can coexist in the mind
• …this is called CONFUSION• We want to get rid of this.
• Effective instruction requires teachers to address preconceptions effectively
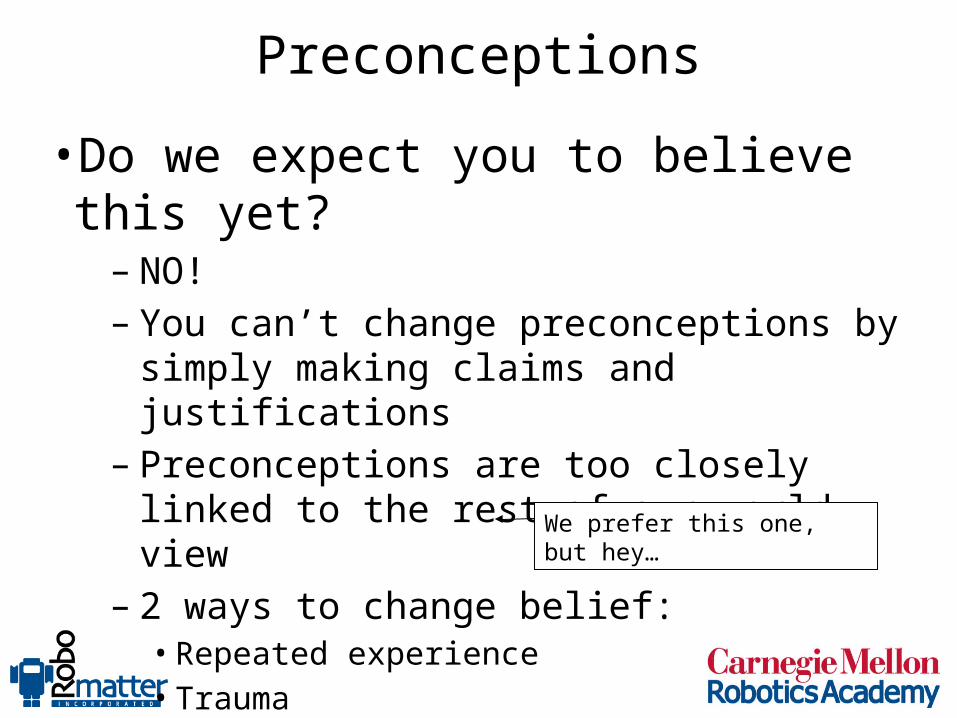
Preconceptions
• Do we expect you to believe this yet?– NO!– You can’t change preconceptions by simply
making claims and justifications– Preconceptions are too closely linked to the
rest of our world view– 2 ways to change belief:
• Repeated experience• Trauma
We prefer this one, but hey…
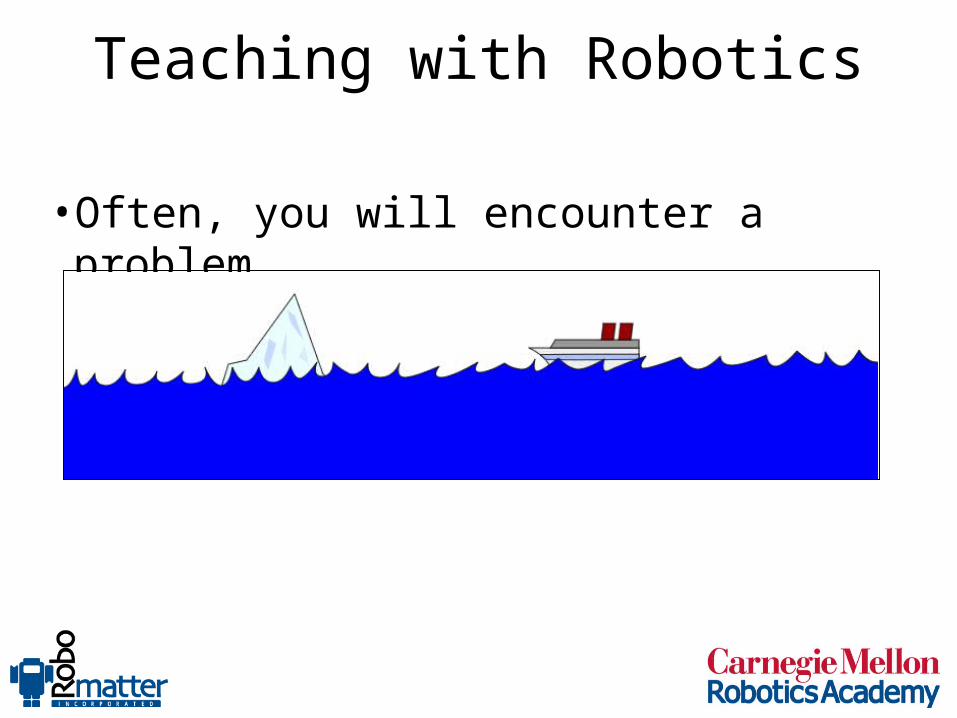
Teaching with Robotics
• Often, you will encounter a problem

Teaching with Robotics
• Solve the problem
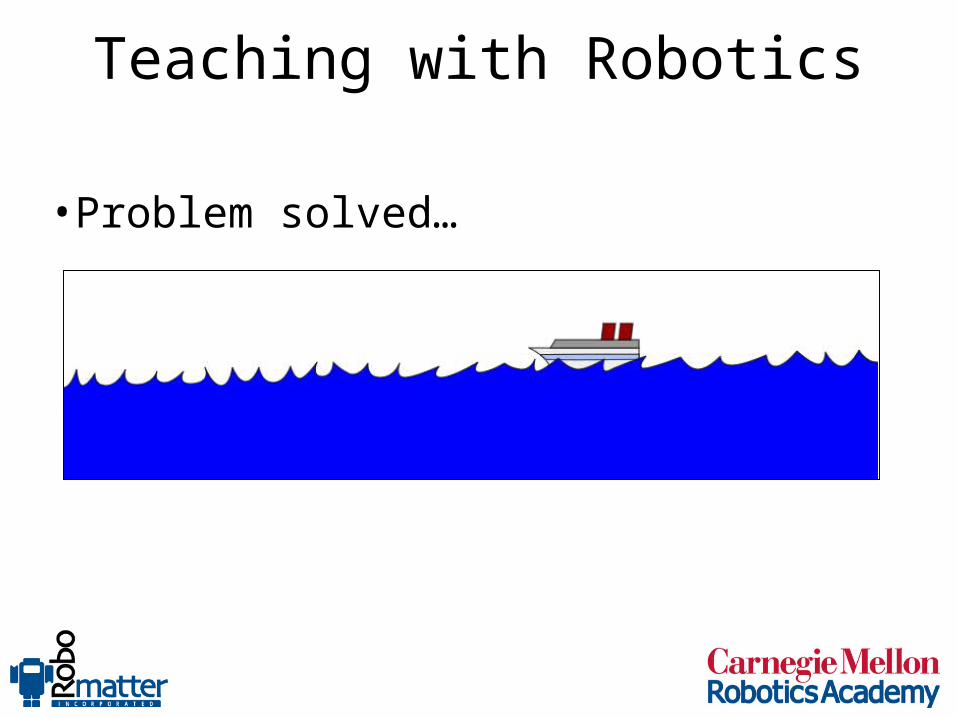
Teaching with Robotics
• Problem solved…

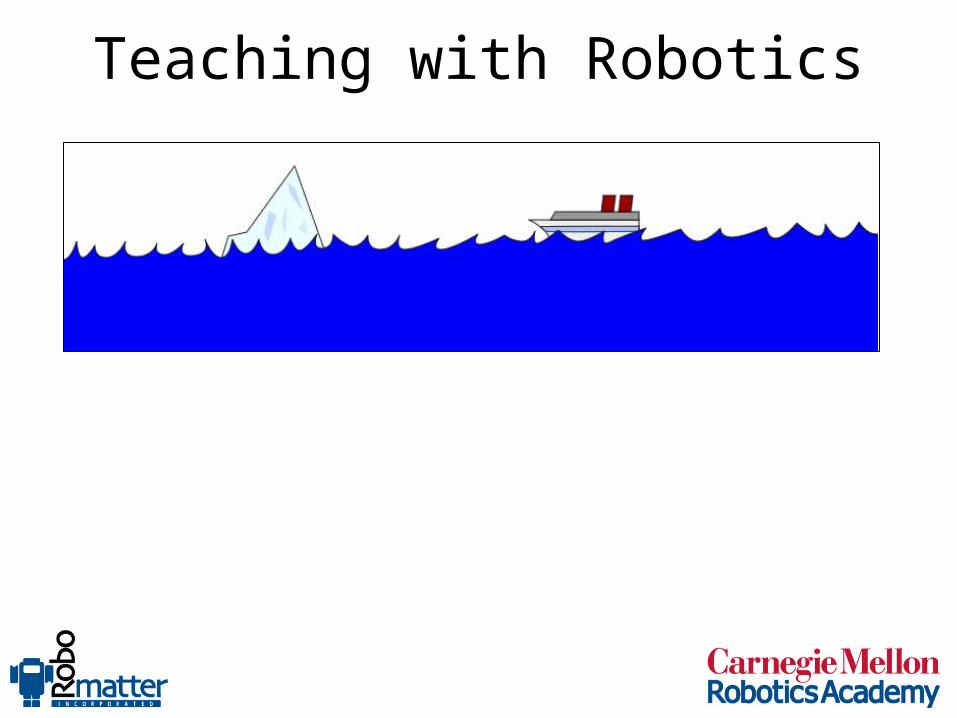
Teaching with Robotics
• Problem not solved??
Teaching with Robotics

Teaching with Robotics

Teaching with Robotics

Teaching with Robotics

Teaching with Robotics

Teaching with Robotics

Teaching with Robotics
The Problem
The Real Problem
The ReallyReal Problem

The Robotics Teacher
Build an understandingthat leads to a solution
Understandthe underlying
problem and solution
Makeit work
• Instruction vs. Unstruction– What happens if you just solve the problem
for the student?• Remove the tip of the iceberg• Don’t actually solve the problem• At a loss to explain why the same problem
re-emerges soon after– Result:
• Confuses students• Teaches dependence as a solution

The Robotics Teacher
• Level 1: Answer Level– “Explode” the iceberg (tip)– Short term solutions– Shallow understandings– “Solving the problem” often
doesn’t solve the problem!– Be aware of, but do NOT
stop or let your students stop here
Understandthe underlying
problem and solution
Makeit work
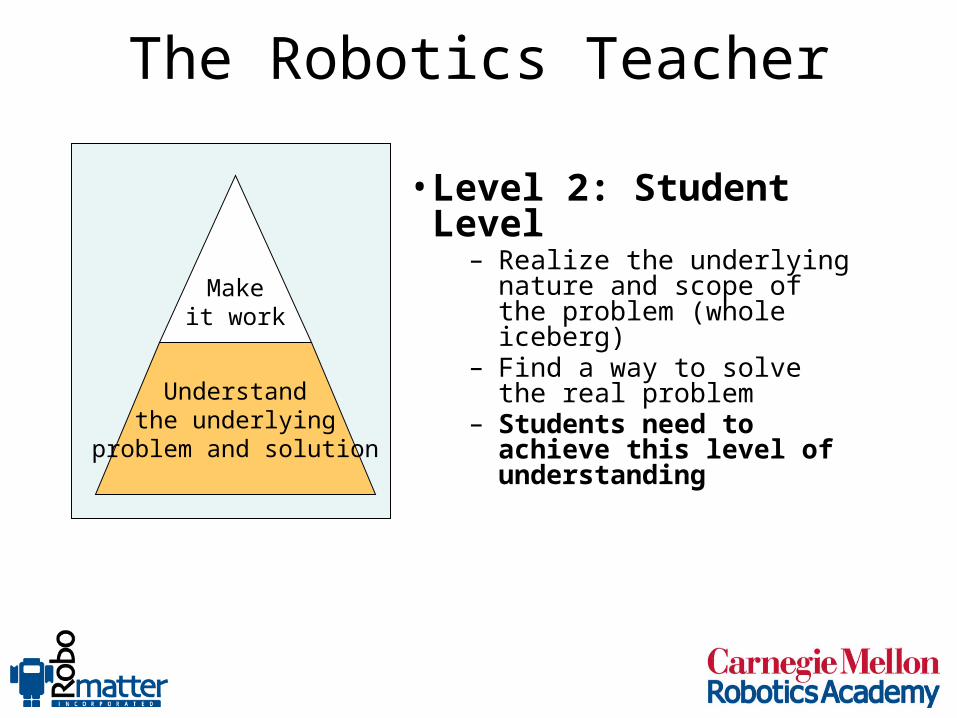
The Robotics Teacher
• Level 2: Student Level– Realize the underlying nature
and scope of the problem (whole iceberg)
– Find a way to solve the real problem
– Students need to achieve this level of understandingUnderstand
the underlyingproblem and solution
Makeit work

The Robotics Teacher
• Level 3: Teacher Level– “Remove” the water– Expose the problem– Build an understanding– Lead the student toward a working
solution to the “whole” problem– You must reach this level
Build an understandingthat leads to a solution
Understandthe underlying
problem and solution
Makeit work
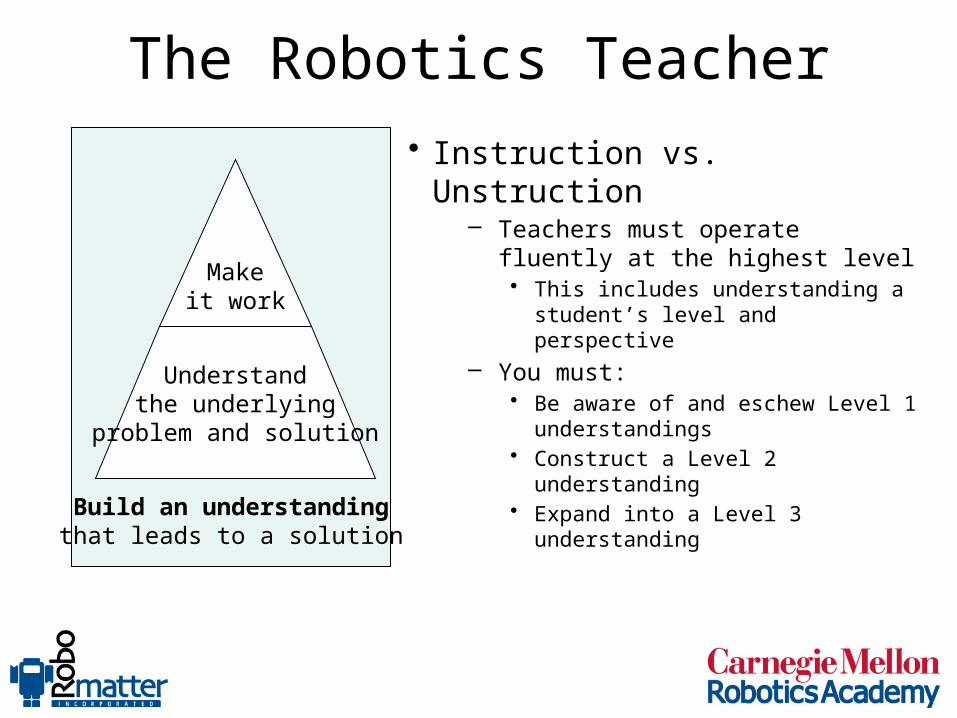
The Robotics Teacher
Build an understandingthat leads to a solution
Understandthe underlying
problem and solution
Makeit work
• Instruction vs. Unstruction– Teachers must operate fluently at the
highest level• This includes understanding a student’s level
and perspective– You must:
• Be aware of and eschew Level 1 understandings
• Construct a Level 2 understanding• Expand into a Level 3 understanding

Preconceptions
• Do we expect you to believe this yet?– Have you had repeated experience or
trauma yet?

Orchard Tractor Challenge

TuesdayMath and Robots
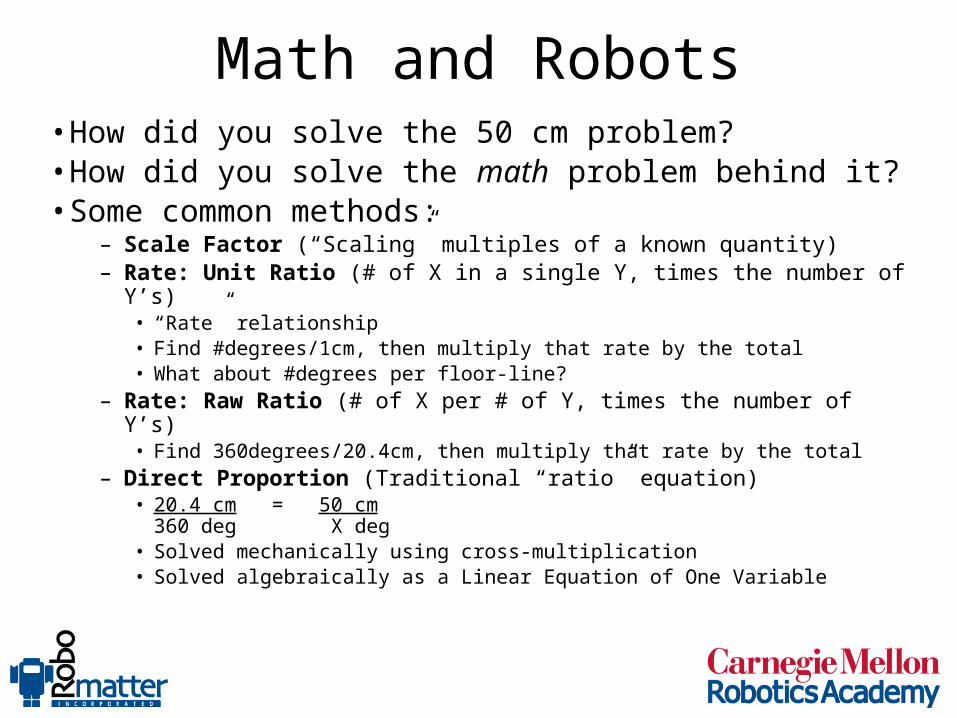
Math and Robots• How did you solve the 50 cm problem?• How did you solve the math problem behind it?• Some common methods:
– Scale Factor (“Scaling” multiples of a known quantity)– Rate: Unit Ratio (# of X in a single Y, times the number of Y’s)
• “Rate” relationship• Find #degrees/1cm, then multiply that rate by the total• What about #degrees per floor-line?
– Rate: Raw Ratio (# of X per # of Y, times the number of Y’s)• Find 360degrees/20.4cm, then multiply that rate by the total
– Direct Proportion (Traditional “ratio” equation)• 20.4 cm = 50 cm
360 deg X deg• Solved mechanically using cross-multiplication• Solved algebraically as a Linear Equation of One Variable

The M in STEM• Did you all solve the same problem?• Did you all get the same answer?• Did you all use the same method?
Answer
Problem
• Did it matter?
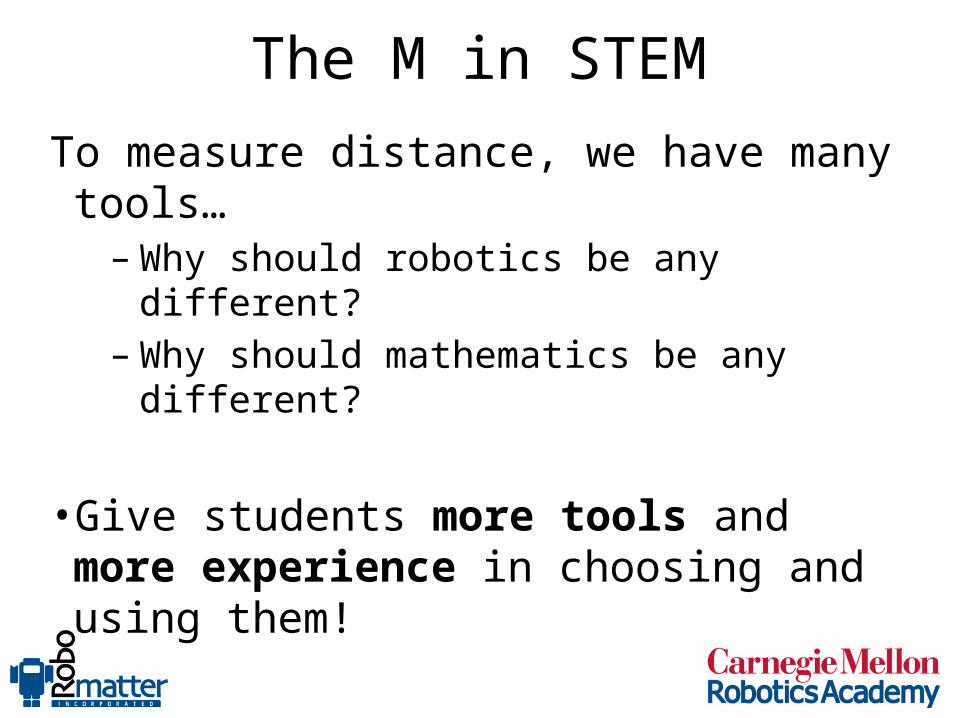
The M in STEMTo measure distance, we have many tools…
– Why should robotics be any different?– Why should mathematics be any different?
• Give students more tools and more experience in choosing and using them!
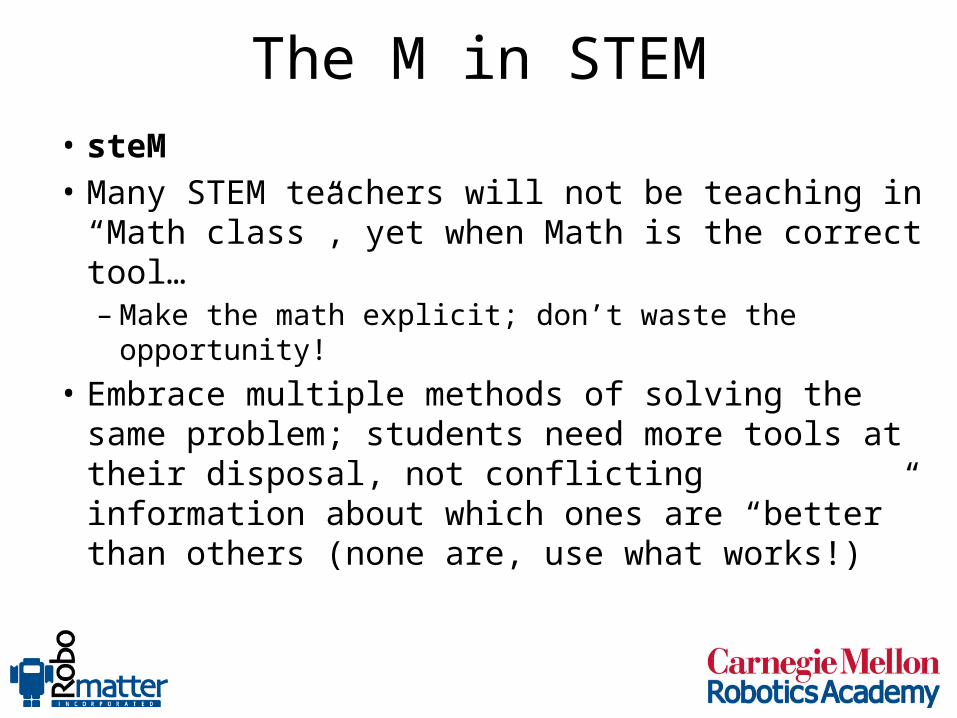
The M in STEM• steM• Many STEM teachers will not be teaching in
“Math class”, yet when Math is the correct tool…– Make the math explicit; don’t waste the opportunity!
• Embrace multiple methods of solving the same problem; students need more tools at their disposal, not conflicting information about which ones are “better” than others (none are, use what works!)

Abstraction Bridges• Criticism: What good is Robot Math?
– Is the SAT going to ask you about encoder counts and wheel rotations?
• Refining the math skills– Generalize understanding (apply to other numbers and contexts)– Practice
• Compare these problems:– A robot moves 3 meters in 2 turns of its wheel. How far does it go in 6
turns of the wheel?– You can get 3 T-shirts for 2 dollars at the mall. How many can you get
for 6 dollars?
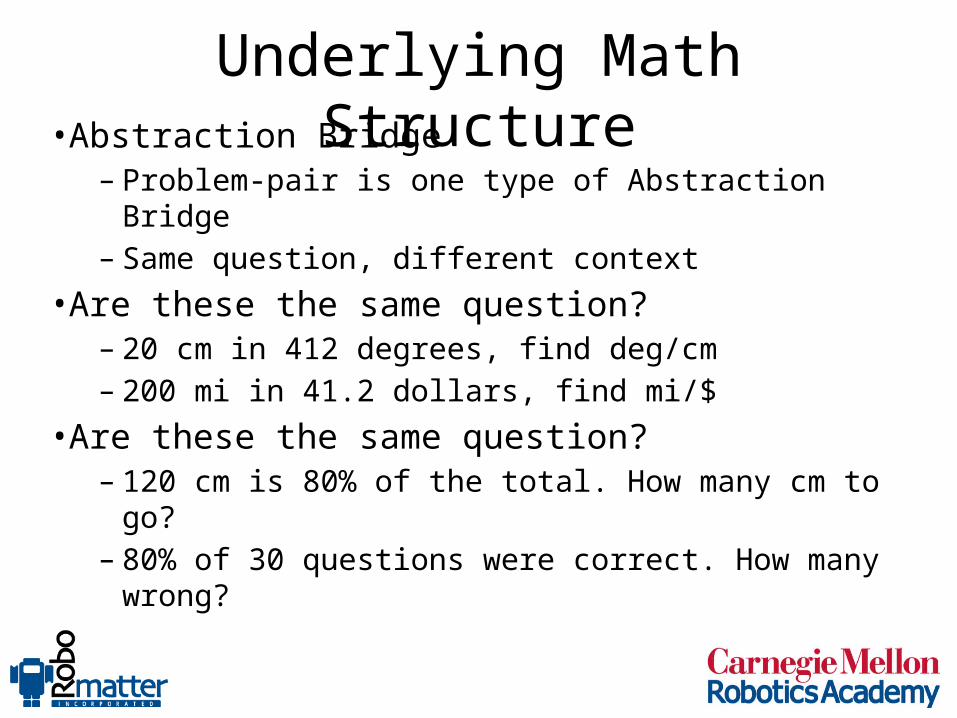
Underlying Math Structure• Abstraction Bridge
– Problem-pair is one type of Abstraction Bridge– Same question, different context
• Are these the same question?– 20 cm in 412 degrees, find deg/cm– 200 mi in 41.2 dollars, find mi/$
• Are these the same question?– 120 cm is 80% of the total. How many cm to go?– 80% of 30 questions were correct. How many
wrong?

TuesdaySensors and the VEX IQ
Sensors
Sensors are part of what makes a robot, a robot. Rather than just blindly running sequences of instructions……robots use sensors to gather information about the world around them, and respond appropriately. You have already used the Rotation Sensors built into the VEX IQ Motors. Now, we will investigate several uses for the Bumper Switch, or Touch Sensor.

Bumper Switch
• Simple Mechanical “bumper switch”– Returns a value reporting
if pressed or released (not pressed)
• No firmware updates available for the Bumper Switch sensor
• Default Port for ROBOTC Graphical: Port #8
Move Until TouchWatch Section 3 of Forward Until Touch. Follow along and create a program that has the robot move forward until the Bumper Switch is depressed. When you are done, scroll down into the curriculum to the Vacuum Challenge.
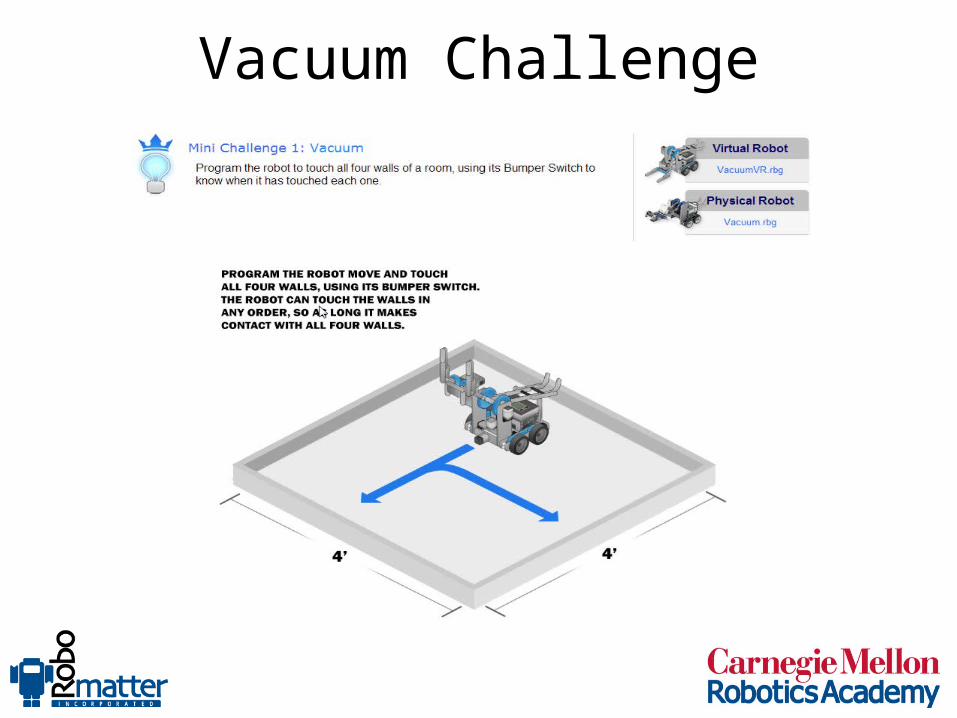
Vacuum Challenge
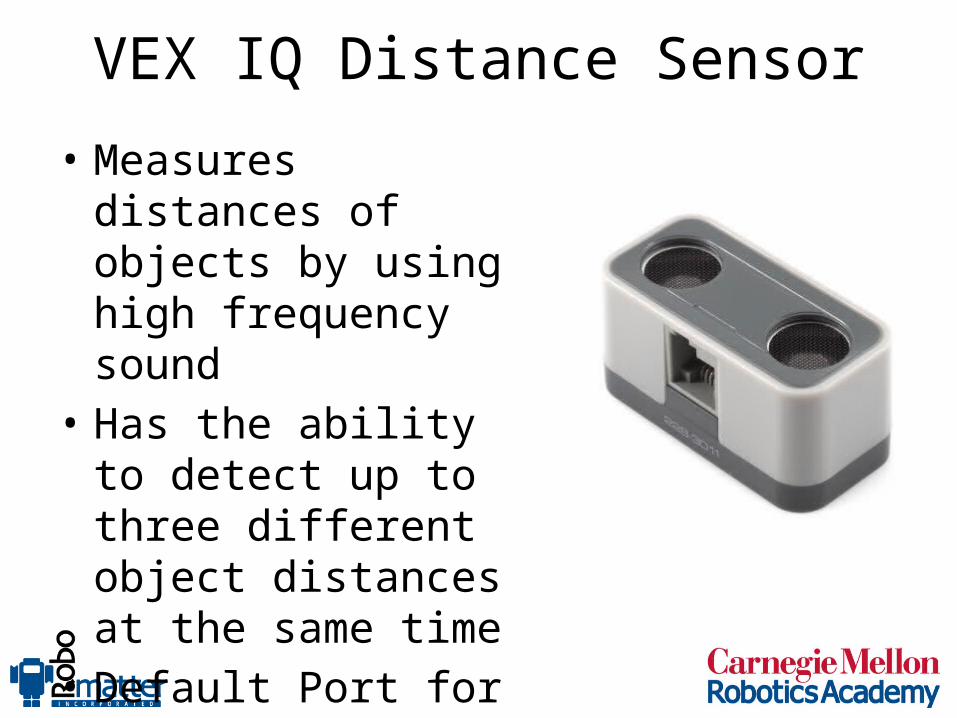
VEX IQ Distance Sensor
• Measures distances of objects by using high frequency sound
• Has the ability to detect up to three different object distances at the same time
• Default Port for ROBOTC Graphical: Port #7

How does a Distance sensor work?• A distance/sonar sensor sends out
an ultrasonic pulse and measures the amount of time the sound wave takes to reflect off of an object and return to the sensor.
• The VEX IQ Distance Sensor can detect multiple “echos” to try and distinguish between three different objects:– Closest Object to Sensor– 2nd Closest Object to Sensor– Largest Object
(relative to sensor/distance)• The distance sensor returns all
values in millimeters for maximum precision.
Wall
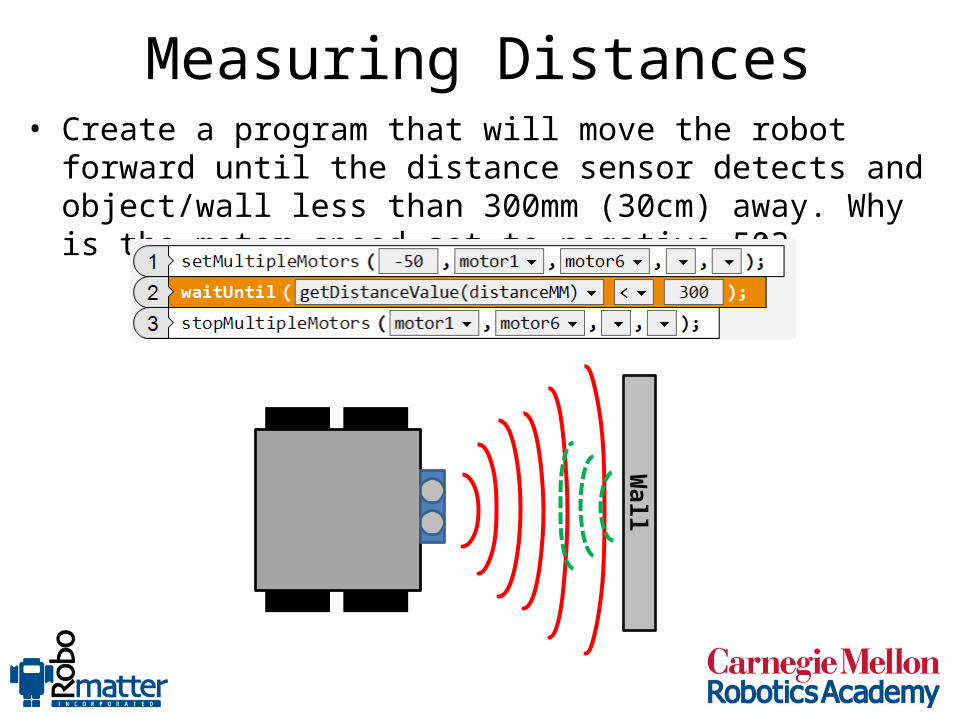
Measuring Distances• Create a program that will move the robot forward until the
distance sensor detects and object/wall less than 300mm (30cm) away. Why is the motor speed set to negative 50?
Wall

Forward Until Near: Threshold Values
The waitUntil (Distance Sensor) command uses a "Threshold" cutoff value to determine when to wait, and when to continue with the program.

Dynamic Maze Challenge
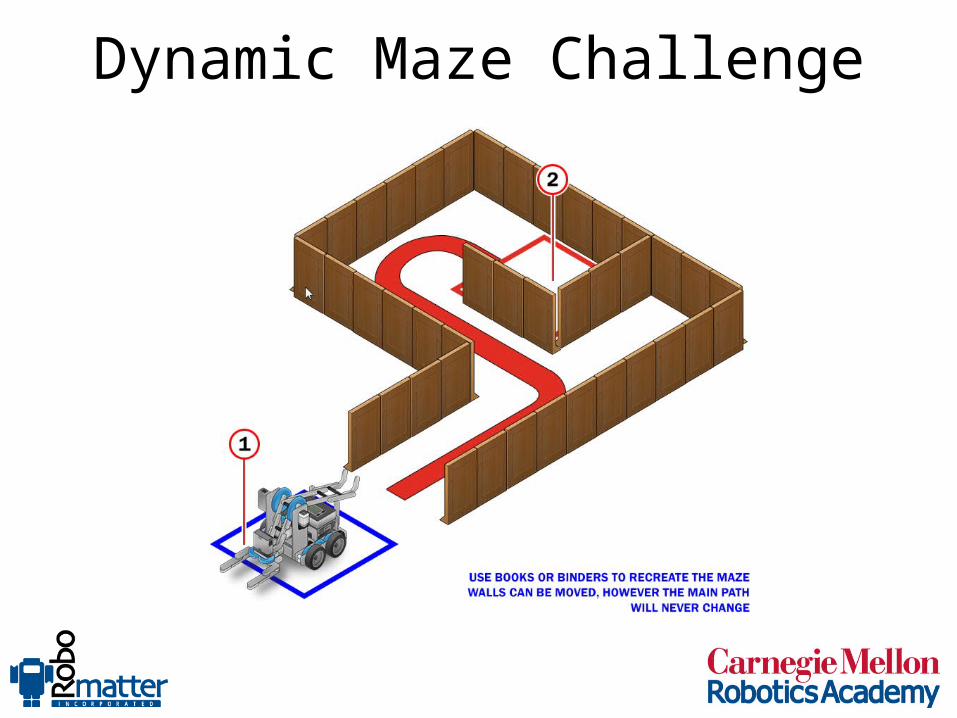
In this challenge, you will program your robot to move from the starting area through a maze with tall vertical walls. Use the Ultrasonic Sensor to navigate through the maze without touching any walls and ultimately reaching the goal zone regardless of what the distances were between the walls.
Dynamic Maze Challenge

Dynamic Maze Challenge
Hints• The pattern of turns cannot change, so you
don’t need to worry about using a sensor (other than Rotation) during turns
• Because of the length of the robot, try raising the arm up to shorten the effective length of the robot.
VEX IQ Gyro Sensor
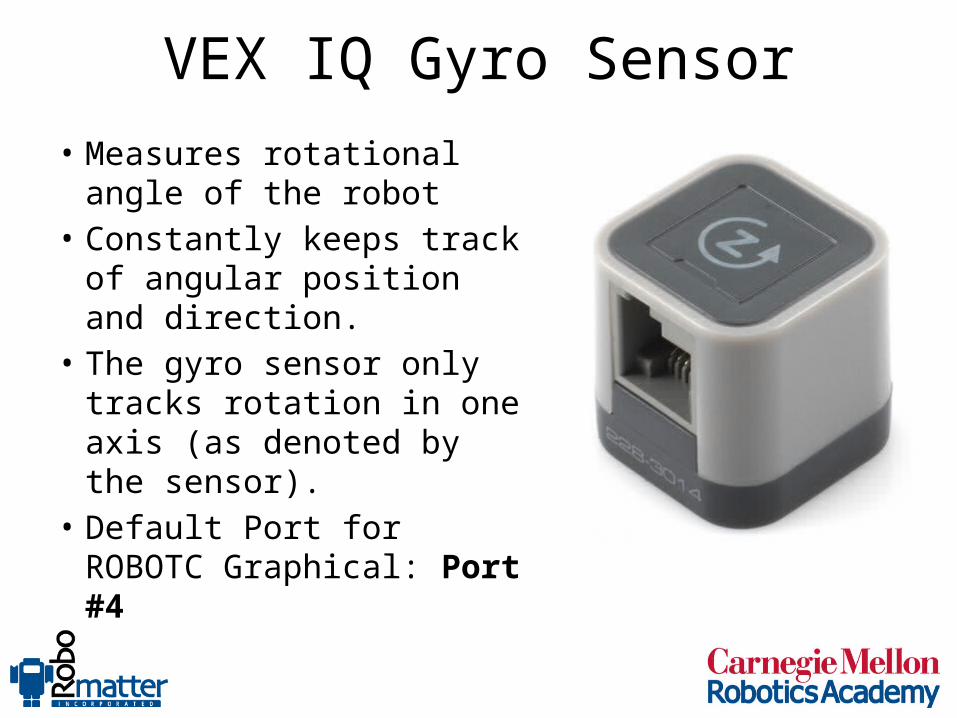
• Measures rotational angle of the robot
• Constantly keeps track of angular position and direction.
• The gyro sensor only tracks rotation in one axis (as denoted by the sensor).
• Default Port for ROBOTC Graphical: Port #4
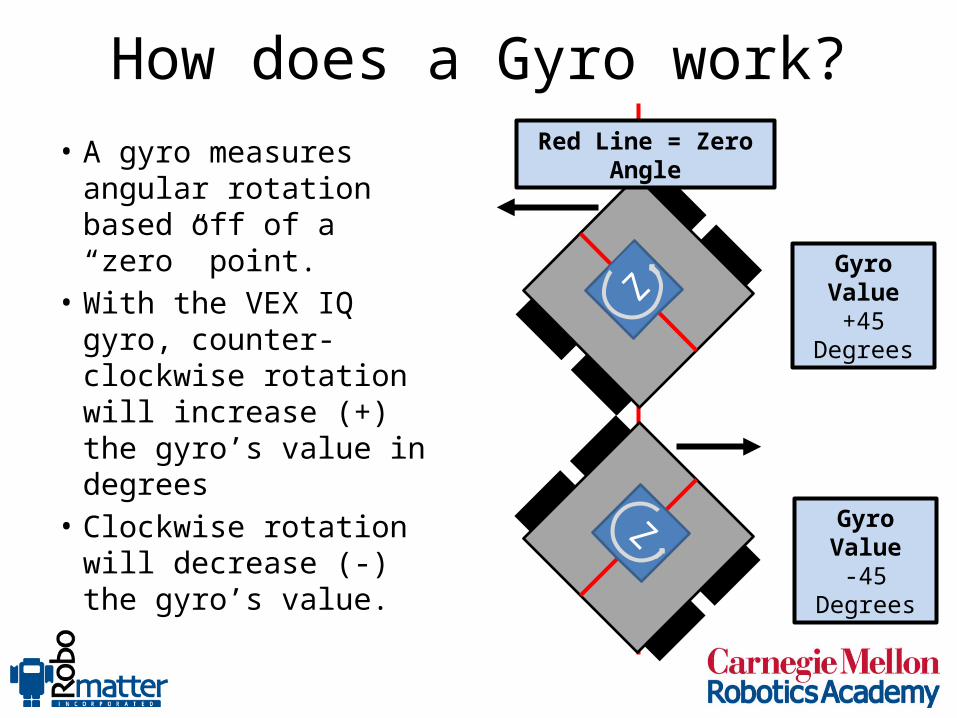
How does a Gyro work?• A gyro measures angular
rotation based off of a “zero” point.
• With the VEX IQ gyro, counter-clockwise rotation will increase (+) the gyro’s value in degrees
• Clockwise rotation will decrease (-) the gyro’s value.
Z
ZGyro Value
+45 Degrees
Gyro Value-45 Degrees
Red Line = Zero Angle

Turn for Angle
View the curriculum video on the Gyro Sensor: Turn for Angle Section 3. Program your robot to make a 90 degree left turn.
Afterwards…use the waitUntil Command Block to program your robot to make a 90 degree left turn. What is different?

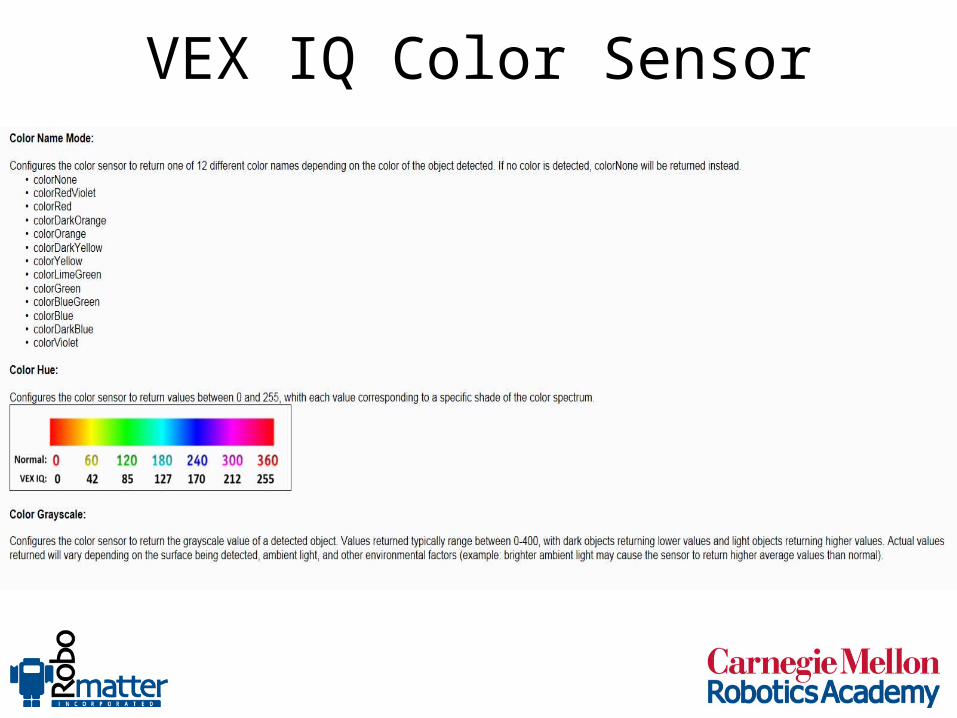
VEX IQ Color Sensor
• Measures simple colors• Measures color hue• Measures independent Red,
Green, and Blue in 256 levels each
• Measure ambient light level (line tracking)
• Detects objects (proximity)• Default Port for ROBOTC
Graphical: Port #9
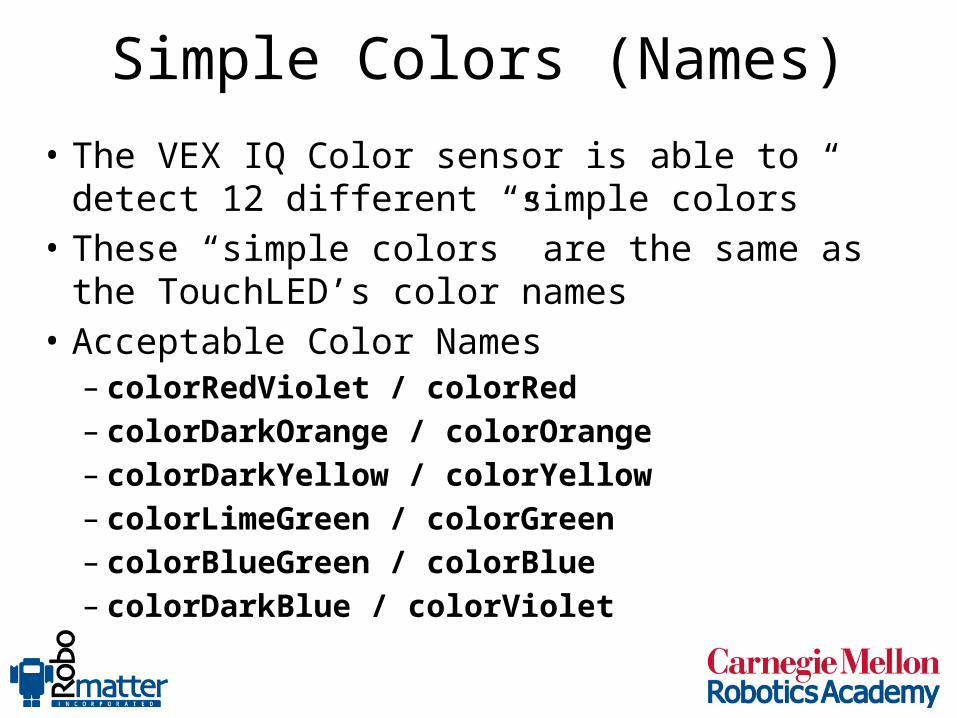
Simple Colors (Names)• The VEX IQ Color sensor is able to detect 12 different
“simple colors”• These “simple colors” are the same as the TouchLED’s
color names• Acceptable Color Names
– colorRedViolet / colorRed – colorDarkOrange / colorOrange – colorDarkYellow / colorYellow– colorLimeGreen / colorGreen – colorBlueGreen / colorBlue– colorDarkBlue / colorViolet

Color Sensor Values
• The VEX IQ Color sensor is capable of several different modes: Color Name, Grayscale, Hue, and Proximity. The readings from the color sensor are extremely sensitive to “ambient” light in the robots environment.
VEX IQ Color Sensor
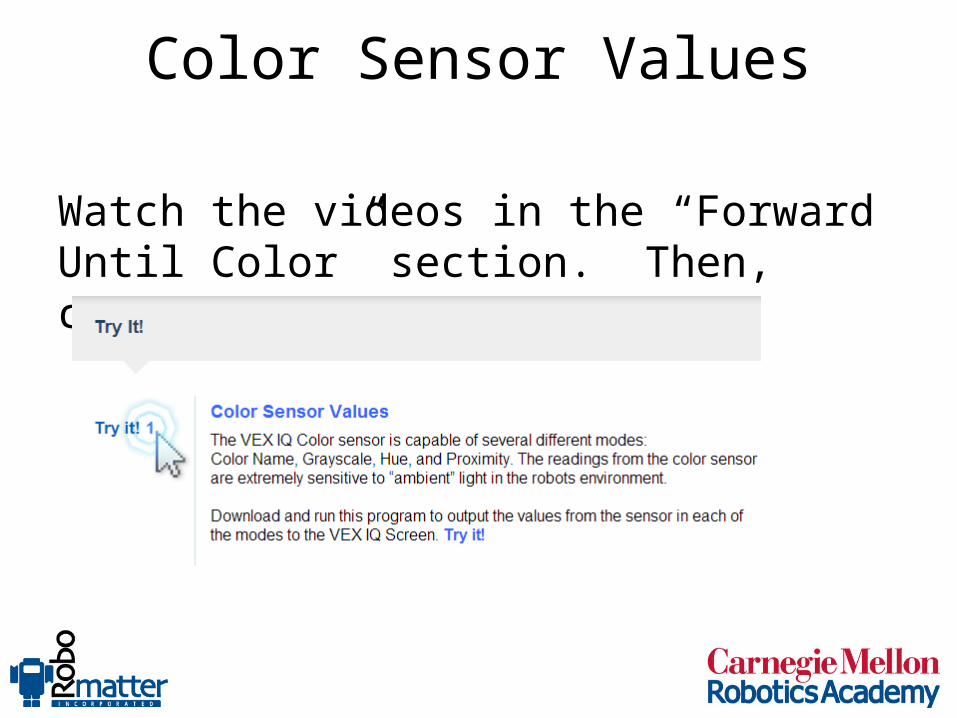
Color Sensor Values
Watch the videos in the “Forward Until Color” section. Then, complete the ‘Try It!’

TuesdayTroubleshooting and Debugging
Troubleshooting Perspectives• How do you direct someone to your house?
– Tell them where your house is• Figure out their own location• Find their own route
– Pick them up and take them there• See the sights, but don’t learn the route
– Guide them• Take into account where they are• Figure out the best route, given their starting point

Troubleshooting Perspectives
• Learner-Centered Instruction– Don’t just throw out the information without regard
for where the student’s understanding is currently• (Knowledge-centered instruction)
– Don’t just focus on results out of context• (Assessment-centered instruction)
– Instead, make sure you practice “learner empathy”:• Understand what the student thinks the situation is• Plan a path for the student to reach a correct
understanding• Guide the student down the path
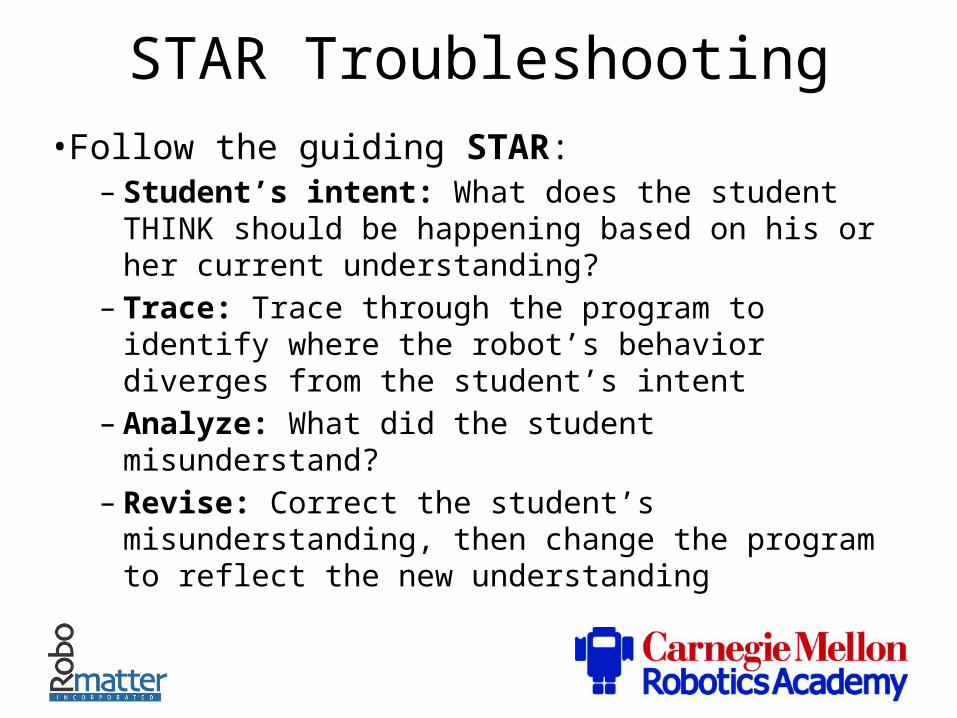
STAR Troubleshooting• Follow the guiding STAR:
– Student’s intent: What does the student THINK should be happening based on his or her current understanding?
– Trace: Trace through the program to identify where the robot’s behavior diverges from the student’s intent
– Analyze: What did the student misunderstand?– Revise: Correct the student’s misunderstanding, then
change the program to reflect the new understanding
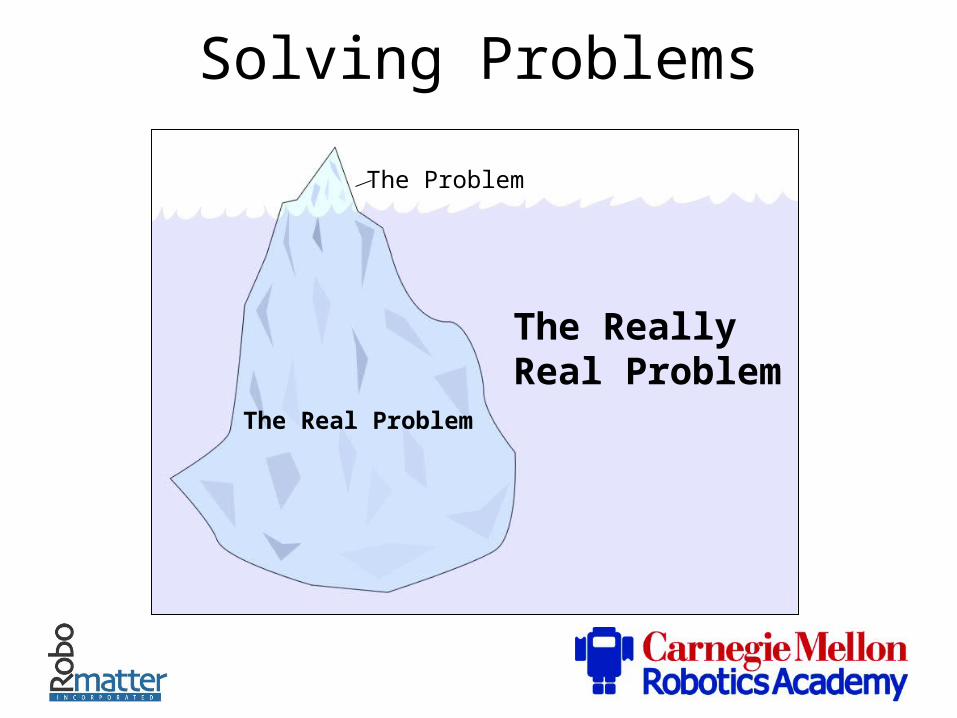
Solving Problems
The Problem
The Real Problem
The ReallyReal Problem

Troubleshooting Code• What’s the intent of this code?• Where did it go wrong?

Troubleshooting Code
• What’s the intent of this code?• Where did it go wrong?

Troubleshooting Code• What’s the intent of this code?• Where did it go wrong?


![ROBOTC for VEX Cortex and PIC VEXnet Remote Controlbssdt.weebly.com/uploads/1/3/2/6/13266197/robotc...ROBOTC for VEX Cortex and PIC VEXnet Remote Control vexRT[] Array that contains](https://static.fdocuments.in/doc/165x107/60e60742d77063770e564eb0/robotc-for-vex-cortex-and-pic-vexnet-remote-robotc-for-vex-cortex-and-pic-vexnet.jpg)