Ring Bearer Pillow - BERNINA Bearer Pillow Create a keepsake Ring Bearer Pillow for your special...
4
Ring Bearer Pillow Create a keepsake Ring Bearer Pillow for your special day. This lovely project is stitched right «in the hoop» of your BERNINA Embroidery Machine! For an extra special touch, feel free to add a monogram to the pillow using a built in alphabet on the machine, or with your BERNINA Embroidery Software. Supplies needed for this project: ⦁ BERNINA Maxi Hoop ⦁ 1/3 yard fabric of choice. (I used a Crepe Back Satin with the matte side of the fabric on the outside of my pillow) ⦁ 10” length of 2” or 3” wide satin ribbon ⦁ 18” length of 1” wide satin ribbon ⦁ Embroidery tape or painter’s tape ⦁ Fusible interfacing – choice a weight that is appropriate for your fabric (I used Pellon brand Fusible Featherweight Interfacing for the Crepe Back Satin fabric) ⦁ Polyester or rayon thread color of choice. Try tone-on-tone thread for a classic look, such as white thread on white fabric, or ivory thread on ivory fabric. ⦁ Heavyweight tearaway stabilizer ⦁ Pillow stuffing ⦁ Size 70/10 sharp needle, or other appropriate needle for your chosen fabric ⦁ Hand sewing needle ⦁ Cut a piece of fabric 2” larger than your Maxi hoop. Press fusible interfacing to the back of the fabric, following manufacturer’s instructions for both the fabric and the interfacing. Set aside. ⦁ Cut a piece of fabric to 10” x 10”. Press fusible interfacing to the back of the fabric, following manufacturer’s directions. Set aside. ⦁ Carefully hoop the larger piece of fabric, right side up, along with the stabilizer. If you are using satin fabric, it can be slippery and hard to keep it from sliding in the hoop. Try wrapping a bit of double-sided tape around the inner hoop frame before hooping, to help hold the satin in place. ⦁ Load the Ring Bearer Pillow design to your embroidery machine. If you are adding a monogram, the letter(s) should be added before the first existing stitch sequence of the design. ⦁ Attach the hoop to your embroidery machine. ⦁ Sew Stitch Sequence 1 to embroider the rose motifs on your fabric.
Transcript of Ring Bearer Pillow - BERNINA Bearer Pillow Create a keepsake Ring Bearer Pillow for your special...
Ring Bearer PillowCreate a keepsake Ring Bearer Pillow for your special day. This lovely project is stitched right «in the hoop» of your BERNINA Embroidery Machine! For an extra special touch, feel free to add a monogram to the pillow using a built in alphabet on the machine, or with your BERNINA Embroidery Software.
Supplies needed for this project: ⦁ BERNINA Maxi Hoop ⦁ 1/3 yard fabric of choice. (I used a Crepe Back Satin with the matte side of the fabric
on the outside of my pillow) ⦁ 10” length of 2” or 3” wide satin ribbon ⦁ 18” length of 1” wide satin ribbon ⦁ Embroidery tape or painter’s tape ⦁ Fusible interfacing – choice a weight that is appropriate for your fabric (I used Pellon
brand Fusible Featherweight Interfacing for the Crepe Back Satin fabric) ⦁ Polyester or rayon thread color of choice. Try tone-on-tone thread for a classic look,
such as white thread on white fabric, or ivory thread on ivory fabric. ⦁ Heavyweight tearaway stabilizer ⦁ Pillow stuffing ⦁ Size 70/10 sharp needle, or other appropriate needle for your chosen fabric ⦁ Hand sewing needle
⦁ Cut a piece of fabric 2” larger than your Maxi hoop. Press fusible interfacing to the back of the fabric, following manufacturer’s instructions for both the fabric and the interfacing. Set aside.
⦁ Cut a piece of fabric to 10” x 10”. Press fusible interfacing to the back of the fabric, following manufacturer’s directions. Set aside.
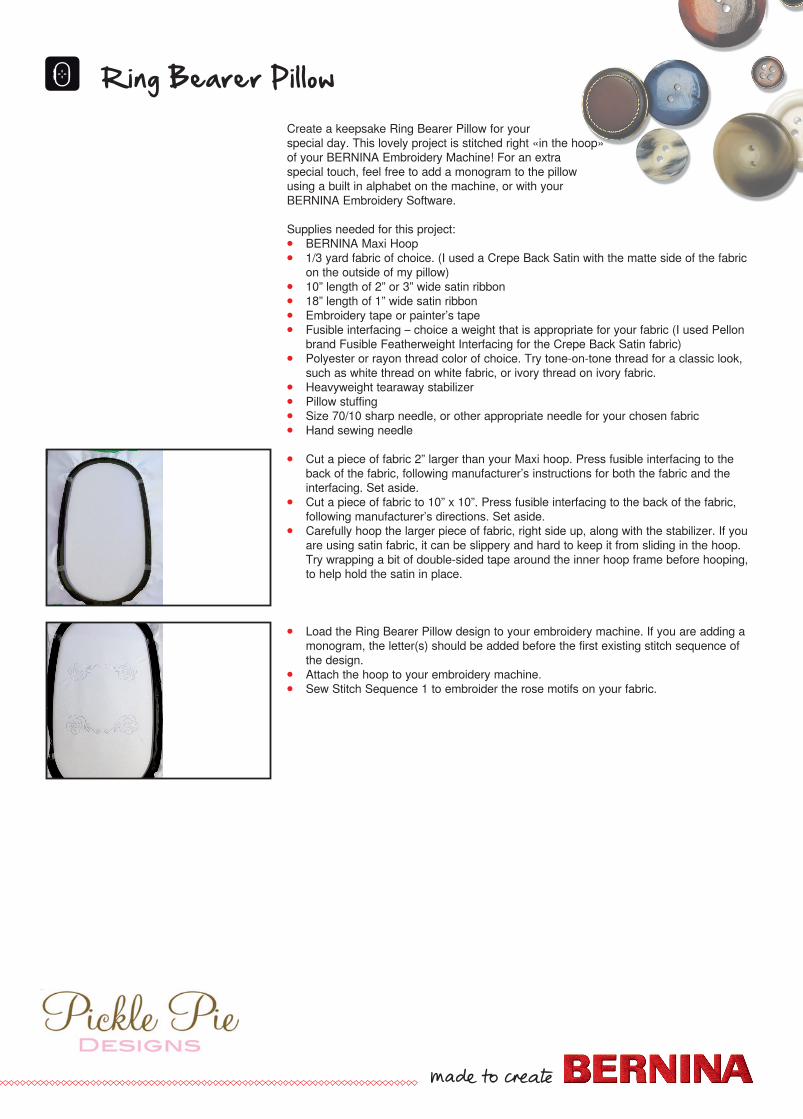
⦁ Carefully hoop the larger piece of fabric, right side up, along with the stabilizer. If you are using satin fabric, it can be slippery and hard to keep it from sliding in the hoop. Try wrapping a bit of double-sided tape around the inner hoop frame before hooping, to help hold the satin in place.
⦁ Load the Ring Bearer Pillow design to your embroidery machine. If you are adding a monogram, the letter(s) should be added before the first existing stitch sequence of the design.
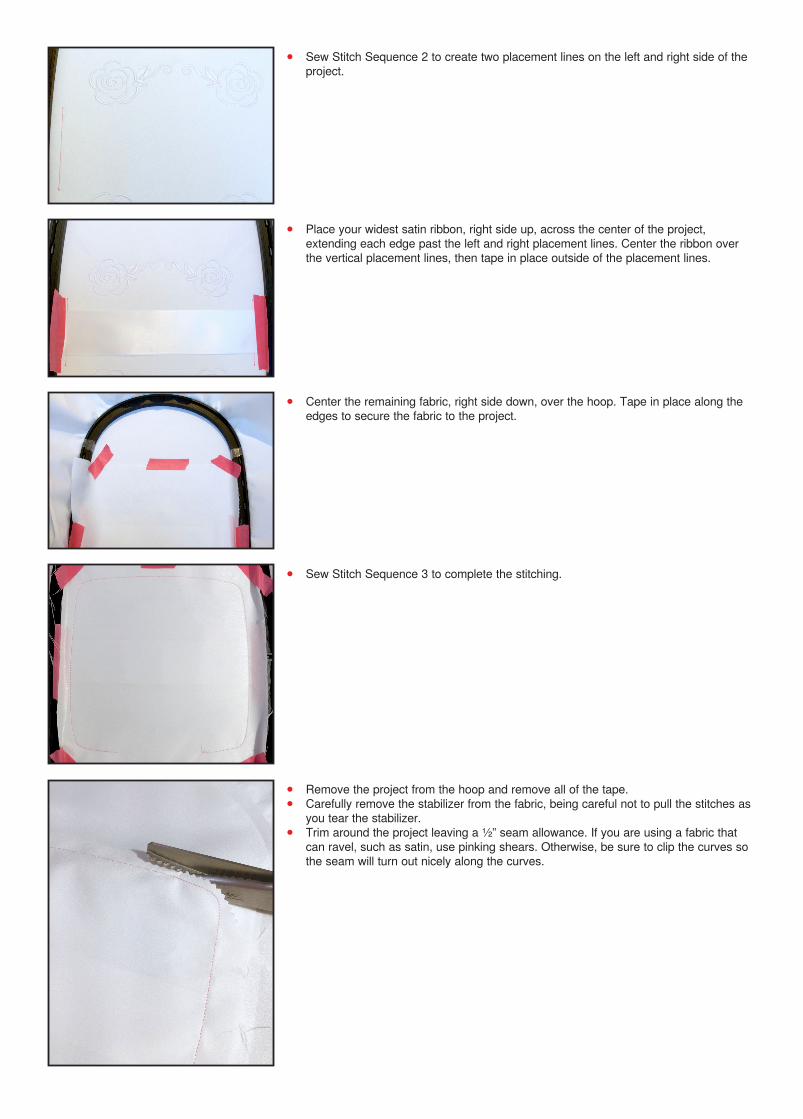
⦁ Attach the hoop to your embroidery machine. ⦁ Sew Stitch Sequence 1 to embroider the rose motifs on your fabric.
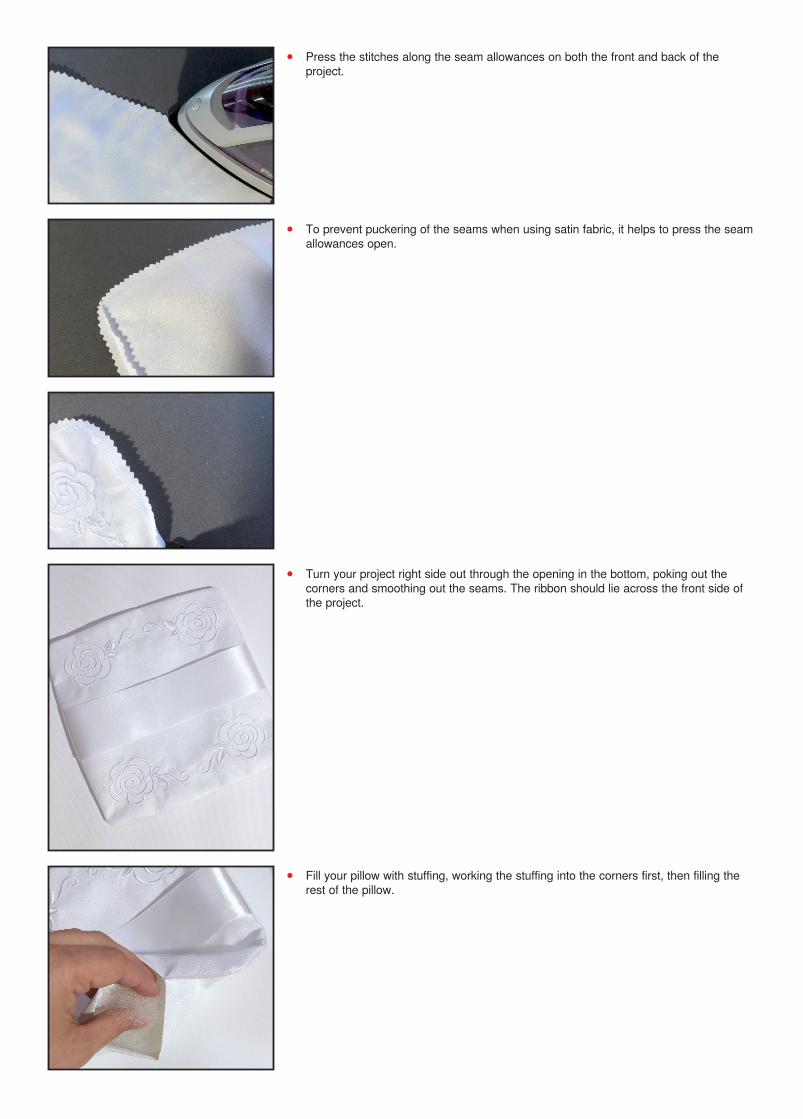
⦁ Sew Stitch Sequence 2 to create two placement lines on the left and right side of the project.
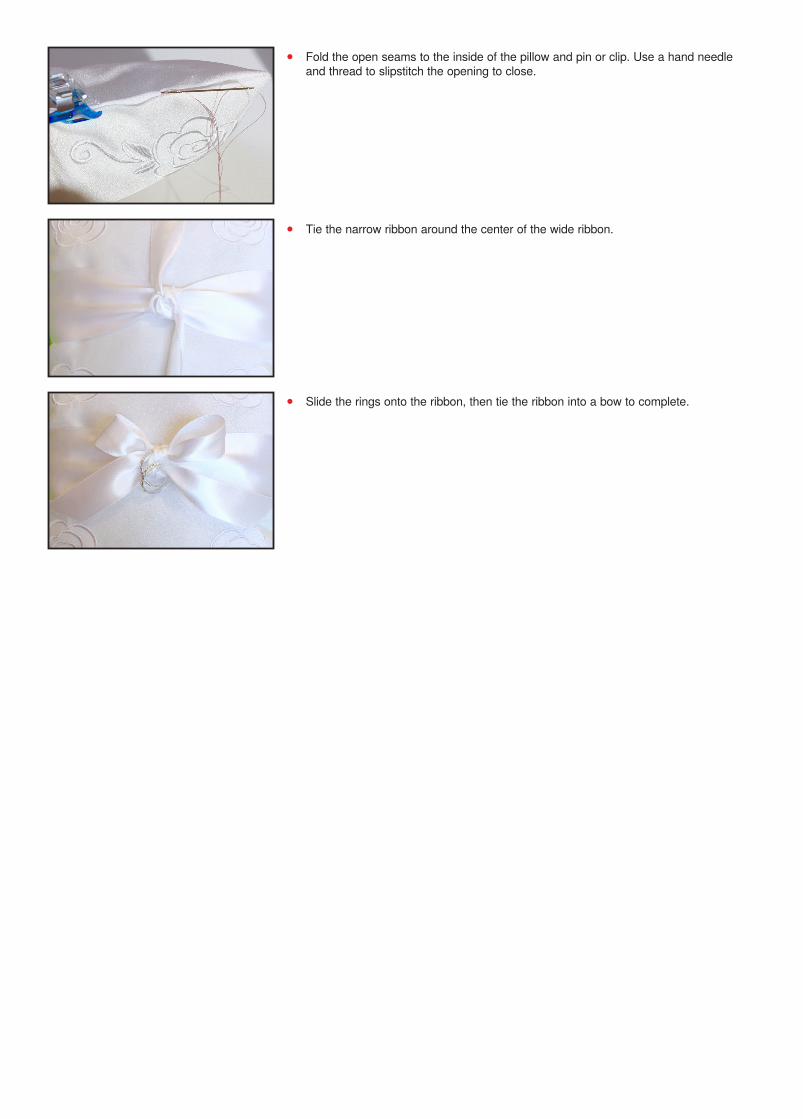
⦁ Place your widest satin ribbon, right side up, across the center of the project, extending each edge past the left and right placement lines. Center the ribbon over the vertical placement lines, then tape in place outside of the placement lines.
⦁ Center the remaining fabric, right side down, over the hoop. Tape in place along the edges to secure the fabric to the project.
⦁ Sew Stitch Sequence 3 to complete the stitching.
⦁ Remove the project from the hoop and remove all of the tape. ⦁ Carefully remove the stabilizer from the fabric, being careful not to pull the stitches as
you tear the stabilizer. ⦁ Trim around the project leaving a ½” seam allowance. If you are using a fabric that
can ravel, such as satin, use pinking shears. Otherwise, be sure to clip the curves so the seam will turn out nicely along the curves.
⦁ Press the stitches along the seam allowances on both the front and back of the project.
⦁ To prevent puckering of the seams when using satin fabric, it helps to press the seam allowances open.
⦁ Turn your project right side out through the opening in the bottom, poking out the corners and smoothing out the seams. The ribbon should lie across the front side of the project.
⦁ Fill your pillow with stuffing, working the stuffing into the corners first, then filling the rest of the pillow.
⦁ Fold the open seams to the inside of the pillow and pin or clip. Use a hand needle and thread to slipstitch the opening to close.
⦁ Tie the narrow ribbon around the center of the wide ribbon.
⦁ Slide the rings onto the ribbon, then tie the ribbon into a bow to complete.