Quick & Easy Chainlink Fencing - The Wargaming...
9
Quick & Easy Chainlink Fencing Difficulty Easy Time 45 minutes Makes 300mm square chainlink fence enclosure. Tools Craft knife or scalpel. Metal safety ruler. Cutting mat. Side cutters (knife might be enough). Hot glue gun (possibly PVA instead). Junior hacksaw or similar if using wood for the base. Materials Mesh fabric. Wooden stirrers. MDF, plywood, thick card or thick plasticard for the bases. Polyfilla or other premixed filler. www.wargamingtrader.com Copyright © 2010 Ian Wood and Lele Schirmeister. All rights reserved.
Transcript of Quick & Easy Chainlink Fencing - The Wargaming...
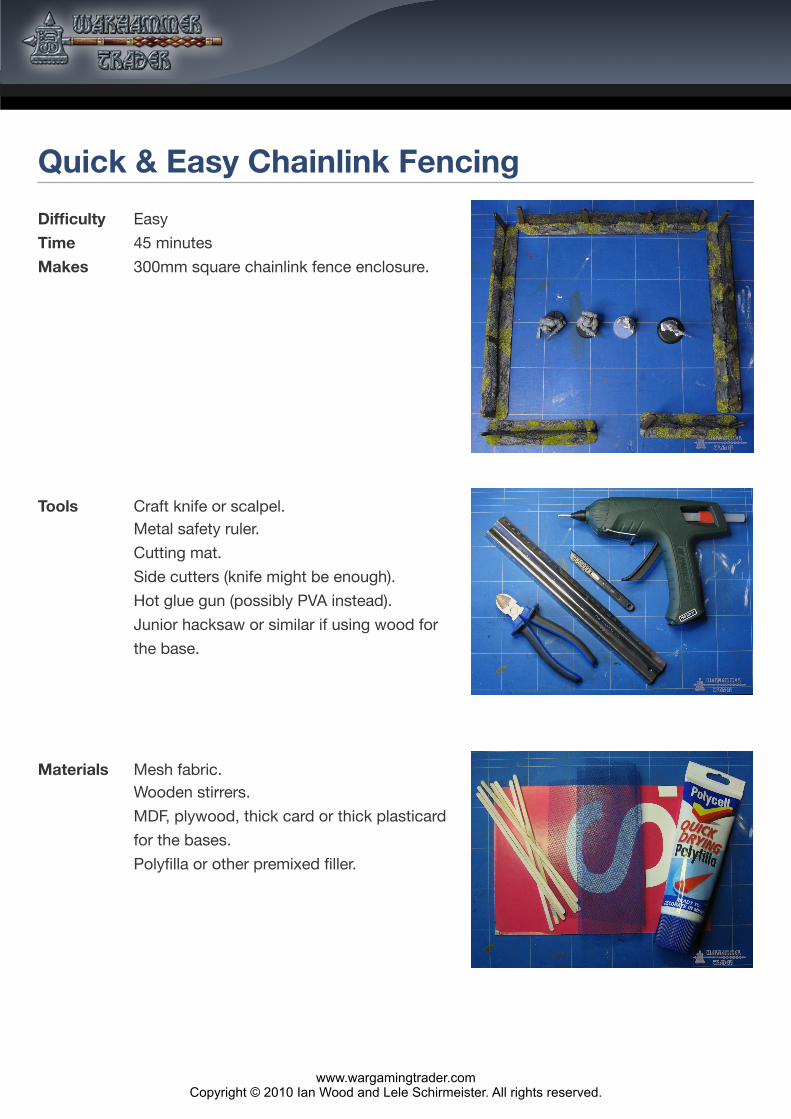
Quick & Easy Chainlink Fencing
Difficulty Easy
Time 45 minutes
Makes 300mm square chainlink fence enclosure.
Tools Craft knife or scalpel.Metal safety ruler.
Cutting mat.
Side cutters (knife might be enough).
Hot glue gun (possibly PVA instead).
Junior hacksaw or similar if using wood for
the base.
Materials Mesh fabric.Wooden stirrers.
MDF, plywood, thick card or thick plasticard
for the bases.
Polyfilla or other premixed filler.
www.wargamingtrader.comCopyright © 2010 Ian Wood and Lele Schirmeister. All rights reserved.
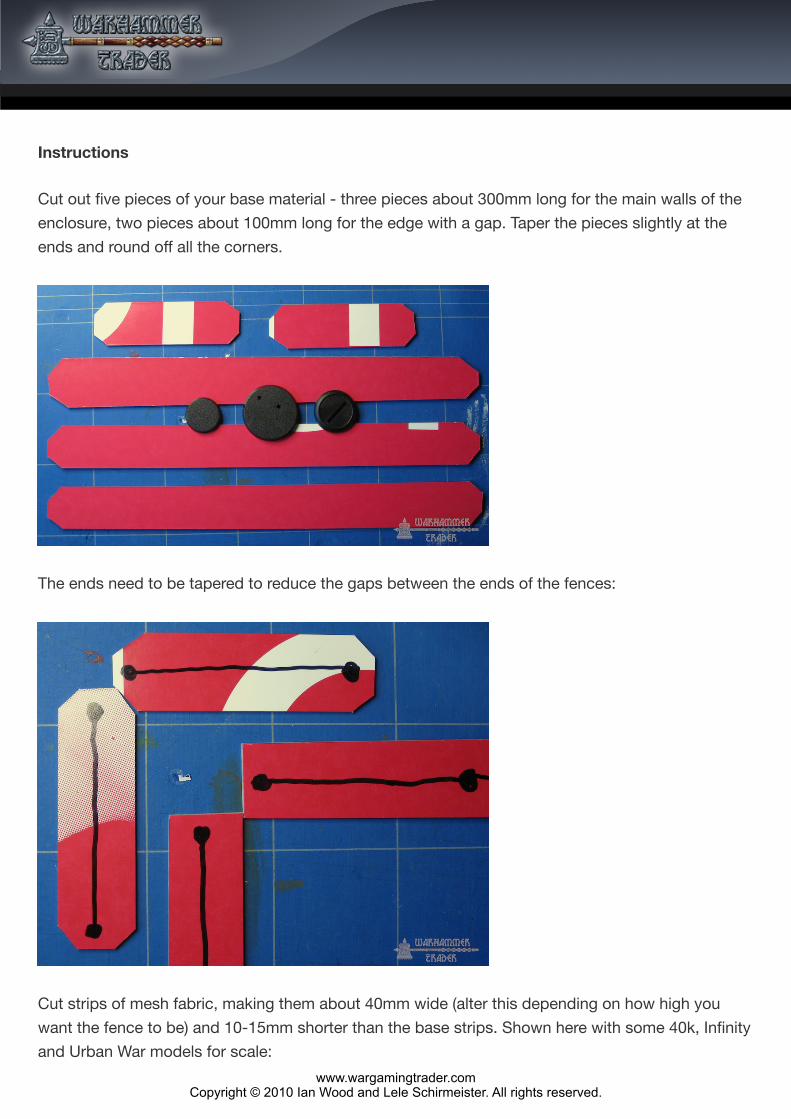
Instructions
Cut out five pieces of your base material - three pieces about 300mm long for the main walls of the
enclosure, two pieces about 100mm long for the edge with a gap. Taper the pieces slightly at the
ends and round off all the corners.
The ends need to be tapered to reduce the gaps between the ends of the fences:
Cut strips of mesh fabric, making them about 40mm wide (alter this depending on how high you
want the fence to be) and 10-15mm shorter than the base strips. Shown here with some 40k, Infinity
and Urban War models for scale:
www.wargamingtrader.comCopyright © 2010 Ian Wood and Lele Schirmeister. All rights reserved.
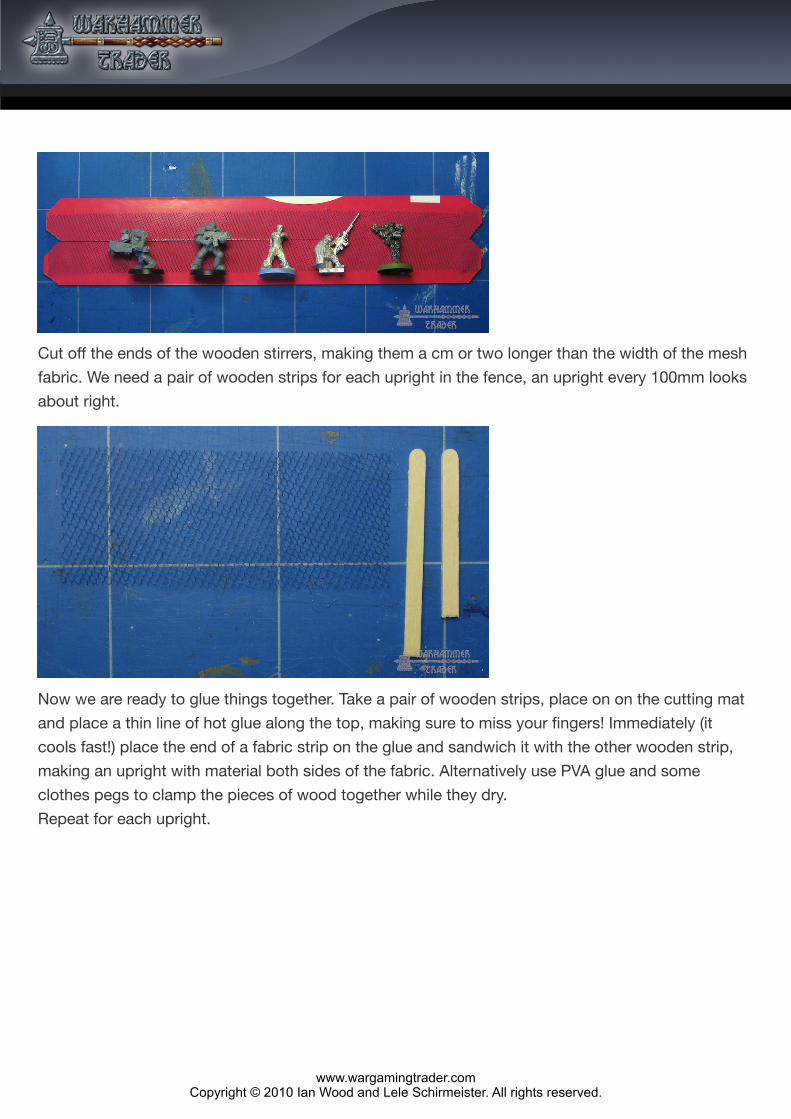
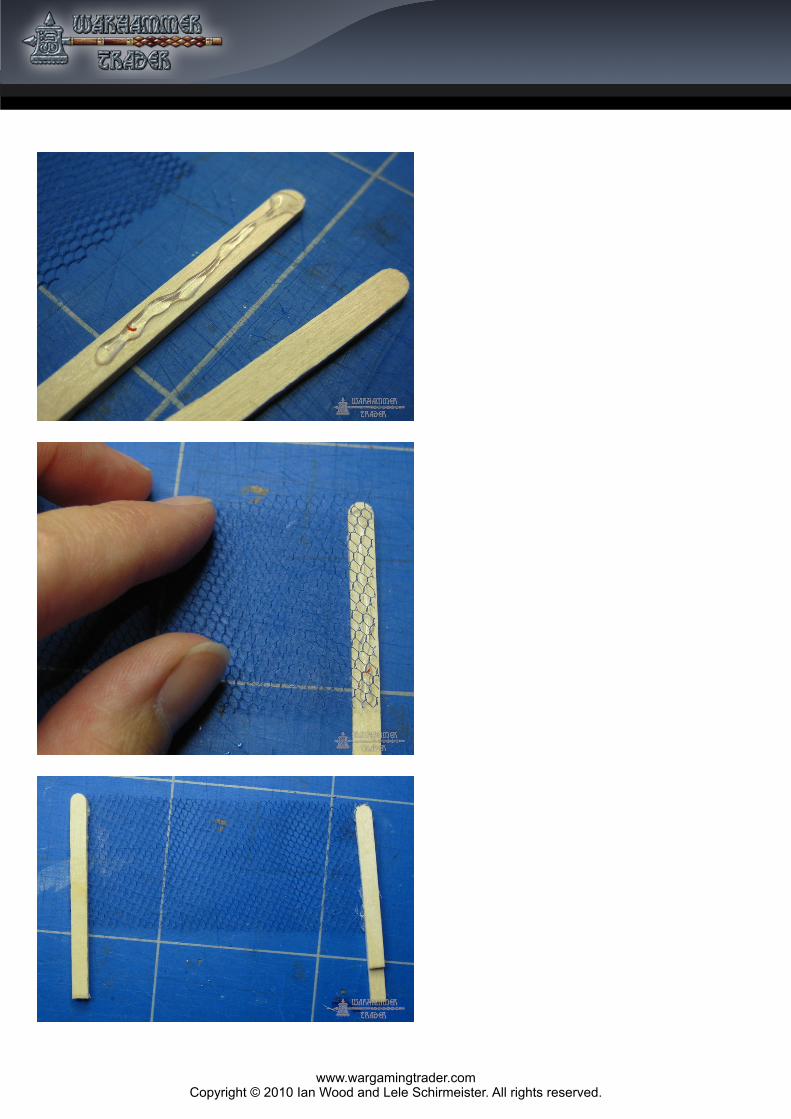
Cut off the ends of the wooden stirrers, making them a cm or two longer than the width of the mesh
fabric. We need a pair of wooden strips for each upright in the fence, an upright every 100mm looks
about right.
Now we are ready to glue things together. Take a pair of wooden strips, place on on the cutting mat
and place a thin line of hot glue along the top, making sure to miss your fingers! Immediately (it
cools fast!) place the end of a fabric strip on the glue and sandwich it with the other wooden strip,
making an upright with material both sides of the fabric. Alternatively use PVA glue and some
clothes pegs to clamp the pieces of wood together while they dry.
Repeat for each upright.
www.wargamingtrader.comCopyright © 2010 Ian Wood and Lele Schirmeister. All rights reserved.
www.wargamingtrader.comCopyright © 2010 Ian Wood and Lele Schirmeister. All rights reserved.
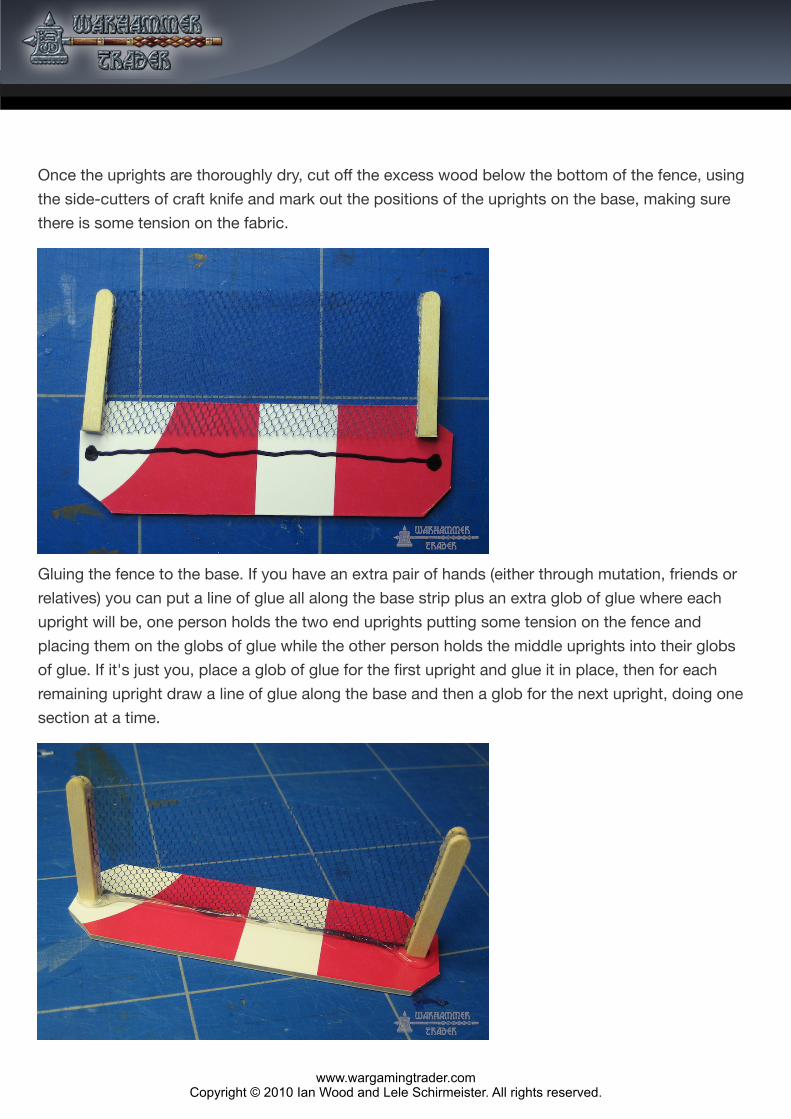
Once the uprights are thoroughly dry, cut off the excess wood below the bottom of the fence, using
the side-cutters of craft knife and mark out the positions of the uprights on the base, making sure
there is some tension on the fabric.
Gluing the fence to the base. If you have an extra pair of hands (either through mutation, friends or
relatives) you can put a line of glue all along the base strip plus an extra glob of glue where each
upright will be, one person holds the two end uprights putting some tension on the fence and
placing them on the globs of glue while the other person holds the middle uprights into their globs
of glue. If it's just you, place a glob of glue for the first upright and glue it in place, then for each
remaining upright draw a line of glue along the base and then a glob for the next upright, doing one
section at a time.
www.wargamingtrader.comCopyright © 2010 Ian Wood and Lele Schirmeister. All rights reserved.
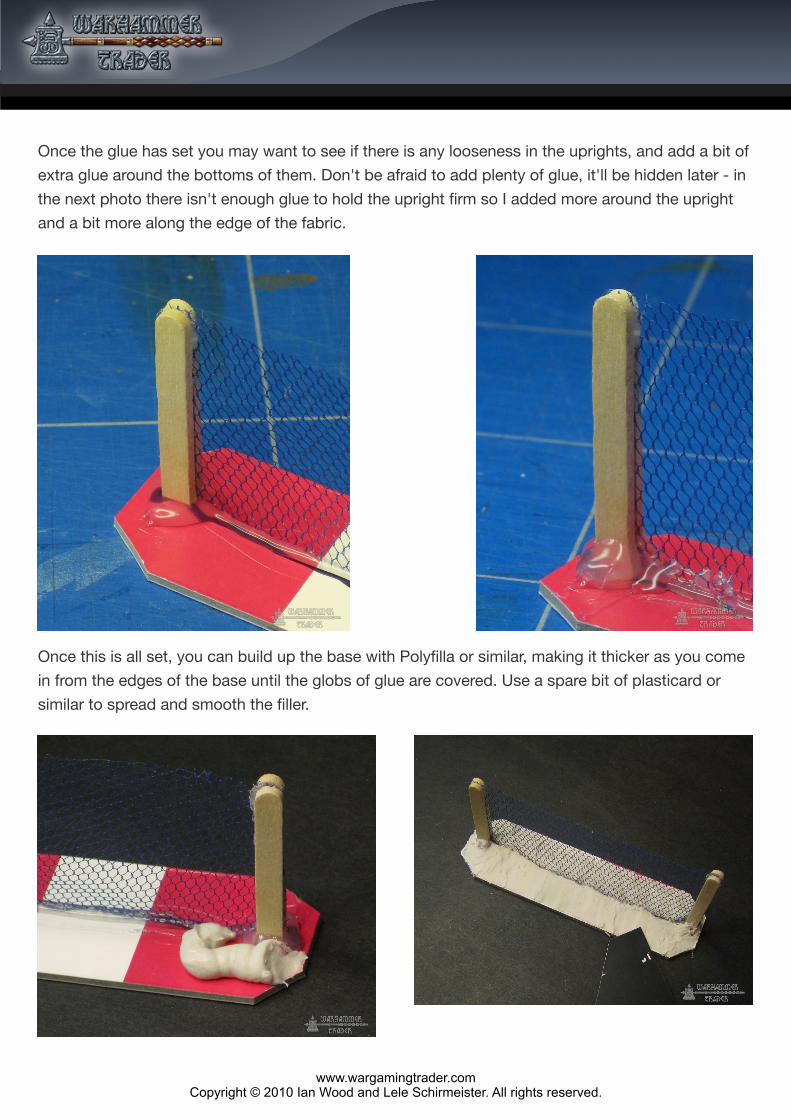
Once the glue has set you may want to see if there is any looseness in the uprights, and add a bit of
extra glue around the bottoms of them. Don't be afraid to add plenty of glue, it'll be hidden later - in
the next photo there isn't enough glue to hold the upright firm so I added more around the upright
and a bit more along the edge of the fabric.
Once this is all set, you can build up the base with Polyfilla or similar, making it thicker as you come
in from the edges of the base until the globs of glue are covered. Use a spare bit of plasticard or
similar to spread and smooth the filler.
www.wargamingtrader.comCopyright © 2010 Ian Wood and Lele Schirmeister. All rights reserved.
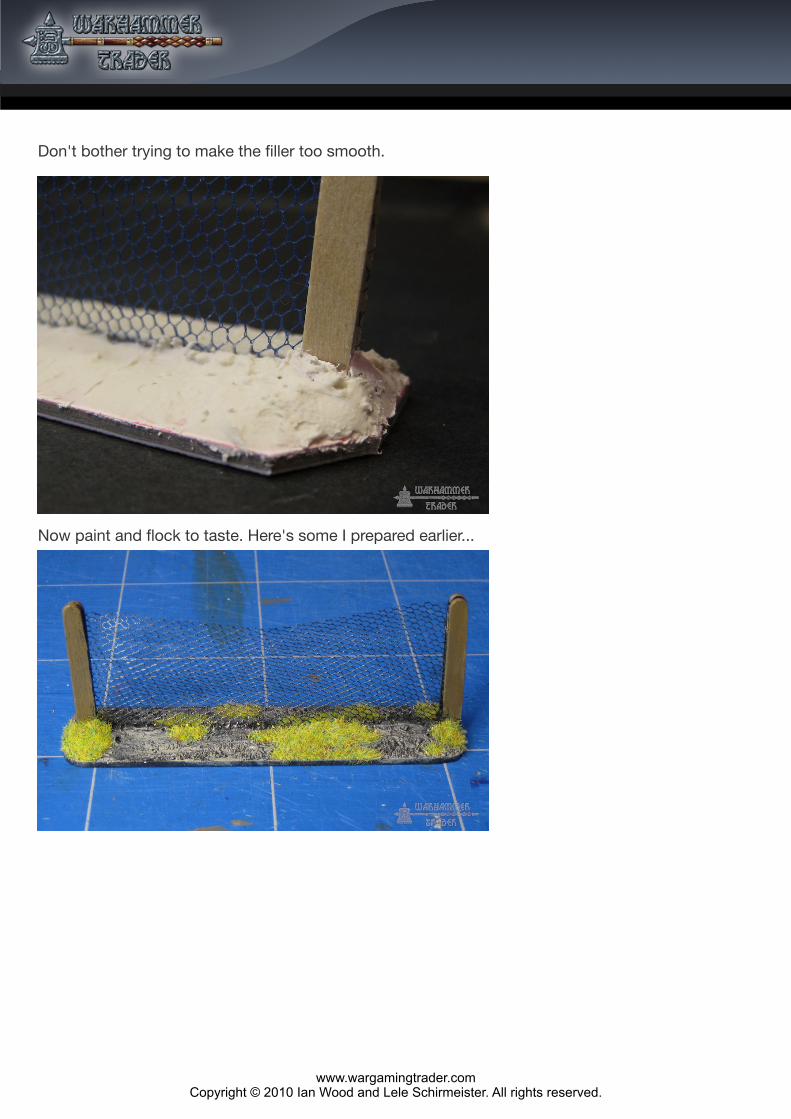
Don't bother trying to make the filler too smooth.
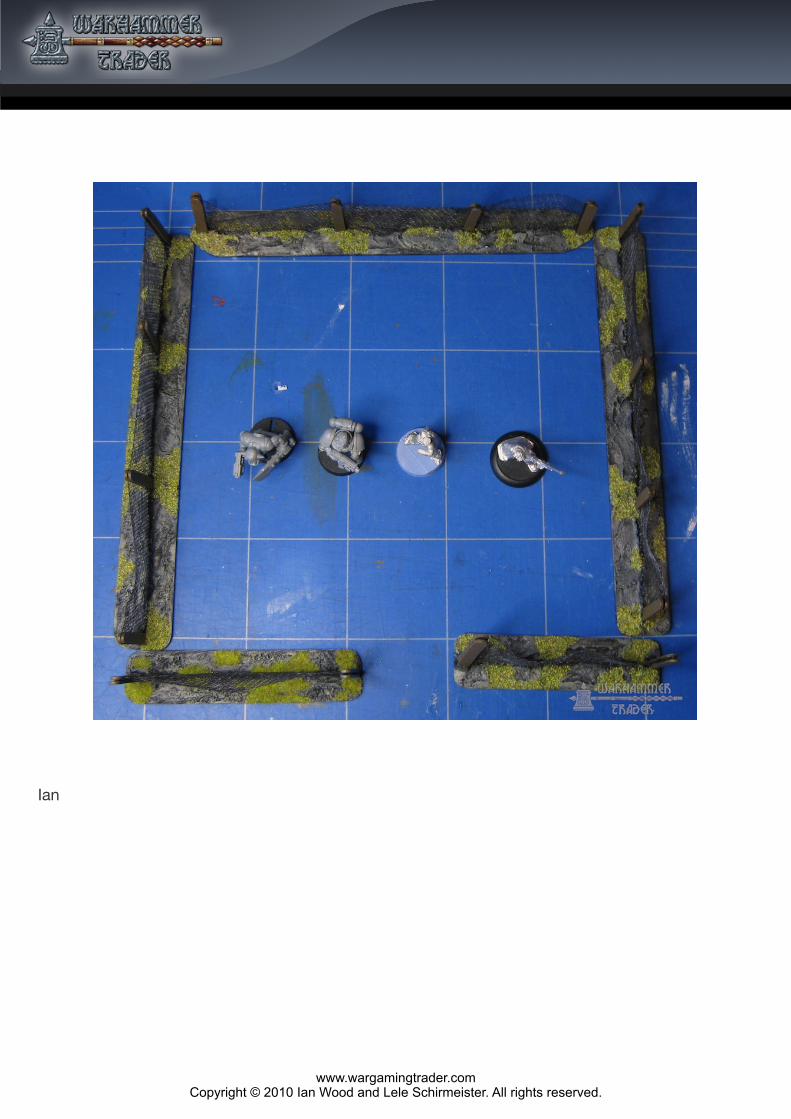
Now paint and flock to taste. Here's some I prepared earlier...
www.wargamingtrader.comCopyright © 2010 Ian Wood and Lele Schirmeister. All rights reserved.
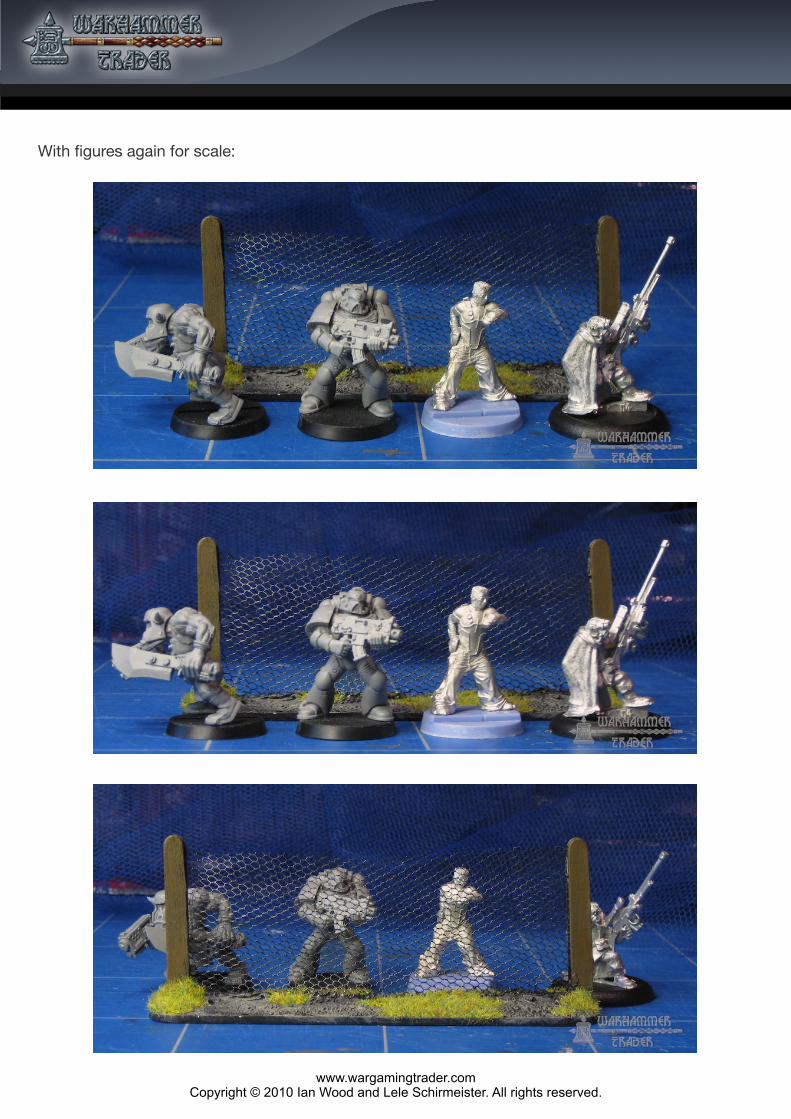
With figures again for scale:
www.wargamingtrader.comCopyright © 2010 Ian Wood and Lele Schirmeister. All rights reserved.
Ian
www.wargamingtrader.comCopyright © 2010 Ian Wood and Lele Schirmeister. All rights reserved.


![ChainLink: Indexing Big Time Series Data For Long ...web.cs.wpi.edu/~meltabakh/Publications/ChainLink-ICDE2020.pdf · Locality Sensitive Hashing (LSH) [10]–[12] as the base of our](https://static.fdocuments.in/doc/165x107/5fabcd1e051ccd170d392a45/chainlink-indexing-big-time-series-data-for-long-webcswpiedumeltabakhpublicationschainlink-.jpg)