Quality Flexi-tanks for easy global bulk liquid shipping · Flexitank. • If a secondary liner is...
50
Quality Flexi-tanks for easy global bulk liquid shipping www.flexi-tanks.com
Transcript of Quality Flexi-tanks for easy global bulk liquid shipping · Flexitank. • If a secondary liner is...

Quality Flexi-tanks for easy
global bulk liquid shipping
www.flexi-tanks.com

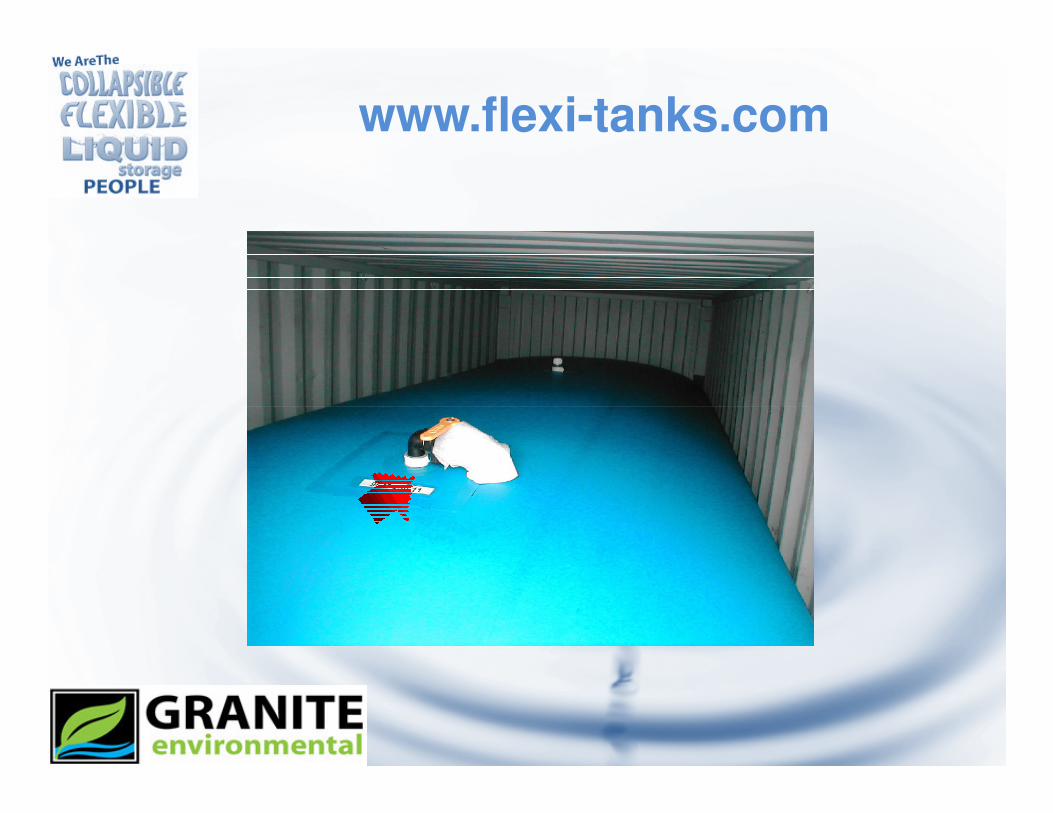
What is a Flexitank,
and what does it do?and what does it do?

• Cost-effective method of bulk
liquid transportation
• System used for over 25 years
• 20 foot (6 meter) standard,
ISO container
• Ship up to 6,500 gallons
(24,000 liters) of non-
hazardous liquidhazardous liquid

• Packed for shipping, the Flexi-tank
measures less than 48” x 12” x 18”
(1.2 m x 0.3 m x 0.6 m)
• Weighs less than 100 lbs (45 Kg)
• Unfolds to form a large ‘bladder’
that can turn a box container into a
tanker

www.flexi-tanks.com

• Check Flexi-tank - size and type
• Check Bulkhead
• Check Secondary Liner – if
orderedordered
• Check Corrugated lining paper
• Check Warning Labels
• Check Adhesive tape

www.flexi-tanks.com
• Container Selection • Container Preparation
• Flexi-tank Installation• Flexi-tank Installation• Flexi-tank Loading• Discharging the flexi-tank

• Ordering the container
• Specify a steel reinforced,
standard, twenty foot (20’) ISO
box containerbox container
• Fully corrugated sides and ends
• Low-boy, or tri-axle, slider chassis

www.flexi-tanks.com
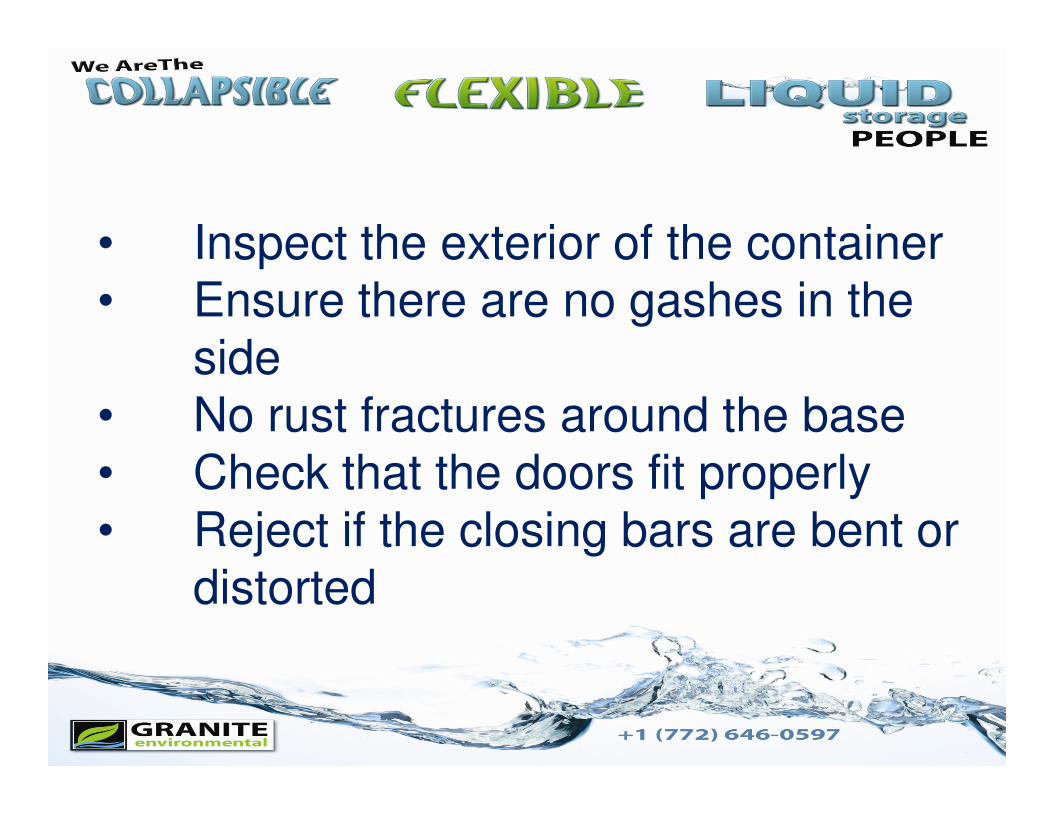
• Inspect the exterior of the container
• Ensure there are no gashes in the
side
• No rust fractures around the base• No rust fractures around the base
• Check that the doors fit properly
• Reject if the closing bars are bent or
distorted

www.flexi-tanks.com
• Make sure the inside of the container is free from rust or physical damage
• Sweep the floor and check for nails, glass, sharp edges, etc.,glass, sharp edges, etc.,
• Check that the container has vertical door recesses in the door pillars.


www.flexi-tanks.com
• Check the overlap and welded areas on the walls
• Hammer down flat or grind off any sharp edges or projectionssharp edges or projections
• Cover with tape and/or cardboard to ensure maximum protection.

Proper Container preparation will
enhance the integrity of the Flexitankof the Flexitank
system

www.flexi-tanks.com
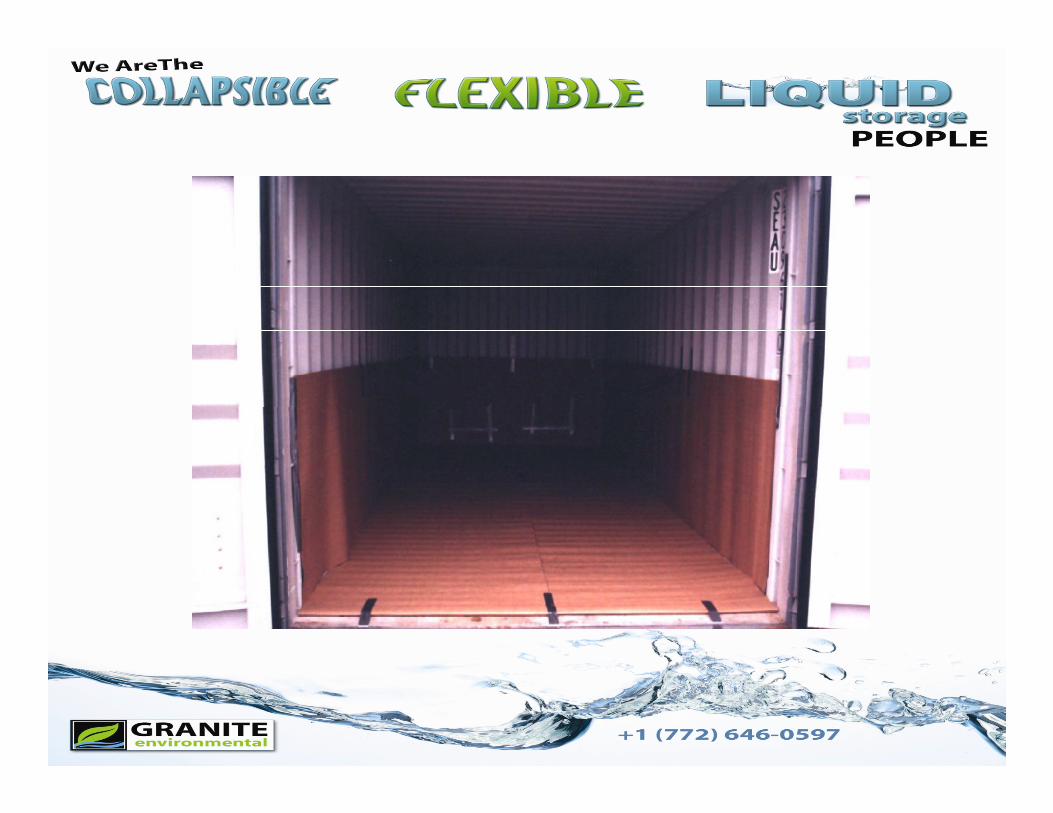
• Line the container walls with corrugated paper or rigid cardboard liner. Tape into position liner. Tape into position
• DO NOT COVER THE VERTICAL DOOR RECESSES


www.flexi-tanks.com
• Cover the floor with corrugated paper• Tape ends of the paper up the back
wall of the containerwall of the container• Tape the overlap• Fold back and tape down the edges at
the door

www.flexi-tanks.com
• If using a Secondary Liner:• Unfold and lay it out in the container.• Locate the center of the liner end • Locate the center of the liner end
and tape to the back wall (viewed from the door), approximately five feet (5’) above the floor.

• Tape the edges around the walls
• Leave the excess at the door end of the container
• This will be fitted after the bulkhead has been positioned.

www.flexi-tanks.com
• Place the folded Flexitank near the center of the container
• Make sure the delivery hose or • Make sure the delivery hose or valve faces the right hand wall
• Position the center vent central to length of the container

• Unfold the Flexi-tank, fitting into the sides and ends of the container.
• Fold any excess material on top of the Flexi-tank, with the ends folded the Flexi-tank, with the ends folded on top of the sides.
• Fold back the door end of the Flexi-tank to allow room to fit the bulkhead(s).

www.flexi-tanks.com

• Lift the bulkhead into position across the container door with the cover sheet facing into the
container. container.
• Slide the securing bars into the channel at the side of the door

www.flexi-tanks.com
• Re-insert the self tapping screws to
stop the securing bars sliding out of
the channels.
• If necessary, tape shims in the
recess to reduce the width recess to reduce the width
BEFORE ENTERING THE
CONTAINER MAKE SURE YOU DO
NOT HAVE ANY SHARP STONES,
GRIT, GLASS, ETC., ON THE SOLES
OF YOUR SHOES / BOOTS

• Carefully line the inside of the bulkhead
• Make sure that the corners between the container and between the container and bulkhead are covered.
• Cut and tape corrugated paper over the top edge of the bulkhead and cover sheet to protect the Flexitank.

www.flexi-tanks.com

• If a secondary liner is used complete
taping the secondary liner around the
walls and across the bulkhead.
• Unfold the door end of the Flexi-tank,
and make sure that the valve is closed
and is on top of the Flexi-tank.and is on top of the Flexi-tank.
• Check that the Flexi[tank is lying flat
with no creases.
• Make sure the vent cap and hose
clamps are tightened.

www.flexi-tanks.com
• Close and Lock the Left Hand Door.
• Attach the Adhesive Warning Label to the outside of the Label to the outside of the Left Hand Door
• Fit the Red ‘DANGER’ label to the Left Hand Door seal
• Make sure that the right hand door closes
• Make sure that the bulkhead is located
as far forward as possible within the door
recessrecess
• Pack out with shims if necessary

www.flexi-tanks.com
Instructions for Loading
• Position the vehicle and container on level groundon level ground
• Open the right hand door ONLY• Remove the hose cap from the
valve or Flexi-tank hose.

• Place aside in a safe place.
• DO NOT LEAVE THE CAP ON TOP OF
THE BULKHEAD ☺
• If you did not specify a valve with your • If you did not specify a valve with your
Flexi-tank, it is advisable to use one at
this stage.
• Connect the delivery hose to the valve

www.flexi-tanks.com
• Make sure that the valve is OPEN.• If necessary, support the delivery
hose from the top container door lockhose from the top container door lock• Check that the connections are tight• Make sure the clamps are covered

• Commence pumping the product into
the Flexi-tank
• Make sure that the hose does not put
excessive pressure on the Flexi-tankexcessive pressure on the Flexi-tank
• The Flexi-tank will slowly unfold against
the sides of the container

www.flexi-tanks.com
DO NOT WALK ON THE FLEXI-TANK UNTIL IT IS AT LEAST 3/4 FULL

• Fill the Flexi-tank
• Use a meter to measure the quantity
pumped
• Check during filling to make sure that
the Flexi-tank is not overloaded
www.flexi-tanks.com
• The Flexi-tank is full when the surface is tight and firm, and unyielding when ‘slapped’ by your hand.
• You may notice some air trapping • You may notice some air trapping within the Flexi-tank. This is quite normal, and can be released using the vent cap, (if fitted), or by raising the end of the valve, until the majority of air has escaped.

• Replace the cap and make sure it is fully
tightened.
• Once loading is complete, close the
valve, and disconnect the delivery hose
• Replace protective cap
• Make sure the cap is secure, cover with
corrugated paper or packing foam
www.flexi-tanks.com

• Visually inspect the Flexi-tank,
• Check the lining materials and harness, if
fitted
• Check the interior and exterior of container
• Close the right hand door, lock and seal.

www.flexi-tanks.com
Instructions for Discharge
• Position the container on level ground close to the discharge pointground close to the discharge point
• Visually inspect the exterior of the container.
• Note any damages on waybill.

• Open the right hand door ONLY
• Reach into the container and remove the
protective cover from the hose or valve
• DO NOT REMOVE THE HOSE CAP
AT THIS STAGE.

www.flexi-tanks.com
• Locate the product discharge hose and arrange by the container door
• Support the discharge hose from the top container door lock. top container door lock.
• Make sure the valve is closed• Carefully remove the hose or valve
cap, and place aside

• Samples can be taken at this stage.
• Tilt the hose or valve and drain product
into a suitable container
• DO NOT OPEN THE VENT CAP - IT IS
NOT NECESSARY, AND WILL PREVENT
PROPER OPERATION

www.flexi-tanks.com
• Connect the discharge hose to the tank
• Make sure the connections are tight and the clamps will not damage the and the clamps will not damage the Flexi-tank
DO NOT WALK ON THE FLEXITANK ONCE PUMPING HAS STARTED

• Pump product until the lashing rings are
visible along each side of the container
• Enter the container and lift the back of
the Flexi-tank, (furthest end from the
door), to allow product to drain towards
the center

www.flexi-tanks.com
• Fold each side into the center, and then roll towards the door end of the container
• Form a small reservoir around the • Form a small reservoir around the hose area
• Use a squeegee roller, or brush, to move excess heel towards the hose area of the Flexi-tank.

• Complete folding the Flexi-tank
• If the Flexi-tank is a ‘One-Way’ type,
place aside for proper disposal
• If the Flexi-tank is the ‘Multi-Trip’ type,
re-pack for return.

www.flexi-tanks.com
• Completely strip all protective and transit materials and dispose of in the correct manner
• Make sure the container is clean• Make sure the container is clean• Close the doors and release the
container

• You have successfully shipped your
bulk liquid product using the Flexi-tank
system
• Thank you for using a Granite
Flexi-Tank