Professional Installation Guid for Audi Q3 2012 2013 GPS Navigation System .pdf
15
1.Audi Q3 original stereo 2.1. Pry and take out the air-condition outlet panel 2.2. Take the air-condition outlet out
-
Upload
patrice-tan -
Category
Documents
-
view
129 -
download
0
description
1.Audi Q3 original stereo 2.1. Pry and take out the air-condition outlet panel
Transcript of Professional Installation Guid for Audi Q3 2012 2013 GPS Navigation System .pdf

1.Audi Q3 original stereo
2.1. Pry and take out the air-condition outlet panel
2.2. Take the air-condition outlet out

3.1. The screw is fixing the original screen
3.2. Take this screw out

4.1. Use a pry to loosen the screen panel
4.2. Take out the screen panel
5.1. Pry and loosen the screen’s rear cover
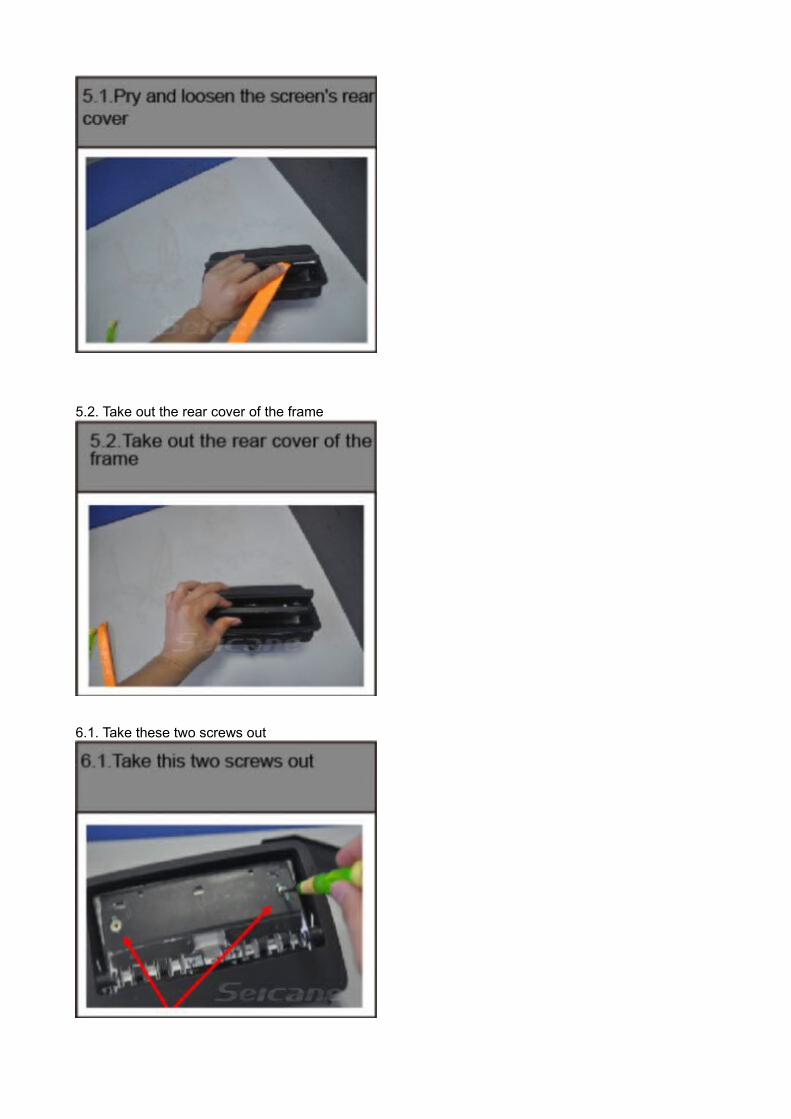
5.2. Take out the rear cover of the frame
6.1. Take these two screws out
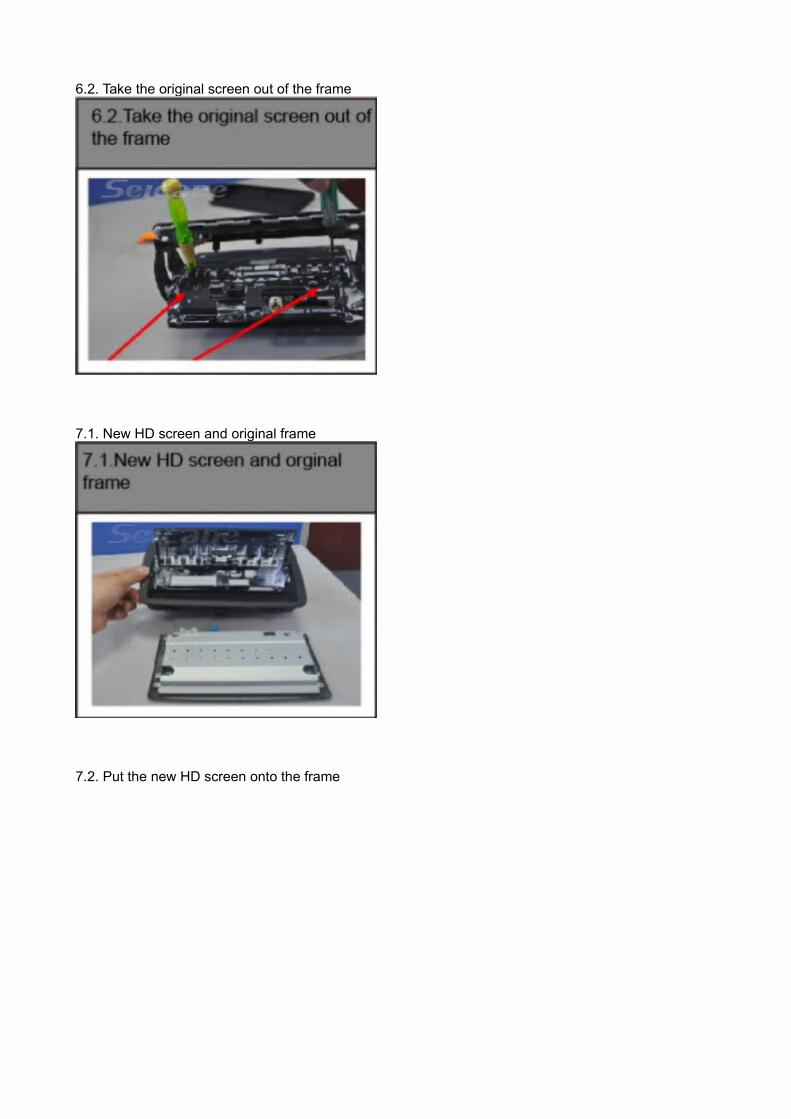
6.2. Take the original screen out of the frame
7.1. New HD screen and original frame
7.2. Put the new HD screen onto the frame

8. Fix the new HD screen with screws
9.1. Use the dismantle tool to insert the hole of the original stereo

9.2. Take it out of dash board
10.1. Take the screw out which is fixing on glove box
10.2. Take out the glove box
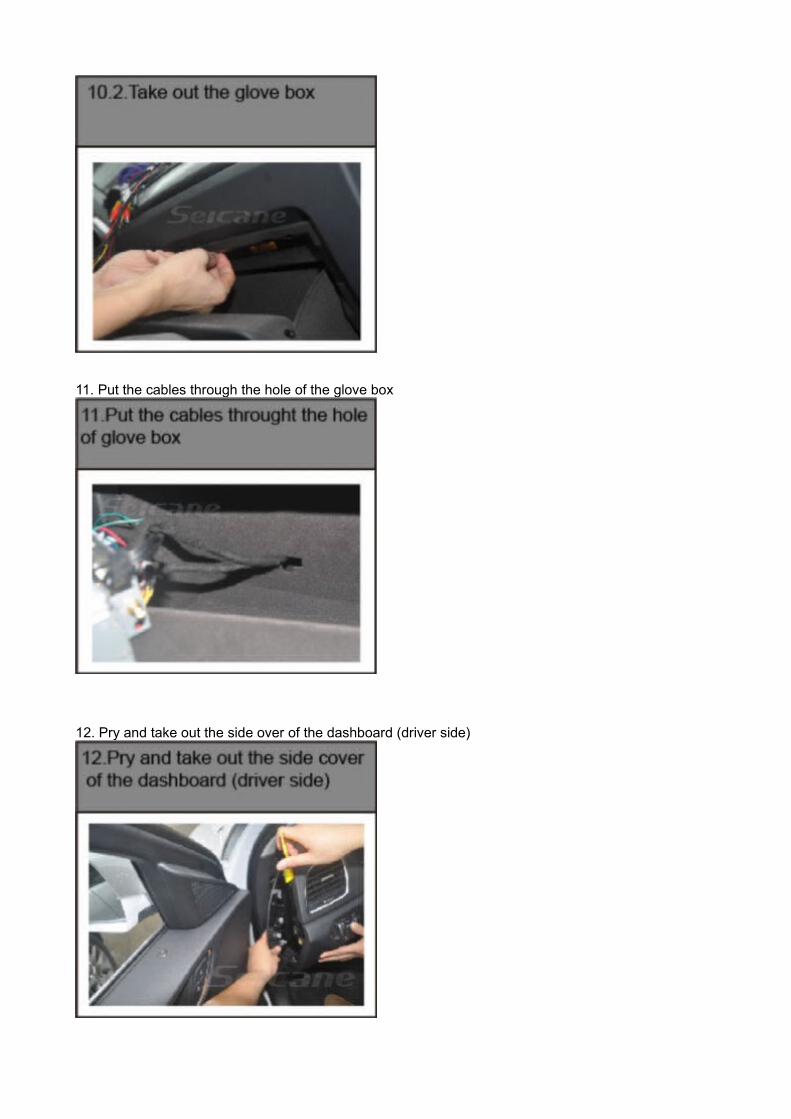
11. Put the cables through the hole of the glove box
12. Pry and take out the side over of the dashboard (driver side)

13.1 Take out the screws as picture
14.1. Pry and loosen the panel of speed meter
14.2. Disconnect the plugs and take the panel out
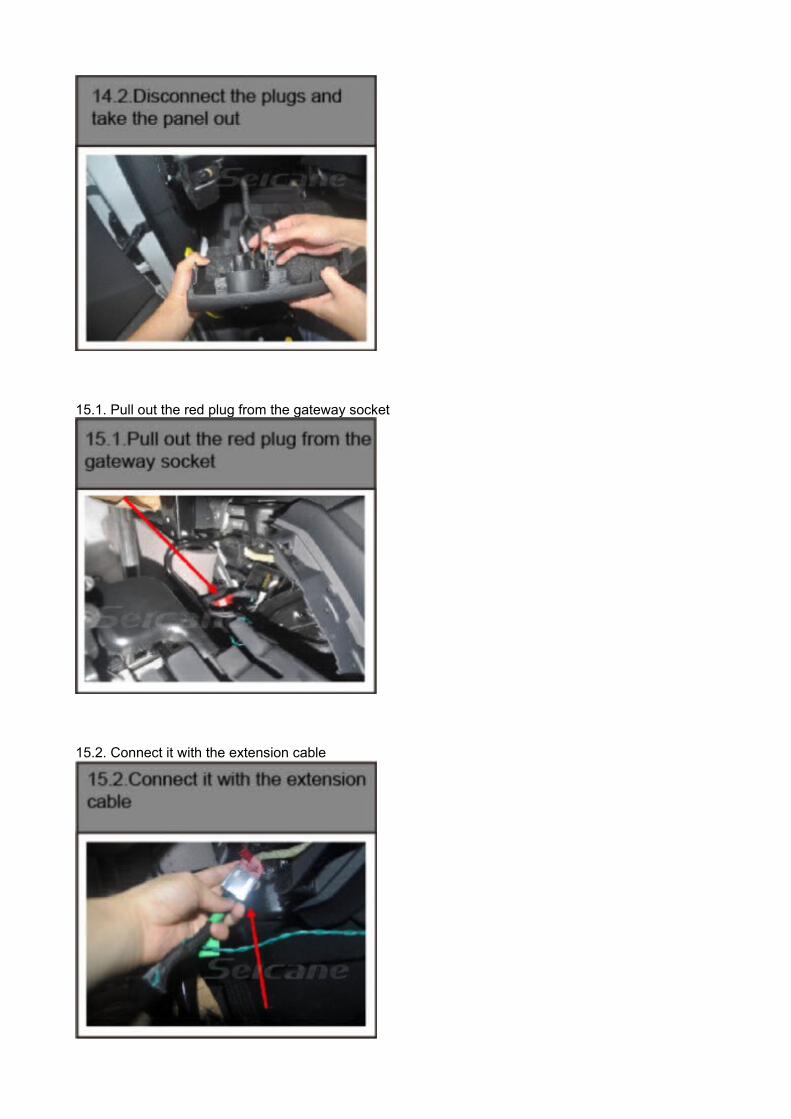
15.1. Pull out the red plug from the gateway socket
15.2. Connect it with the extension cable
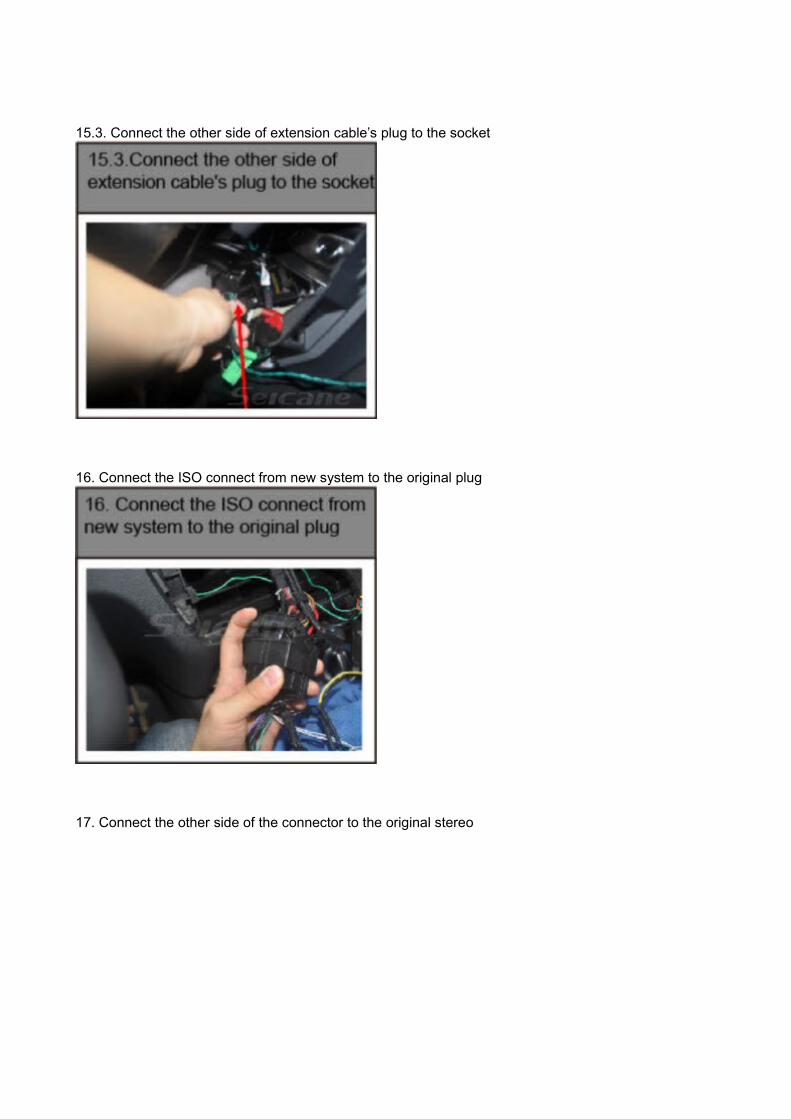
15.3. Connect the other side of extension cable’s plug to the socket
16. Connect the ISO connect from new system to the original plug
17. Connect the other side of the connector to the original stereo
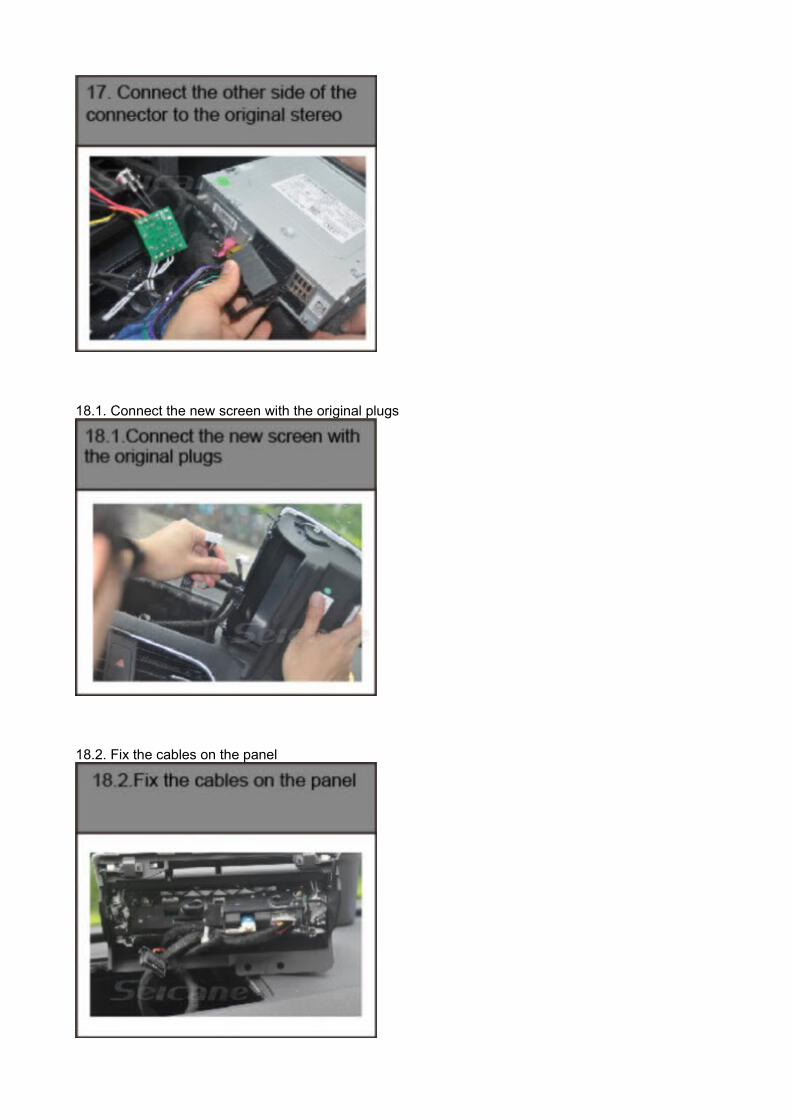
18.1. Connect the new screen with the original plugs
18.2. Fix the cables on the panel
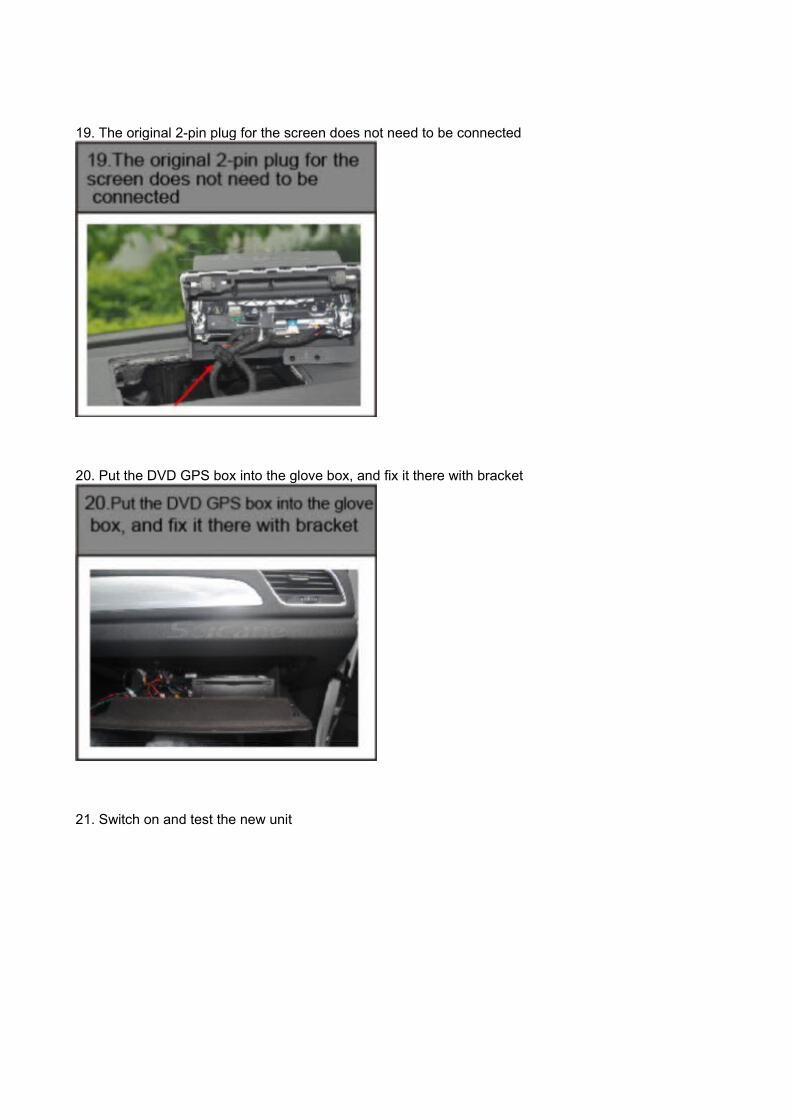
19. The original 2-pin plug for the screen does not need to be connected
20. Put the DVD GPS box into the glove box, and fix it there with bracket
21. Switch on and test the new unit
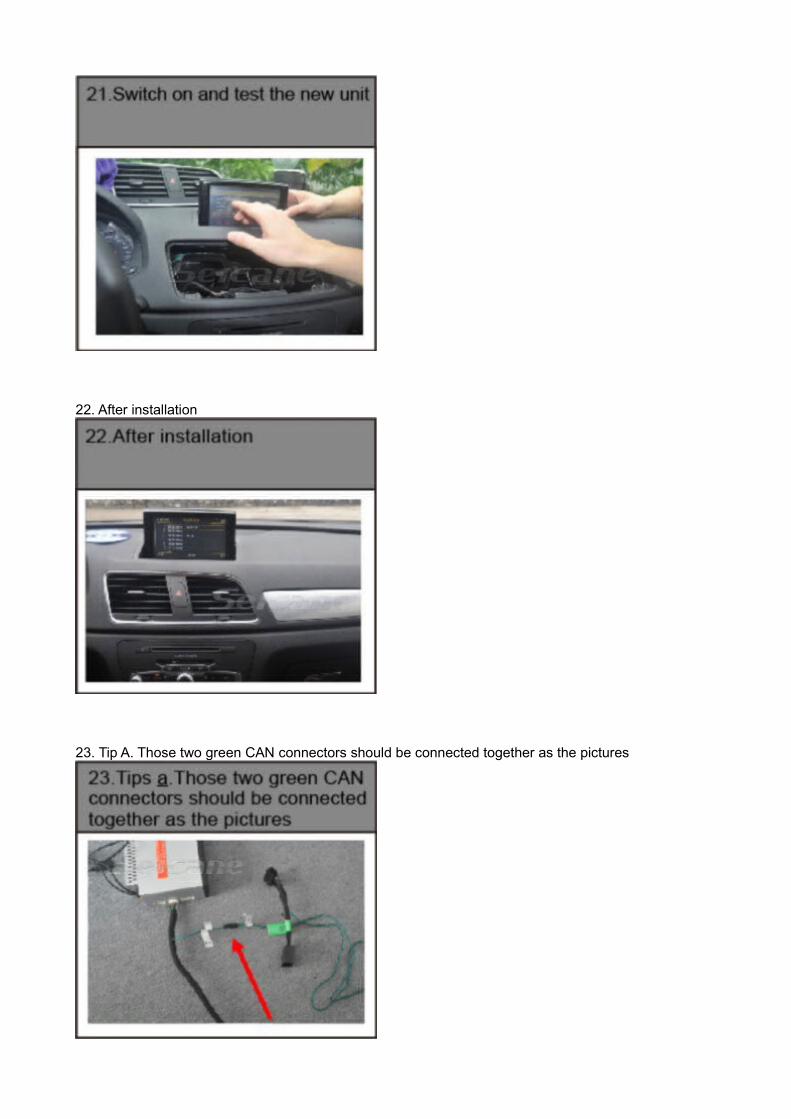
22. After installation
23. Tip A. Those two green CAN connectors should be connected together as the pictures

23. Tip B. Connect as the picture
23. Tip C. The cable marked “CAMERA+12V” is camera power supply, “CAMERA-IN” plug for camera
video input