presto mixer manual 2016 01 - MVP Group CorpMVP...
8
www.mvpgroupcorp.com PRESTO MIXER MANUAL VER. 2016-01 1 888-275-4538 FOR OPERATOR-DO NOT DISCARD PM-10 PM-20 PM-30
Transcript of presto mixer manual 2016 01 - MVP Group CorpMVP...

www.mvpgroupcorp.com
PRESTO MIXER MANUAL
VER. 2016-01
1 888-275-4538
FOR OPERATOR-DO NOT DISCARD
PM-10 PM-20 PM-30
PRESTO MIXER LIMITED WARRANTY
MVP GROUP (“PRESTO”) warrants to the original purchaser of new equipment that said equipment, when installed in accordance with our instructions within North America and subjected to normal use, is free from defects in material or workmanship for a period of 2 years on parts (excludes wear/expendable parts). The labor warranty is 1 year on labor from original installation, or 18 months from actual shipment date, whichever date occurs first.
This warranty is in lieu of all other warranties, whether express or implied. Presto expressly disclaims any implied warranty of merchantability or express or implied warranty of fitness for a particular purpose. Presto’s obligation and liability under this warranty is expressly limited to repairing and replacing equipment which proves to be defective in material or workmanship within the applicable warranty period.
MVP Group hereby states that: warranty travel time shall be limited to, and without exception, a round-trip total of two (2) hours OR mileage up to a maximum of one hundred (60) miles round-trip. Any charges exceeding those stated herein must have prior authorization by the factory. All repairs pursuant to this Warranty will be performed by an Authorized Designated PRESTO Service Location during normal working hours.
In no event shall presto be liable for incidental or consequential damages to buyer or any third party, including, without limitation, loss of property, personal injury, loss of business or profits or other economic losses, or statutory or exemplary damages, whether in negligence, warranty, strict liability, or otherwise.
This warranty is given only to the first purchaser from a retail dealer. No warranty is given to subsequent transferees. This warranty does not cover product malfunction caused by: failure to maintain, neglect, abuse, damage due to excess water, fire, normal wear, improper set up and use. Refer to mixer capacity chart. Periodic maintenance is not covered. This warranty is not in force until such time as a properly completed and signed installation/warranty registration or an online registration form has been received by PRESTO within 30 days from the date of installation. Register online at www. http://mvpgroupcorp.com/warranty.php.
The foregoing warranty provisions are a complete and exclusive statement between the buyer and seller. Presto neither assumes nor authorizes any persons to assume for it any other obligation or liability in connection with said equipment.
Example of items not covered under warranty, but not limited to just these items: 1. Acts of God, fire, water damage, vandalism, accident, theft. 2. Freight damage. 3. Improper installation or alteration of equipment. 4. Faults due to lack of regular maintenance. 5. Repairs made by anyone other than a PRESTO designated service agent. 6. Lubrication. 7. Expendable wear parts. (This includes the bowl, flat beater, wire whip, spiral dough hook.) 8. Cleaning of equipment. 9. Misuse or abuse. 10.Use of generic or after-market parts. 11. Usage beyond its capacity.
Models covered by this warranty: PM10, PM20, Pm30Exception: PM10 is Bench Warranty

IMPORTANT NOTES AND INSTRUCTIONS
TAKING POSSESSION OF YOUR MIXER
EXAMINE YOUR NEW MIXER FOR ANY SHIPPING DAMAGE. REPORT ANY SUCH DAMAGE TO THE CARRIER FOR COMPENSATION. EVERY MIXER HAS LEFT THE FACTORY FULLY TESTED AND INSPECTED. SHIPPING DAMAGE WHICH MAY OCCUR DURING TRANSIT IS THE RESPONSIBILITY OF PURCHASER.
Move the crated unit as close as possible to its permanent location. When ready to uncrate, carefully remove all crating. Carefully place the mixer to a permanent position.Unit must be installed on a solid, level surface.
INSTALLATION NOTES:Please ensure that during shipping none of the components have loosened. Select a location for the mixer keeping these points in mind: Floor or counter must be level. Easy access for maintenance and service. Clearance for operating controls, installing and removing agitators, bowl, or attachments. Sufficient space for adding ingredients during mixing periods.
TO AVOID SERIOUS PERSONAL INJURY:ALWAYS install equipment in work area with adequate light and space.ONLY operate the mixer on a solid, LEVEL, non-skid surface.NEVER bypass, alter, or modify this equipment in any way from its original condition. Doing so my create hazards and will void warranty.DO NOT attempt to lift the mixer alone.
PM-10 & PM-20The outlet must be 110 Volts and 15 Amps. It should be on a dedicated circuit, and the electrical installation should be grounded. The circuit breaker protecting this line should be adequately sized to protect the wires. The line on which the unit is connected should not operate anything else. The use of an extension cord is prohibited Never cut the ground pin.
PM-30The outlet must be 110 Volts and 20 Amps. It should be on a dedicated circuit, and the electrical installation should be grounded. The circuit breaker protecting this line should be adequately sized to protect the wires.
TO AVOID SERIOUS PERSONAL INJURY:DO NOT remove the bowl guard.DO NOT operate the mixer before reading the instruction manual first.ALWAYS disconnect or unplug electrical power before cleaning, servicing, or adjusting any parts or attachments.ALWAYS keep hands, hair, and clothing away from moving parts.

Emergency Stop Button
StartButton
SpeedLever
Bowl Lift
SafetyCage
PM-10
PM-20
ATTACHING THE BOWL TO THE MIXERNOTE: Install the bowl BEFORE attaching the agitators.1. Lower the bowl by pulling the bowl lift lever forward and down to its resting position2. Lift the bowl by the bowl handles and slowly position the locking pin (located on the rear of the bowl) into the hole in the middle rear of the cradle. Lower the bowl onto the pins located on either side of the bowl cradle.3. Once the bowl is positioned on the cradle, secure the bowl by pulling each bowl clampforward until the bowl is locked tight.
ATTACHING THE AGITATOR TO THE MIXER (i.e., Beater, Hook, Whip)NOTE: It is easier to install the agitator prior to adding the ingredients into the bowl.1. Rotate the bowl guard to the left so it rests in the open position. Excessive force used to open and close the bowl guard may damage the spring lock and bowl guard micro-switch, and will void the warranty.2. Slide the agitator slowly upwards onto the planetary shaft fitting the shaft pin through the slot in the agitator.3. Rotate the agitator clockwise to secure it onto the planetary shaft.

Emergency Stop Button
StartButton
SpeedLever
Bowl LiftLever
SafetyCage
PM-30
1 Bowl2 Guard3 Flat beater4 Dough hook5 Wire whip
MIXING INGREDIENTSFollow the capacity chart in this manual.Overloading or not following this chart will damage the mixer and void the warranty.Agitators should always rotate in a clockwise direction around the bowl. If the agitator moves Counter-clockwise, contact a MVP Group immediately to remedy incorrect wiring.
IMPORTANT: Make sure the speed control lever is on the first (1) speed.1. Add the appropriate mixing ingredients into the bowl.2. Lift completely up on the bowl lift lever until the bowl locks into position. 3. Rotate (PM-10, PM-20) or pull down (PM-30) the bowl guard so it is into the closed position.A clicking sound will be heard.NOTE: The mixer will not start if the bowl guard is open or the bowl is in the lowered position.4. Select the appropriate speed setting by lifting or lowering the speed control lever.

www.mvpgroupcorp.com
Always STOP the mixer BEFORE changing speeds! Failure to do so may damage the gears or other parts and WILL void the warranty!
Gear Speed Product Type/Ingredient1 (low) Heavy: mixing pizza, bread, pasta and donut dough, waffle/cake batter, mashing potatoes2 (medium) Medium: 2nd stage of mixing for donut dough, etc.3 (high) Light: whipping cream, egg whites, meringue
IMPORTANT: When mixing product always follow the recommended agitator and speed setting according to the capacity chart of this manual.Make sure the emergency switch is not engaged by either pushing(PM-10, PM-20) or turning and pulling it (PM-30). Press the green start button located on the middle of the control panel.
Model Volume of bowl Max. Flour Max. Dough
PM-10 10 QT. 4.5 LBS. 7.0 LBS - 60% WATER A/R
PM-20 20 QT. 9.0 LBS. 14.0 LBS. - 60% WATER A/R
PM-30 30 QT. 13.2 LBS. 21.0 LBS. - 60% WATER A/R
Product Attachment PM-30 PM-20 PM-10 speed
Bread or roll dough (heavy 55% AR) Dough Hook 27 lbs 18 lbs 9 lbs 2
Bread or roll dough (ligh/medium 60% AR) Dough Hook 36 lbs 23 lbs 11 LBS 2
Cup cake flat beater 22 dz 14 dz 7 dz
Egg & sugar for sponge cake flat beater 10 lbs 7 lbs 3.5 lbs 1
Egg white wire whip 3.5 cups 2 cups 1 cup
Layer cake flat beater 31 lbs 20 lbs 9 lbs
Mashed potatoes flat beater 18 qts 12 qts 6 qts
Mayonaise (qts oil) flat beater 8 qts 5 qts 2 qts
Medium pizza dough (50% AR) Dough Hook 30 lbs 20 lbs 10 lbs 1
Meringue (qts water) wire whip 1 1/2 cups 1 cup 1/2 cup
Pie dough flat beater 22 lbs 14 lbs 7 lbs
Pound cake flat beater 24 lbs 16 lbs 8 lbs
Raised donut dough (65% AR) Dough Hook 14 lbs 9 lbs 4 lbs 1
Sheet cake batter flat beater 20 lbs 14 lbs 6 lbs
Sugar cookie flat beater 45 dz 29 f=dz 14 dz
Thick pizza dough (60% AR) Dough Hook 30 lbs 20 lbs 10 lbs 2
Thin pizza dough (40% AR, 5minutes aximum mix time) Dough Hook 18 lbs 11 lbs 6 lbs 2
Waffle/pancake batter flat beater 11 qts 7 qts 3 qts
Whipped cream wire whip 6 qts 4 qts 2 qts
Whole wheat bread dough (70% AR) Dough Hook 30 lbs 20 lbs 10 lbs 2

MEAT GRINDER AND VEGETABLE ATTACHMENTS
HOW TO USE1. Before first use, wash all parts of Meat Grinder or Vegetable Shredder.2. Make sure the On/Off Switch is in the Off position.3. Secure attachment properly in the mixer hub (figure 1).4. Assemble the meat grinder / shredder attachment.5. Place a bowl or plate beneath the grinder tube to catch food.6. Switch appliance to On position. The Meat Grinder must ALWAYS be ON before adding food.7. Place food on the hopper and use pusher to feed food through opening. 8. NEVER mix and cut at the same time.
HELPFUL HINTS
•Grinding pieces of stale bread may help remove food residue left in the Meat Grinder after use.•Cut food into strips or cubes slightly smaller than the opening on the die-cast hopper.•Make sure food is free of bone, tough tendon, nutshells, etc., before grinding.•Freshly ground meat should be refrigerated and cooked within 24 hours.•During extended grinding, fats from meats can build up inside the grinder tube, slowing down grinding and straining the motor. If this happens, you should stop the MIXER, wash parts in hot water, and reassemble. When possible, alternate meat with bread. This helps keep the feed screw clean.
CLEANING AND MAINTENANCE
•Always unplug MIXER when not in use, before inserting or removing parts, and before cleaning.•Wash all parts except MIXER in hot soapy water, using care when handling the sharp blades.•Rinse these parts with clear hot water, then dry. •Wipe MIXER with a damp cloth. Do not use harsh or abrasive cleaners.
Figure 1
www.mvpgroupcorp.com
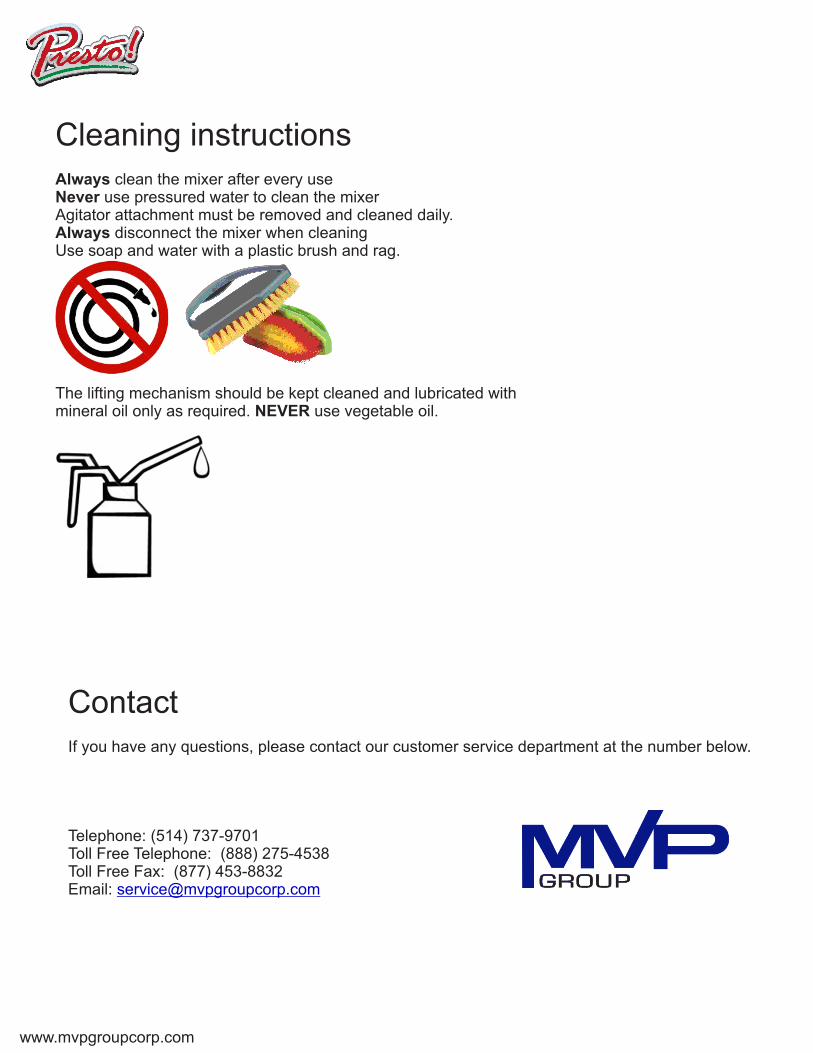
Cleaning instructionsAlways clean the mixer after every useNever use pressured water to clean the mixerAgitator attachment must be removed and cleaned daily.Always disconnect the mixer when cleaningUse soap and water with a plastic brush and rag.
The lifting mechanism should be kept cleaned and lubricated with mineral oil only as required. NEVER use vegetable oil.
ContactIf you have any questions, please contact our customer service department at the number below.
Telephone: (514) 737-9701 Toll Free Telephone: (888) 275-4538 Toll Free Fax: (877) 453-8832 Email: [email protected]