
Preserve It Fresh - Kansas State University · Preserve It Fresh, Preserve It Safe Volume 3, Issue...
2
Preserve It Fresh, Preserve It Safe Volume 3, Issue 6 November 2017 In the Midwest, we have a small window of time during which we can purchase and prepare fresh cranberries. Such limited availability makes enjoying your favorite fresh cranberry dish that much more special. Savor your fresh cranberries a bit longer by preparing a chutney to serve at your holiday gathering or give as a giſt. Chutney is a flavorful mixture of fruits, vegetables, spices, vinegar and sugar cooked down to a thick consistency that mounds on a spoon. As it cooks, the flavors of the mixture blend and develop. e result is a versatile condiment that you can use to accompany meat, as an ingredient in a dip or as a dip on its own. Chutney just adds that little something extra to a meal. Chutney Makes a Nice Homemade Gift Yield: 8 half-pint jars 24 ounces fresh, whole cranberries 2 cups chopped white onions 2 cups golden raisins 1½ cups white sugar 1½ cups packed brown sugar 2 cups white distilled vinegar (5 percent acidity) 1 cup orange juice 4 teaspoons peeled, grated fresh ginger 3 sticks (3 inches) cinnamon Rinse cranberries well. Combine all ingredients in a large, heavy pot. Bring to a boil over high heat. Reduce the heat and simmer gently for 15 minutes or until cranberries are tender, stirring oſten to prevent scorching. Remove cinnamon sticks and discard. Transfer the chutney into hot, half-pint jars, leaving ½ inch of headspace. Remove air bubbles and adjust headspace, if necessary. Clean jar rims with a dampened cloth. Adjust lids. Process 10 minutes in a boiling water or steam canner. Source: National Center for Home Food Preservation. n.d. Preparing and canning chutneys: Cranberry orange chutney. http://nchfp.uga.edu/how/can_06/cranberry_orange_ chutney.html Cranberry Orange Chutney an equal opportunity/ADA institution Local Contact Information:
Transcript of Preserve It Fresh - Kansas State University · Preserve It Fresh, Preserve It Safe Volume 3, Issue...
Preserve It Fresh, Preserve It SafeVolume 3, Issue 6 November 2017
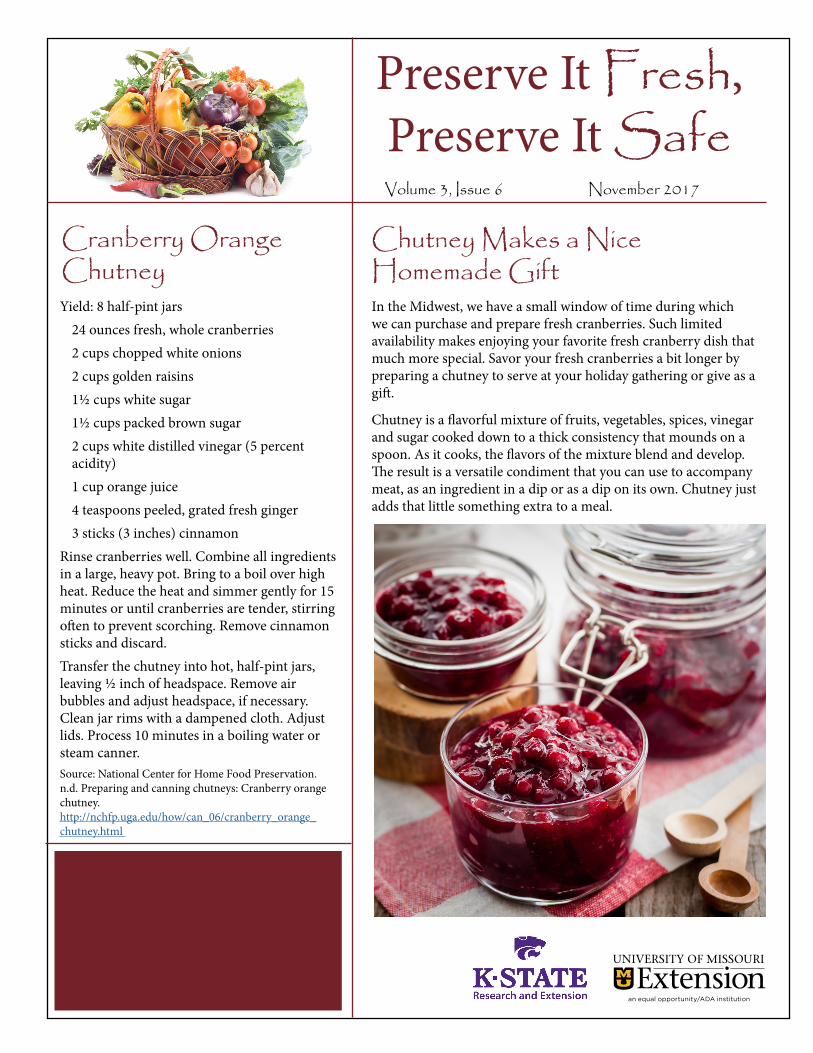
In the Midwest, we have a small window of time during which we can purchase and prepare fresh cranberries. Such limited availability makes enjoying your favorite fresh cranberry dish that much more special. Savor your fresh cranberries a bit longer by preparing a chutney to serve at your holiday gathering or give as a gift.
Chutney is a flavorful mixture of fruits, vegetables, spices, vinegar and sugar cooked down to a thick consistency that mounds on a spoon. As it cooks, the flavors of the mixture blend and develop. The result is a versatile condiment that you can use to accompany meat, as an ingredient in a dip or as a dip on its own. Chutney just adds that little something extra to a meal.
Chutney Makes a Nice Homemade Gift
Yield: 8 half-pint jars 24 ounces fresh, whole cranberries2 cups chopped white onions2 cups golden raisins1½ cups white sugar1½ cups packed brown sugar2 cups white distilled vinegar (5 percent acidity)1 cup orange juice4 teaspoons peeled, grated fresh ginger3 sticks (3 inches) cinnamon
Rinse cranberries well. Combine all ingredients in a large, heavy pot. Bring to a boil over high heat. Reduce the heat and simmer gently for 15 minutes or until cranberries are tender, stirring often to prevent scorching. Remove cinnamon sticks and discard.Transfer the chutney into hot, half-pint jars, leaving ½ inch of headspace. Remove air bubbles and adjust headspace, if necessary. Clean jar rims with a dampened cloth. Adjust lids. Process 10 minutes in a boiling water or steam canner.Source: National Center for Home Food Preservation. n.d. Preparing and canning chutneys: Cranberry orange chutney.http://nchfp.uga.edu/how/can_06/cranberry_orange_chutney.html
Cranberry Orange Chutney
an equal opportunity/ADA institution
Local Contact Information:
University of Missouri Extension University of Missouri, Lincoln University, U.S. Department of Agriculture and Local Extension Councils Cooperating. MU Extension is an equal opportunity/access/affirmative action/pro-disabled and
veteran employer.
Kansas State University Agricultural Experiment Station and Cooperative Extension ServiceKansas State University, County Extension Councils, Extension Districts, and U.S. Department of Agriculture Cooperating. K-State Research and Extension is an equal opportunity provider and employer.
Chipotle Jerky Marinade
Freezing Sweet Potatoes
Who Needs More Cookies? Make Jerky to Give at Holidays
¼ cup toasted cumin seeds3 chipotles in adobe sauce4 garlic cloves2 teaspoons large granular salt½ cup lime juice⅓ cup firmly packed dark brown sugarSources: Collins Lewis, Keri. 2013. Make your own beef or venison jerky gifts. Mississippi State University Extension. December 10. http://extension.msstate.edu/news/feature-story/2013/make-your-own-beef-or-venison-jerky-gifts.Mills-Gray, Susan. 2015. Quality for keeps: How to dry foods at home. University of Missouri Extension. Last revised May. http://extension.missouri.edu/p/GH1563. Jarden Home Brands. 2016. The all new Ball book of canning and preserving: Over 350 of the best canned, jammed, pickled, and preserved recipes. New York: Oxmoor House.
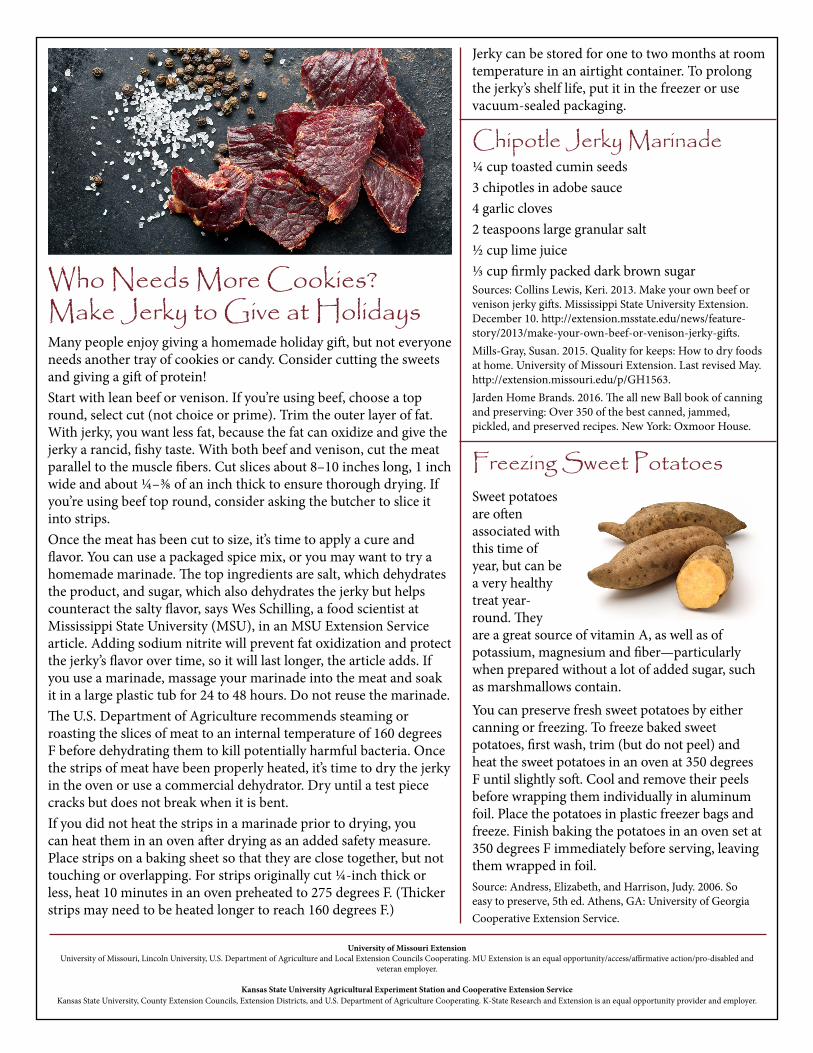
Sweet potatoes are often associated with this time of year, but can be a very healthy treat year-round. They are a great source of vitamin A, as well as of potassium, magnesium and fiber—particularly when prepared without a lot of added sugar, such as marshmallows contain.You can preserve fresh sweet potatoes by either canning or freezing. To freeze baked sweet potatoes, first wash, trim (but do not peel) and heat the sweet potatoes in an oven at 350 degrees F until slightly soft. Cool and remove their peels before wrapping them individually in aluminum foil. Place the potatoes in plastic freezer bags and freeze. Finish baking the potatoes in an oven set at 350 degrees F immediately before serving, leaving them wrapped in foil.Source: Andress, Elizabeth, and Harrison, Judy. 2006. So easy to preserve, 5th ed. Athens, GA: University of Georgia Cooperative Extension Service.
Jerky can be stored for one to two months at room temperature in an airtight container. To prolong the jerky’s shelf life, put it in the freezer or use vacuum-sealed packaging.
Many people enjoy giving a homemade holiday gift, but not everyone needs another tray of cookies or candy. Consider cutting the sweets and giving a gift of protein!Start with lean beef or venison. If you’re using beef, choose a top round, select cut (not choice or prime). Trim the outer layer of fat. With jerky, you want less fat, because the fat can oxidize and give the jerky a rancid, fishy taste. With both beef and venison, cut the meat parallel to the muscle fibers. Cut slices about 8–10 inches long, 1 inch wide and about ¼–⅜ of an inch thick to ensure thorough drying. If you’re using beef top round, consider asking the butcher to slice it into strips.Once the meat has been cut to size, it’s time to apply a cure and flavor. You can use a packaged spice mix, or you may want to try a homemade marinade. The top ingredients are salt, which dehydrates the product, and sugar, which also dehydrates the jerky but helps counteract the salty flavor, says Wes Schilling, a food scientist at Mississippi State University (MSU), in an MSU Extension Service article. Adding sodium nitrite will prevent fat oxidization and protect the jerky’s flavor over time, so it will last longer, the article adds. If you use a marinade, massage your marinade into the meat and soak it in a large plastic tub for 24 to 48 hours. Do not reuse the marinade.The U.S. Department of Agriculture recommends steaming or roasting the slices of meat to an internal temperature of 160 degrees F before dehydrating them to kill potentially harmful bacteria. Once the strips of meat have been properly heated, it’s time to dry the jerky in the oven or use a commercial dehydrator. Dry until a test piece cracks but does not break when it is bent. If you did not heat the strips in a marinade prior to drying, you can heat them in an oven after drying as an added safety measure. Place strips on a baking sheet so that they are close together, but not touching or overlapping. For strips originally cut ¼-inch thick or less, heat 10 minutes in an oven preheated to 275 degrees F. (Thicker strips may need to be heated longer to reach 160 degrees F.)