Photoshop Lightroom Tips - Photo Arts Club of Toledo · Adobe Photoshop Lightroom ... •Additional...
31
Introduction to Adobe Photoshop Lightroom Photo Arts Club of Toledo Photoshop Lightroom Group
Transcript of Photoshop Lightroom Tips - Photo Arts Club of Toledo · Adobe Photoshop Lightroom ... •Additional...

Introduction toAdobe Photoshop Lightroom
Photo Arts Club of Toledo
Photoshop Lightroom Group
What is Lightroom?
• From Wikipedia:• Adobe Photoshop Lightroom is a photo editing and management computer
program developed by Adobe Systems for Windows and OS X• Designed to assist users in managing large quantities of digital images and doing post
production work.
• Lightroom combines photo management and editing in one interface.
• Lightroom and Photoshop share many of the same photo editing capabilities but with very different strengths, namely Lightroom's non-destructive behavior and Photoshop's ability to layer and manipulate specific elements of an image.
• It Is not a file browser like Adobe Bridge, but rather an image management application database which helps in viewing, editing, and managing digital photos.
• Lightroom's closest competitor is Apple's Aperture program which similarly provides photo management and non-destructive editing capabilities.
Lightroom Background
• Seven years old• Initial codename “Shadowland”• Major developer: Mark Hamburg• Adobe purchased “RawShooter” from Pixmantec in 2006• Beta tested in 2006• First commercial release in 2007• Latest version – 6.0 (CC)
• Used by over one third of all American professional photographers
• Non destructive
• Workflow management
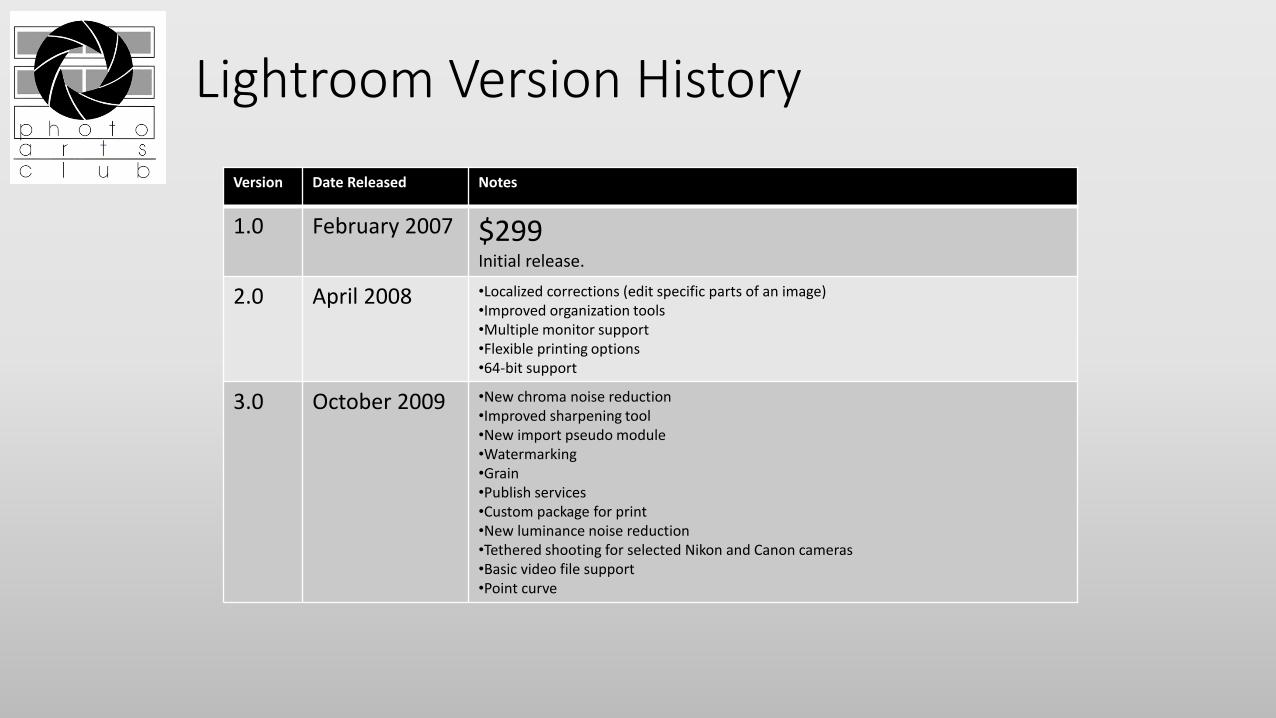
Lightroom Version History
Version Date Released Notes
1.0 February 2007 $299 Initial release.
2.0 April 2008 •Localized corrections (edit specific parts of an image)•Improved organization tools•Multiple monitor support•Flexible printing options•64-bit support
3.0 October 2009 •New chroma noise reduction•Improved sharpening tool•New import pseudo module•Watermarking•Grain•Publish services•Custom package for print•New luminance noise reduction•Tethered shooting for selected Nikon and Canon cameras•Basic video file support•Point curve
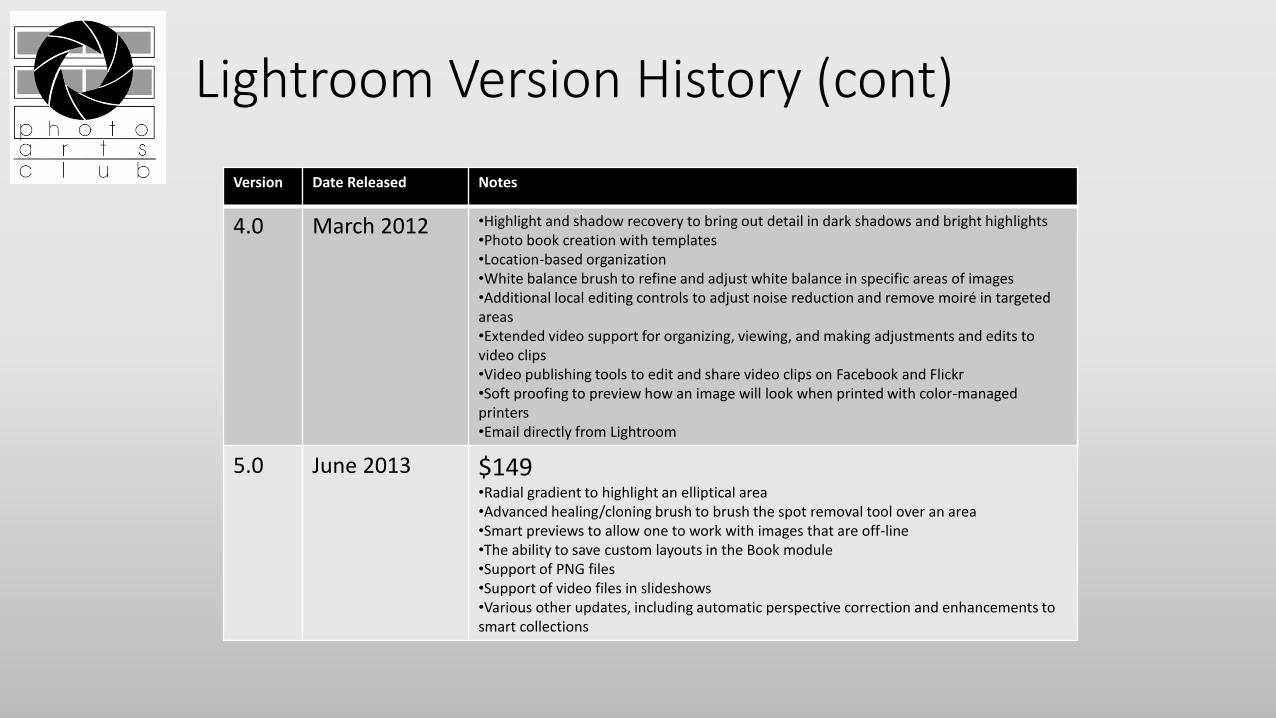
Lightroom Version History (cont)
Version Date Released Notes
4.0 March 2012 •Highlight and shadow recovery to bring out detail in dark shadows and bright highlights•Photo book creation with templates•Location-based organization•White balance brush to refine and adjust white balance in specific areas of images•Additional local editing controls to adjust noise reduction and remove moiré in targeted areas•Extended video support for organizing, viewing, and making adjustments and edits to video clips•Video publishing tools to edit and share video clips on Facebook and Flickr•Soft proofing to preview how an image will look when printed with color-managed printers•Email directly from Lightroom
5.0 June 2013 $149•Radial gradient to highlight an elliptical area•Advanced healing/cloning brush to brush the spot removal tool over an area•Smart previews to allow one to work with images that are off-line•The ability to save custom layouts in the Book module•Support of PNG files•Support of video files in slideshows•Various other updates, including automatic perspective correction and enhancements to smart collections
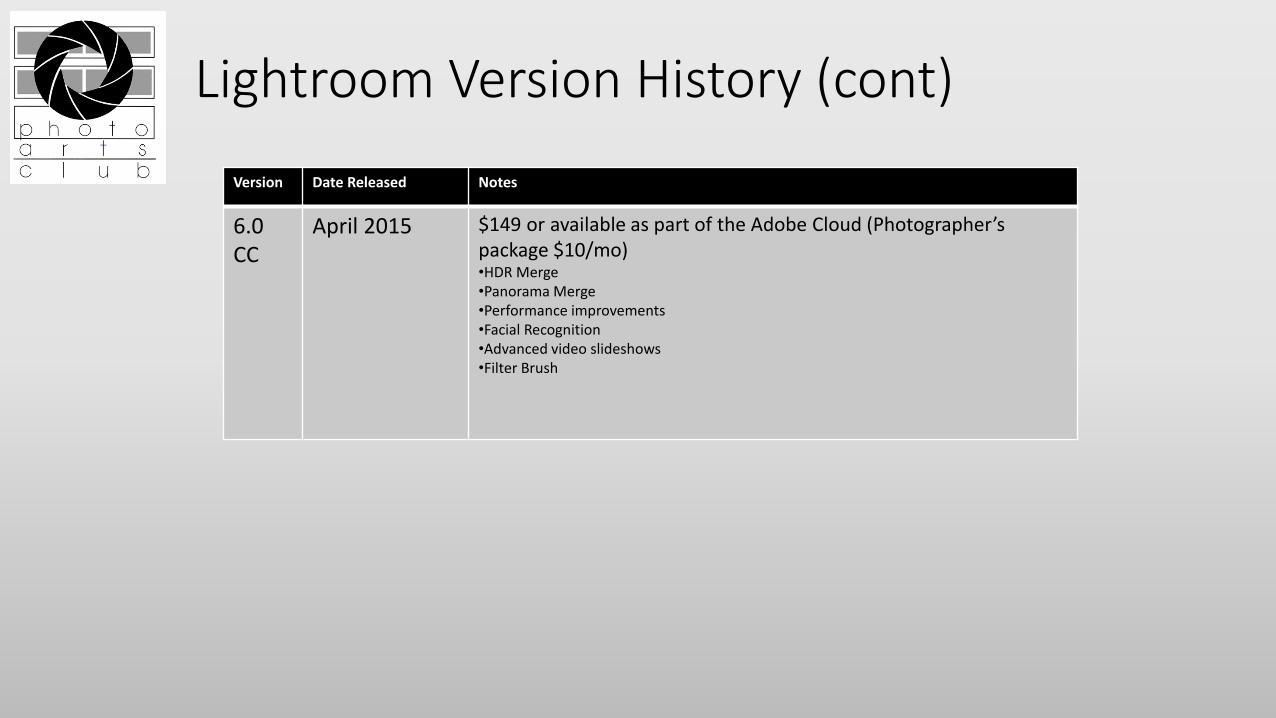
Lightroom Version History (cont)
Version Date Released Notes
6.0CC
April 2015 $149 or available as part of the Adobe Cloud (Photographer’s package $10/mo)•HDR Merge•Panorama Merge•Performance improvements•Facial Recognition•Advanced video slideshows•Filter Brush

Why Use Lightroom?
• Complete photography workflow program• Catalog management
• Non-destructive post processing
• Flexible output options: export, print, slideshow, web
• Tight integration with other software, i.e., Elements, Photoshop, ProShow, OnOne, etc.
Post Processing
• The ”guts” of Lightroom is its post processing power. It utilizes the same “Adobe Camera Raw” (ACR) engine that is part of the Photoshop CS6 (or PS CC).
• All post processing in LR is non-destructive. There are no changes made to the original photograph, whether it is in RAW or JPG format.
• Very easy to apply changes to multiple photos.
• “Presets” enable quick and consistent post processing.
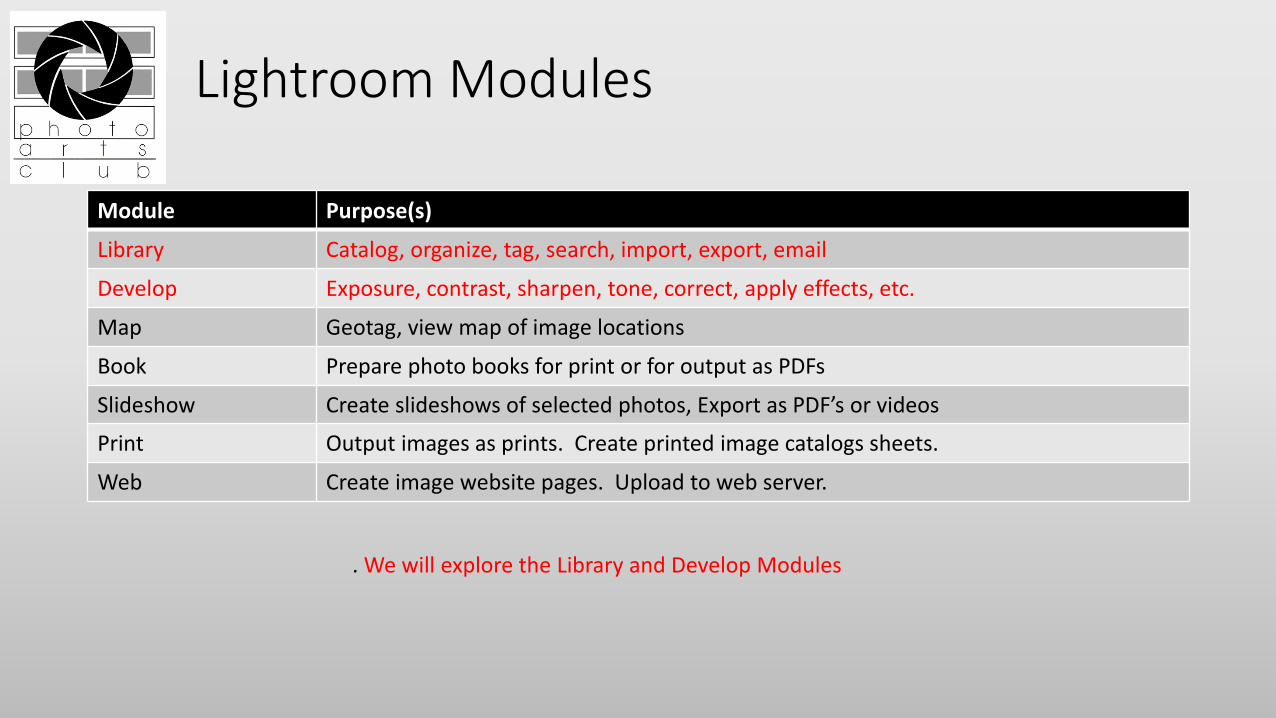
Lightroom Modules
Module Purpose(s)
Library Catalog, organize, tag, search, import, export, email
Develop Exposure, contrast, sharpen, tone, correct, apply effects, etc.
Map Geotag, view map of image locations
Book Prepare photo books for print or for output as PDFs
Slideshow Create slideshows of selected photos, Export as PDF’s or videos
Print Output images as prints. Create printed image catalogs sheets.
Web Create image website pages. Upload to web server.
. We will explore the Library and Develop Modules
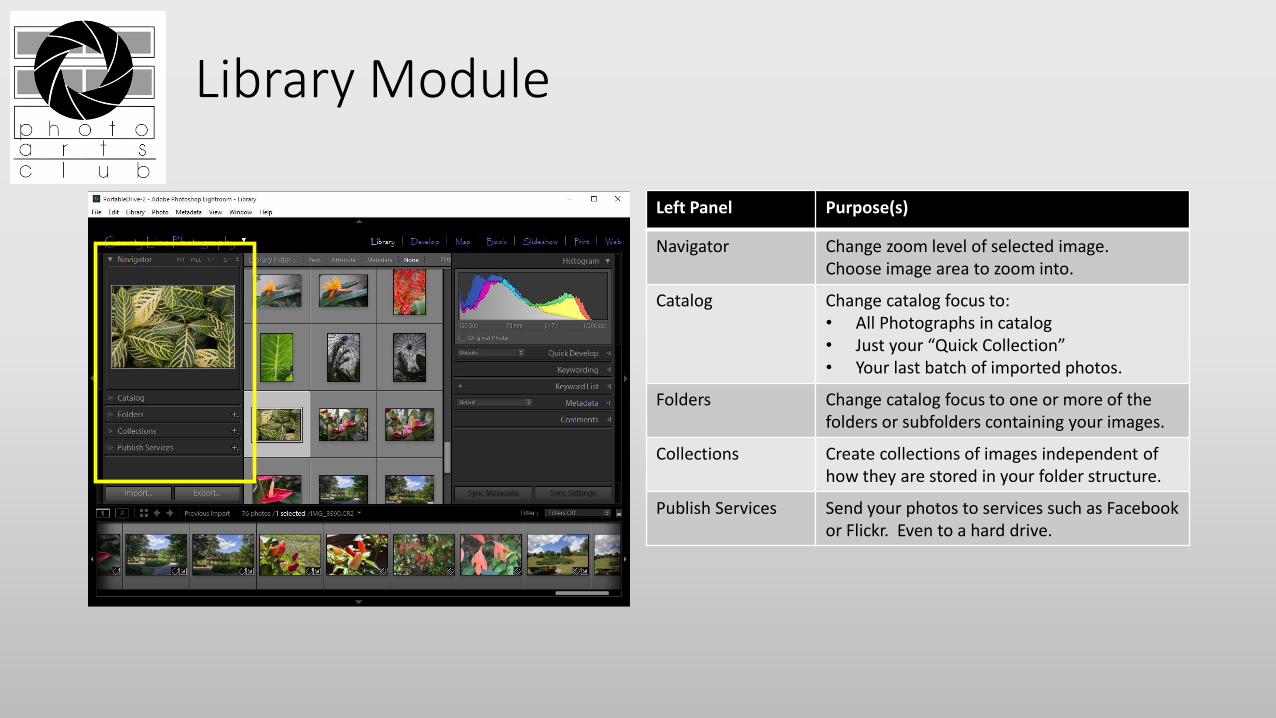
Library Module
Left Panel Purpose(s)
Navigator Change zoom level of selected image.Choose image area to zoom into.
Catalog Change catalog focus to:• All Photographs in catalog• Just your “Quick Collection”• Your last batch of imported photos.
Folders Change catalog focus to one or more of the folders or subfolders containing your images.
Collections Create collections of images independent of how they are stored in your folder structure.
Publish Services Send your photos to services such as Facebookor Flickr. Even to a hard drive.
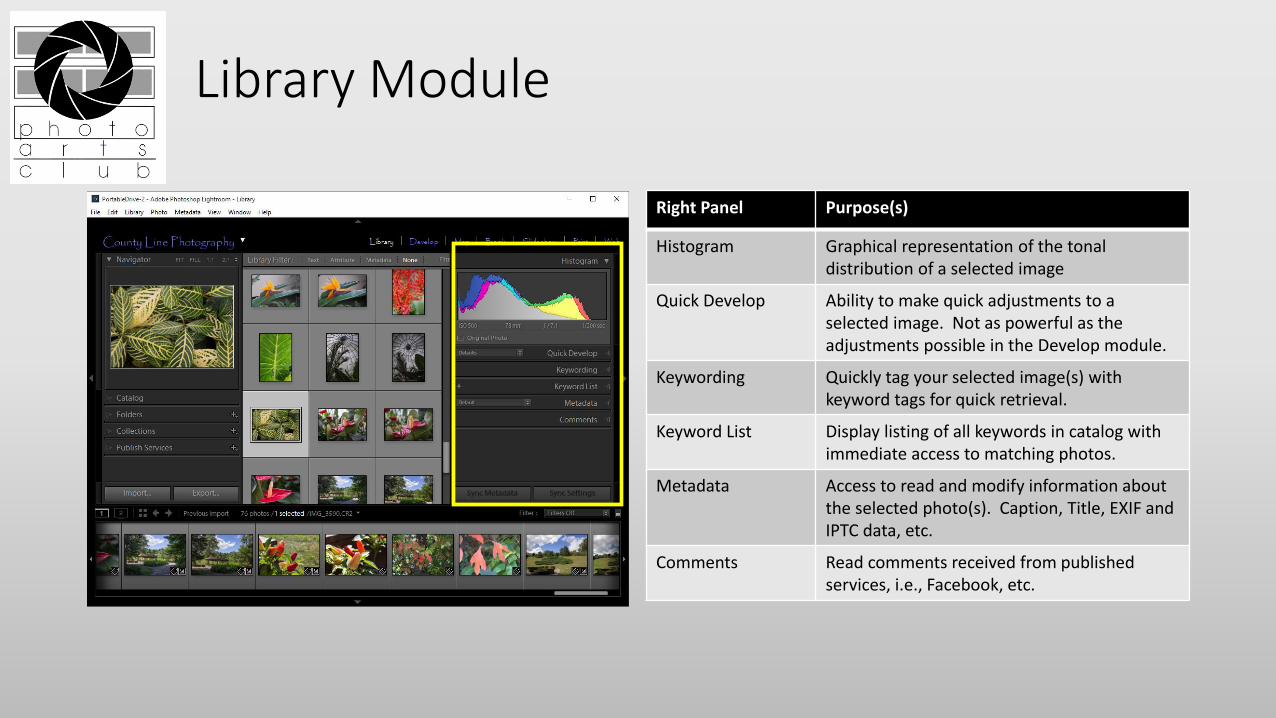
Library Module
Right Panel Purpose(s)
Histogram Graphical representation of the tonal distribution of a selected image
Quick Develop Ability to make quick adjustments to a selected image. Not as powerful as the adjustments possible in the Develop module.
Keywording Quickly tag your selected image(s) with keyword tags for quick retrieval.
Keyword List Display listing of all keywords in catalog with immediate access to matching photos.
Metadata Access to read and modify information about the selected photo(s). Caption, Title, EXIF and IPTC data, etc.
Comments Read comments received from published services, i.e., Facebook, etc.
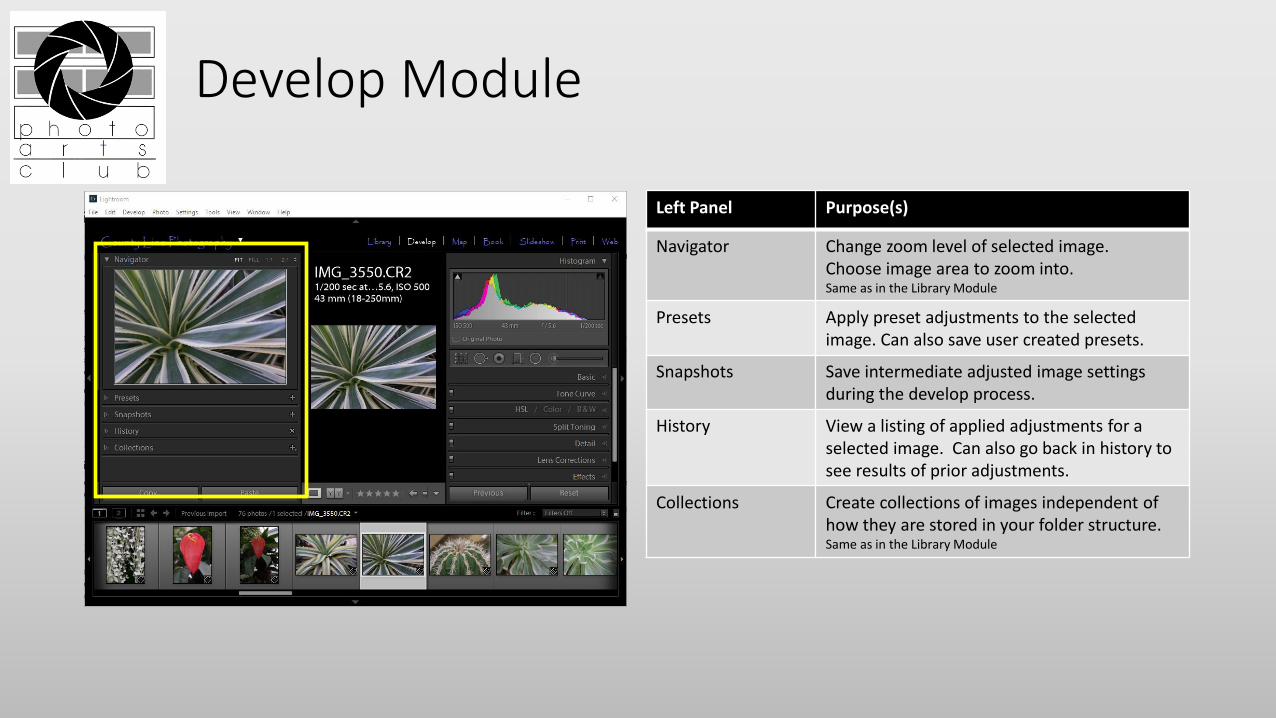
Develop Module
Left Panel Purpose(s)
Navigator Change zoom level of selected image.Choose image area to zoom into. Same as in the Library Module
Presets Apply preset adjustments to the selected image. Can also save user created presets.
Snapshots Save intermediate adjusted image settings during the develop process.
History View a listing of applied adjustments for a selected image. Can also go back in history to see results of prior adjustments.
Collections Create collections of images independent of how they are stored in your folder structure.Same as in the Library Module
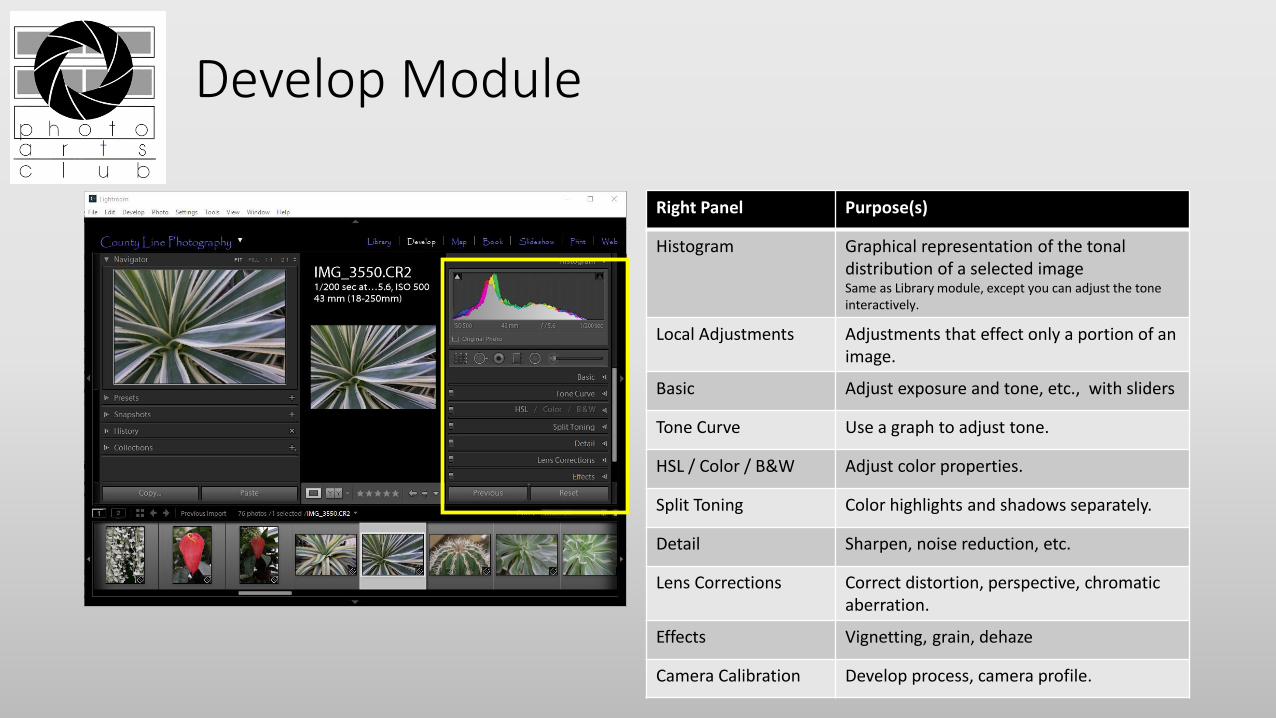
Develop Module
Right Panel Purpose(s)
Histogram Graphical representation of the tonal distribution of a selected imageSame as Library module, except you can adjust the tone interactively.
Local Adjustments Adjustments that effect only a portion of an image.
Basic Adjust exposure and tone, etc., with sliders
Tone Curve Use a graph to adjust tone.
HSL / Color / B&W Adjust color properties.
Split Toning Color highlights and shadows separately.
Detail Sharpen, noise reduction, etc.
Lens Corrections Correct distortion, perspective, chromatic aberration.
Effects Vignetting, grain, dehaze
Camera Calibration Develop process, camera profile.

Histogram
Similar to the histogram on your camera.
The chart is split into fiveareas which correspond to the settings in the “Basic” section:
BlacksShadowsExposureHighlightsWhites
You can adjust the photo by sliding each section to the left (darken) or right (lighten)
The sliders in the “Basic” section will move in sync.
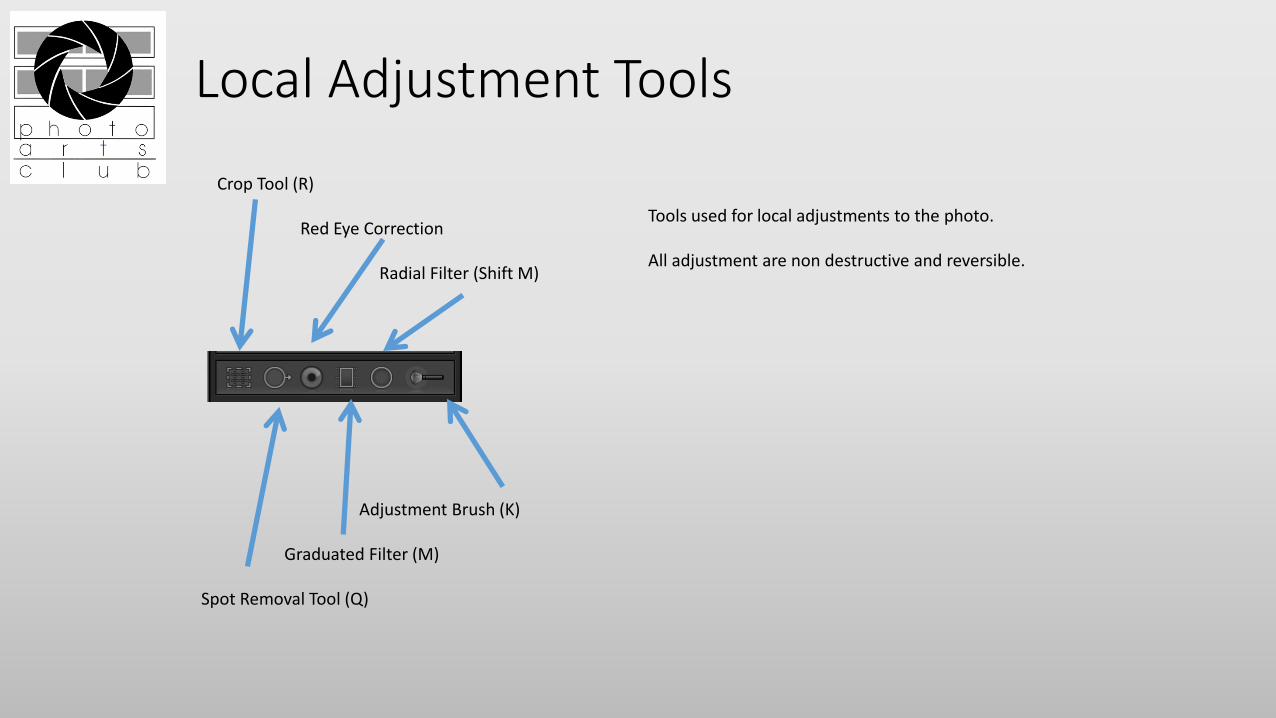
Local Adjustment Tools
Tools used for local adjustments to the photo.
All adjustment are non destructive and reversible.
Adjustment Brush (K)
Graduated Filter (M)
Spot Removal Tool (Q)
Crop Tool (R)
Red Eye Correction
Radial Filter (Shift M)
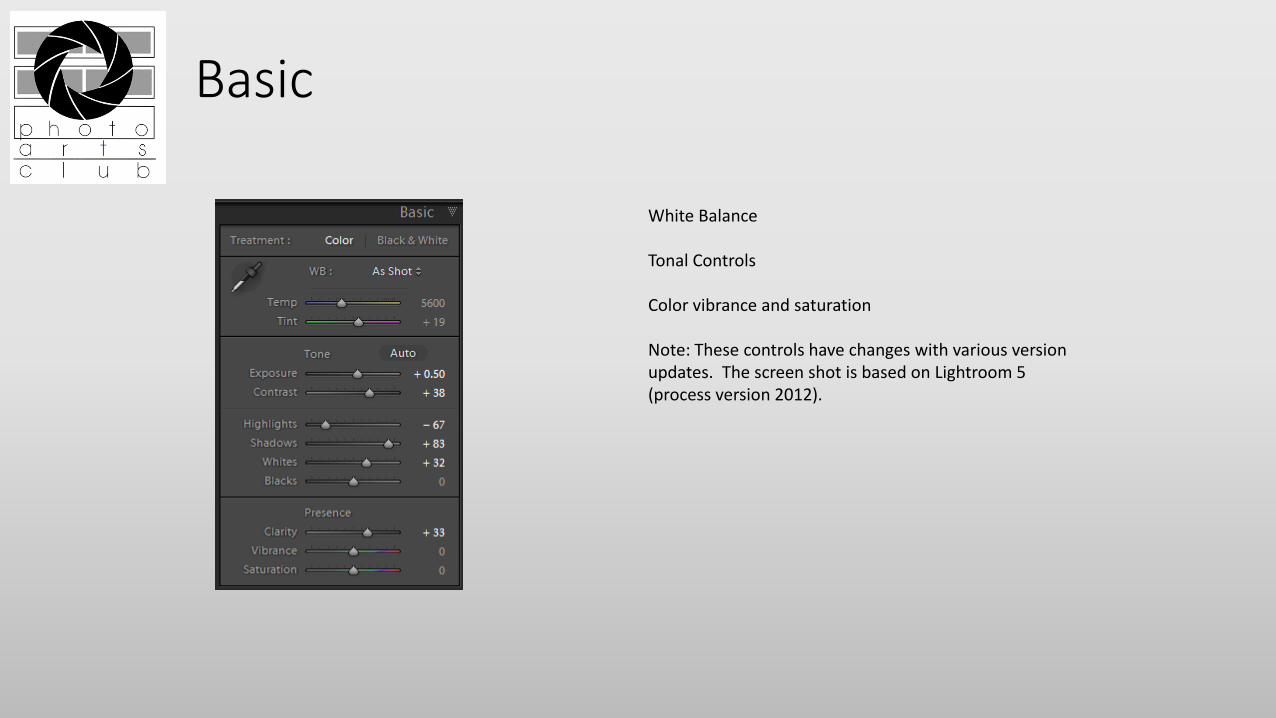
Basic
White Balance
Tonal Controls
Color vibrance and saturation
Note: These controls have changes with various version updates. The screen shot is based on Lightroom 5 (process version 2012).
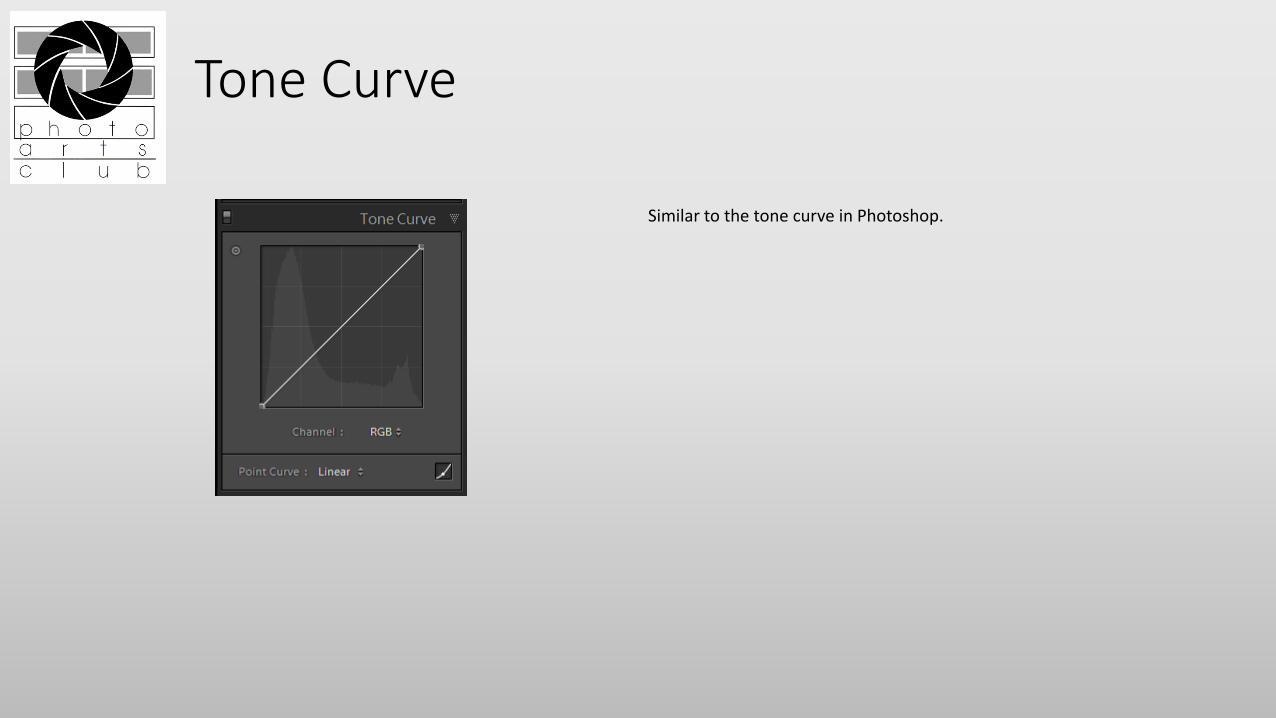
Tone Curve
Similar to the tone curve in Photoshop.
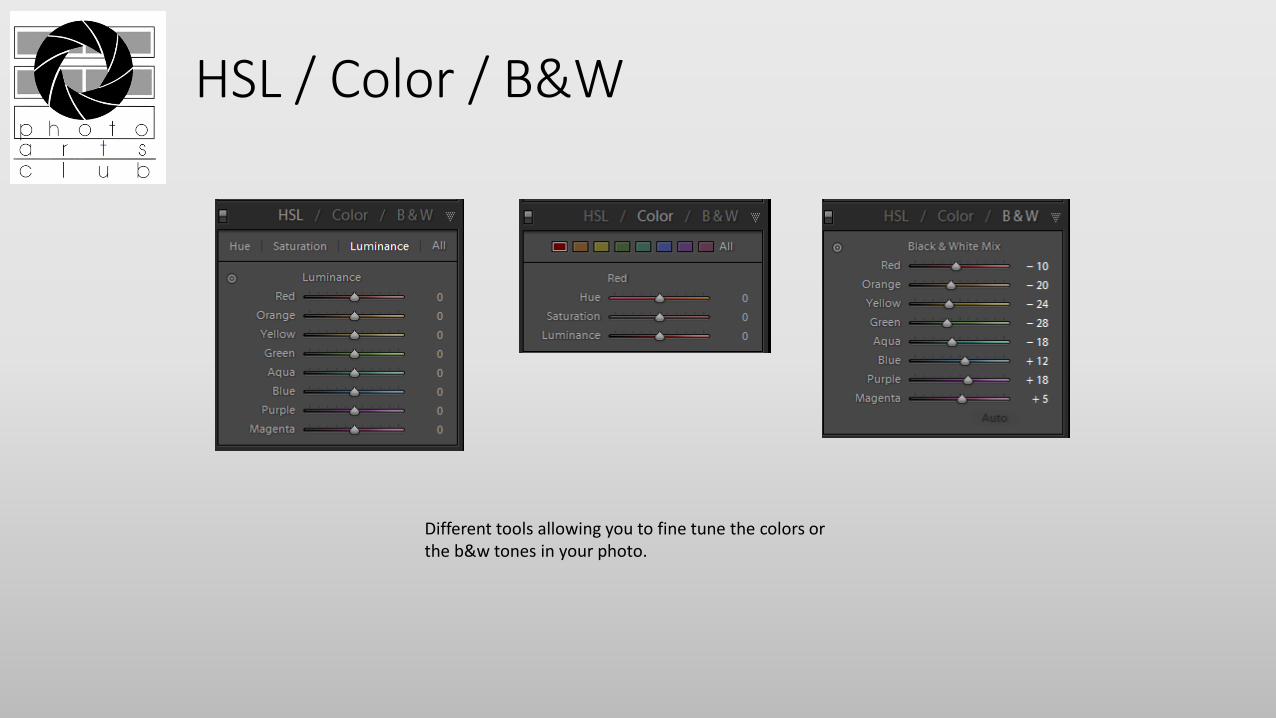
HSL / Color / B&W
Different tools allowing you to fine tune the colors or the b&w tones in your photo.
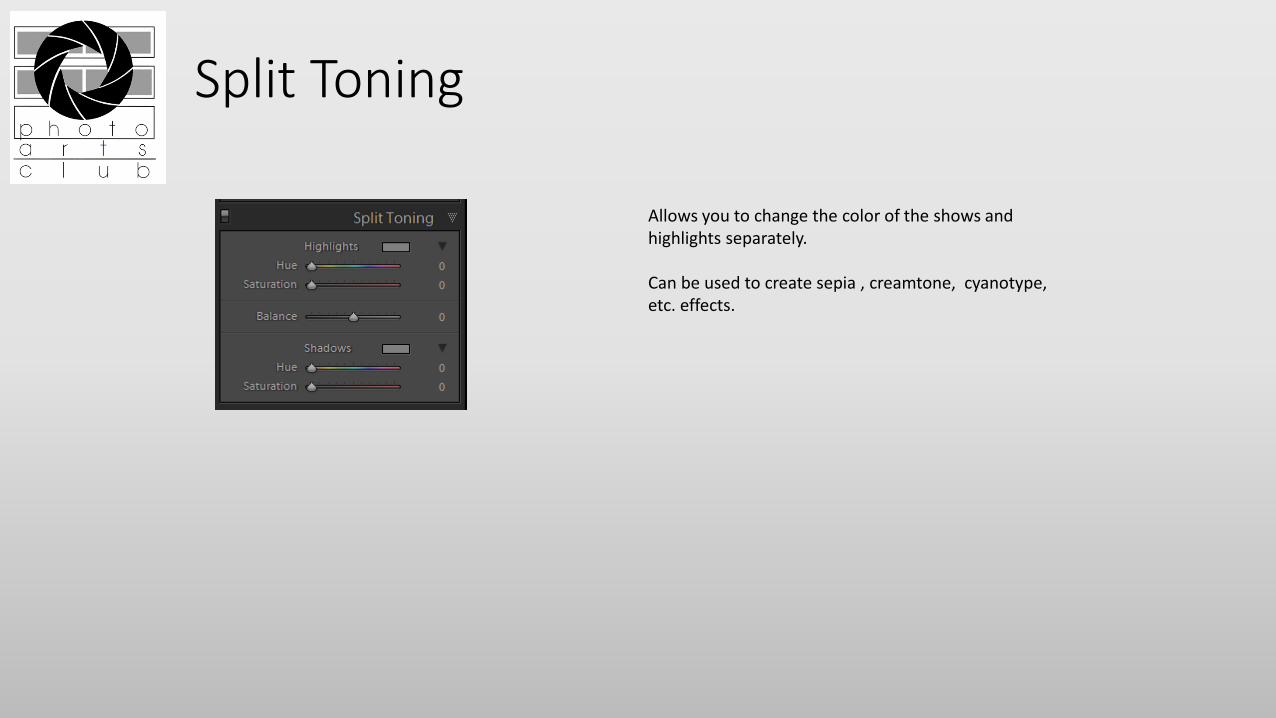
Split Toning
Allows you to change the color of the shows and highlights separately.
Can be used to create sepia , creamtone, cyanotype, etc. effects.
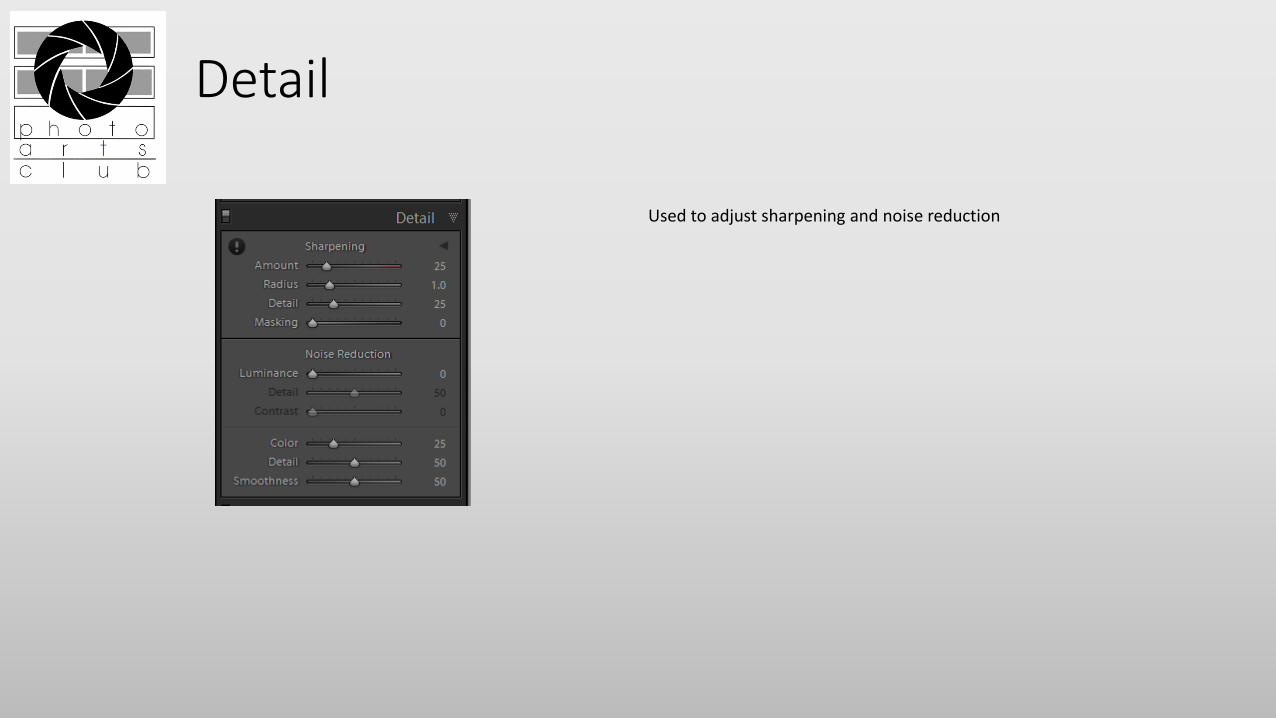
Detail
Used to adjust sharpening and noise reduction
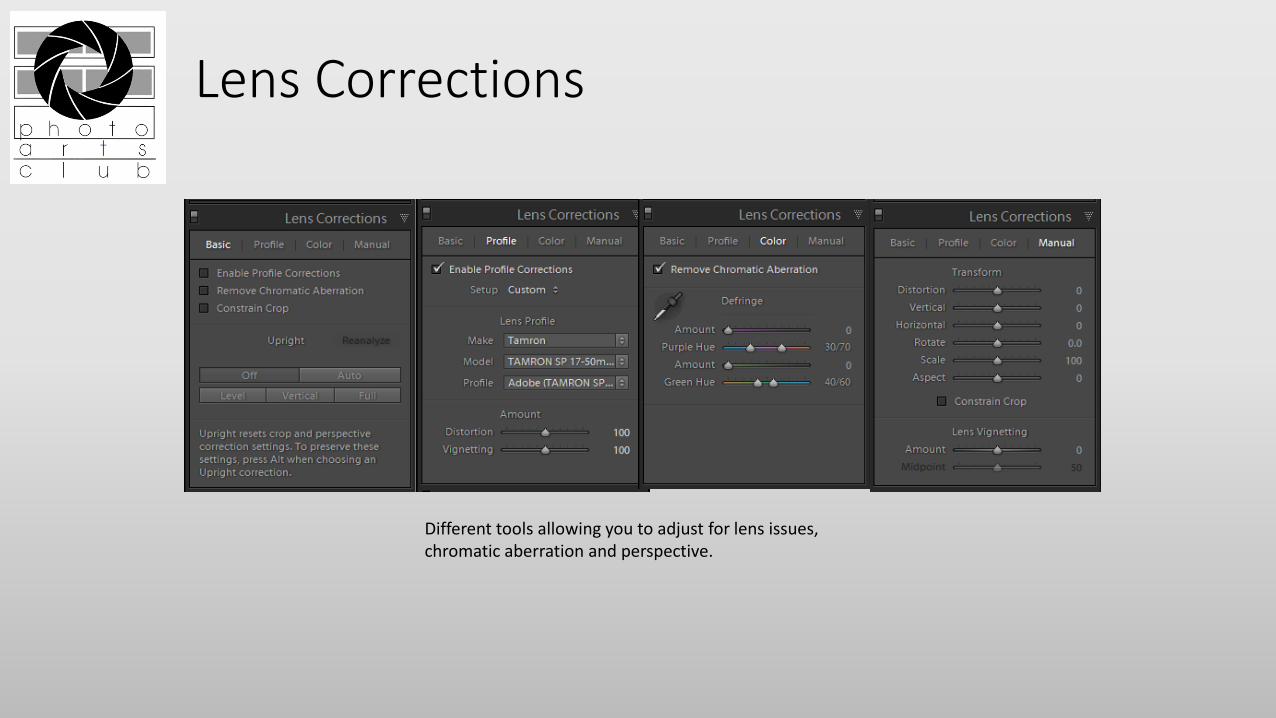
Lens Corrections
Different tools allowing you to adjust for lens issues, chromatic aberration and perspective.

Effects
Easily add a vignette to your photo that is applied to the cropped. The vignette will be reapplied if the image is subsequently re-cropped differently.
Add grain to your photo for effect.
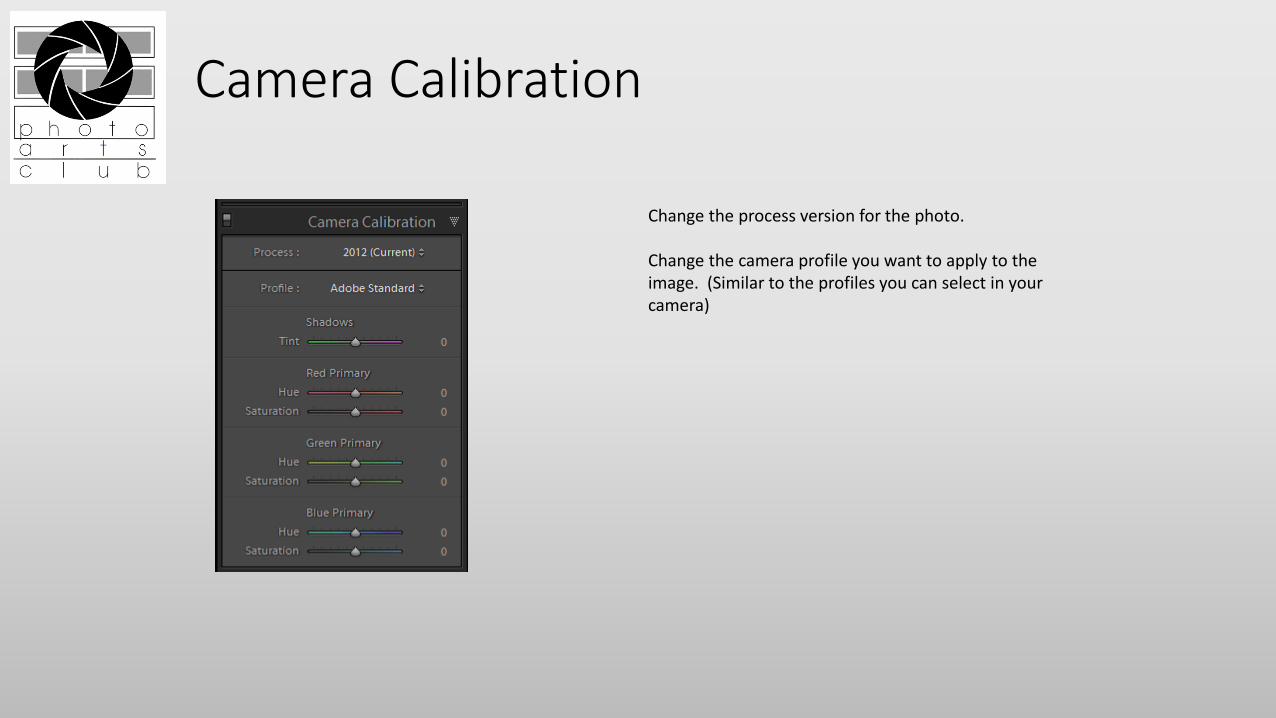
Camera Calibration
Change the process version for the photo.
Change the camera profile you want to apply to the image. (Similar to the profiles you can select in your camera)
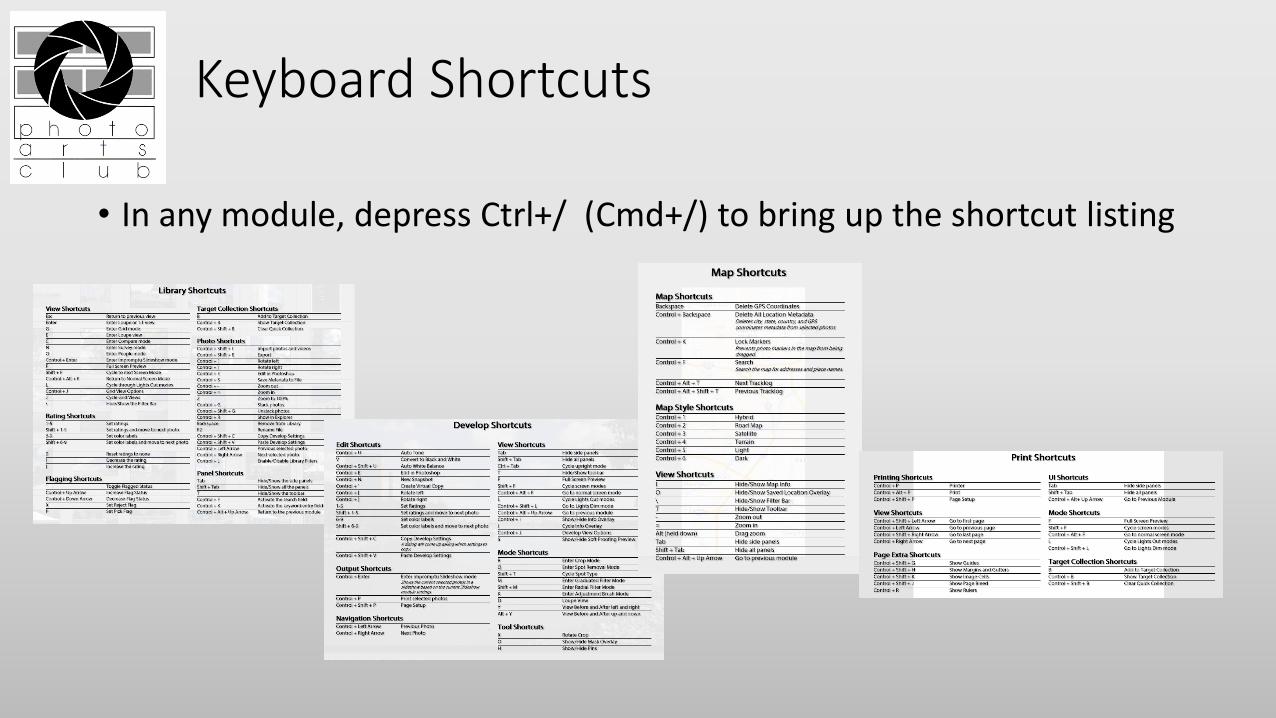
Keyboard Shortcuts
• In any module, depress Ctrl+/ (Cmd+/) to bring up the shortcut listing
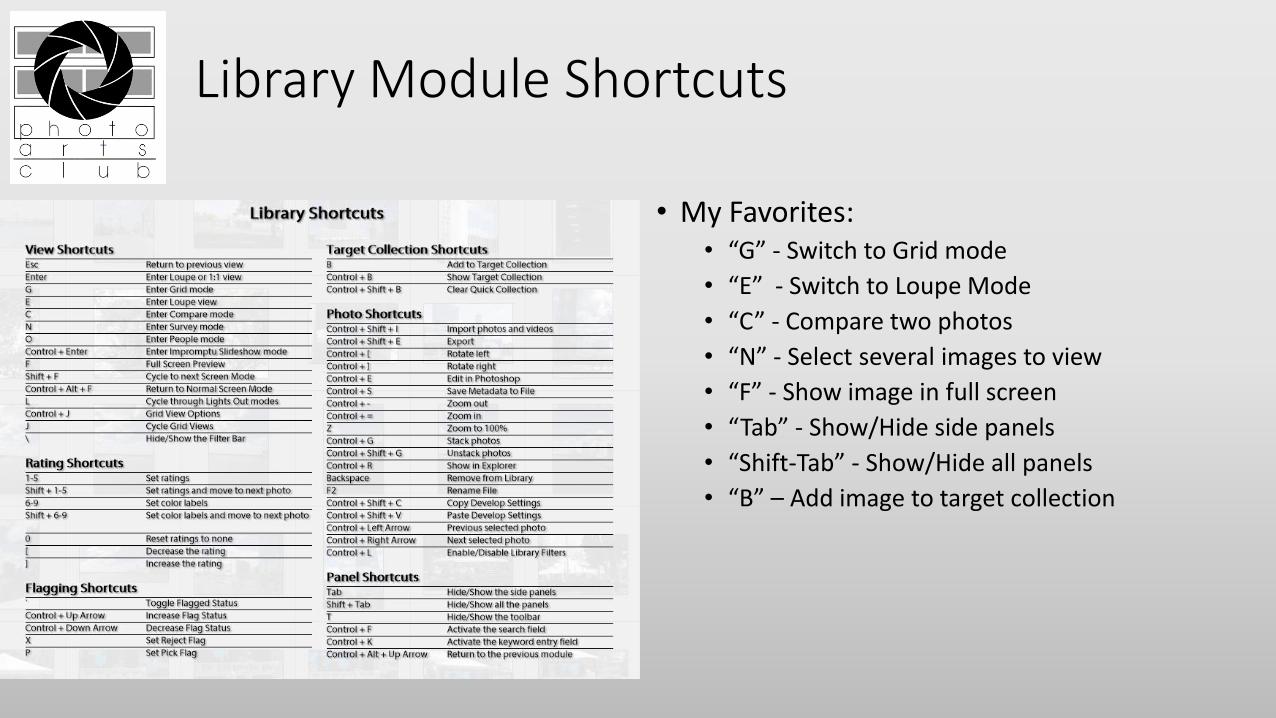
Library Module Shortcuts
• My Favorites:• “G” - Switch to Grid mode
• “E” - Switch to Loupe Mode
• “C” - Compare two photos
• “N” - Select several images to view
• “F” - Show image in full screen
• “Tab” - Show/Hide side panels
• “Shift-Tab” - Show/Hide all panels
• “B” – Add image to target collection
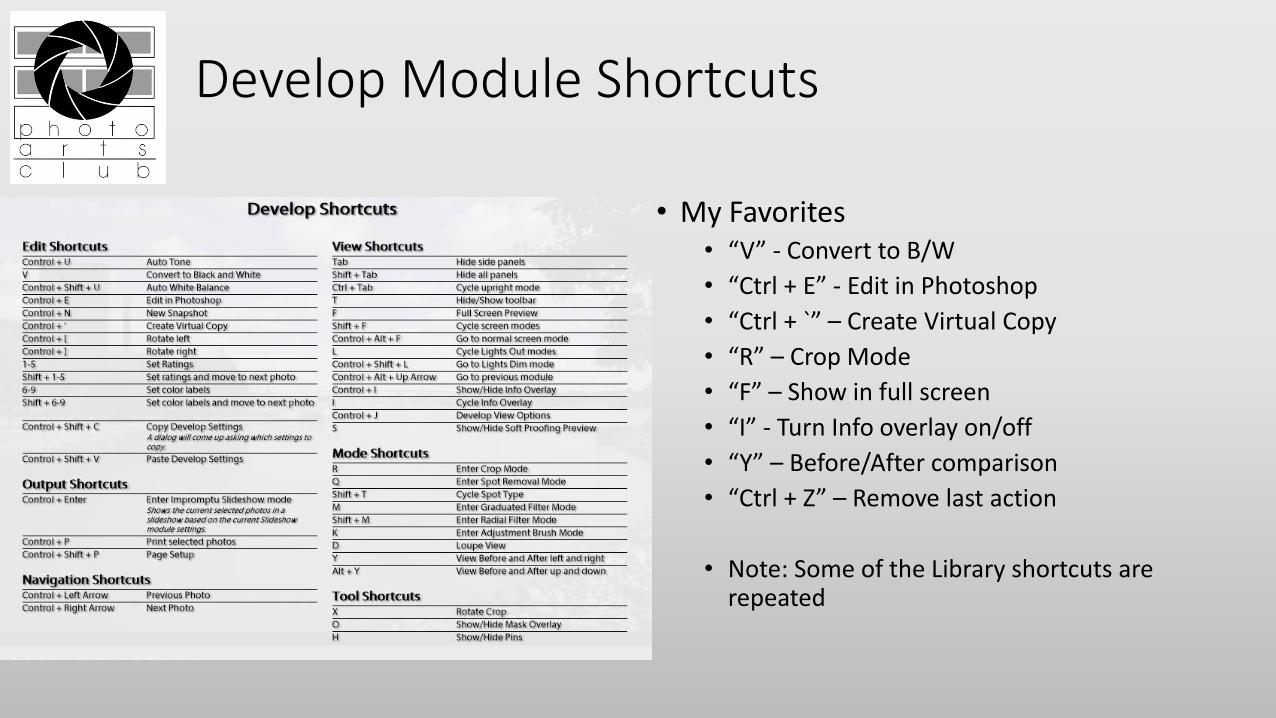
Develop Module Shortcuts
• My Favorites• “V” - Convert to B/W
• “Ctrl + E” - Edit in Photoshop
• “Ctrl + `” – Create Virtual Copy
• “R” – Crop Mode
• “F” – Show in full screen
• “I” - Turn Info overlay on/off
• “Y” – Before/After comparison
• “Ctrl + Z” – Remove last action
• Note: Some of the Library shortcuts are repeated
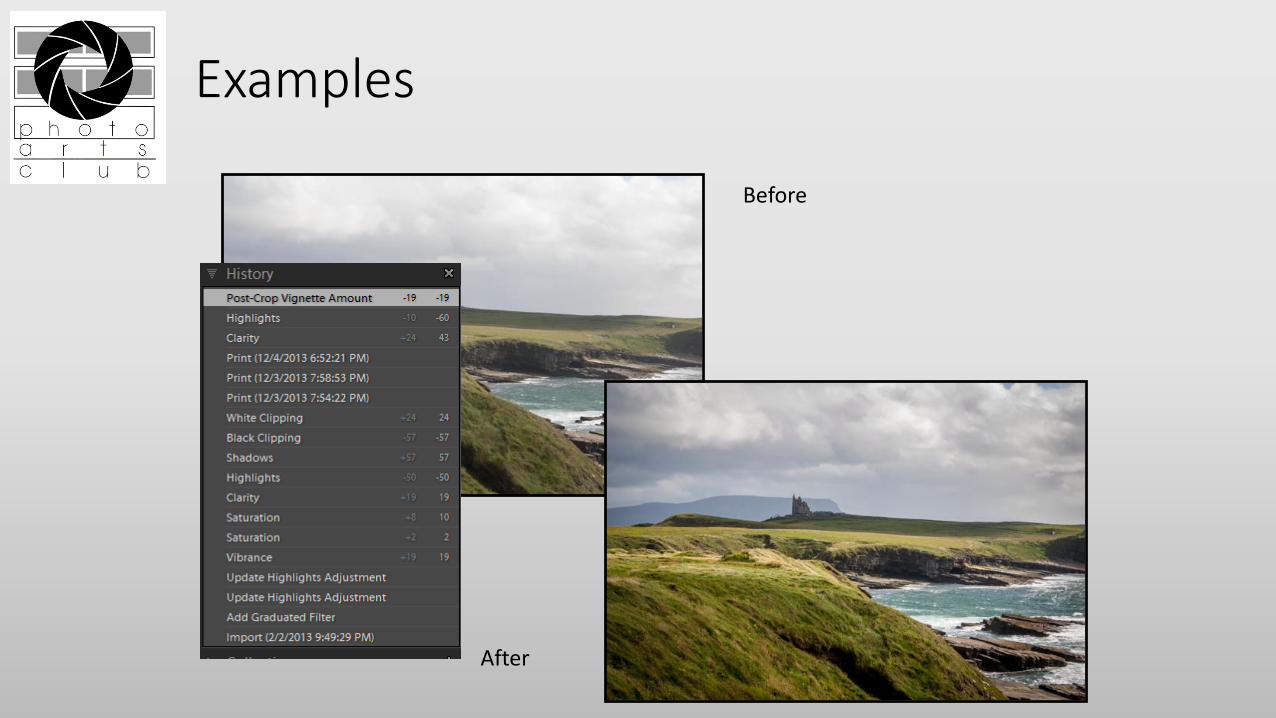
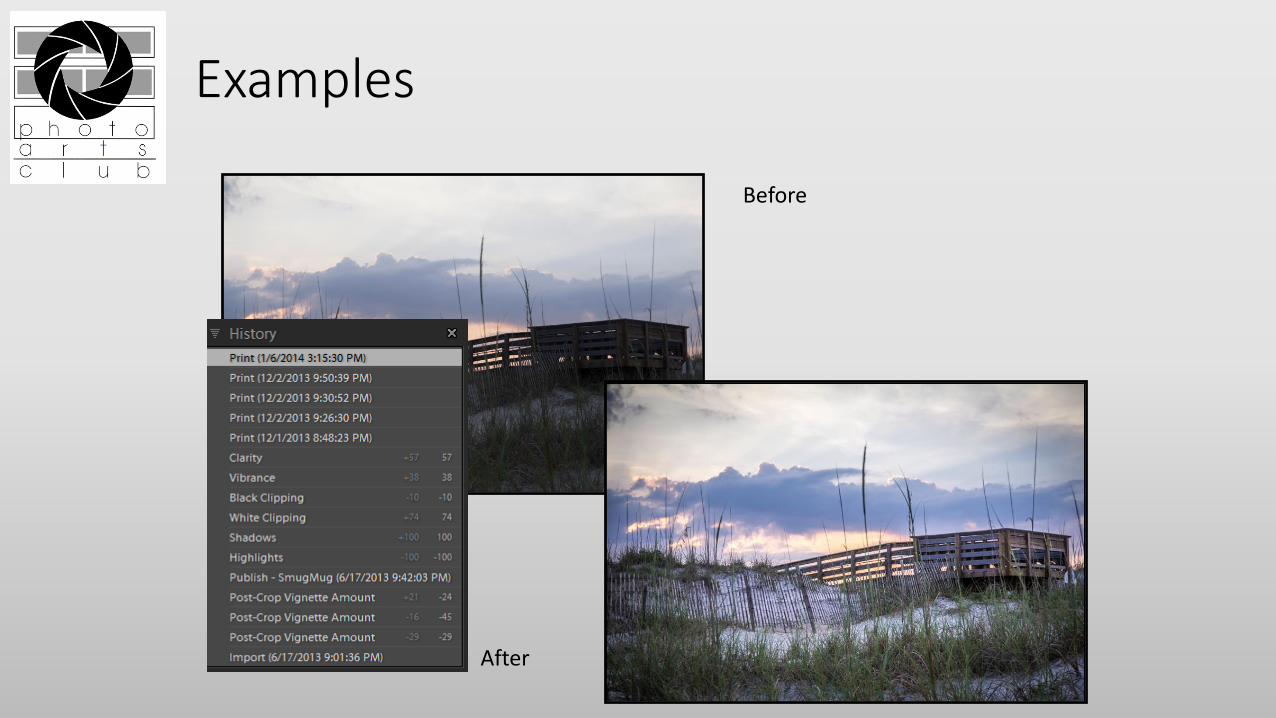
Examples
Before
After
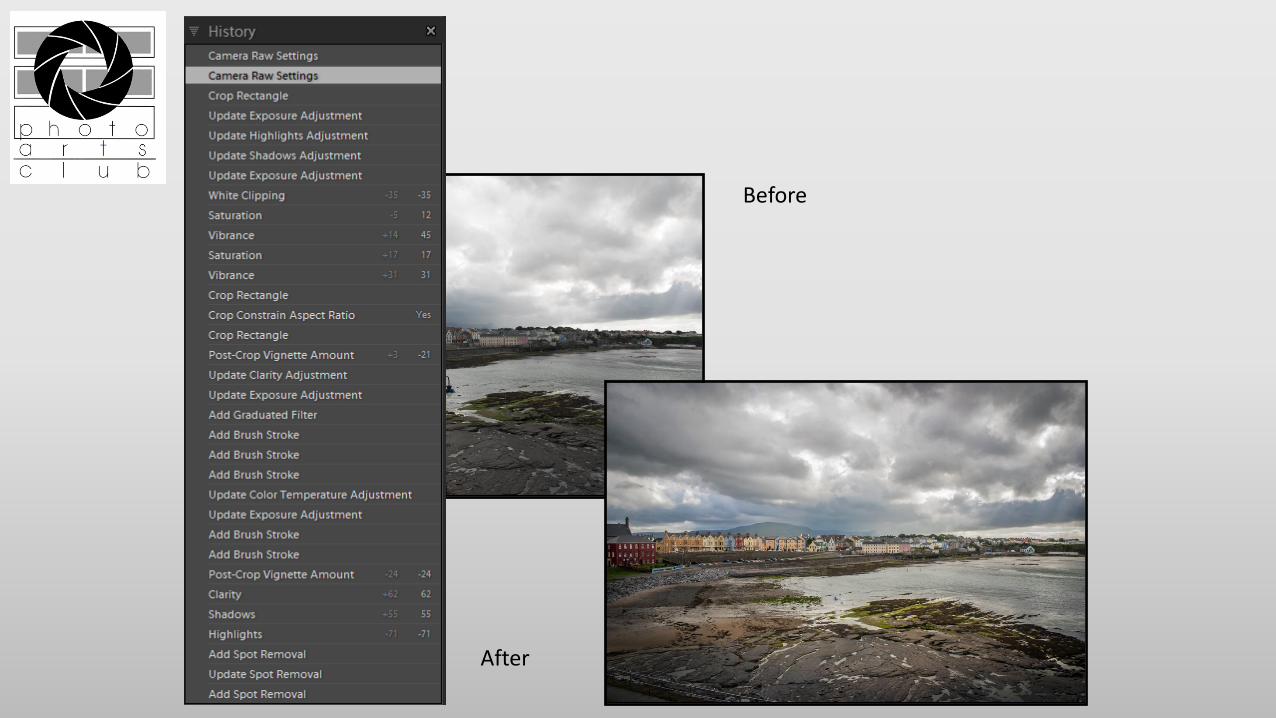
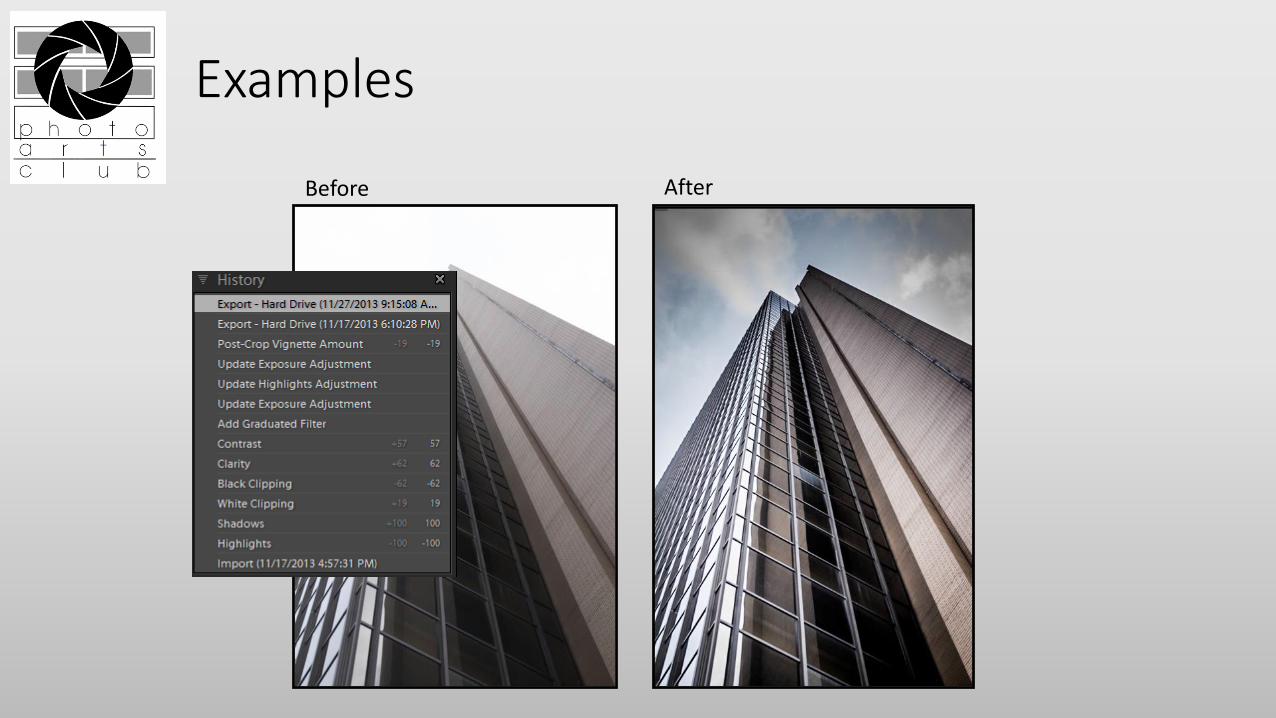
Examples
Before
After
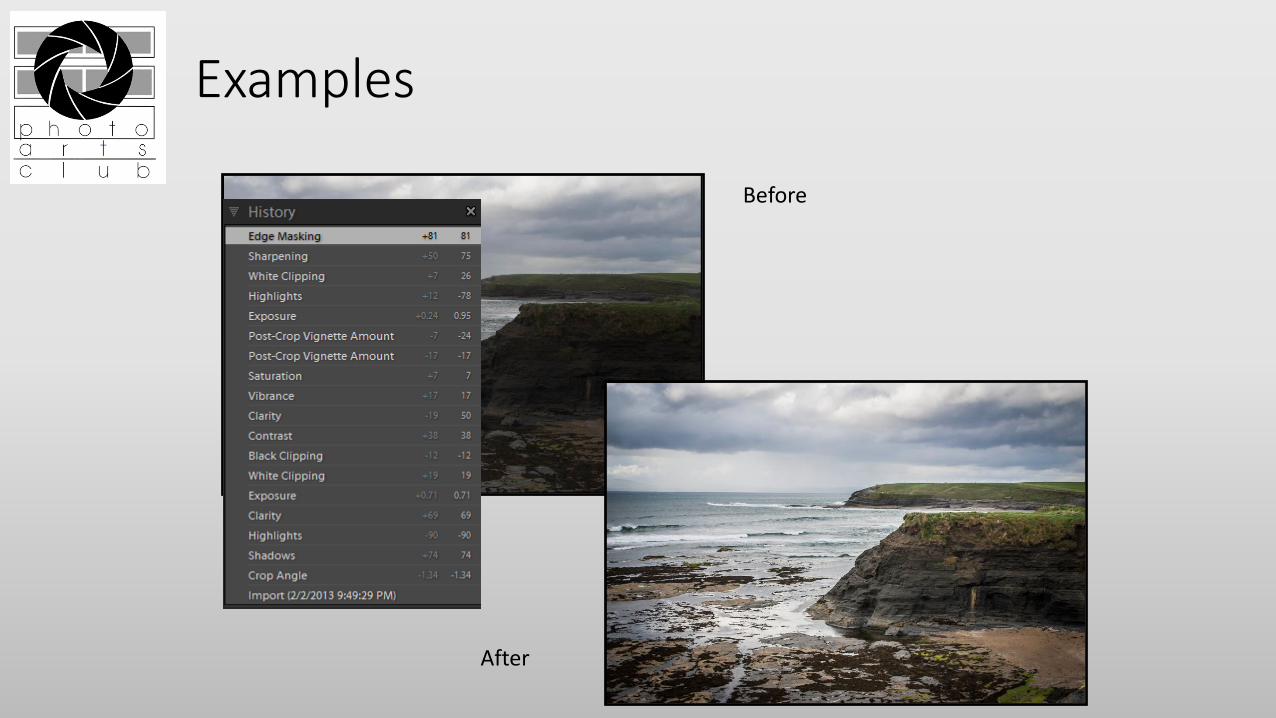
Examples
Before
After
Examples
Before
After
Examples
Before After