Parts of a Plane – Bernoulli’s Principle - challenger.org€™s-Principle.pdf · Set up the 3...
21
Parts of a Plane – Bernoulli’s Principle Page 1 www.challenger.org Prep Time: 10 minutes Lesson Time: 60 minutes Essential Questions: • What is Bernoulli’s Principle? • What are the main parts of an airplane and how do they help a plane achieve flight? Objectives: • Students will be able to explain the different parts of an airplane and how the shape of the wing is related to Bernoulli’s principle. Standards: • MS-PS3-5: Construct, use and present arguments to support the claim that when the kinetic energy of an object changes, energy is transferred to or from an object. • MS-ESS1-3: Analyze and interpret data to determine similarities and differences in findings. • CCSS.ELA-Literacy.RI.6.7: Integrate information presented in different media or formats (e.g., visually, quantitatively) as well as in words to develop a coherent understanding of a topic or issue. • CCSS.ELA-Literacy.RST.6-8.9: Compare and contrast the information gained from experiments, simulations, video, or multimedia sources with that gained from reading a text on the same topic. Lesson Prep: • Prepare all materials for the hands-on stations. • Print a copy of the station reflection sheet for each student. • Set up the different experiment areas. • If needed, watch suggested reference videos or other resources listed in the Teacher Notes/Background section. Teacher Notes/Background: • Read through all lesson materials, including handouts, before the lesson begins. • Students who need extra assistance can be paired during any portion of the lesson. If room does not allow for you to have all experiments/stations for students, then choose experiments that best fit within your classroom. • For more information on the parts of an airplane, visit: https://www.grc.nasa.gov/www/k-12/airplane/airplane.html • For more information about air pressure, visit: https://wright.nasa.gov/airplane/pressure.html) • A key component in this lesson is the introduction of real careers that relate to these essential concepts. For this lesson we recommend connecting Bernoulli’s Principle with the following video: https://www.youtube.com/watch?v=6g1gdFJvHHM&feature=youtu.be
Transcript of Parts of a Plane – Bernoulli’s Principle - challenger.org€™s-Principle.pdf · Set up the 3...
Parts of a Plane – Bernoulli’s Principle
Page 1 www.challenger.org
Prep Time: 10 minutes
Lesson Time: 60 minutes
Essential Questions: • What is Bernoulli’s Principle?• What are the main parts of an airplane and how do they help a plane achieve flight?
Objectives: • Students will be able to explain the different parts of an airplane and how the shape of the
wing is related to Bernoulli’s principle.
Standards: • MS-PS3-5: Construct, use and present arguments to support the claim that when the kinetic
energy of an object changes, energy is transferred to or from an object.• MS-ESS1-3: Analyze and interpret data to determine similarities and differences in findings.• CCSS.ELA-Literacy.RI.6.7: Integrate information presented in different media or formats (e.g.,
visually, quantitatively) as well as in words to develop a coherent understanding of a topic orissue.
• CCSS.ELA-Literacy.RST.6-8.9: Compare and contrast the information gained fromexperiments, simulations, video, or multimedia sources with that gained from reading a texton the same topic.
Lesson Prep: • Prepare all materials for the hands-on stations.• Print a copy of the station reflection sheet for each student.• Set up the different experiment areas.• If needed, watch suggested reference videos or other resources listed in the Teacher
Notes/Background section.
Teacher Notes/Background: • Read through all lesson materials, including handouts, before the lesson begins.• Students who need extra assistance can be paired during any portion of the lesson. If room
does not allow for you to have all experiments/stations for students, then chooseexperiments that best fit within your classroom.
• For more information on the parts of an airplane, visit:https://www.grc.nasa.gov/www/k-12/airplane/airplane.html
• For more information about air pressure, visit:https://wright.nasa.gov/airplane/pressure.html)
• A key component in this lesson is the introduction of real careers that relate to theseessential concepts. For this lesson we recommend connecting Bernoulli’s Principle with thefollowing video: https://www.youtube.com/watch?v=6g1gdFJvHHM&feature=youtu.be
Parts of a Plane – Bernoulli’s Principle
Page 2 www.challenger.org
Enga
ge
(5 m
inut
es )
“What is the science behind a flying plane? Most planes that people fly on weigh thousands of pounds and yet somehow, they still fly. How is that possible?”
Take students out into the hallway and have them line up in a horizontal line behind you. Select two students, give one a golf ball and the other a paper airplane/glider. Have one throw the plastic golf ball down the hallway and the other throw the glider.
Ask students which object "flew" (traveled through the air) farther. Why do you think that is? What are some of the similarities and differences between these two items?
The short answer is the differences in their shape and how the air flows around an object affects its ability to fly. Today, we’re going to take a deeper look at the much longer answer, called Bernoulli’s Principle. Take students back to the classroom.
Materials: • Plastic golf ball• Paper
airplane/glider
Parts of a Plane – Bernoulli’s Principle
Page 3 www.challenger.org
Expl
ore
(20
min
utes
)
Have students stand up and clear enough room for themselves to swing their arms back and forth. Ask students a few of the following questions:
“How do you think you are affecting the air right now is? What does this have to do with flight? Can anyone create air pressure right now?”
Have students perform windmills with their arms and explain to them that they are creating air pressure. Air pressure is force exerted by the weight of air.
“Now, how is this related to flight? Through what is called Bernoulli’s Principle. Bernoulli’s Principle states that when you increase the speed of a fluid, the pressure of that fluid decreases. In the case of flight, air is the fluid.
Wait, what? Isn’t a fluid something I can pour, like water? You can pour out gases too. Watch this…”
Light a candle and place it on your desk. Add a tablespoon of baking soda to your cup/beaker. Now add ¼ cup of vinegar to the cup/beaker. As the gas forms, question your students about what is being created in this reaction (carbon dioxide). Once the fizzing finishes, take your poster board and fold it lengthwise to create a funnel.
Hold the funnel at an angle from the candle. Have students guess what will happen to the candle when you pour the now beaker that is now full of gas. Pour the beaker down the funnel and watch as the carbon dioxide “pours” and snuffs out the candle.
A fluid is anything that does not have a confined shape – so any liquid or gas is a fluid.
Materials: • Teacher Demo –
Baking soda• Vinegar• Cup/500 ml
beaker• Birthday candle• Matches/lighter• Funnel or poster
board
• First OfficerCareer Video

Parts of a Plane – Bernoulli’s Principle
Page 4 www.challenger.org
Whenever air or any fluid comes across an obstacle, its path narrows slightly as it goes around the object. Because the amount of air that flows through must stay the same, the speed has to increase a bit to get more air through since the pathway is slightly smaller. When air speeds up, the pressure it exerts decreases. Why? Because some of the energy in the random motion of air gets converted to moving the air forward when it speeds up. (Use the picture below to demonstrate the energy particle movements via air pressure)
How does it all relate to flight? It creates lift. When the pressure underneath a wing is greater than the pressure above a wing, it will essentially be “lifted” up. So, the difference in air pressure causes lift!
Note: The end of this discussion is the perfect time to connect the First Officer Career Video. First Officers need to understand Bernoulli’s Principle to fully understand their flight parameters.
Parts of a Plane – Bernoulli’s Principle
Page 5 www.challenger.org
Expl
ain
(20
min
utes
)
“Now that we’ve talked briefly about Bernoulli’s principle, let’s take a few minutes to learn about some of the finer points of the principle itself.” Set up the 3 different experiment stations: cheese puffs, strips of paper, and string attached to balloons. At one station, place small cheese puffs and bendy straws. At another station, place the small strips of paper. At the last station, blow up eight balloons and attach a piece of string to the bottom of each. Be sure to place Station Setup and Procedures slips at each station as well. (See instructions for setting up experiments at the end of the lesson plan)
Have students push their desks to the 3 separate areas/groups for the experiments. Hand out the Air Pressure Stations Reflection worksheet.
Have students perform each station’s experiments, recording their observations on their worksheets.
Students should spend between 5-7 minutes at each station. Tell students when each station time is complete, and how to rotate at the completion of each experiment station.
Check for understanding and answer any questions during this experimentation, making sure that students are doing the experiments correctly.
Materials: For experiments • Strips of paper• Cheese puffs• Bendy straws• String• 8 balloons
For students • Air Pressure
StationsReflectionWorksheet

Parts of a Plane – Bernoulli’s Principle
Page 6 www.challenger.org
Elab
orat
e (1
0 m
inut
es)
“Now that we have a better understanding of what air pressure is and of what Bernoulli's Principle means, let’s think about how this impacts flight. How do you think this is related to flight and how planes fly?“
Guide the students through components of an airplane based on the worksheet. Students will fill out their worksheet as you go over each of the components of an airplane.
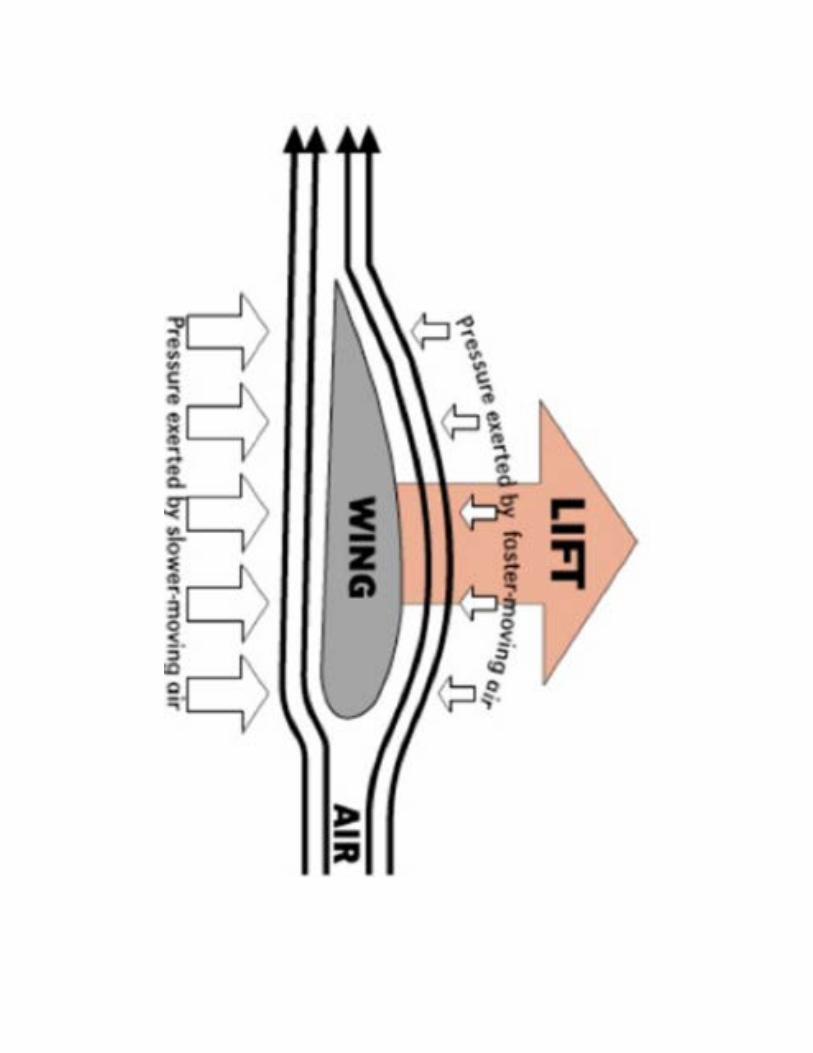
When you get to the wings (save this for last), pause and talk more about how Bernoulli’s principle creates lift by having students map out the faster and slower-moving air around the wing.
Draw this picture on the board to aide in your discussion. (If you prefer to project the image, the image can be found within the packet as noted in the materials section):
“Wings are curved, so when the air hits the wing, the speed of the air over the wing increases and the pressure decreases. This makes the pressure underneath the wing higher, since it did not encounter any obstacle and is therefore moving slower. The greater pressure underneath lifts the plane up, so the plane flies! The plane engines are there to keep the airplane moving forward to continue this process throughout the flight.”
Materials: • Large Scale
image of a plane(drawn or pulledoff the internet)
• Large side viewof a wing withthe fast-movingand slow-movingair alreadymarked
• Studentworksheet of thesame areas ofthe plane.
Eval
uate
(5
min
utes
) Have students complete the exit ticket provided.
To complete the exit ticket, students will label two parts of an airplane and will explain how one of the three different experiments they performed demonstrates Bernoulli’s principle.
Materials: • Exit ticket
Parts of a Plane – Bernoulli’s Principle
Page 7 www.challenger.org
Extensions and Enrichment • If more time allows, add additional stations for student learning and demonstration.• Have students think of other wing designs that they have seen and dive deeper into how
Bernoulli’s principle might apply to each wing.
Additional Resources • Bernoulli’s Principle: https://www.nasa.gov/aeroresearch/resources/mib/bernoulli-principle-
k-4
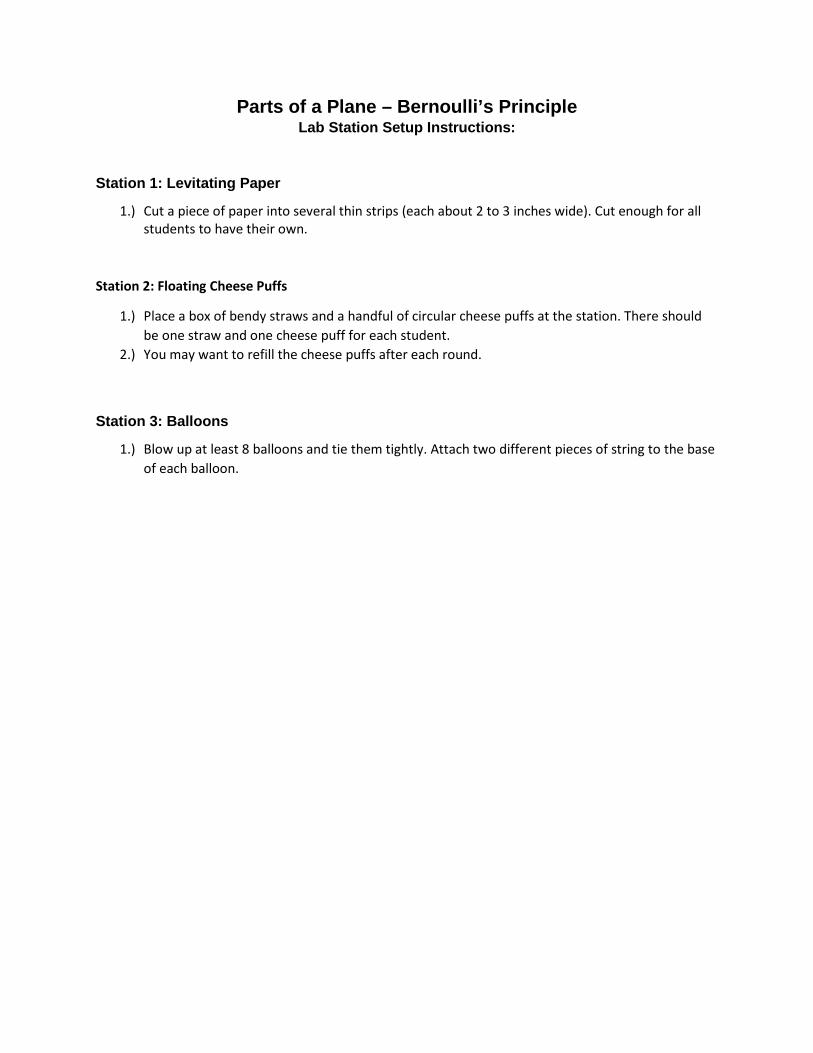
Parts of a Plane – Bernoulli’s Principle Lab Station Setup Instructions:
Station 1: Levitating Paper
1.) Cut a piece of paper into several thin strips (each about 2 to 3 inches wide). Cut enough for all students to have their own.
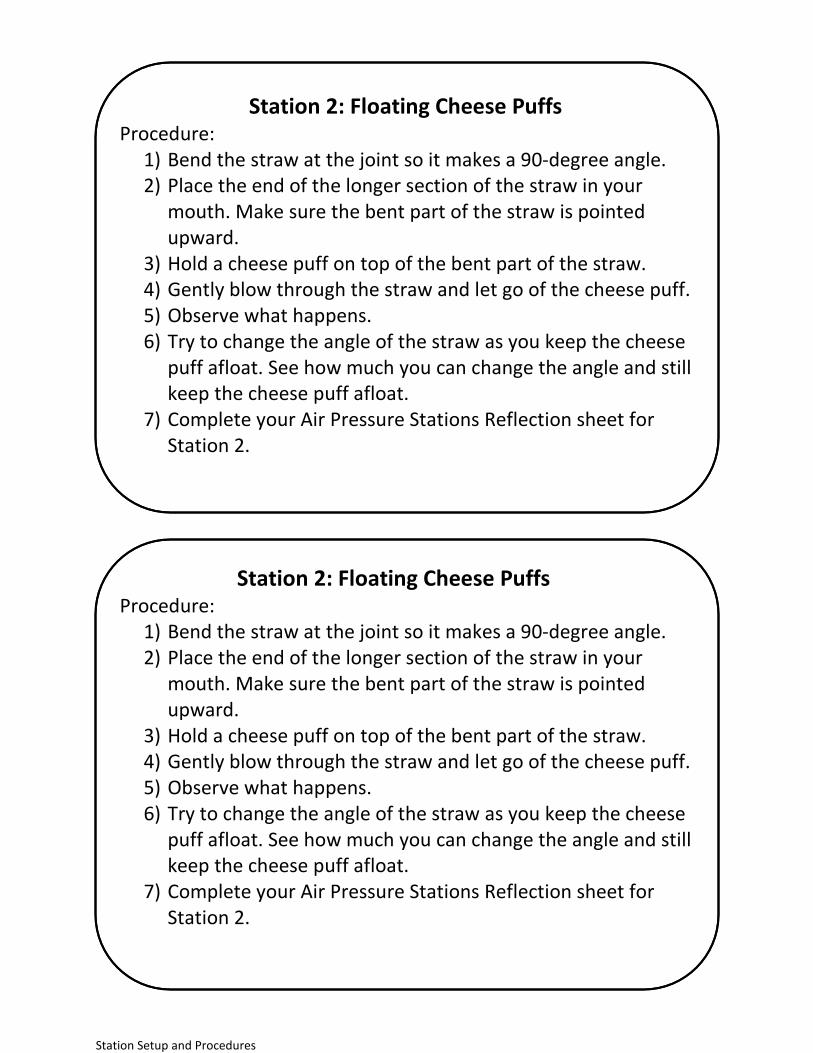
Station 2: Floating Cheese Puffs
1.) Place a box of bendy straws and a handful of circular cheese puffs at the station. There should be one straw and one cheese puff for each student.
2.) You may want to refill the cheese puffs after each round.
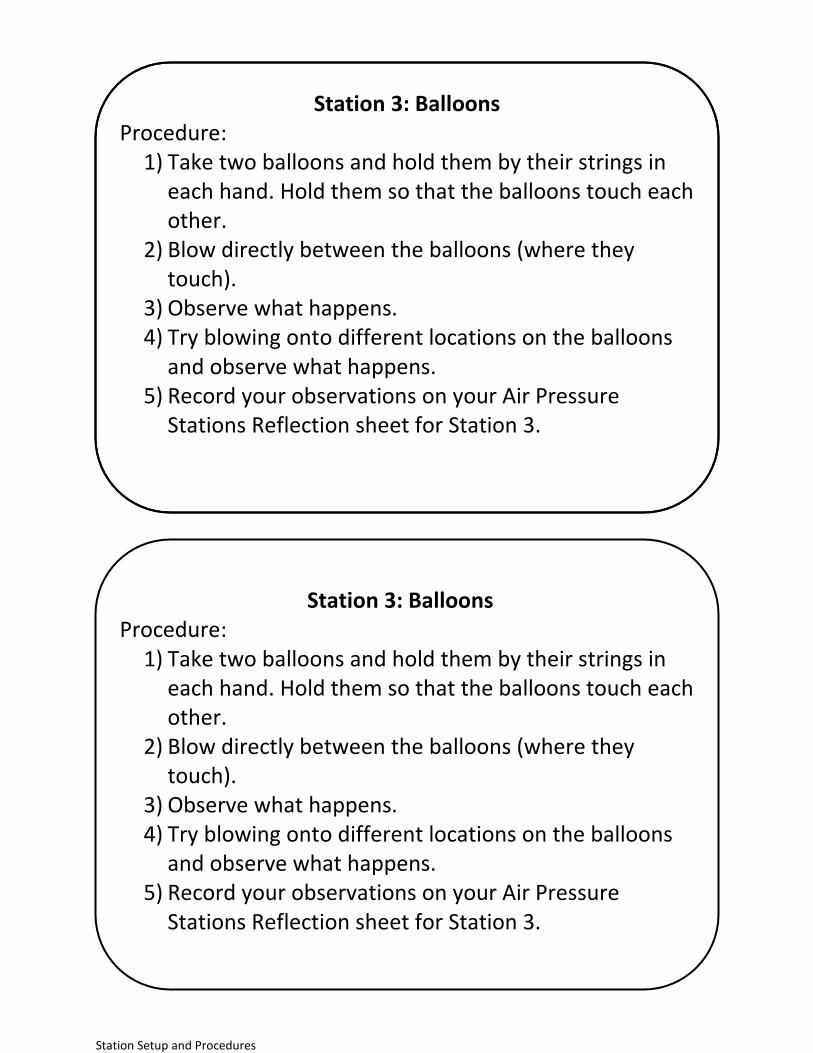
Station 3: Balloons
1.) Blow up at least 8 balloons and tie them tightly. Attach two different pieces of string to the base of each balloon.
3,2,1 Sheet 3 interesting facts:
2 things I learned:
1 question I still have:
3,2,1 Sheet 3 interesting facts:
2 things I learned:
1 question I still have:
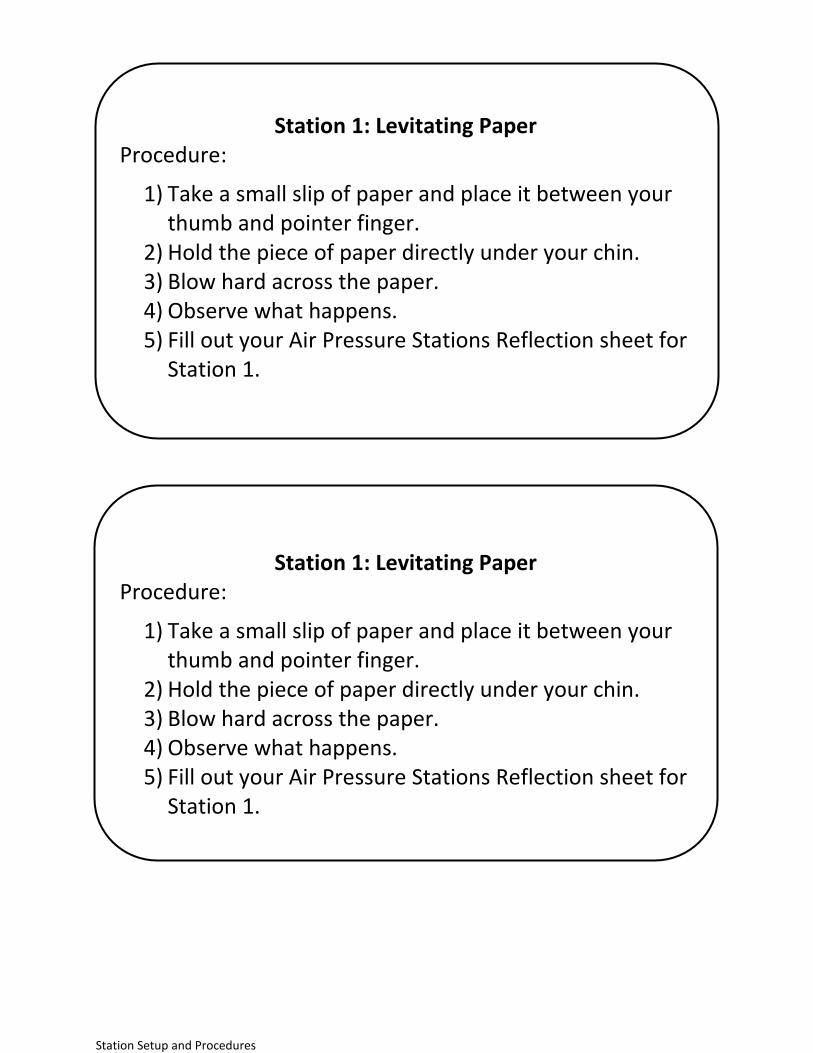
Station Setup and Procedures
Station 1: Levitating Paper Procedure:
1) Take a small slip of paper and place it between yourthumb and pointer finger.
2) Hold the piece of paper directly under your chin.3) Blow hard across the paper.4) Observe what happens.5) Fill out your Air Pressure Stations Reflection sheet for
Station 1.
Station 1: Levitating Paper Procedure:
1) Take a small slip of paper and place it between yourthumb and pointer finger.
2) Hold the piece of paper directly under your chin.3) Blow hard across the paper.4) Observe what happens.5) Fill out your Air Pressure Stations Reflection sheet for
Station 1.
Station Setup and Procedures
Station 2: Floating Cheese Puffs Procedure:
1) Bend the straw at the joint so it makes a 90-degree angle.2) Place the end of the longer section of the straw in your
mouth. Make sure the bent part of the straw is pointedupward.
3) Hold a cheese puff on top of the bent part of the straw.4) Gently blow through the straw and let go of the cheese puff.5) Observe what happens.6) Try to change the angle of the straw as you keep the cheese
puff afloat. See how much you can change the angle and stillkeep the cheese puff afloat.
7) Complete your Air Pressure Stations Reflection sheet forStation 2.
Station Setup and Procedures
Station 3: Balloons Procedure:
1) Take two balloons and hold them by their strings ineach hand. Hold them so that the balloons touch eachother.
2) Blow directly between the balloons (where theytouch).
3) Observe what happens.4) Try blowing onto different locations on the balloons
and observe what happens.5) Record your observations on your Air Pressure
Stations Reflection sheet for Station 3.

Air Pressure Stations Reflection Sheet
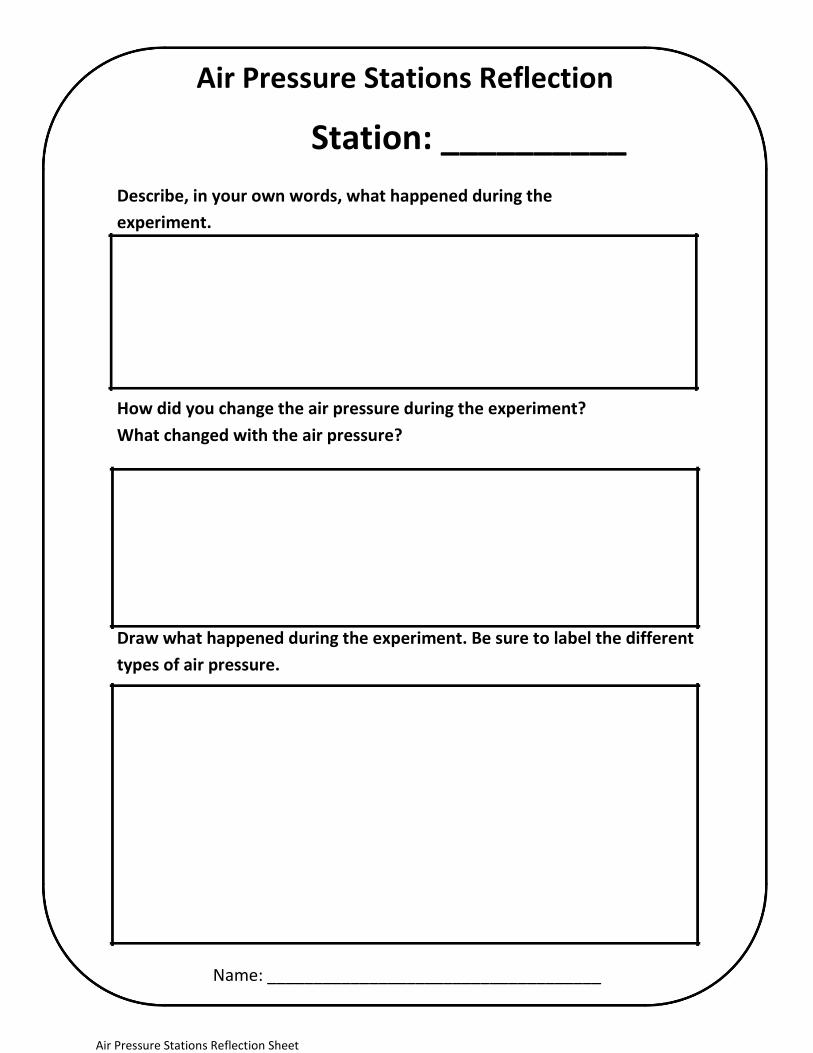
Air Pressure Stations Reflection
Station: __________
Describe, in your own words, what happened during the experiment.
How did you change the air pressure during the experiment? What changed with the air pressure?
Draw what happened during the experiment. Be sure to label the different types of air pressure.
Name: ____________________________________
Air Pressure Stations Reflection Sheet
Air Pressure Stations Reflection
Station: __________ Describe, in your own words, what happened during the experiment.
How did you change the air pressure during the experiment? What changed with the air pressure?
Draw what happened during the experiment. Be sure to label the different types of air pressure.
Name: ____________________________________
Parts of a Plane Worksheet
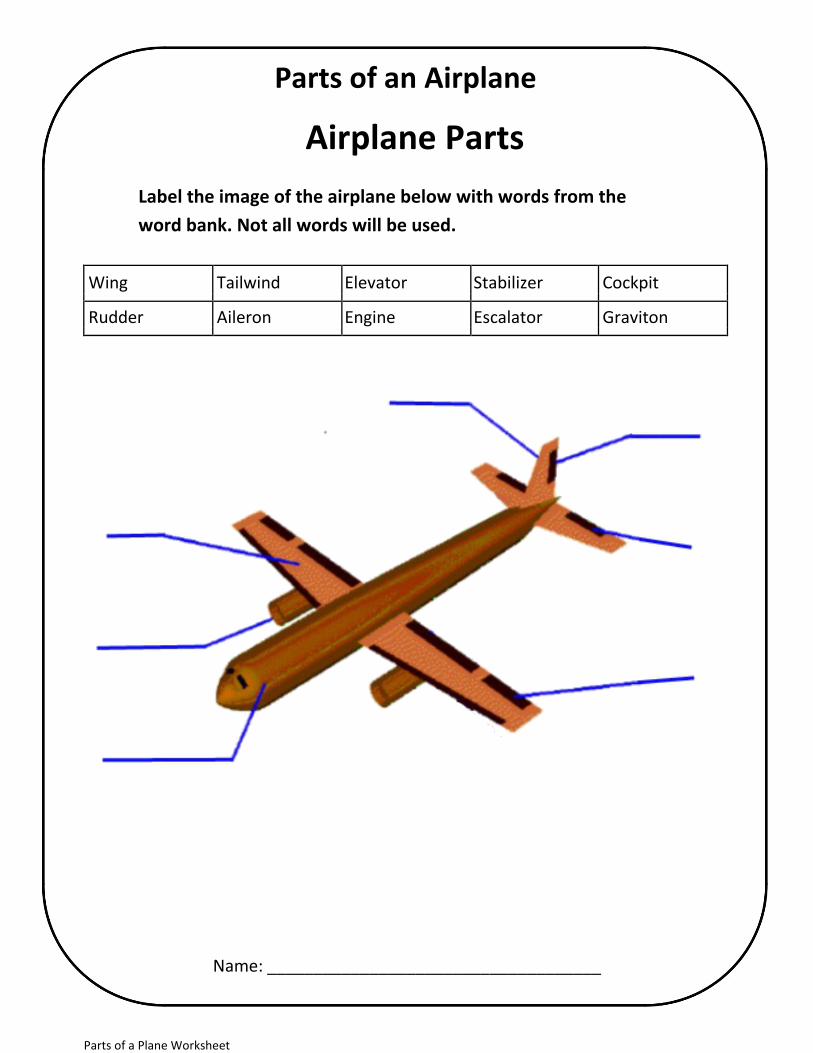
Parts of an Airplane
Airplane Parts Label the image of the airplane below with words from the word bank. Not all words will be used.
Wing Tailwind Elevator Stabilizer Cockpit
Rudder Aileron Engine Escalator Graviton
Name: ____________________________________
Parts of a Plane Worksheet
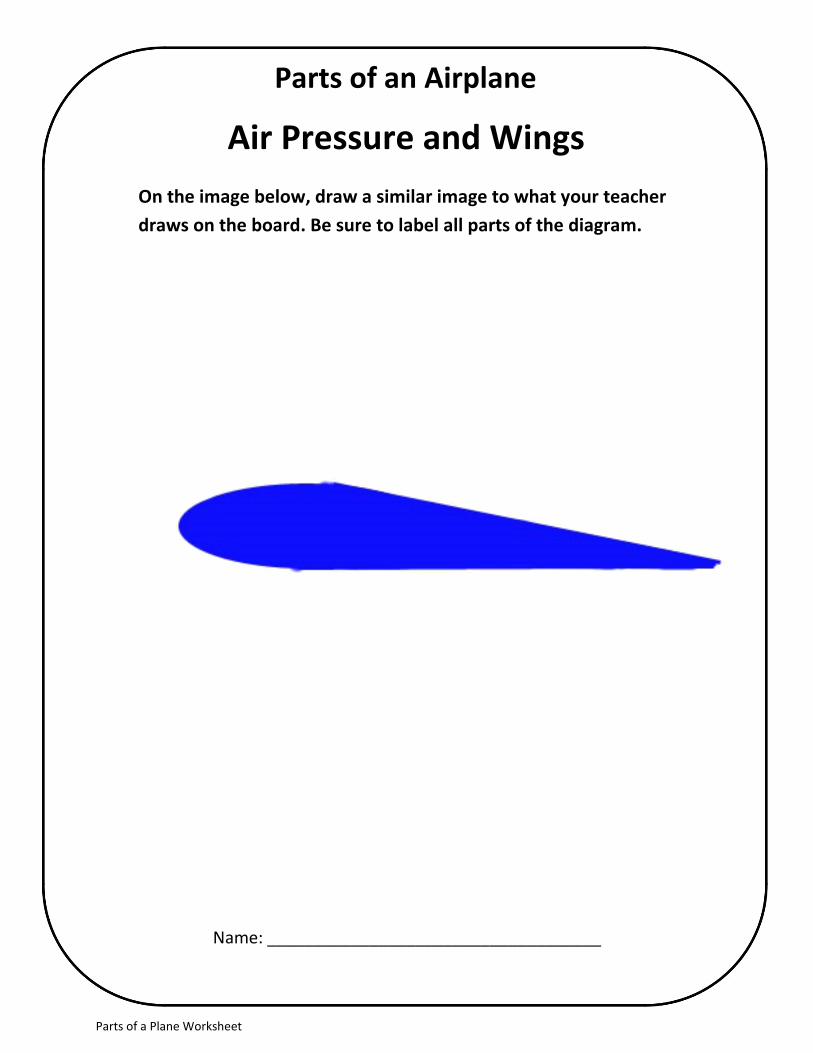
Parts of an Airplane
Air Pressure and Wings On the image below, draw a similar image to what your teacher draws on the board. Be sure to label all parts of the diagram.
Name: ____________________________________
Parts of a Plane Worksheet – Answer Key
Parts of an Airplane
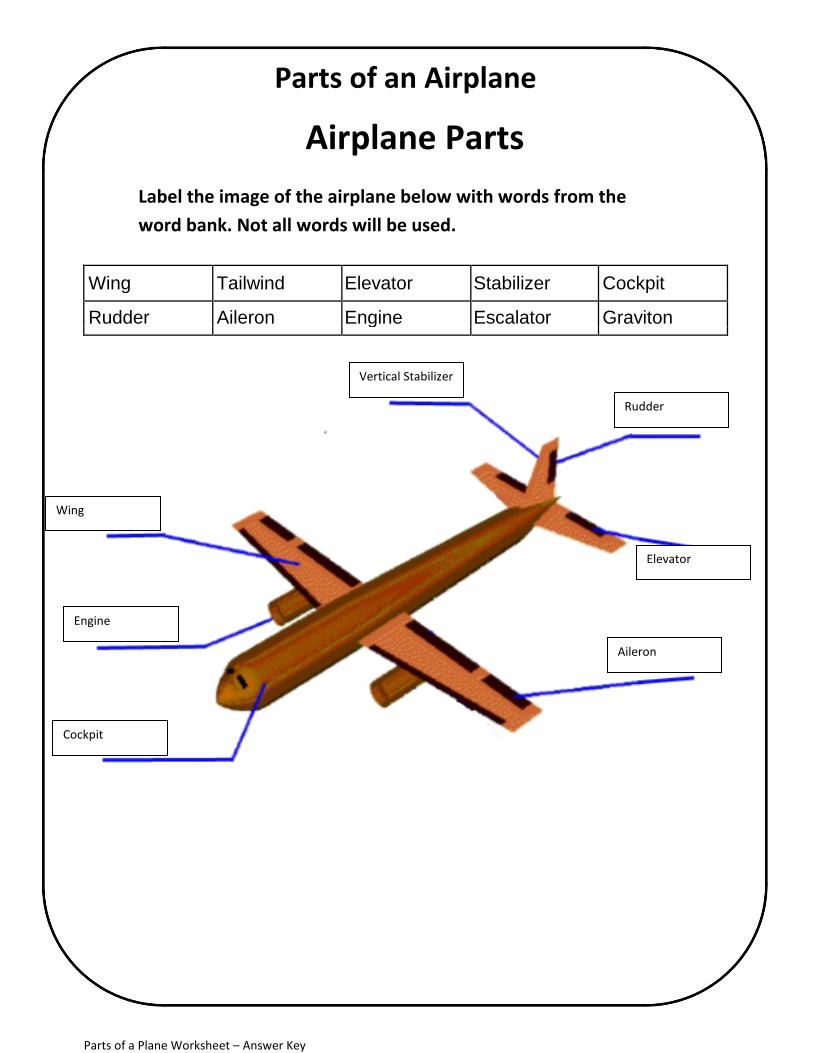
Airplane Parts Label the image of the airplane below with words from the word bank. Not all words will be used.
Wing Tailwind Elevator Stabilizer Cockpit
Rudder Aileron Engine Escalator Graviton
Rudder
Vertical Stabilizer
Elevator
Wing
Engine
Cockpit
Aileron
Parts of a Plane Worksheet – Answer Key
Parts of an Airplane
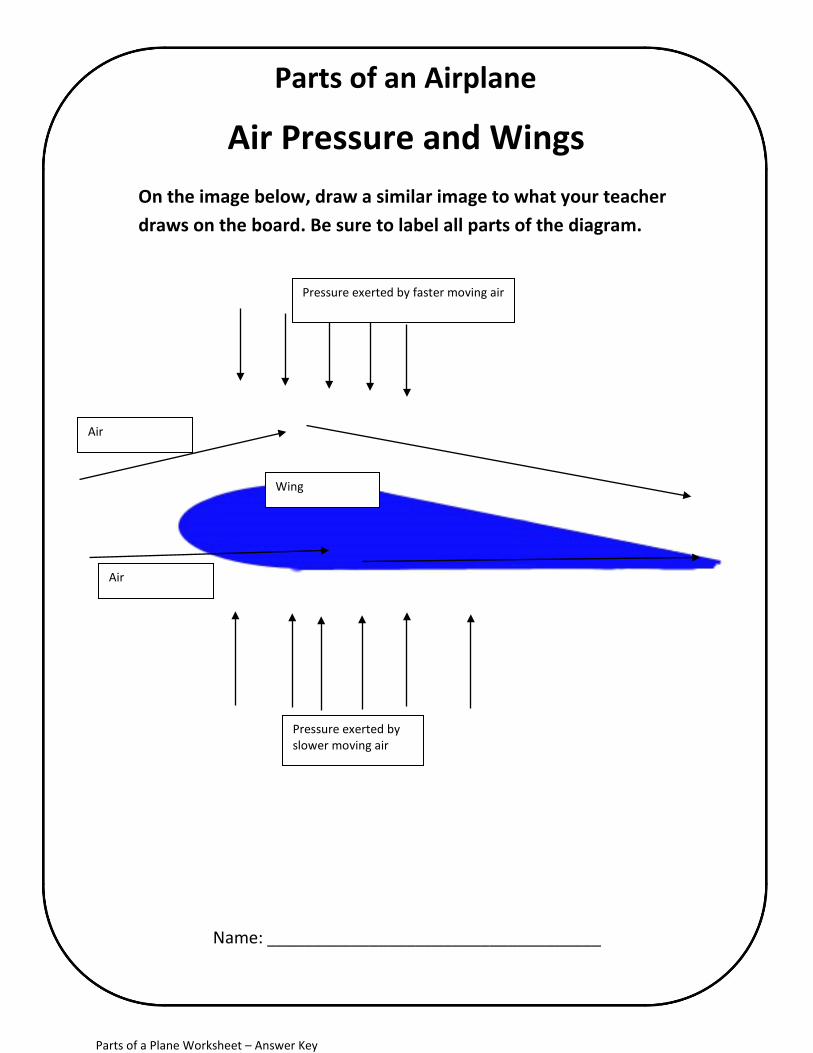
Air Pressure and Wings On the image below, draw a similar image to what your teacher draws on the board. Be sure to label all parts of the diagram.
Name: ____________________________________
Air
Air
Wing
Pressure exerted by faster moving air
Pressure exerted by slower moving air
Exit Ticket/Quiz – Bernoulli’s Principle
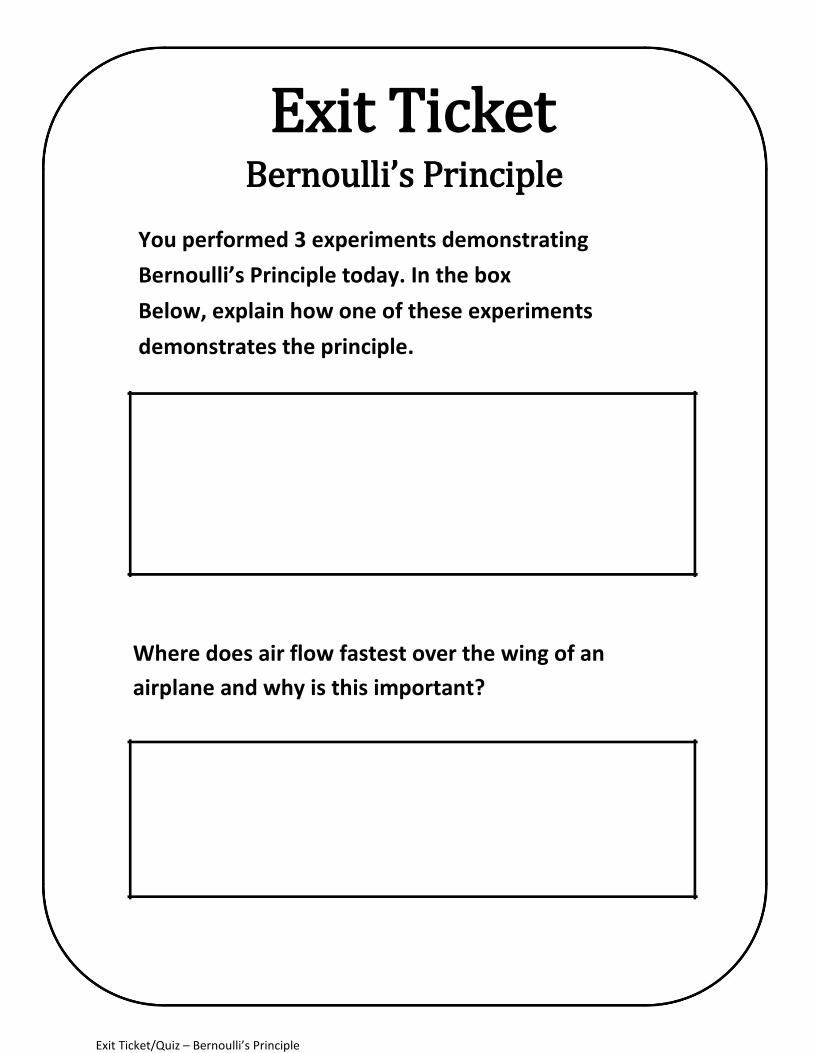
Exit Ticket Bernoulli’s Principle
You performed 3 experiments demonstrating Bernoulli’s Principle today. In the box Below, explain how one of these experiments demonstrates the principle.
Where does air flow fastest over the wing of an airplane and why is this important?