P12-300-PR MANUAL 1-1 - B.K. Elec
9
P12-300SB-PR OWNERS MANUAL Subwoofer System
Transcript of P12-300-PR MANUAL 1-1 - B.K. Elec
P12-300SB-PR
OWNERS MANUAL
Subwoofer System
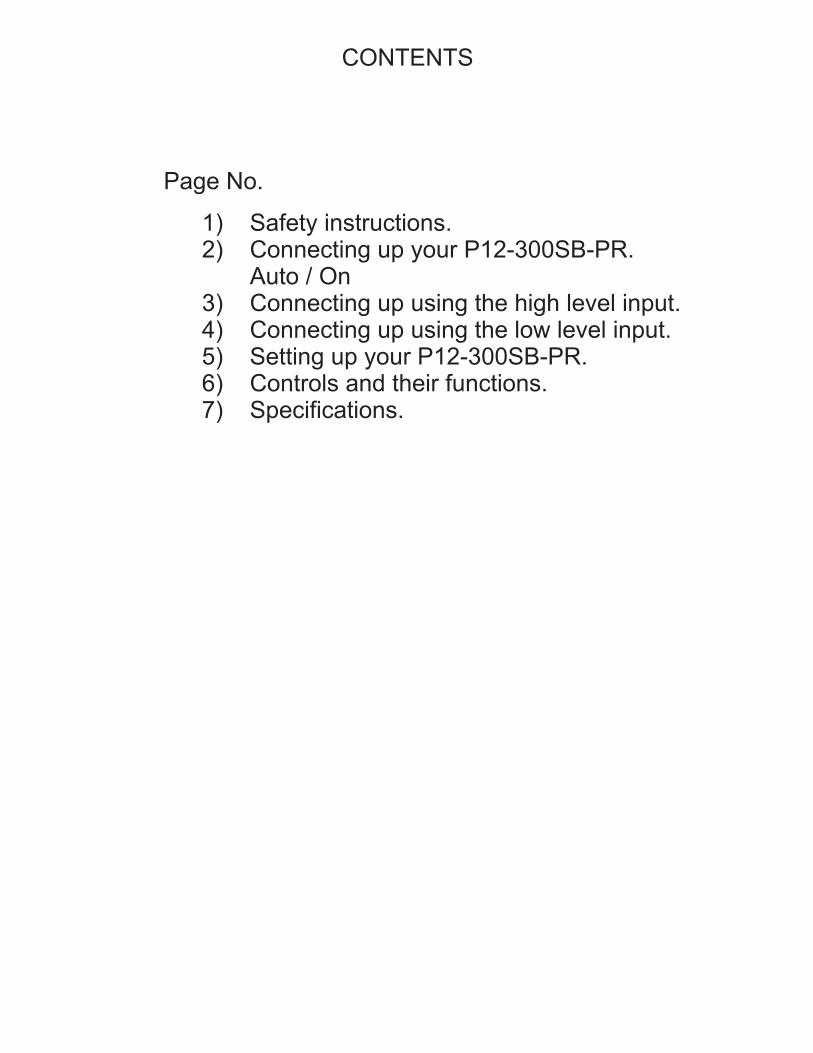
CONTENTS
1) Safety instructions.2)
3) 4) 5) Setting up your P12-300SB-PR.6) Controls and their functions.
Connecting up your P12-300SB-PR.Auto / OnConnecting up using the high level input.Connecting up using the low level input.
7) Specifications.
Page No.

SAFETY INSTRUCTIONS
Caution:
To avoid the risk of electric shock do not remove the panel from the cabinet. If this unit fails or has a serious deterioration in performance then refer repair to the dealer where you purchased the unit.
1)Please read these instructions carefully and keep them for future reference.
2) Please heed all warnings.
3) Please follow these instructions.
4) Do not use this apparatus near water or allow to get wet.
5) Keep well ventilated.
6) Do not install near heat sources such as radiators, stoves etc.
7) Protect the power cord from damage.
8) Disconnect from the power supply during lightning storms or extended periods of inactivity.
9) Refer all servicing to qualified service personnel. If the unit develops a fault of any sort please refer repair back to your dealer.
10) Do not force the controls or switches further than their normal stops.
11) Clean with a dry soft cloth. If you do use polish, then apply polish to cloth not directly to the unit.
(1)

To make connecting up of the P12-300SB-PR as versatile as possible we have included two separate inputs. One Neutrik Speakon socket and one pairs of gold plated RCA sockets. This is to facilitate use with both Hi-Fi and AV surround systems.
The high level input, is an unbalanced dual channel (stereo) input that uses a professional touch proof Neutrik Speakon connector. Signals for this input would normally be sourced from the left and right speaker terminals of the main system amplifier. The advantage of this method is that the P12-300SB-PR receives exactly the same signal as being supplied to the main speakers. This means that the character and tonal balance of the bass from the main speakers is carried through to the sub bass.
The low level input is via one set of the gold plated RCA to RCA connectors marked as “IN” on the front panel. Signals for the low level input are unbalanced and would normally be sourced from the LFE output of an AC3 decoder. Alternatively the low level input can be connected to a dedicated sub out of a processor (for single outputs connect to the input marked “Mono”), or to stereo pre-amp output where available.
The P12-300SB-PR comes fitted with four black M8 nylon screws that act as feet and help prevent the base of the subwoofer from getting scratched. If you wish to take advantage of the isolating spikes that come supplied with the P12-300SB-PR then please follow the following fitting instructions:-
First thread one nut per spike on each spike. Now remove the M8 nylon screws from the bottom of the subwoofer and fit the four spikes. The cabinet can now be leveled by screwing in or out each spike accordingly. When levelled tighten up each lock nut against the base of the cabinet. Caution: Take special care with the spikes as they are very sharp. DO NOT use on delicate floor finishes
Auto / On - Signal Detect
Tthe P12-300SB-PR is equipped with an auto switch on function, When you first switch on the power switch the subwoofer will immediately be on and the red LED will illuminate. If no signal is received for 10 minutes then the subwoofer will automatically go into stand-by will switch back on once it receives a signal on one of its inputs
CONNECTING UP YOUR P12-300SB-PR
Always switch off your system before disconnecting or connecting any wires.
(2)

HIGH LEVELINPUT
Min Max
GAIN
Figure 1. Shows a diagram on how to connect the high level input. Using the optional Neutik lead, connect the P12-300SB-PR to the output of your amplifier via your existing speaker plug or to a spare set of speaker terminals if available. In effect you are Bi-Wiring your P12-300SB-PR to your power amp. Please note that the Neutrik cable has only three leads and is arranged this way to preserve the star earthing of your amplifier (assuming it has a star earth arrangement).
To connect the high level lead you will need to connect the RED wire to the RED terminal of the RIGHT hand speaker terminal of your power amp. Connect the WHITE wire to the Red terminal of the LEFT hand channel speaker terminal of your power amp. The BLACK wire is connected to either one of the BLACK speaker terminals of your power amplifier. This is important as some power amplifiers do not like their black terminals joined. Now plug the neutrik connector into the high level input of the P12-300SB-PR. The Neutrik plug will fit only one way as it has a key. Next push the plug in then turn clockwise until you feel it latch. To undo the Neutrik plug, pull back the silver lever on the Neutrik plug and turn counter-clockwise.
Please Note: It may not be possible or advisable to connect the high level input directly to an amplifier that has a class d digital output. Please check with the supplier of your amplifier that this form of connection is possible.
If you do have a class d amplifier and are unable to use the high level input, then please contact us at [email protected] and we should be able to let you know the best way to connect your amplifier
(3)
CONNECTING UP USING THE HIGH LEVEL INPUT
Figure 1.
BlackRed BlackRed
RIGHTLEFT
White RedBlack
Method 1 - To Connect to a Power Amplifier Using the High Level Input
Neutrik Speakon Interconnect

CONNECTING UP USING THE LOW LEVEL INPUT
Figure 2. Shows a diagram on how to connect the low level input. Using the supplied RCA to RCA interconnect, plug one end into the P12-300SB-PR low level input and the other end into the dedicated sub output on your amplifier or processor. If a sub out is not available then you can use a spare set of pre-amp outputs.
If you only have a single sub woofer output socket on your equipment, then connect up using one of the pairs of leads (red to red). In this instance use the (Mono) input on your P12-300SB-PR sub.
Please Note that high and low level connections can be used at the same time if required. This has the advantage of being able to connect up a Hi-Fi and AV system simultaneously.
(4)INTEGRATED AMP / PRE-OUT
LFE / Sub Out
PROCESSOR
LEFT RIGHT
Figure 2.
Method 2 - To Connect to the Amplifier Using the low level input
Min Max
FILTER
In OutLFE
GAIN
LOW LEVELINPUT
Min Max
FILTER
In OutLFE
GAIN
LOW LEVELINPUT

SETTING UP YOUR P12-300SB-PR
! Connect your P12-300SB-PR as shown in Figure 1 or Figure 2. Then attach your subwoofer to the power supply using the power cable supplied, at this point have the power switch in the off position.
! Now turn both the high level and low level gains to the minimum position, and the frequency control to 120Hz. Turn the phase control to position 1.
! When using a source on the low level input that has built in bass management ( AV Processors) then you can switch the Filter Bypass Switch to the Out position. Your processor will manage the bass frequencies on the low level and the P12-300SB-PR will manage the bass frequencies on the High Level Input
! Now switch the power on, and play a track which you are familiar with that has bass content (If you are using both inputs then start by setting the high level input first using an audio CD then repeat the setting up procedure on the low level input using a film track).
! Adjust the gain control until the level of the bass from your subwoofer matches the level from your main system speakers. Now slowly adjust the frequency control counter clockwise until the output from the subwoofer meets the lowest notes from your main speakers (the crossover point), you may need to adjust the gain control again to match your main system speakers.
! The P12-300SB-PR has a fully adjustable phase control to allow partial cancellation of the frequencies around the crossover point between the two systems. Listen to the quality of the bass with the phase in the 0 deg position and then slowly adjust towards the 180 deg position . Choose the position that subjectively offers the tightest cleanest bass.
Following these setup instructions will get you up and running, but over a few days with practice and a lot of listening you will be able to fine tune the system for seamless integration.
As a rule it is not usually necessary to have the subwoofer at high volume levels, but to have it gently supporting the main speakers.
(5)

(6)
1) High Level Input connector for connection to amplifier output2) 3)
4)Low Level Gain Adjust5)Low Level Filter Bypass - In = Filter in operation - Out = Filter Bypassed.
6)Frequency Contour, set up so as to integrate with main loudspeakers. 7)Continously variable phase control 8)Auto On Function “On-Off” Switch - Up = Active / Down = Disabled (powered on permanently9) Power on LED - With power switch in on position and LED “Green” then amplifier is on w standby waiting for a signal10)Power Off/On Switch11)IEC mains input connector. (Fuse Drawer contains spare 3.15AT fuse)
igh Level Gain AdjustLow Level Input RCA connectors for connection to pre-amp output, Dolby output or other
dedicated sub outputs
In the Out / L.F.E. Position the filter is opened wide to allow the optimum performance from processor
ith power switch in on position and LED “Red” subwoofer is in
1
2
3
4
5
6
7
10
8
9
CONTROLS AND THEIR FUNCTIONS
PHASE
0O
180O
40Hz 120Hz
FREQUENCY
Min Max
Min Max
FILTER
HI LEVELINPUT
In Out / LFE
Min Max
HI LEVELGAIN
LO LEVELGAIN
LO LEVELINPUT
230V50-60HzT3.15AL
LEFT RIGHT(mono)
POWER
MAINSINLET
ON
TO AVOID RISK OF ELECTRIC PANEL NO USER SERVICEABLE SHOCK DO NOT REMOVE PARTS INSIDE. REFER TO QUALIFIED SERVICE PERSONNEL.
AUTO ONACTIVE
DISABLED
300W Total ControlSub Bass System
P12-300SB-PRPlatinum Series
11

(7)
SPECIFICATION
System Type:
Drive Units:
Auto On
Amplifier:
Inputs:
Nominal impedance/input voltage:
Features:
Dimensions HxWxD:
Weight each unpacked:
Standby Power Consumption:
Passive Radiator Sub-bass system with on-board amplification and active filtering.
300mm 12“ high-efficiency unit. Extreme long stroke composite fiber cone driven by a 2 ” 50mm voice coil. Heavy-duty non-resonant cast aluminium chassis and fully optimised stacked magnet system.
Matching 300mm 12“ Passive Radiator
300W RMS DC coupled bi-polar.
High Level 100K ohm unbalanced via Neutrik Speakon connectorLow level 10K unbalanced via gold plated RCA connectors.
110/120v (220/240v) where applicable.
Phase control 0 and 180 Deg. High and low level mixing capability. Automatic Speaker Protection
425D x 460H x 400W
30Kg - 46.2 lbs.
1 W
Switches off after 10 minutes without signal / Switches on when signal is detected on one of its inputs- Function can be de-activated using toggle switch
This product is subject to Directive 2002/96/EC of the European Parliament and the Council of the European Union on Waste of Electrical and Electronic Equipment (WEEE) and, in jurisdictions adopting that Directive, is marked as being put on the market after August 13, 2005, and should not be disposed of as unsorted municipal/public waste. Please utilise your local WEEE collection facilities in the disposition and otherwise observe all applicable requirements.
WEEE Consumer Notice
Please be AWARE
When BK design a subwoofer it is built to withstand a certain amount of excessive use, to this end we design in circuits that will help protect the drive unit and amplifier from damage. That said these circuits do have a limit and therefore can be over-driven if the user insists on turning up either the drive level from the source, or the gain controls on the subwoofer. When the subwoofer is over-driven it will sound distorted and if pushed extremely hard may emit a cracking noise. If this happens then please turn the gain down from your source. Prolonged misuse in this fashion will damage the subwoofer, such damage is not covered by warranty
It is worth remembering that a subwoofer is there to augment your sound system and not to overwhelm it. If you feel that there is not enough bass then there may be room issues that could easily be overcome by a different room placement. It could also mean you simply have too small a sub for your room or taste.