ORAL PRESOSSENTATIONS - UPVpersonales.upv.es/mcandel/oral_presentations.pdfOral presentations in...
77
Miguel Angel Candel Mora [email protected] O S OS ORAL PRESENTATIONS Técnicas para presentaciones orales en inglés
Transcript of ORAL PRESOSSENTATIONS - UPVpersonales.upv.es/mcandel/oral_presentations.pdfOral presentations in...

Miguel Angel Candel [email protected]
O S O SORAL PRESENTATIONSTécnicas para presentaciones orales en inglés
Oral presentations in EnglishOral presentations in English
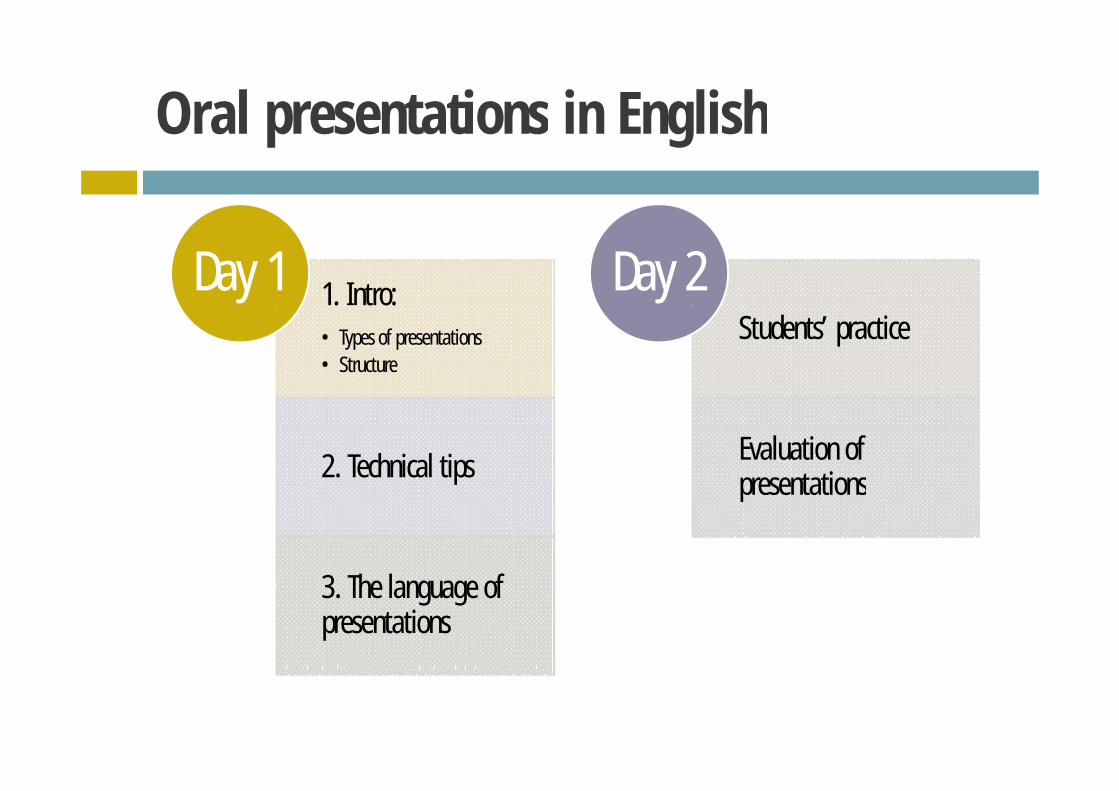
1. Intro:Day 1 Day 2•Types of presentations•Structure
Students’ practice
2. Technical tips Evaluation of presentations
3 Th l f
presentations
3. The language of presentations

Introduction1
•The processTypes of
presentations ppresentations
•IntroductionB dStr ct re •Body
•ConclusionStructure

Content: A presentation is NOT:Content: A presentation is NOT:
a technical journal paperj p pa final report b k h ta book chapter
a medium for conveying fine detailsy g

Content: Present ideas, not detailsContent: Present ideas, not details
Applies toTextEquationsEquationsGraphs, not tables

ABC’s of CommunicationABC s of Communication
• ACCURACY
• BREVITY
C• CLARITY

Different Types of PresentationDifferent Types of Presentation
W i f f i i f kWe present in front of our peers to get recognition of our work.Create an impact.
We present to get a job, promotion in the job, graduate admission, f ll hi tfellowship, etc.
Convince the board.
Other Academic & Industrial settings

Speeches are usually classified into one of h ithree categories
( )Impromptu (1-2 min)
Standard (2-7min)
Keynote (7+ min)

Oral Presentation ProcessOral Presentation Process
Plan
Rehearse
Deliver

Planning Involves DeterminingPlanning Involves Determining
Purpose
Audience
Ti i ITiming Issues

Also Means DeterminingAlso Means Determining
Content
Visual Aids or GraphicsVisual Aids or Graphics

Most Important Point of Allos po a o o
Preparationp

A process that yields an effective ipresentation
lStep 1: PlanStep 2:OrganizeStep 2:OrganizeStep 3:Prepare the ContentStep 4:PracticeStep 5:Get thereStep 5:Get thereStep 6:Speak to the audience
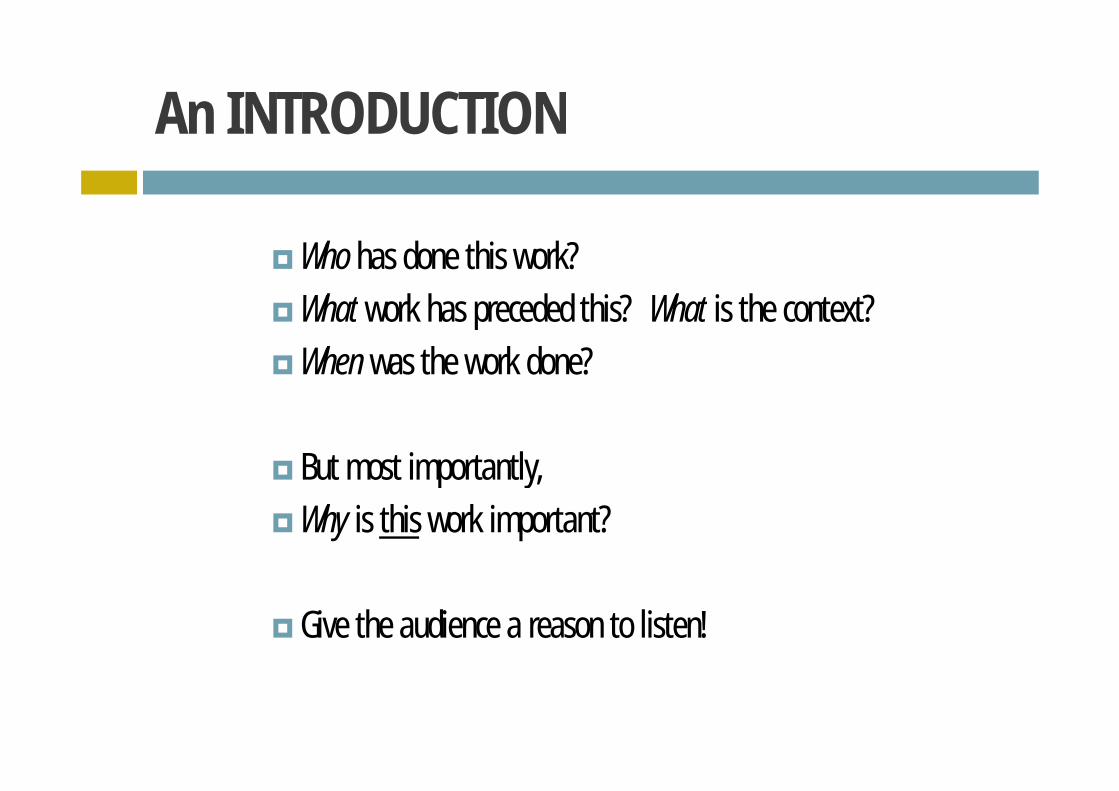
An INTRODUCTIONAn INTRODUCTION
Who has done this work?What work has preceded this? What is the context?What work has preceded this? What is the context?When was the work done?
But most importantly,p y,Why is this work important?
Give the audience a reason to listen!

Step 1: PlanStep 1: Plan
Who is the audience?M k th l l f th t i l i t t th diMake the level of the material appropriate to the audience
What is the message?gHave a clear point that you want to convey
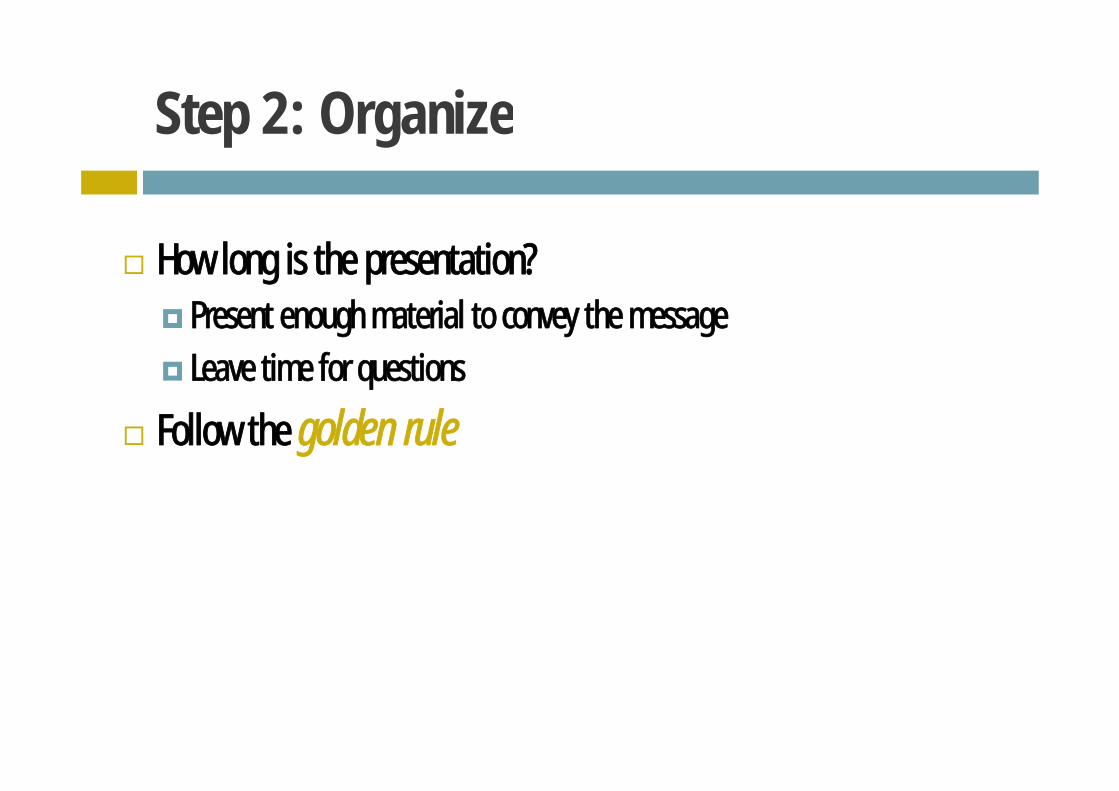
Step 2: OrganizeStep 2: Organize
How long is the presentation?P t h t i l t th Present enough material to convey the messageLeave time for questions
Follow the golden rule

Golden RuleGolden Rule
1) Tell the audience what you’re going to tell them
2) Convey the information2) Convey the information
)3) Tell the the audience what you’ve told them

Technical Tips2
Visual Aids
Delivery

Visual Aids

Presenting Figures and DiagramsPresenting Figures and Diagrams
A picture is worth a thousand words.
A picture with a few hundred words is worth a thousand
words.

Visual AidsVisual Aids
C bi i f OHP d fli h i h f dCombination of OHP and flip chart with pens often good.First visual should give the title of talk.Second should show structure of talk — main headings.Keep text to minimum — never just read text from visuals.p jDo not use too many visuals — guide is one per minute.Use pauses — give audience time to comprehend pictureUse pauses — give audience time to comprehend picture.Never show a visual until you want to talk about it.R i l fi i h d t lki b t it Remove visual once finished talking about it. Switch off equipment not in use.

Equipment glossaryEquipment glossary
( l d )(slide) projector— slides (Br. Eng.)( g )— diapositives (Am. Eng.)overhead projector (OHP)overhead projector (OHP)— transparency (Br. Eng.)— slide (Am. Eng.) flip chartflip chartwhiteboard

Technical TipsTechnical Tips
How many slides?T i ll 1 2 i t lidTypically 1-2 minutes per slide
Too many slides – key points lostToo many slides key points lostToo few slides – tends to be “boring”In 20 min talk – 10-20 slides
Does this slide reinforce m message?Does this slide reinforce my message?

Content: Make it readableContent: Make it readable
12 point
18 point
24 point
32 point 44 point32 point 44 point
Match the font size to the presentation room


Overhead TransparenciesOverhead Transparencies
Use large enough font
Do not constantly read from the OhsDo not constantly read from the Ohs
Face your audience, project your voice
Point to the film not the screen
Rehearse practice prepareRehearse, practice, prepare

Using Presentation ToolsUsing Presentation Tools
Use builds for emphasisdi d i t h i i t t i tdim unused points, emphasize important points
U COLOR ff i l Use COLOR effectively red = strong, emotionalyellow = optimism
g,
blue = calmviolet = whimsical, humorous green = money, feedback wantedg y,black = final, authoritative

Presenting NumbersPresenting Numbers
Summarise - do not over-crowdSummarise - do not over-crowd
Distil the essence e e thing the e sho ldDistil the essence - everything there shouldbe meaningful
What's the point - have your story in mind

Do not over-crowd, summariseDo not over crowd, summarise

What Colors?What Colors?
Must be legibleNeed nt ast n g aphi sNeed contrast on graphicsNeed contrast on backgroundNeed contrast on backgroundUse dark backgroundg
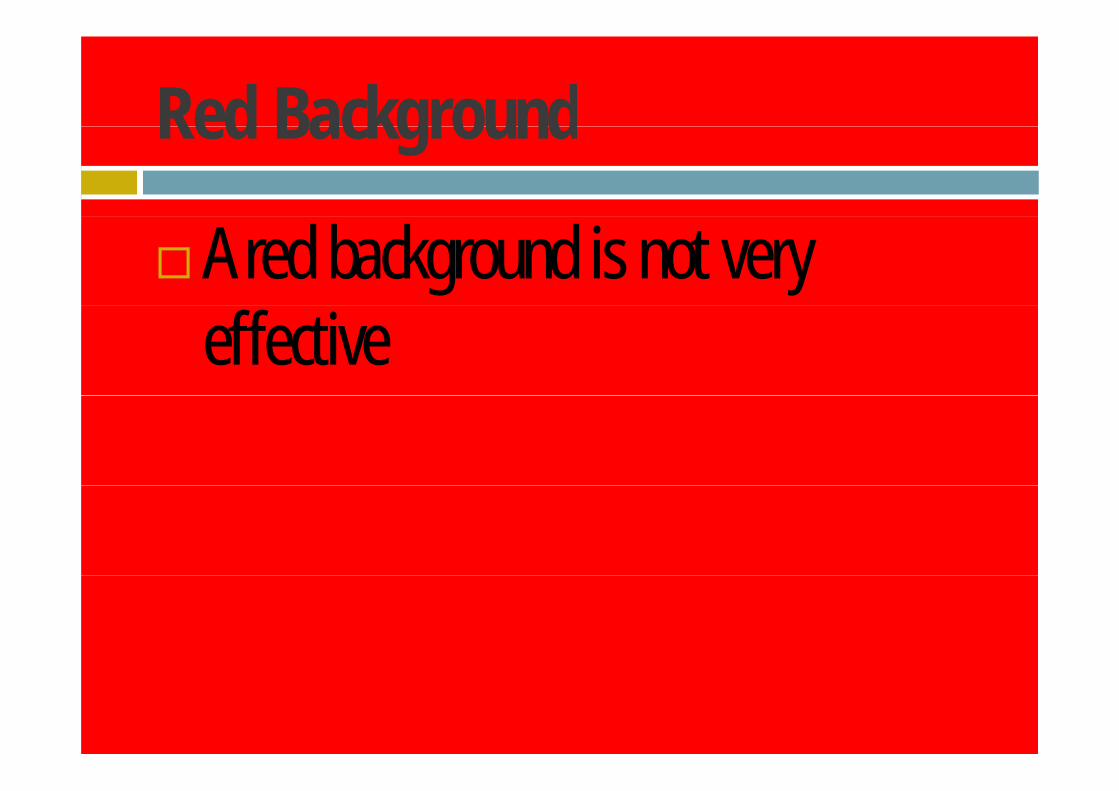
Red BackgroundRed Background
A red background is not very ffeffective

NeitherNeither
Is a green backgroundg g

Pink BackgroundPink Background
Is hard to take by most peoplef h d dOften hard to read

Technology: Colorgy
Avoid low contrast or dark-on-dark combinations
Dark letters on a light background are best for opaque images
Light letters on a dark background are best for projected images
Avoid red and blue
g
Avoid red and blue
Avoid red and blueAvoid red and blue

Key Elements of VisualsB k d & C l Background & Color
Contrasting ColorsContrasting Colors•Clear and clean text••Dark background with light text•A id ti bi ti •Avoid nauseating combinations •Avoid pastels – wash out on projectionAvoid pastels wash out on projection
26 words

VA GuidelinesVA Guidelines• Remove visual
right after using
• Make sure visual is pertinent

Review GraphicsReview Graphics
Point out important detailsHa e ke ideas in g aphi sHave key ideas in graphicsDesign for AudienceDesign for AudienceUse Color whenever possiblep

Delivery

Presentation MechanicsPresentation Mechanics
• ••Dress•Mannerisms
•Eye Contact•Avoid Laser Light Shows!Mannerisms
•You are the expert!D ’t d lid
Avoid Laser Light Shows!•Learn to mask nerves
o Don’t read slideso Don’t read notes
22 words

Step 4: Step 4: PRACTICE!PRACTICE!Step 4: Step 4: PRACTICE!PRACTICE!
P i h f bl i h h iPractice so that you are comfortable with the equipmentPractice so that the timing is correct
The first time you try something is never your best performance:y y g y p

Videos Videos
Professional presentationspEffective presentations


Speak to the AudienceSpeak to the Audience

Visual aids: glossary


diagramdiagram

bar chartbar chart

line graphline graph

picturepicture

tabletable

pie chartpie chart
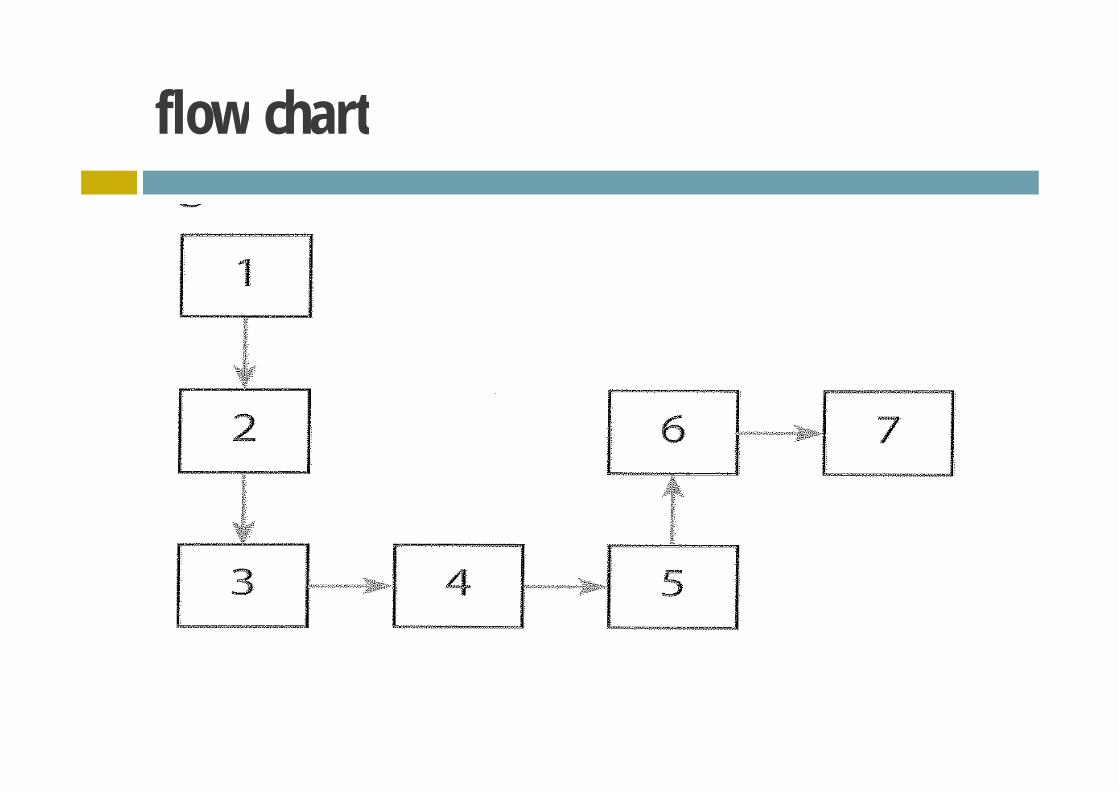
flow chartflow chart

planplan

mapmap

Step 6: Speak to the AudienceStep 6: Speak to the Audience
Three rules:Three rules:Speak to the audienceS k A diblSpeak AudiblySpeak Intelligibly

Oral Presentation TipsOral Presentation Tips
Be a presenter, not a readerHands:Hands:
out of pocketsnot foldednot folded
Note the person in the furthest row: Look at themLook at themLet them hear you
Use a consistent format Use a consistent format Rehearse your presentation

Written Presentation TipsWritten Presentation Tips
Grammer and mispellings are distractionsp git’s ≠ its can not ≠ cannot
Spell checking doesn’t check for correct usage only a thorough Spell checking doesn t check for correct usage, only a thorough reading works
t t t t t t tsum, some; to, too, two; contract, counteract

Using Your Voice EffectivelyUsing Your Voice Effectively
PitchVolumeS dSpeedTone
EnunciationPronunciationPronunciation

4 The language of oral presentations
4 The language of oral g gpresentations

Three Main SectionsThree Main Sections
1. Introduction2. Body3. Conclusion

Structure: Ending the presentationStructure: Ending the presentation
A summary• Restates main point(s).p ( )• Restates what the audience must understand and remember.• Contains no new information• Contains no new information.• Is short.
Structure: Ending the presentationStructure: Ending the presentation
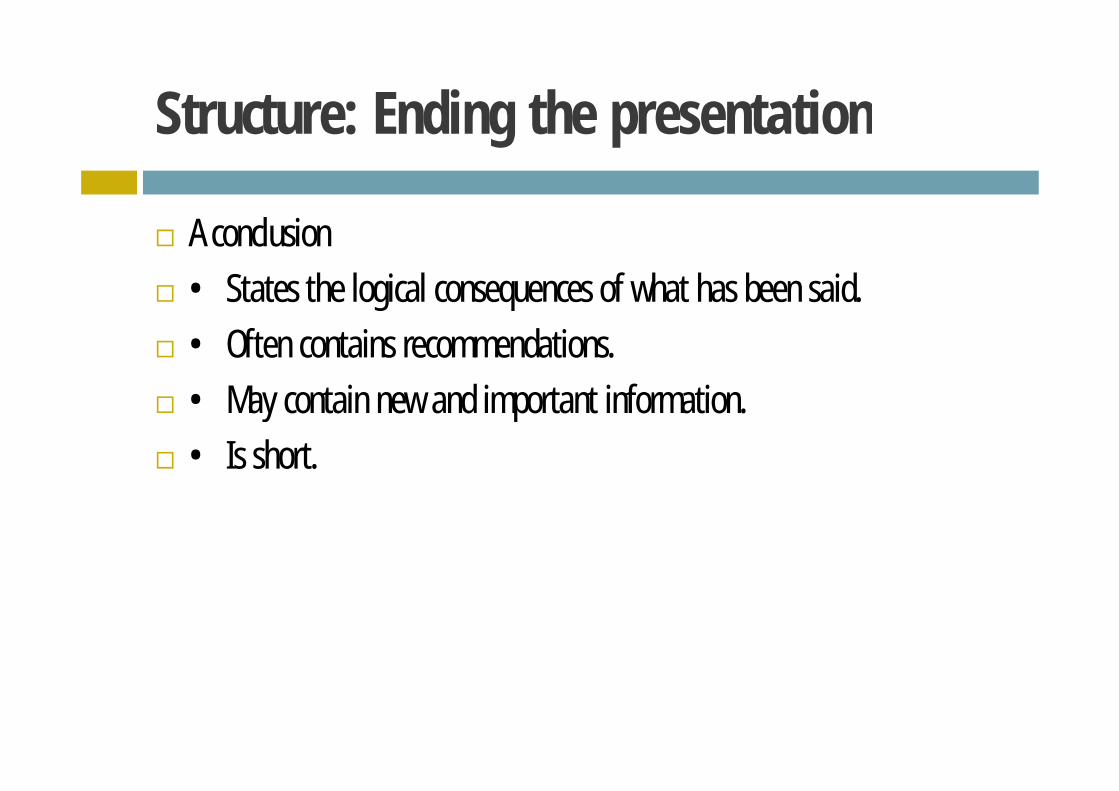
lA conclusion• States the logical consequences of what has been said.g q• Often contains recommendations.• May contain new and important information• May contain new and important information.• Is short.

Structure: Ending the presentationStructure: Ending the presentation
Questions• Inviting questions implies that the audience are less expert than g q p pthe speaker.• Beware of the ‘nightmare scenario’ — total silence! Have one or Beware of the nightmare scenario total silence! Have one or two prepared questions to ask the audience.• K t l f th ti• Keep control of the meeting.

Handling questionsHandling questions
Li t f llListen very carefully.Ask for repetition or clarification if necessary.Paraphrase the question to check you understand it.Check that the question is relevant. If not, don’t answer if you don’t want to.Check that the questioner is happy with your answer: eye contact and a
i f ffi ipause is often sufficient.Keep control. Don’t allow one or two people to dominate.Signal when time is running out — ‘Time for one last question’.At the end, thank the audience.

IntroductionIntroductiondSets Tone or Attitude
Gets Listener’s Interest - Related to TopicpStates Exact PurposeLists Main Points (Roadmap)Lists Main Points (Roadmap)

BodyBodydDiscusses Points From Introduction
Provides Obvious TransitionsProvides Obvious Transitions

ConclusionConclusionReviews Main PointsSpe ifies The A ti ns Y WantSpecifies The Actions You Want

SUMMARYSUMMARY

Keys for Successfully Preparing an Oral P iPresentation
D i Determine your purpose.
Analyze your audience.y y
Gather supporting information.
Organize supporting information.
Select appropriate presentation aidsSelect appropriate presentation aids.
Prepare your presentation.
Rehearse your oral presentation.

Keys for Successfully Delivering an Oral P iPresentation
lStart positively.
Control nervousnessControl nervousness.
Use presentation aids effectively.
Evaluate audience feedback.
E d lEnd positively.
Respond to questionsRespond to questions.
TEN ‘DOS’ AND ‘DON’TS’TEN ‘DOS’ AND ‘DON’TS’ FOR PRESENTATIONSFOR PRESENTATIONS
DO:f b k d h f h f d h1. Lots of background research. Even if the information is not used in the presentation, it is
useful to have as much knowledge as possible for the discussion and audience questions. 2 Be organized - prepare in plenty of time 2. Be organized prepare in plenty of time. 3. Structure your presentation. 4. Focus on the question set. q5. Obtain material from a wide range of sources. 6. Practice your presentation. This helps take away some of the embarrassment when it is for
l d bl h k hreal, and enables you to check the timing. 7. Use note cards.
S k l l 8. Speak clearly. 9. Have eye contact with your audience.
U l OHP ( d d l f t i f b ll t i t t )10. Use clear OHPs (word processed, large font size, use of bullet points etc.).

DON’T:1. Leave research and preparation until the last minute. 2. Rely on one source of data. y3. Make it up. 4 Just hope that it will come together on the day without preparation and 4. Just hope that it will come together on the day without preparation and
practice. 5. Have no notes to rely on if you get stuck. 5. Have no notes to rely on if you get stuck. 6. Worry too much - its not as bad as it seems. 7 Mumble 7. Mumble. 8. Read from a script. 9 Rush the presentation by speaking too fast9. Rush the presentation by speaking too fast.
10. Go over the time allotted for the presentation.

SummarySummary
Follow the Golden RuleThink visually--it’s a presentationy p2-3 points per slideConcepts not detailsConcepts, not detailsSpeak audibly, intelligibly, to the audienceSlides are readableSlides are readable
PRACTICE!

The presenter's toolkit
t fli h t
You will need: You may need:
notes visual aids
flip chart pens bottle of water
duplicate of materials on CD, disc, or both
pointer adhesive tape and labels
timer, if not using your watch directions to the venue
paper and pencils for note-taking (in case it is needed)
contact name and number. books, brochures, or samples you will refer to

Miguel Angel Candel [email protected]
O S O SORAL PRESENTATIONSTécnicas para presentaciones orales en inglés