Opentox Github Io Installation 2012-08-02 Converting Ova Ima
3
pdfcrowd.com open in browser PRO version Are you a developer? Try out the HTML to PDF API OpenTox The Open Virtualization Format (OVF) is an open standard for packaging and distributing virtual appliances for the use in virtual machines. An OVA file is a one file alternative to pack a multi file OVF directory. This is a short example how to convert OVA for the use in a proxmox 2.0 KVM environment. The OVA file was exported from the Virtualbox software, where we had build a debian based virtual machine. Extract the OVA Archive OVA files are TAR archives with the OVF directory inside. To extract the archive do tar -xvf Virtual_Appliance_Debian.ova => Virtual_Appliance_Debian.ovf Virtual_Appliance_Debian-disk.vmdk You get Virtual_Appliance_Debian-disk.vmdk which is a virtual machine disk file. The VMDK file format was developed for the use in VMWare or Virtualbox. It is an open format. Converting VMDK to RAW and from RAW to qcow2 With the free available software Virtualbox it is possible to convert VMDK disk files to RAW image format. VBoxManage clonehd --format RAW Virtual_Appliance_Debian-disk.vmdk Virtual_Appliance_D ebian-disk.raw => Virtual_Appliance_Debian-disk.raw Convert the RAW image file to qemu format: qemu-img convert -f raw Virtual_Appliance_Debian-disk.raw -O qcow2 Virtual_Appliance_ Debian-disk.qcow2 => Virtual_Appliance_Debian-disk.qcow2 Published 02 August 2012 Tags Linux 8 Ubuntu 8 Debian 8 OVA 1 Virtual Appliance 1 Converting OVA images to KVM Supporting tagline Archive Categories Tags
-
Upload
anto-padaunan -
Category
Documents
-
view
216 -
download
1
description
a
Transcript of Opentox Github Io Installation 2012-08-02 Converting Ova Ima

pdfcrowd.comopen in browser PRO version Are you a developer? Try out the HTML to PDF API
OpenTox
The Open Virtualization Format (OVF) is an open standard for packaging and distributing virtual appliancesfor the use in virtual machines. An OVA file is a one file alternative to pack a multi file OVF directory. Thisis a short example how to convert OVA for the use in a proxmox 2.0 KVM environment. The OVA file wasexported from the Virtualbox software, where we had build a debian based virtual machine.
Extract the OVA ArchiveOVA files are TAR archives with the OVF directory inside. To extract the archive do
tar -xvf Virtual_Appliance_Debian.ova
=>
Virtual_Appliance_Debian.ovf
Virtual_Appliance_Debian-disk.vmdk
You get Virtual_Appliance_Debian-disk.vmdk which is a virtual machine disk file. The VMDK file format wasdeveloped for the use in VMWare or Virtualbox. It is an open format.
Converting VMDK to RAW and from RAW to qcow2With the free available software Virtualbox it is possible to convert VMDK disk files to RAW image format.
VBoxManage clonehd --format RAW Virtual_Appliance_Debian-disk.vmdk Virtual_Appliance_D
ebian-disk.raw
=> Virtual_Appliance_Debian-disk.raw
Convert the RAW image file to qemu format:
qemu-img convert -f raw Virtual_Appliance_Debian-disk.raw -O qcow2 Virtual_Appliance_
Debian-disk.qcow2
=> Virtual_Appliance_Debian-disk.qcow2
Published02 August 2012Tags
Linux 8
Ubuntu 8
Debian 8
OVA 1
Virtual Appliance 1
Converting OVA images to KVM Supporting tagline
Archive Categories Tags
pdfcrowd.comopen in browser PRO version Are you a developer? Try out the HTML to PDF API
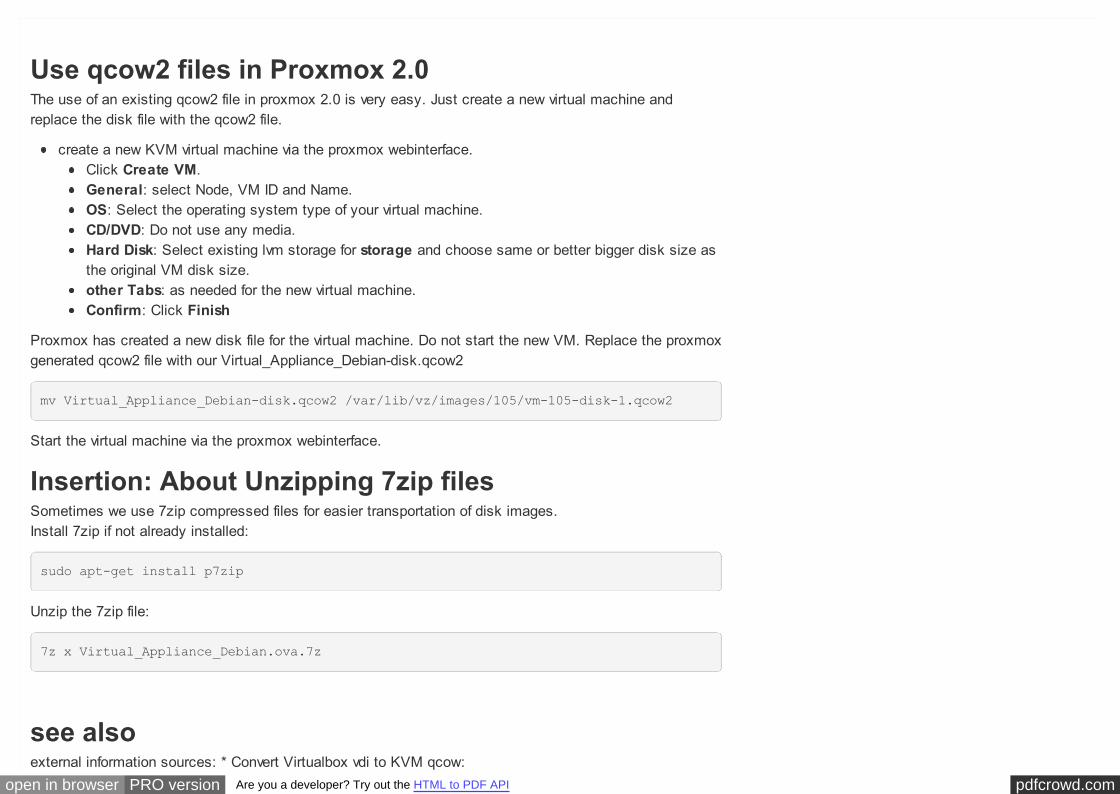
Use qcow2 files in Proxmox 2.0The use of an existing qcow2 file in proxmox 2.0 is very easy. Just create a new virtual machine andreplace the disk file with the qcow2 file.
create a new KVM virtual machine via the proxmox webinterface.Click Create VM.General: select Node, VM ID and Name.OS: Select the operating system type of your virtual machine.CD/DVD: Do not use any media.Hard Disk: Select existing lvm storage for storage and choose same or better bigger disk size asthe original VM disk size.other Tabs: as needed for the new virtual machine.Confirm: Click Finish
Proxmox has created a new disk file for the virtual machine. Do not start the new VM. Replace the proxmoxgenerated qcow2 file with our Virtual_Appliance_Debian-disk.qcow2
mv Virtual_Appliance_Debian-disk.qcow2 /var/lib/vz/images/105/vm-105-disk-1.qcow2
Start the virtual machine via the proxmox webinterface.
Insertion: About Unzipping 7zip filesSometimes we use 7zip compressed files for easier transportation of disk images. Install 7zip if not already installed:
sudo apt-get install p7zip
Unzip the 7zip file:
7z x Virtual_Appliance_Debian.ova.7z
see alsoexternal information sources: * Convert Virtualbox vdi to KVM qcow:

pdfcrowd.comopen in browser PRO version Are you a developer? Try out the HTML to PDF API
http://blog.bodhizazen.net/linux/convert-virtualbox-vdi-to-kvm-qcow/ * Migration of servers to Proxmox VE:http://pve.proxmox.com/wiki/Migration_of_servers_to_Proxmox_VE#VMware_to_Proxmox_VE_.28KVM.29* qcow image format: http://people.gnome.org/~markmc/qcow-image-format.html
← Previous Archive Next →
© in silico toxicology gmbh 2014 with help from Jekyll Bootstrap and Twitter Bootstrap