Office 2003 Advanced Concepts and Techniques M i c r o s o f t Access Web Feature Data Access Pages.
37
Office 2003 Advanced Concepts and Techniques M i c r o s o f t Access Web Feature Data Access Pages
-
Upload
vincent-gordon -
Category
Documents
-
view
214 -
download
0
Transcript of Office 2003 Advanced Concepts and Techniques M i c r o s o f t Access Web Feature Data Access Pages.

Office 2003Advanced Concepts and
Techniques
M i c r o s o f t
Access Web Feature
Data Access Pages
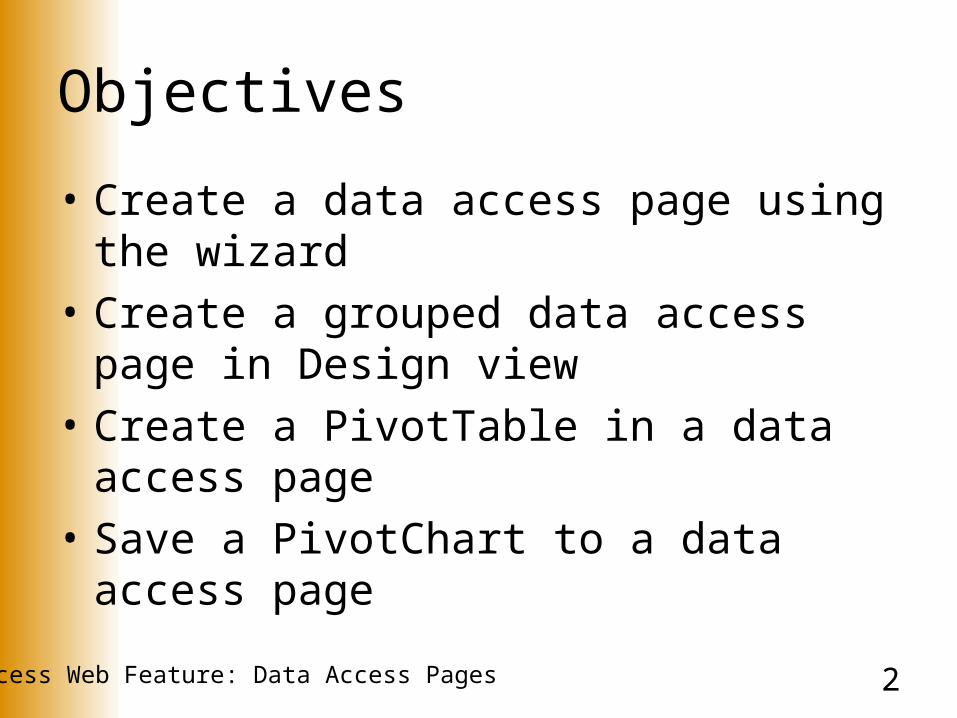
2Access Web Feature: Data Access Pages
Objectives
• Create a data access page using the wizard
• Create a grouped data access page in Design view
• Create a PivotTable in a data access page
• Save a PivotChart to a data access page
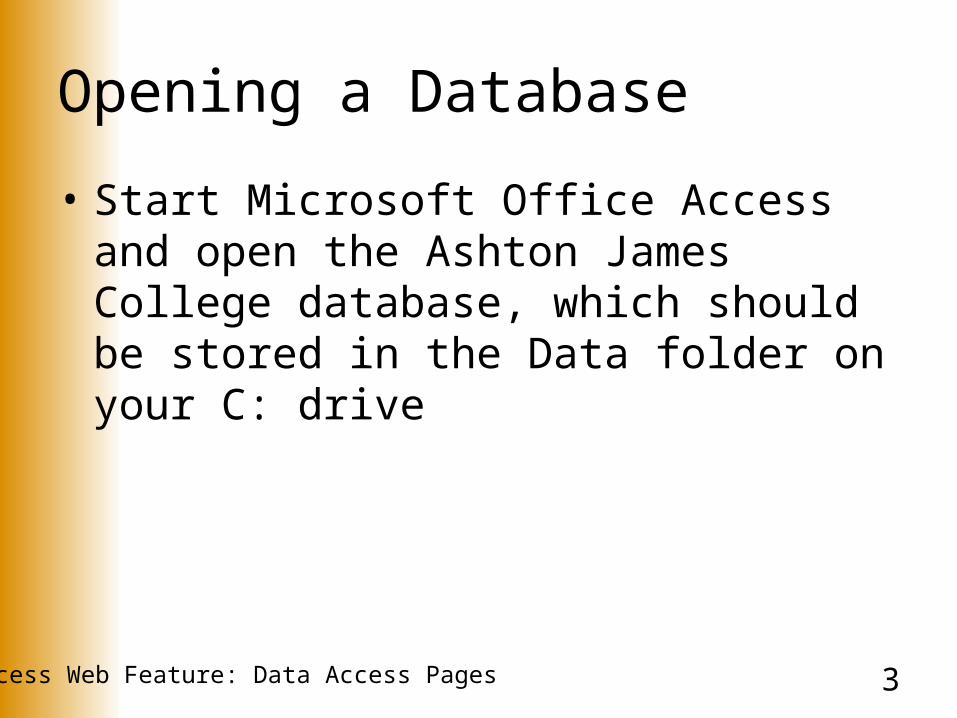
3Access Web Feature: Data Access Pages
Opening a Database
• Start Microsoft Office Access and open the Ashton James College database, which should be stored in the Data folder on your C: drive

4Access Web Feature: Data Access Pages
Creating a Data Access Page Using the Page Wizard• With the Client table selected, click the New
Object button arrow on the Database toolbar• Click Page and then click Page Wizard• Click the OK button• Click the Add Fields button to add the Client
Number field to the list of selected fields• Click the Add Field button six more times to add
the Name, Address, City, State, Zip Code, and Client Type fields
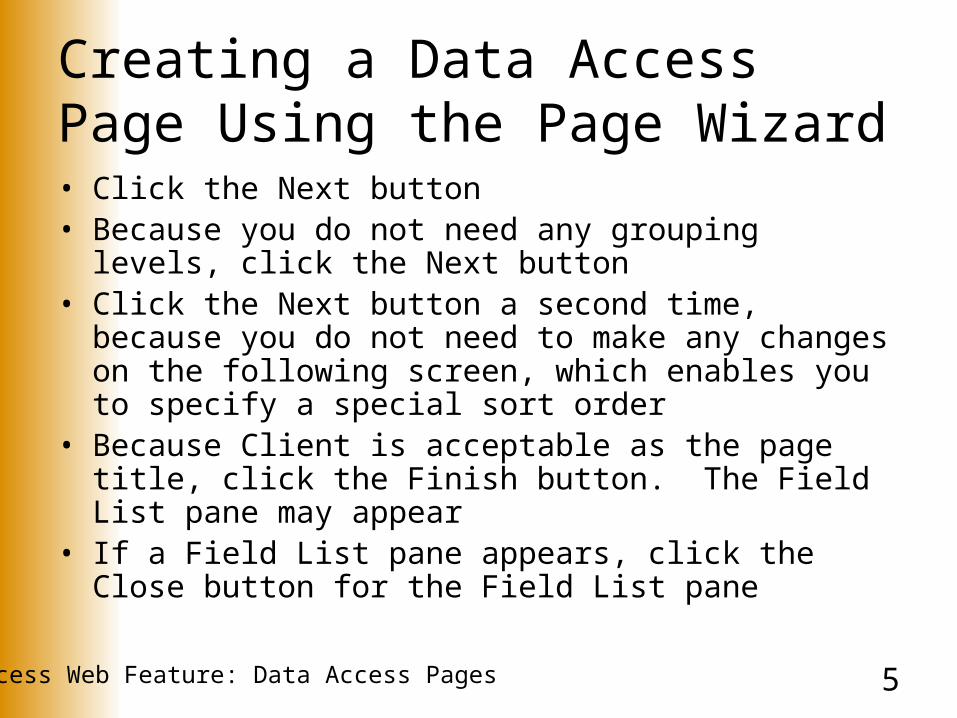
5Access Web Feature: Data Access Pages
Creating a Data Access Page Using the Page Wizard• Click the Next button• Because you do not need any grouping levels, click the
Next button• Click the Next button a second time, because you do not
need to make any changes on the following screen, which enables you to specify a special sort order
• Because Client is acceptable as the page title, click the Finish button. The Field List pane may appear
• If a Field List pane appears, click the Close button for the Field List pane
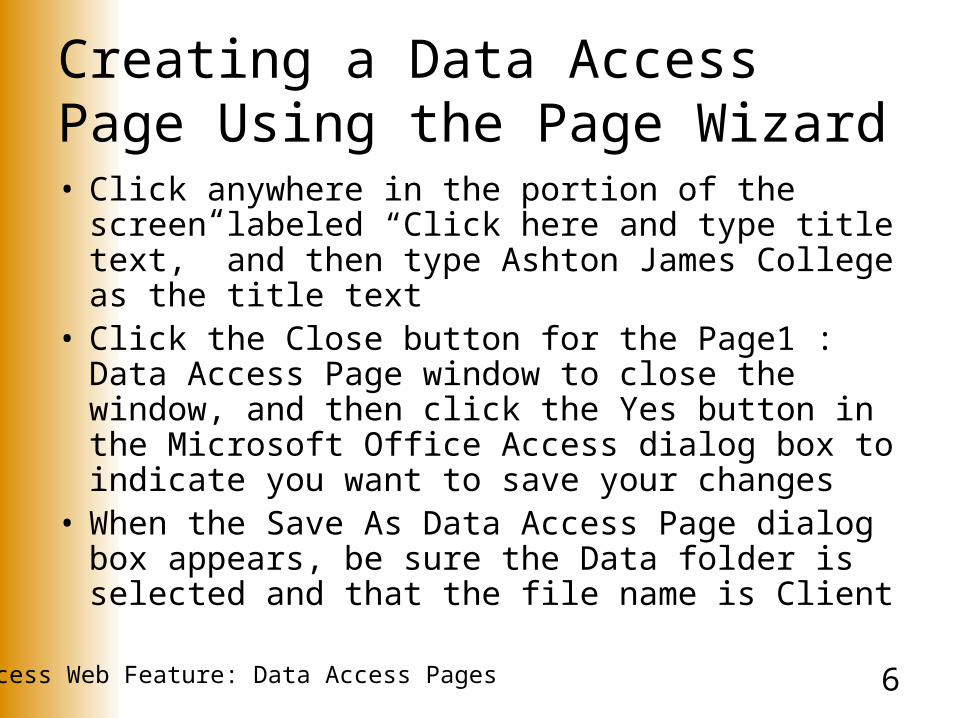
6Access Web Feature: Data Access Pages
Creating a Data Access Page Using the Page Wizard• Click anywhere in the portion of the screen
labeled “Click here and type title text,” and then type Ashton James College as the title text
• Click the Close button for the Page1 : Data Access Page window to close the window, and then click the Yes button in the Microsoft Office Access dialog box to indicate you want to save your changes
• When the Save As Data Access Page dialog box appears, be sure the Data folder is selected and that the file name is Client

7Access Web Feature: Data Access Pages
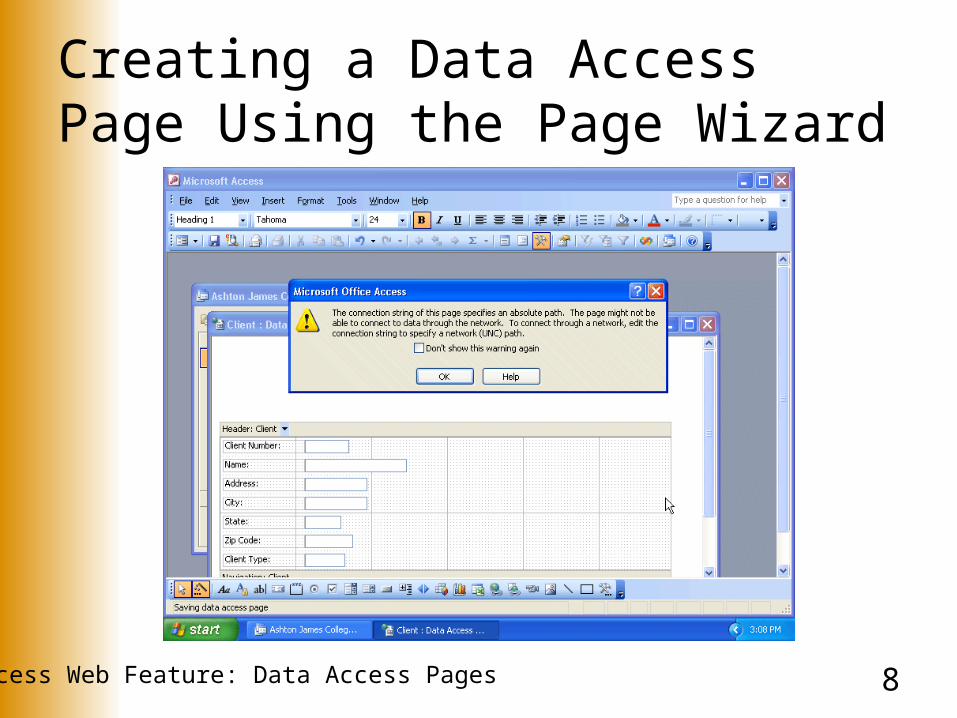
Creating a Data Access Page Using the Page Wizard• Click the Save button
• If you see a message similar to the one on the following slide, click the OK button, because the file location you specified is acceptable
8Access Web Feature: Data Access Pages
Creating a Data Access Page Using the Page Wizard
9Access Web Feature: Data Access Pages
Previewing the Data Access Page
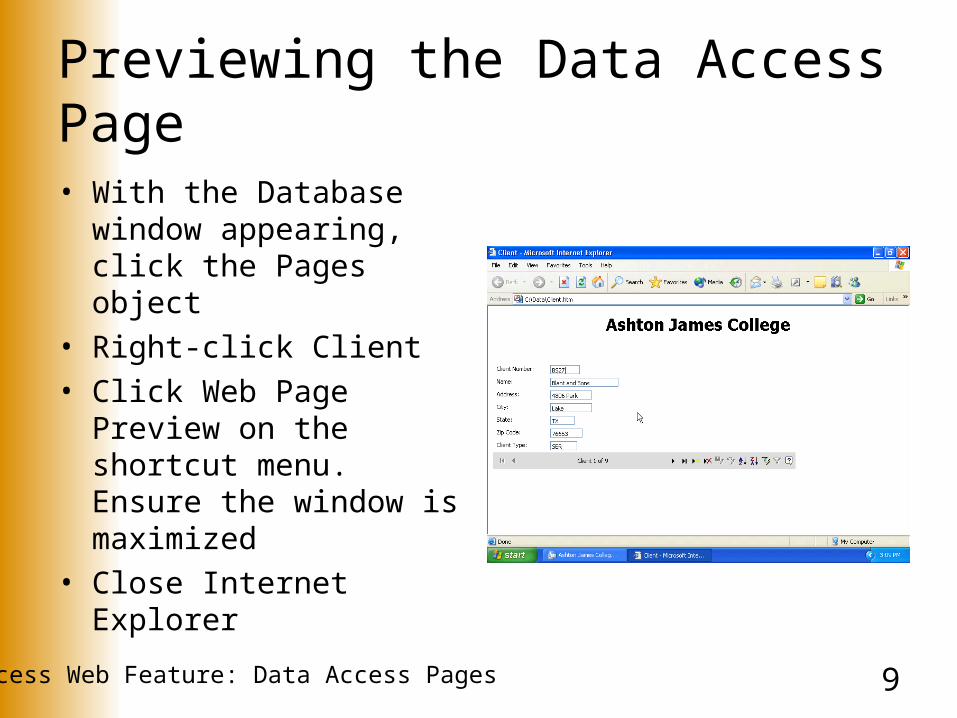
• With the Database window appearing, click the Pages object
• Right-click Client• Click Web Page Preview
on the shortcut menu. Ensure the window is maximized
• Close Internet Explorer

10Access Web Feature: Data Access Pages
Creating a Data Access Page in Design View• Click Pages on the Objects bar and then
click the New button• Be sure Design View is selected in the
New Data Access Page dialog box, and then click the OK button
• When a message appears indicating that you will not be able to open this data access page in Design view in Access 2000 or Access 2002, click the OK button
11Access Web Feature: Data Access Pages
Creating a Data Access Page in Design View• If a field list does not appear, click the
Field List button on the Page Design toolbar to display a field list
• Maximize the window containing the data access page by clicking its title bar
12Access Web Feature: Data Access Pages
Adding the Fields and Grouping
• Click the plus sign in front of Client in the field list• When the Client fields appear, click the plus sign in front
of Related tables, and then click the plus sign in front of the Trainer table listed in the Related Tables section
• Drag the Trainer Number field to the approximate position shown in Figure 18 on page AC 386
• Drag the First Name and Last Name fields to the approximate positions shown in Figure 19 on page AC 387
• Drag the labels for the First Name and Last Name fields to the positions shown in the figure
13Access Web Feature: Data Access Pages
Adding the Fields and Grouping
• Click the minus sign (-) in front of the Trainer table so the fields no longer appear, and then drag the Client Number field to the position shown in the figure
• When the Layout Wizard dialog box appears, click the OK button and then click the Trainer Number field to select it
• Click the Group by Table button• Drag the Client Number field to the approximate position
shown in Figure 21 on page AC 387• Drag the Name, Amount Paid, and Current Due fields
from the field list to the approximate positions shown in the figure
14Access Web Feature: Data Access Pages
Adding the Fields and Grouping
• Draw the labels to the positions shown in the figure
• Click anywhere in the portion of the screen labeled “Click here and type title text,” and then type Trainers and Clients as the title
• Click in any open area of the Client section to select the section, and then drag the lower sizing handle to the approximate position shown on the slide after next
• Close the window containing the data access page by clicking its Close Window button
15Access Web Feature: Data Access Pages
Adding the Fields and Grouping
• Click the Yes button when asked if you want to save your changes, type Trainers and Clients as the file name, and then click the Save button. If you see a message like the one shown in Figure 12 on page AC 383, click the OK button, because the file location you specified is acceptable
16Access Web Feature: Data Access Pages
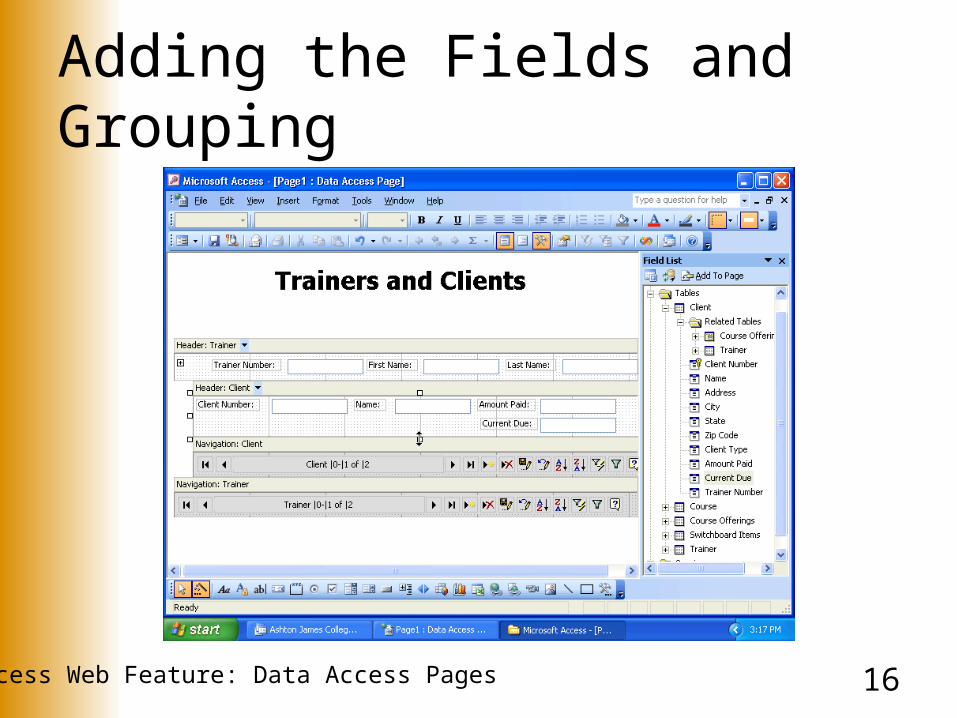
Adding the Fields and Grouping

17Access Web Feature: Data Access Pages
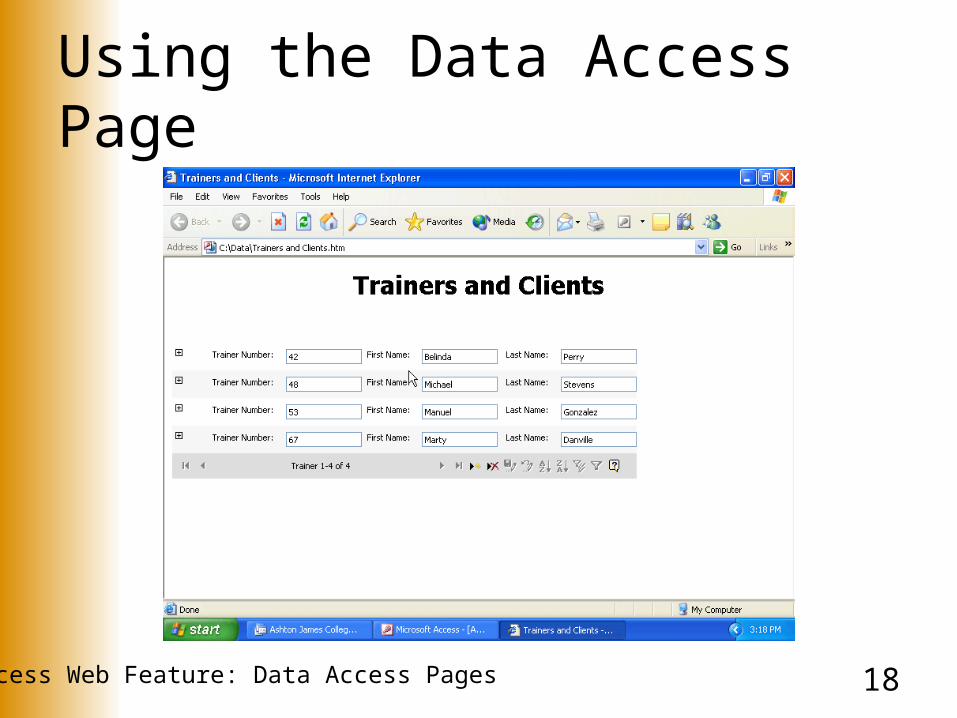
Using the Data Access Page
• With the Database window appearing, be sure the Pages object is selected, right-click Trainers and Clients, and then click Web Page Preview on the shortcut menu
• Click the plus sign in front of trainer number 42
• Close the browser window containing the data access page by clicking its Close button
18Access Web Feature: Data Access Pages
Using the Data Access Page
19Access Web Feature: Data Access Pages
Create a Data Access Page in Design View• If necessary, click Pages on the Objects
bar and then click the New button• Be sure Design View is selected in the
New Data Access Page dialog box, and then click the OK button
• When a message appears indicating that you will not be able to open this data access page in Design view in Access 2000 or Access 2002, click the OK button
20Access Web Feature: Data Access Pages
Create a Data Access Page in Design View• If a field list appears, click the Field List button
on the Page Design toolbar to remove the field list
• If the toolbox does not appear, click the Toolbox button on the Page Design toolbar. Be sure the toolbox is docked at the bottom of the screen. If it is not, drag its title bar to the bottom of the screen and release the left mouse button
• Maximize the window
21Access Web Feature: Data Access Pages
Creating a PivotTable in a Data Access Page• Click the Office PivotTable tool in the toolbox, and then
point to the approximate position shown in Figure 24 on page AC 390
• Click the position shown in the figure to place the PivotTable. A field list may reappear
• If a field list reappears, close it by clicking its Close button
• Right-click the PivotTable and then click Commands and Options on the shortcut menu
• If necessary, click the “Data member, table, view, or cube name” option button, click the arrow and then select the Trainers and Course Offerings query
22Access Web Feature: Data Access Pages
Creating a PivotTable in a Data Access Page• Click the Close button in the Commands and
Options dialog box• Resize the PivotTable to the approximate size
shown in Figure 25 on page AC 391 by dragging its lower-right sizing handle
• Right-click the PivotTable, and then click Field List on the shortcut menu to display the PivotTable Field List pane
• If necessary, drag the field list to the lower-right corner of the window
• Drag the Client Number field to the row area
23Access Web Feature: Data Access Pages
Creating a PivotTable in a Data Access Page• Drag the Course Number field to the column
area• Drag the Trainer Number field to the filter area• Drag the Hours Spent and Hours Remaining
fields to the detail area• The Hours Remaining field should be to the right
of the Hours Spent field in the detail area. If it is not, drag the Hours Remaining field to the right of the Hours Spent field
• Close the PivotTable Field List pane by clicking its Close button
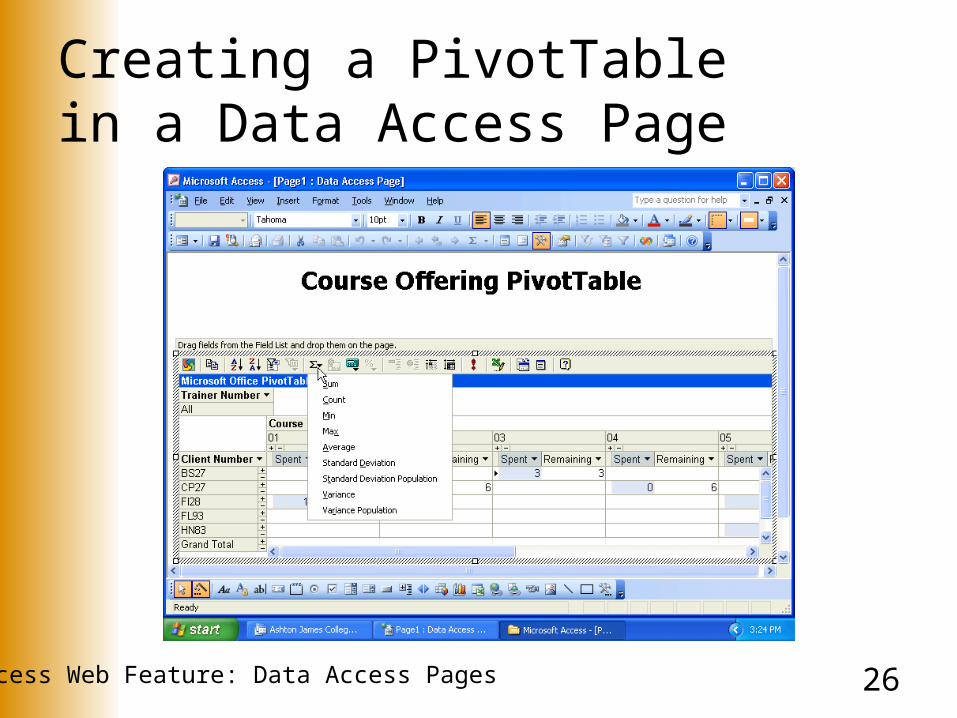
24Access Web Feature: Data Access Pages
Creating a PivotTable in a Data Access Page• Right-click the Hours Spent field, click
Commands and Options on the shortcut menu, click the Captions tab, erase the current caption, and type Spent as the new caption
• Using the same technique, change the caption for Hours Remaining to Remaining
• Click anywhere in the portion of the screen labeled “Click here and type title text,” and then type Course Offering PivotTable as the title
• Click the Spent field, and then click the AutoCalc button on the PivotTable toolbar
25Access Web Feature: Data Access Pages
Creating a PivotTable in a Data Access Page• Click Sum on the AutoCalc menu• Click the Remaining field, click the AutoCalc button on
the PivotTable toolbar, and then click Sum• Close the window containing the data access page by
clicking its Close Window button• Click the Yes button when asked if you want to save
your changes, type Course Offering PivotTable as the field name, and then click the Save button
• If you see a message like the one in Figure 12 on page AC 383, click the OK button, because the file location you specified is acceptable
26Access Web Feature: Data Access Pages
Creating a PivotTable in a Data Access Page
27Access Web Feature: Data Access Pages
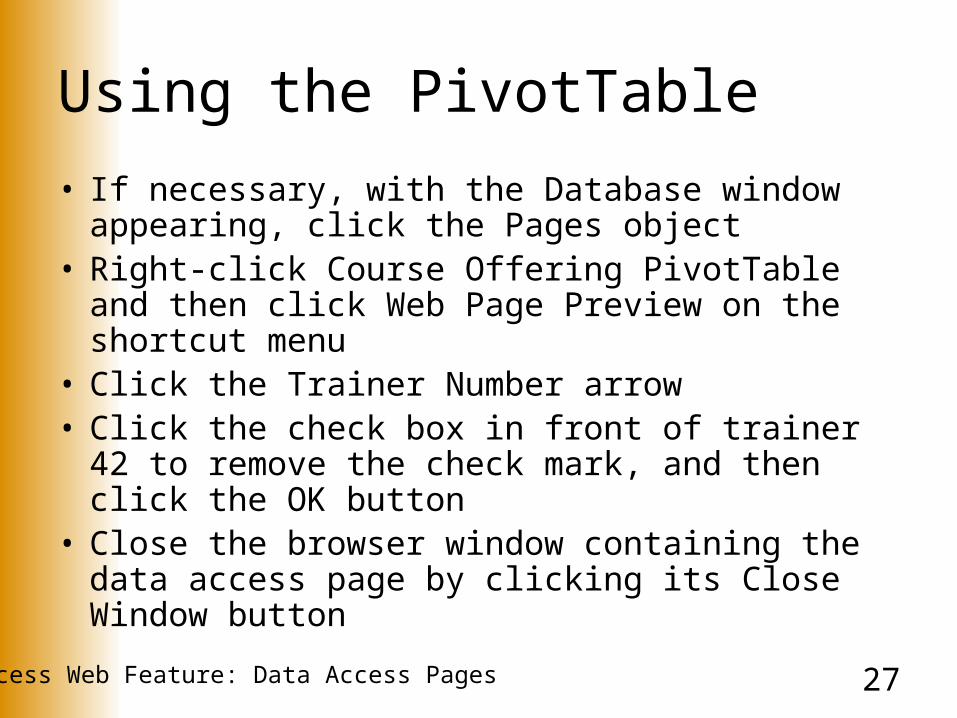
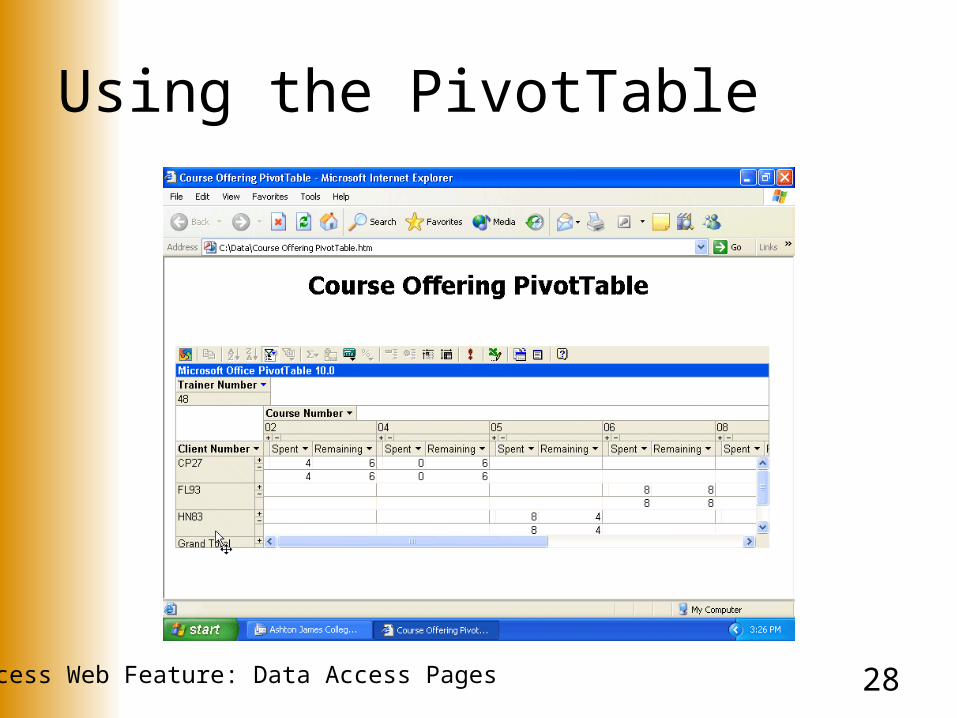
Using the PivotTable
• If necessary, with the Database window appearing, click the Pages object
• Right-click Course Offering PivotTable and then click Web Page Preview on the shortcut menu
• Click the Trainer Number arrow• Click the check box in front of trainer 42 to
remove the check mark, and then click the OK button
• Close the browser window containing the data access page by clicking its Close Window button
28Access Web Feature: Data Access Pages
Using the PivotTable
29Access Web Feature: Data Access Pages
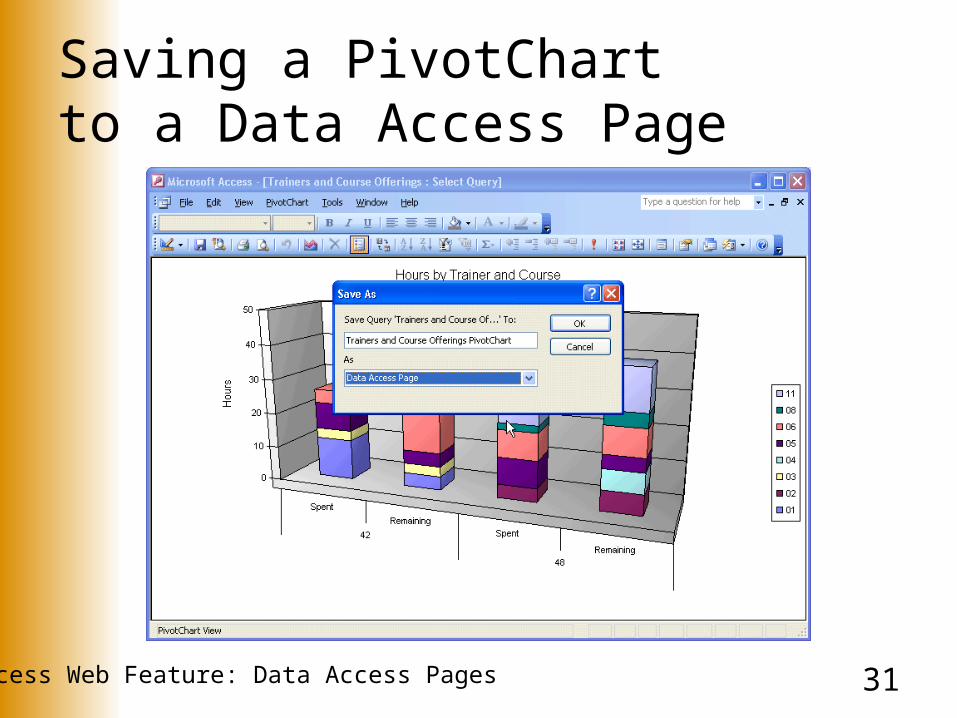
Saving a PivotChart to a Data Access Page• Click Queries on the Objects bar, right click the
Trainers and Course Offerings query, and then click Open on the shortcut menu
• Click the View button arrow, and then click PivotChart View on the View menu
• With the PivotChart appearing, click File on the menu bar, and then click Save As on the View menu
• Change the name from Trainers and Course Offerings to Trainers and Course Offerings PivotChart, click the arrow in the As text box, and then select Data Access Page
30Access Web Feature: Data Access Pages
Saving a PivotChart to a Data Access Page• Click the OK button in the Save As dialog box,
be sure the file name is Trainers and Course Offerings PivotChart, and then click the OK button in the New Data Access Page dialog box
• Click the Close Window button twice, once to close the data access page and once to close the PivotChart view of the query
• If asked if you want to save the changes to the layout of the Trainers and Course Offerings query, click the No button
31Access Web Feature: Data Access Pages
Saving a PivotChart to a Data Access Page
32Access Web Feature: Data Access Pages
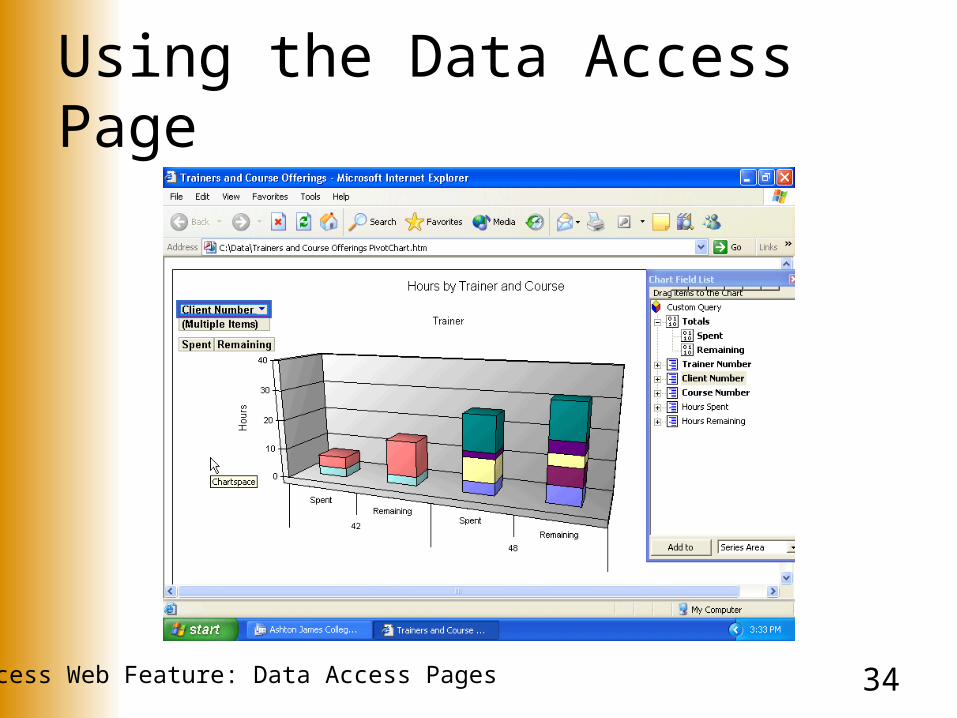
Using the Data Access Page
• With the Database window appearing, click the Pages object
• Right-click Trainers and Course Offerings PivotChart, and then click Web Page Preview on the shortcut menu
• Right-click any open area of the PivotChart• Click Field List on the shortcut menu to display a
field list• Right-click any open area of the PivotChart, and
then click Drop Areas on the shortcut menu
33Access Web Feature: Data Access Pages
Using the Data Access Page
• Drag the Client Number field to the filter fields area, and then close the field list by clicking its Close button
• Click the Client Number arrow, and then remove the check marks from Client FI28 and Client FL93
• Click the OK button• Close the browser window containing the data
access page by clicking its Close Window button
34Access Web Feature: Data Access Pages
Using the Data Access Page
35Access Web Feature: Data Access Pages
Closing a Database and Quitting Access• Click the Close Window button for the
Ashton James College : Database window
• Click the Close button for the Microsoft Access 2003 window
36Access Web Feature: Data Access Pages
Summary
• Create a data access page using the wizard
• Create a grouped data access page in Design view
• Create a PivotTable in a data access page
• Save a PivotChart to a data access page

Office 2003Advanced Concepts and
Techniques
M i c r o s o f t
Access Web Feature Complete