MQB Chassis 356x22mm Rear Upgrade Kit for Vehicles with ... Installation Guide.pdf · 2x...
9
MQB Chassis 356x22mm Rear Upgrade Kit for Vehicles with Electronic Handbrake
Transcript of MQB Chassis 356x22mm Rear Upgrade Kit for Vehicles with ... Installation Guide.pdf · 2x...
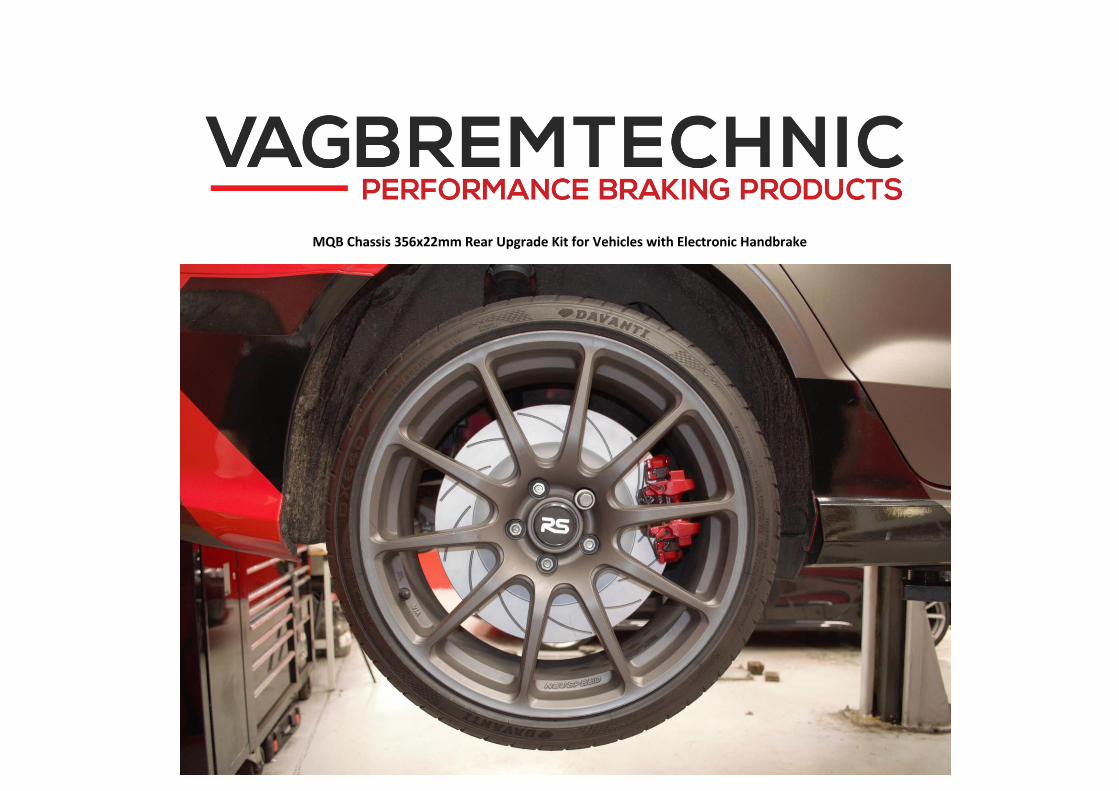
MQB Chassis 356x22mm Rear Upgrade Kit for Vehicles with Electronic Handbrake

This guide is provided by Vagbremtechnic as a courtesy.
Proper service and repair procedures are vital to the safe, reliable operation of all vehicles as well as the personal safety of those performing the repairs. Standard safety
procedures and precautions (including use of safety goggles and proper tools and equipment) should be followed at all times to eliminate the possibility of personal injury
or improper service which could damage the vehicle or compromise its safety.
Although this material has been prepared with the intent to provide reliable information, no warranty (express or implied) is made as to its accuracy or completeness.
Neither is any liability assumed for loss or damage resulting from reliance on this material. Specifically, no warranty of merchantability, fitness for a particular purpose or
any other warranty is made to be imped with respect to this material. In no event will Vagbremtechnic or its affiliates be liable for any damages, direct or indirect,
consequential or compensatory, arising out of the use of this material.
Kit Contents: Tools Required:
2x Vagbremtechnic Carrier Bracket Spacers VAG-COM Ceratec Grease
2x Brake Discs (If purchased as part of the kit) 17mm Socket Wind Back Tool or Large Jaws
4x M12x1.5x30 12.9 Tensile Socket Head Cap Screws Wheel Cap Removal Tool Torque Wrench
4x M12 A2 Stainless Spring Washers Flat Screw Driver Bench Vice
2x Centre Bore Reducing Rings 7mm Hex Key Socket
3/8’s Ratchet
M14 Spline Socket
T30 Torx Socket
Hammer
Wire Brush
10mm Hex Key Socket
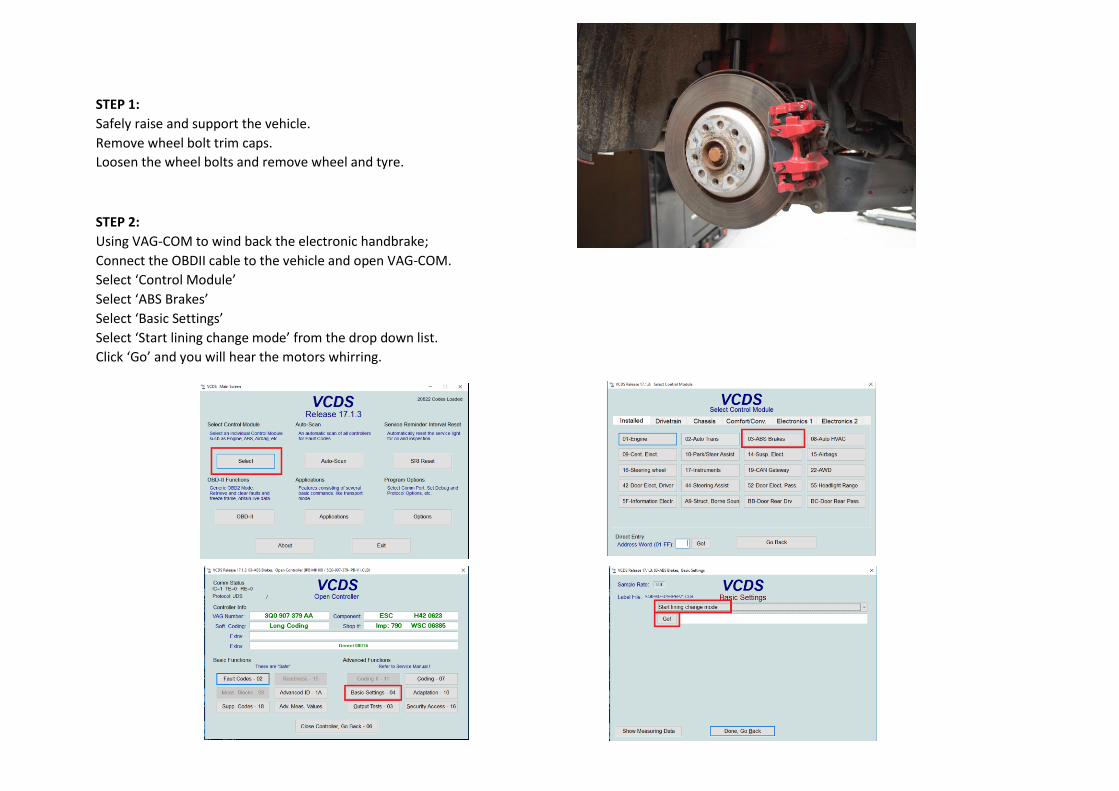
STEP 1:
Safely raise and support the vehicle.
Remove wheel bolt trim caps.
Loosen the wheel bolts and remove wheel and tyre.
STEP 2:
Using VAG-COM to wind back the electronic handbrake;
Connect the OBDII cable to the vehicle and open VAG-COM.
Select ‘Control Module’
Select ‘ABS Brakes’
Select ‘Basic Settings’
Select ‘Start lining change mode’ from the drop down list.
Click ‘Go’ and you will hear the motors whirring.

STEP 3:
Remove spring clip from caliper using a flat head screwdriver.
STEP 4:
Remove the dust caps from the caliper sliding pins
Using a 3/8” Ratchet and 7mm Hex key socket remove
the two slide pins.
STEP 5:
Remove the caliper and secure out of the way.
Remove the pads.
Tip: Using a flathead screw drive to pry the caliper away from
the pads/disc does help.

STEP 6:
Using the M14 Spline loosen and remove the two
caliper carrier bolts.
STEP 7:
Using the Torx T30 socket remove the disc retaining screw.
Remove the disc.
Tip: It is common for discs to be stuck to the hub, using a
hammer hit the centre of the disc to shock it free.
STEP 8:
Using the Torx T30 socket loosen the three dust shield screws
and remove the shield.

STEP 9:
Using a wire brush/wheel ensure the hub is cleaned of all
debris.
STEP 10:
Place the centre bore reducing ring over the hub.
Install the new 356mm brake disc and secure with the pad
retaining screw (Torx T30) that was removed in STEP 7
Torque Setting – 4Nm
STEP 11:
While the OE caliper carrier is off the car fit the Vagbremtechnic
carrier bracket spacer to the OE carrier using a 10mm Hex Key.
Tip: The easiest method to tighten the bolts is while in a vice.
At this point it is a good idea to clean the point where the pad
contacts the carriers.
Torque Setting – 125Nm

STEP 12:
Re-install the caliper carrier using the M14 Spline.
Torque Setting – 125Nm
STEP 13:
Apply Ceratec grease to the brake pad ears and install.
Wind back the caliper piston and slide the caliper over the pads
Tip: Check your brake fluid level isn’t too high, as pushing the
caliper piston back it will raise the level and could overflow.
STEP 14:
Clean and apply a thin layer of Ceratec grease to the caliper
sliding pins that were removed in STEP 4.
Once torqued re-fit the dust cover boots that were also
removed in STEP 4
Re-fit the retaining spring that was removed in STEP 3
Torque Setting – 35Nm

STEP 15:
Now, one side is complete repeat the same process on the
other side of the vehicle.
STEP 16:
Using VAG-COM to wind in the electronic hand brake;
Connect the OBDII cable to the vehicle and open VAG-COM.
Select ‘Control Module’
Select ‘ABS Brakes’
Select ‘Basic Settings’
Select ‘End lining change mode’ from the drop down list.
Click ‘Go’ and you will hear the motors whirring.
Remove & close VAG-COM

STEP 17:
Pump the brake pedal several times, the pedal should be hard.
Reinstall wheels, tighten the wheel bolts in a star pattern.
Ensure wheels spin freely of the brake caliper.
Lower vehicle and test before your drive on the highway.
Torque Setting – 120Nm
Bedding the brakes:
If new pads are fitted follow the pad manufacturers guideline for bedding in.
Thank you for purchasing a Vagbremtechnic brake kit.
We appreciate your business and hope this installation guide has been helpful.