Moodle Quick-Start Guide for Faculty · 2014-03-11 · On the Moodle Front Page, the course title...
14
Moodle Quick-Start Guide for Faculty I. Log In 1. Go to the SJECCD Moodle login page (https://moodle.sjeccd.edu/moodle ) 2. Enter your user name and password and click Login. Your user name is the same as your Webmail/Network (not your MyWeb) login id. 3. You will be required to create a new password after you log in for the first time. It must contain: • At least six (6) characters • At least one (1) upper-case (capital) letter • At least one (1) number • At least one (1) lower-case letter 4. Be sure to remember your new password. If you forget your password: 1. Click on the login help button at the bottom of the page. 2. Enter either your Moodle user name or your email address. Click OK. You will receive two email messages from Moodle. The second will contain your new password. 3. Return to Moodle and log in with the new password. 4. Change your password to something you can easily remember. (See below.) II. Check Your Profile To view your Profile, click on your name in the upper- right of the screen or click on “My Profile Settings” in the left navigation menu. Change Your Password 1. To change your password after logging in, go to your Profile. 2. Click on the Change Password link in the left navigation bar under My Profile Settings.
Transcript of Moodle Quick-Start Guide for Faculty · 2014-03-11 · On the Moodle Front Page, the course title...

Moodle Quick-Start Guide for Faculty
I. Log In
1. Go to the SJECCD Moodle login page (https://moodle.sjeccd.edu/moodle)
2. Enter your user name and password and click Login.
Your user name is the same as your Webmail/Network (not your MyWeb) login id.
3. You will be required to create a new password after you log in for the first time. It must
contain:
• At least six (6) characters • At least one (1) upper-case (capital) letter
• At least one (1) number • At least one (1) lower-case letter
4. Be sure to remember your new password.
If you forget your password:
1. Click on the login help button at the bottom
of the page.
2. Enter either your Moodle user name or your email address. Click OK. You will receive
two email messages from Moodle. The second will contain your new password.
3. Return to Moodle and log in with the new password.
4. Change your password to something you can easily remember. (See below.)
II. Check Your Profile
To view your Profile, click on your name in the upper-
right of the screen or click on “My Profile Settings” in the left navigation menu.
Change Your Password
1. To change your password after logging in, go to your Profile.
2. Click on the Change Password link in the left navigation bar under My Profile Settings.
3. Enter your current password, enter your new password and click Save Changes.
Edit Your Profile
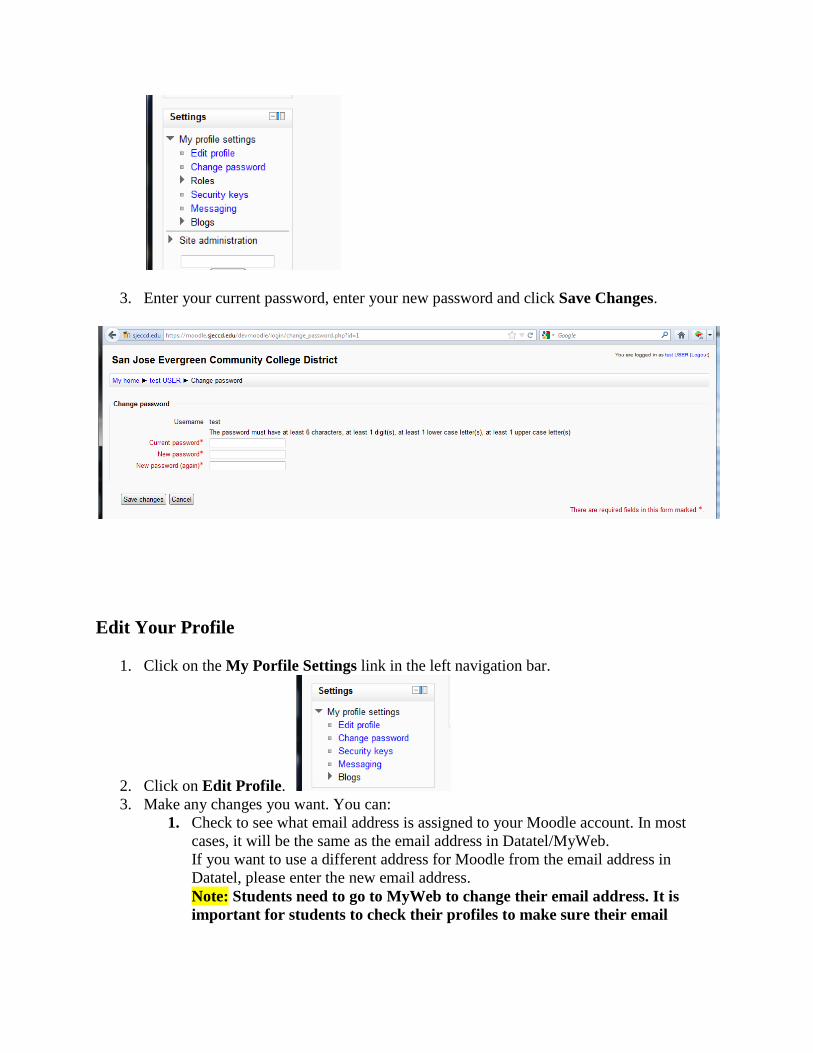
1. Click on the My Porfile Settings link in the left navigation bar.
2. Click on Edit Profile.
3. Make any changes you want. You can:
1. Check to see what email address is assigned to your Moodle account. In most
cases, it will be the same as the email address in Datatel/MyWeb.
If you want to use a different address for Moodle from the email address in
Datatel, please enter the new email address.
Note: Students need to go to MyWeb to change their email address. It is
important for students to check their profiles to make sure their email

address is correct. Otherwise they will not receive your email messages or
password reset emails.
2. Enter a description for yourself, such as your title, office hours, or short bio.
Note: If you don't enter something in this field, any other changes you make
to your profile will not be saved. 3. Upload your photo. (See instructions below.)
4. Enter a list of teaching, research, or personal interests.
4. Scroll to the bottom of the page and click Update profile.
Upload Your Photo
1. On the Edit profile page, scroll down to User Picture.
2. Click on Choose a file button.
3. Choose a file from your Private Files area if you have one uploaded already, or click on
Upload a file. Click the Browse button to find the image file on your local computer,
select the file and click Open. The path to the file will display in the Attachment field.
4. Click the Upload this file button to complete the file upload.
5. Enter a brief description of the photo (very important for people using screen readers).
6. Click Update profile.
. III. My Home
The MyMoodle Home Page contains links to all of the classes you are enrolled in either as a
“Teacher” or as a “Student”. Click on the course title to enter a course.
Important! Each new course link is light gray in color, indicating that it is NOT visible to
students. When you want students to be able to access it, go to the course, click on
Administration > Settings, and change the Availability setting. (See Course Settings below.)
. IV. Enter Your Course
Here are basic elements of a course page and links to Moodle documentation.

Example of Weekly format, teacher view, edit off
Parts of a course homepage
Using the above image, here are the parts of a typical course homepage. It is possible to move
and hide parts of the page and different themes display blocks in different regions, so not all
courses will look like this.
Column left Course sections - Center Column right
*1 Course full name *6 Section header & News topic *9 Login information
*2 Navigation bar *7 Current week - First section *10 Turn editing on button
*4 Navigation block *8 Future week - Second section *11 Latest news
*5 Settings block *14 "Show only this section" *12 Upcoming events
*15 "Switch role to"
*13 Recent activity
*16 User profile settings
*17 Site Administration

The course homepage is laid out in three columns: a wide center column containing the main
content , and a narrow column on either side with Blocks of information and tools.
The center column is labeled Weekly Outline or Topic Outline, depending on your course
format. This is where you will set up your content (Resources and Activities).
V. Turn Editing On
Each time you log in, you will need to Turn editing on, in order to be able to make changes. To
do this, click on the Turn editing on button in the upper-right of the screen.
After you turn editing on, you will see small icons next to most of the elements and along the
right edge of each section of the center column. These icons represent the various editing options
for that element or section. For more information about these editing options, see the section
below on adding content.
Editing elements on your course homepage
With the editing turned on, each item on your course homepage and each section/block will have
icons next to it which all perform different functions such as edit/move/copy/delete/hide. Note:
your theme may have icons different from these below:
- the edit icon allows you to change the wording or settings of the item.
- the duplicate icon allows you to copy an activity or resource within your course
- the open-eye icon means an item is visible to students. It will close when you click on it
- the closed-eye icon means an item is hidden from students. It will open when you click
on it
- the right icon is used to indent course elements (there is also a left icon)
- the move icon allows course elements to be placed anywhere
- the move here icon appears when moving a course element. Click into the box to
re-locate your item.
- the up/down arrows allow you to move course sections up or down.
- the "crosshairs" move icon allows you to move items or sections by dragging and
dropping. It appears if your admin has enabled Ajax.
- the delete icon will permanently delete something from the course
- the groups icon allows you to change between no groups or separate/visible
groups
- the roles icon allows you to assign roles locally in the item.
The following icons are visible when editing is both on and off
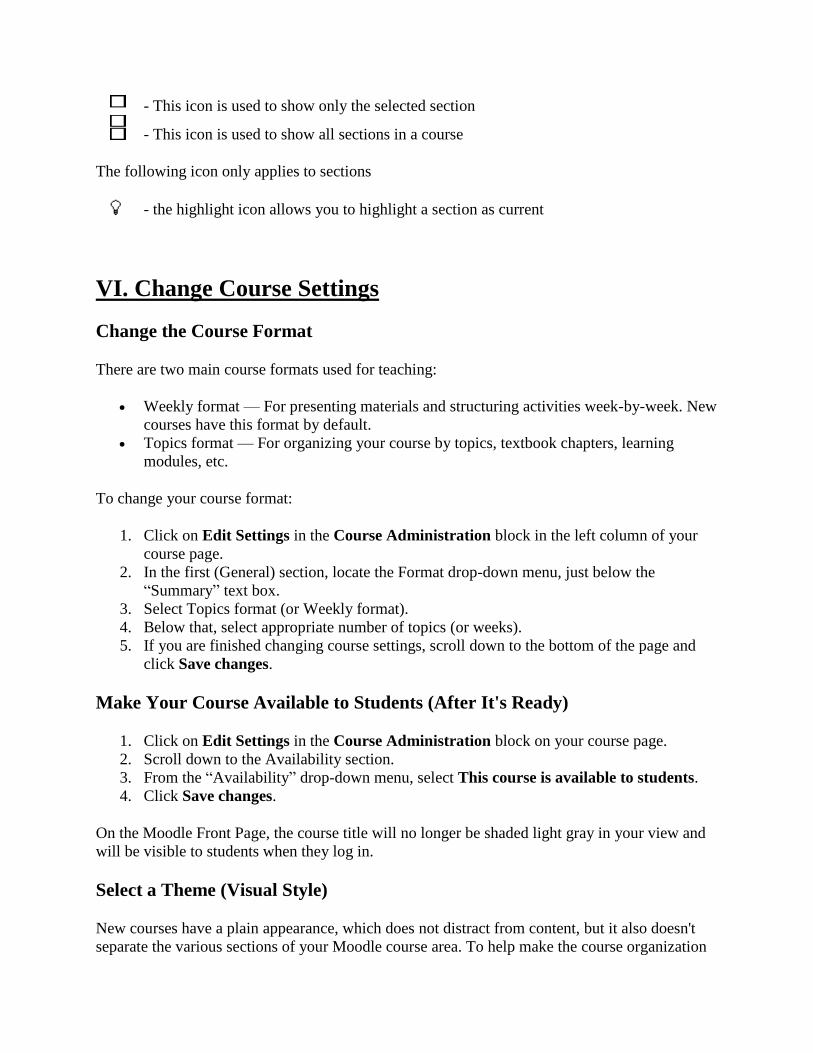
- This icon is used to show only the selected section
- This icon is used to show all sections in a course
The following icon only applies to sections
- the highlight icon allows you to highlight a section as current
VI. Change Course Settings
Change the Course Format
There are two main course formats used for teaching:
Weekly format — For presenting materials and structuring activities week-by-week. New
courses have this format by default.
Topics format — For organizing your course by topics, textbook chapters, learning
modules, etc.
To change your course format:
1. Click on Edit Settings in the Course Administration block in the left column of your
course page.
2. In the first (General) section, locate the Format drop-down menu, just below the
“Summary” text box.
3. Select Topics format (or Weekly format).
4. Below that, select appropriate number of topics (or weeks).
5. If you are finished changing course settings, scroll down to the bottom of the page and
click Save changes.
Make Your Course Available to Students (After It's Ready)
1. Click on Edit Settings in the Course Administration block on your course page.
2. Scroll down to the Availability section.
3. From the “Availability” drop-down menu, select This course is available to students.
4. Click Save changes.
On the Moodle Front Page, the course title will no longer be shaded light gray in your view and
will be visible to students when they log in.
Select a Theme (Visual Style)
New courses have a plain appearance, which does not distract from content, but it also doesn't
separate the various sections of your Moodle course area. To help make the course organization

clearer to students, you can make the sections visually more distinct by selecting a Theme, which
defines the page formatting and background colors for the course.
(NOTE: When selecting a theme it is important to be mindful of visually impaired students.)
1. Click on Edit Settings in the Course Administration block on your course page
2. Scroll down to the Force Theme drop-down menu, near the bottom of the first (General)
section on the Settings page.
3. Select a theme. (You must return to the main course page to view the appearance of each
theme.)
4. Scroll down to the bottom of the page and click on Save changes.
VII. Add Content to Your Course
Course Sections
The content area in the center of the course page is divided into Sections for each week or topic,
plus an additional section at the top for introductory and organizational materials, such as your
syllabus.
Each Section (week or topic) of a new course contains four elements:
Weekly Section example
Topic Section example
1. Heading (at the top of the section)
o Weekly format —The heading displays the dates for that week.
o Topics format —The heading is blank until you add content. To add a topic title,
image, or other content, click the Update icon at the top of the section.
2. Add a Resource menu: for adding content, such a syllabus or links to external web sites.
3. Add an Activity menu: for adding quizzes, (discussion) forums, assignments to be
submitted online, or other activities.
4. Section display icons (along the right edge): for changing the display of the section
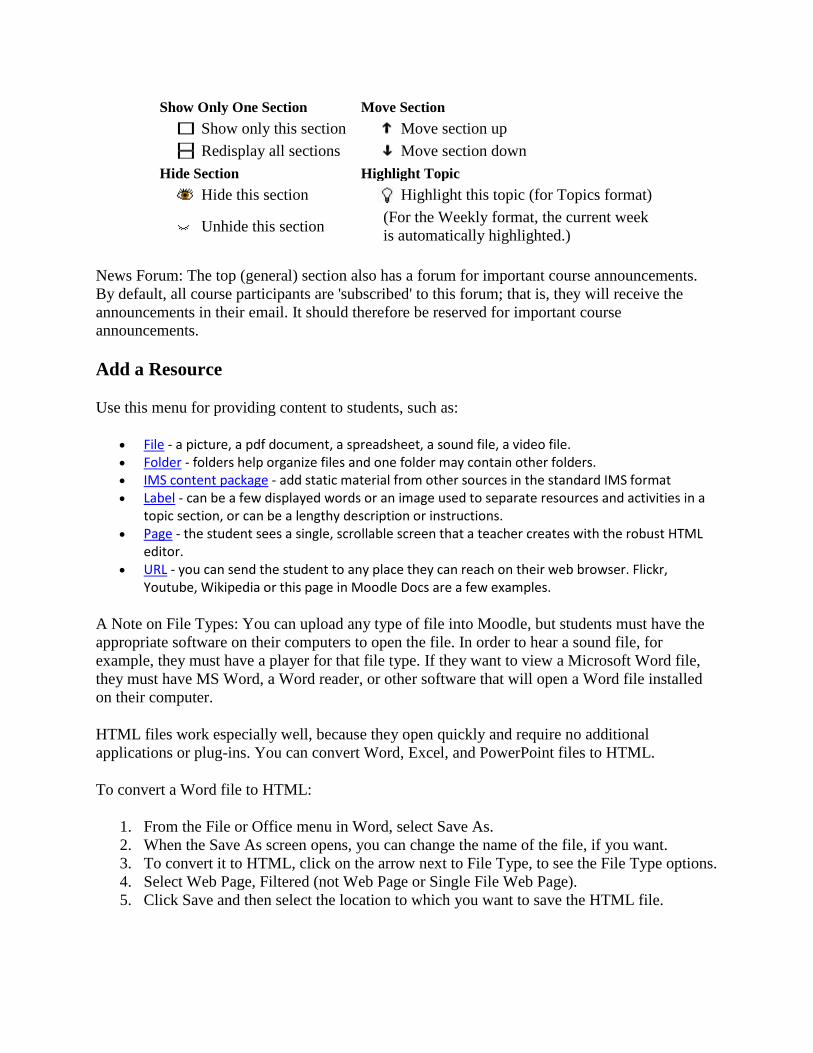
Show Only One Section Move Section
Show only this section
Move section up
Redisplay all sections
Move section down
Hide Section Highlight Topic
Hide this section
Highlight this topic (for Topics format)
Unhide this section (For the Weekly format, the current week
is automatically highlighted.)
News Forum: The top (general) section also has a forum for important course announcements.
By default, all course participants are 'subscribed' to this forum; that is, they will receive the
announcements in their email. It should therefore be reserved for important course
announcements.
Add a Resource
Use this menu for providing content to students, such as:
File - a picture, a pdf document, a spreadsheet, a sound file, a video file. Folder - folders help organize files and one folder may contain other folders. IMS content package - add static material from other sources in the standard IMS format Label - can be a few displayed words or an image used to separate resources and activities in a
topic section, or can be a lengthy description or instructions. Page - the student sees a single, scrollable screen that a teacher creates with the robust HTML
editor. URL - you can send the student to any place they can reach on their web browser. Flickr,
Youtube, Wikipedia or this page in Moodle Docs are a few examples.
A Note on File Types: You can upload any type of file into Moodle, but students must have the
appropriate software on their computers to open the file. In order to hear a sound file, for
example, they must have a player for that file type. If they want to view a Microsoft Word file,
they must have MS Word, a Word reader, or other software that will open a Word file installed
on their computer.
HTML files work especially well, because they open quickly and require no additional
applications or plug-ins. You can convert Word, Excel, and PowerPoint files to HTML.
To convert a Word file to HTML:
1. From the File or Office menu in Word, select Save As.
2. When the Save As screen opens, you can change the name of the file, if you want.
3. To convert it to HTML, click on the arrow next to File Type, to see the File Type options.
4. Select Web Page, Filtered (not Web Page or Single File Web Page).
5. Click Save and then select the location to which you want to save the HTML file.

Upload a File to your Moodle course
1. Make sure your have turned editing on.
2. Locate the Section (week or topic) to which you want to add the file.
3. In that section, click on the Add a Resource drop-down menu and select File.
The Adding a New File page will open.
4. In the Name field, enter the title you want the link to the file on your course homepage to
have. Select a name that will be clear to students. The Description of the file is optional.
5. Click the Add button that is listed under the Content section.
6. A new window will open that allows you to choose where to find the file you wish to add
to your course. The two options that you will choose from most often will be Private
Files or Upload A File. The Upload A File option allows you to browse your computer
to upload a single file to your Moodle course. The Private Files option allows you to
browse your personal files that you have uploaded to your Moodle profile that you can
use for any Moodle course., showing the content of your Files area. It contains all of the
files you have uploaded to Moodle. (Another way to access your Files area is from the
Administration block.)
7. If you haven't uploaded the file yet, click Upload a File, then click Browse to find the
file on your computer. When the file path appears in the text box on the file upload
screen, click on Upload this File. You will then see the file listed in the Adding A New
File page.
8. Click Save and return to course. A link to the file will appear in the content area.
Add a Link to a Web Site
1. Make sure your have turned editing on.
2. Locate the Section (week or topic) to which you want to add the file.
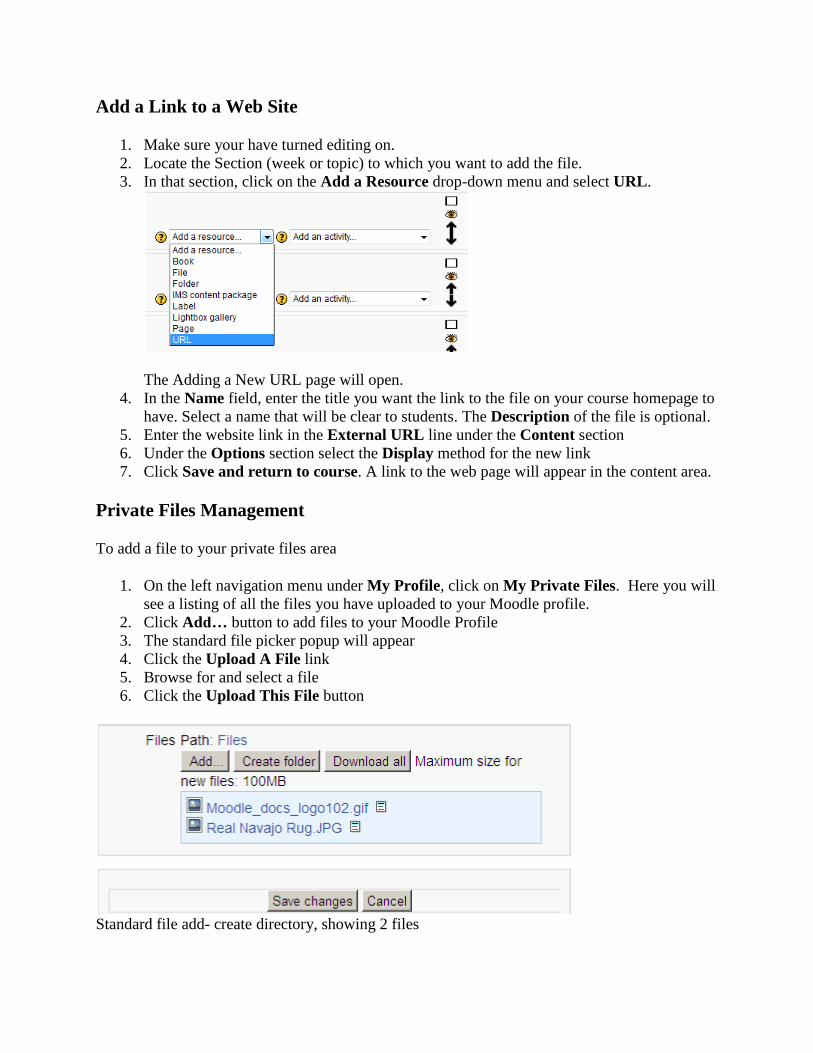
3. In that section, click on the Add a Resource drop-down menu and select URL.
The Adding a New URL page will open.
4. In the Name field, enter the title you want the link to the file on your course homepage to
have. Select a name that will be clear to students. The Description of the file is optional.
5. Enter the website link in the External URL line under the Content section
6. Under the Options section select the Display method for the new link
7. Click Save and return to course. A link to the web page will appear in the content area.
Private Files Management
To add a file to your private files area
1. On the left navigation menu under My Profile, click on My Private Files. Here you will
see a listing of all the files you have uploaded to your Moodle profile.
2. Click Add… button to add files to your Moodle Profile
3. The standard file picker popup will appear
4. Click the Upload A File link
5. Browse for and select a file
6. Click the Upload This File button
Standard file add- create directory, showing 2 files
Uploaded files may be downloaded, unzipped (if it is a ZIP file), renamed, moved or
deleted by clicking the icon next to the file. After making any changes, remember to click
the Save changes button.
Upload Multiple Files
It is easier to upload many files at once than to upload each file individually as you link it to the
main course page. To do that, you first need to compress all of the files you want to upload into a
single (.zip) file.
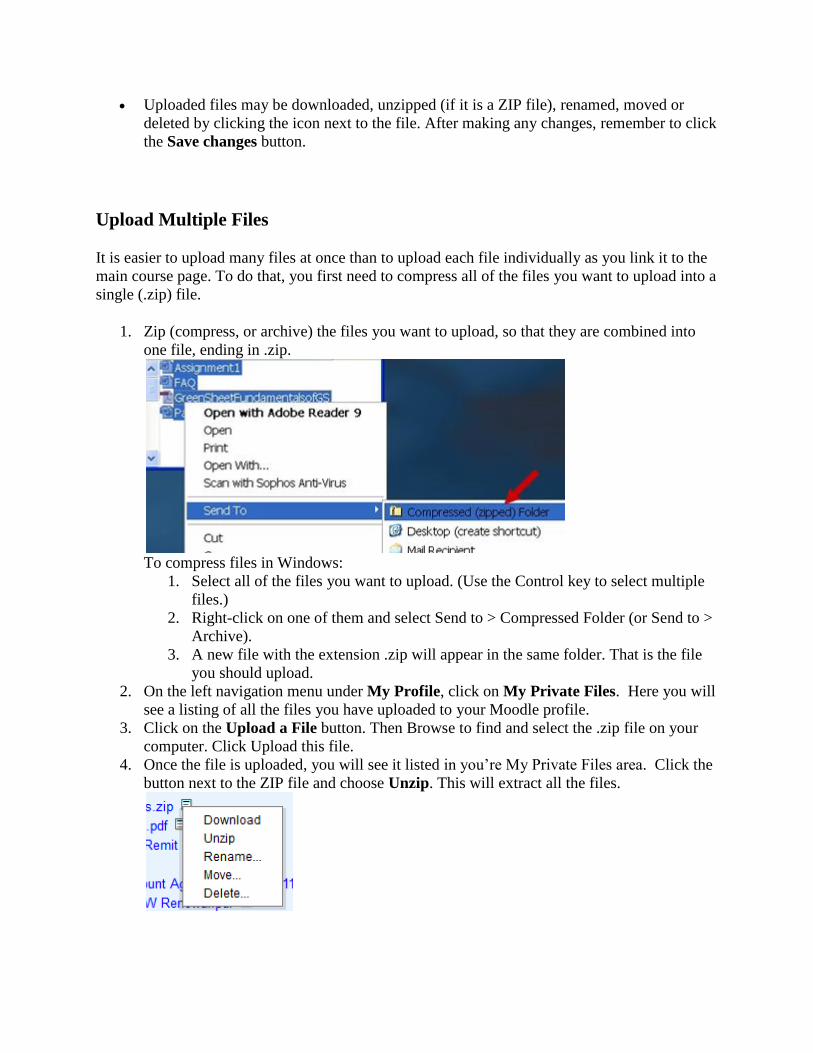
1. Zip (compress, or archive) the files you want to upload, so that they are combined into
one file, ending in .zip.
To compress files in Windows:
1. Select all of the files you want to upload. (Use the Control key to select multiple
files.)
2. Right-click on one of them and select Send to > Compressed Folder (or Send to >
Archive).
3. A new file with the extension .zip will appear in the same folder. That is the file
you should upload.
2. On the left navigation menu under My Profile, click on My Private Files. Here you will
see a listing of all the files you have uploaded to your Moodle profile.
3. Click on the Upload a File button. Then Browse to find and select the .zip file on your
computer. Click Upload this file.
4. Once the file is uploaded, you will see it listed in you’re My Private Files area. Click the
button next to the ZIP file and choose Unzip. This will extract all the files.

Add an Activity
Use this menu to create opportunities for students to perform some action within Moodle, such as
(this is not an exhaustive list of available activities):
Assignments – Enable teachers to grade and give comments on uploaded files and assignments created on and off line Chat – Allows participants to have a real-time synchronous discussion Choice – A teacher asks a question and specifies a choice of multiple responses Database – Enables participants to create, maintain and search a bank of record entries External tool – Allows participants to interact with LTI compliant learning resources and activities on other web sites. Feedback – For creating and conducting surveys to collect feedback Forum – Allows participants to have asynchronous discussions Glossary – Enables participants to create and maintain a list of definitions, like a dictionary Lesson – For delivering content in flexible ways Quiz –Allows the teacher to design and set quiz tests, which may be automatically marked and feedback and/or to correct answers shown SCORM – Enables SCORM packages to be included as course content Wiki – A collection of web pages that anyone can add to or edit Workshop – Enables peer assessment
VIII. Select and Modify Column Blocks
The blocks in the left and right columns can add information and functionality to your course.
They include (this is not an exhaustive list of the available block that can be added to a Moodle
course):
Add Blocks – Allows you to add a new block, or restore one you deleted. It is visible
only after editing is turned on, but cannot be seen by students. It cannot be deleted,
because it allows you to add other blocks.
Navigation – Contains important options for navigating in Moodle and your courses.
Settings - Contains important options for course administration (including Settings,
Grades, Backup, Restore, and Import), Switch role to, and My Profile settings.
Calendar – You can add holidays, due dates, and other course events to the calendar.
Assigning a due date to a quiz or assignment will automatically add it to the calendar.
Color-coding distinguished among site, course, group, and user events. Click on a date to
view its events.
Upcoming Events – Displays a list of future course events, such as tests and assignment
due dates.
Activities – Links to the different activity types available in your course (Forums,
Quizzes, Assignments, Lesson module, etc.) and allows navigation between them. The
list will grow as you add activities.
Quickmail – Makes it easy to send email to students. When you send an email to
students, a confirmation email, which contains a record of your email content and
recipients, is sent to your email address.

Section Links – Allows users to jump quickly to a particular topic or week.
Online Users – Lists course members currently logged in.
People – The Participants link provides a list of everyone in the course and shows how
long it has been since each person accessed the course. You can click on the name of a
participant to see that person's profile page. The list of participants displays only 20
names on each page. To see the names of everyone in the class, click on the Show All
link at the bottom of the screen.
To move a Block
Blocks appear at the side(s) of your course area. To move one,
1. Turn Editing On and *click and release* the Block's crosshair icon. Place holders - zones
with a dashed border - appear on the screen indicating the possible areas where your
Block can appear.
1. Click the placeholder where you want the Block appear. On course area homepages, you
can move Blocks from one side to the other, but not into the middle.
2. The block should now appear in the location you chose.
If you delete or hide all of the blocks on the right side, or move them to the left side, the right
column will disappear from the student view, and the content area will expand to fill up the space
of the right column. (You will still see three columns in Edit mode, because of the Add blocks
block, which students do not see. Students will see only two columns: the left column for blocks
and the wider content area.)
IX. View Your Course as a Student
To view your course as a student will see it, select Student from the Switch role to link in the
Settings block.
To switch back to editing mode, click on Return to my normal role link in the Settings block,
and then click on Turn editing on.
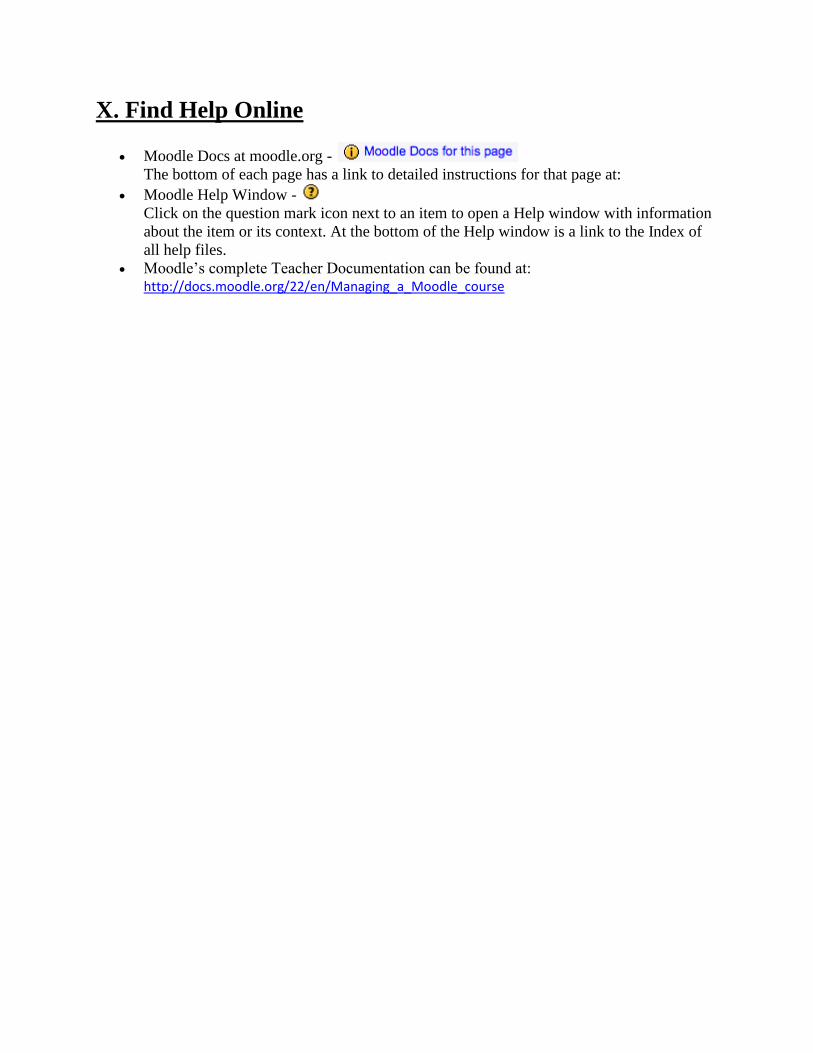
X. Find Help Online
Moodle Docs at moodle.org -
The bottom of each page has a link to detailed instructions for that page at:
Moodle Help Window -
Click on the question mark icon next to an item to open a Help window with information
about the item or its context. At the bottom of the Help window is a link to the Index of
all help files.
Moodle’s complete Teacher Documentation can be found at: http://docs.moodle.org/22/en/Managing_a_Moodle_course