Manual 5 Axis-Series CNC - automationtechnologiesinc.com · Welcome Automation Technology Inc. is a...
12
Manual 5 Axis-Series CNC 3040 | 6040 Versions
Transcript of Manual 5 Axis-Series CNC - automationtechnologiesinc.com · Welcome Automation Technology Inc. is a...
Manual 5 Axis-Series CNC3040 | 6040 Versions

Welcome
Automation Technology Inc. is a supplier of motion control and CNC equipment. Featuring both the best of domestic American motion control brands, as well as high-value imported machine components. Automation Technology Inc. has the devices you need, in stock in America, and ready to ship. With in-house engineering expertise, amazing prices and our new online presence, we hope to be your first choice in motion control!
iii
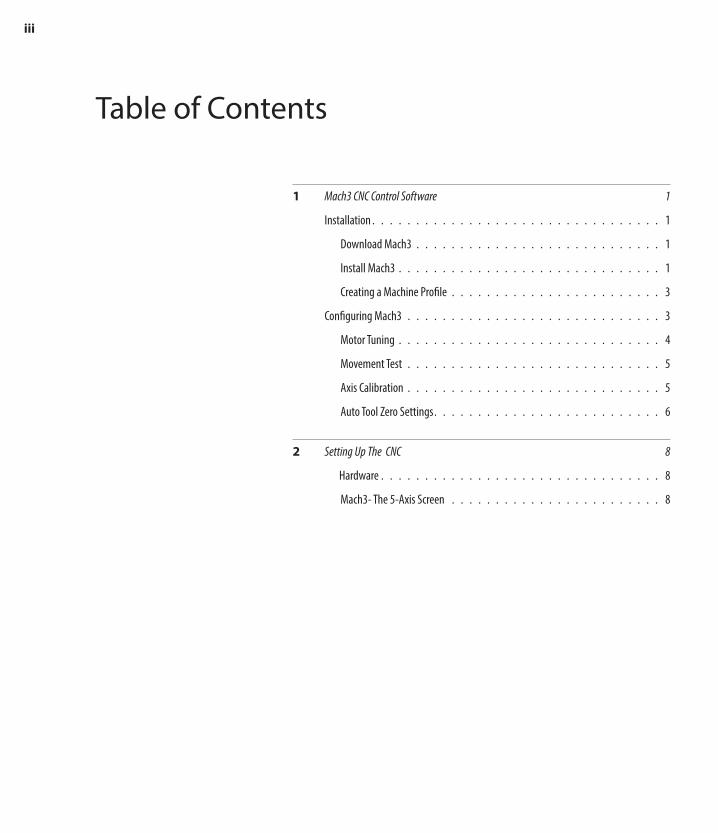
Table of Contents
1 Mach3 CNC Control Software 1
Installation . . . . . . . . . . . . . . . . . . . . . . . . . . . . . . . . . 1
Download Mach3 . . . . . . . . . . . . . . . . . . . . . . . . . . . . 1
Install Mach3 . . . . . . . . . . . . . . . . . . . . . . . . . . . . . . 1
Creating a Machine Profile . . . . . . . . . . . . . . . . . . . . . . . . 3
Configuring Mach3 . . . . . . . . . . . . . . . . . . . . . . . . . . . . . 3
Motor Tuning . . . . . . . . . . . . . . . . . . . . . . . . . . . . . . 4
Movement Test . . . . . . . . . . . . . . . . . . . . . . . . . . . . . 5
Axis Calibration . . . . . . . . . . . . . . . . . . . . . . . . . . . . . 5
Auto Tool Zero Settings . . . . . . . . . . . . . . . . . . . . . . . . . . 6
2 Setting Up The CNC 8
Hardware . . . . . . . . . . . . . . . . . . . . . . . . . . . . . . . . 8
Mach3- The 5-Axis Screen . . . . . . . . . . . . . . . . . . . . . . . . 8
1 |
1 Mach3 CNC Control Software
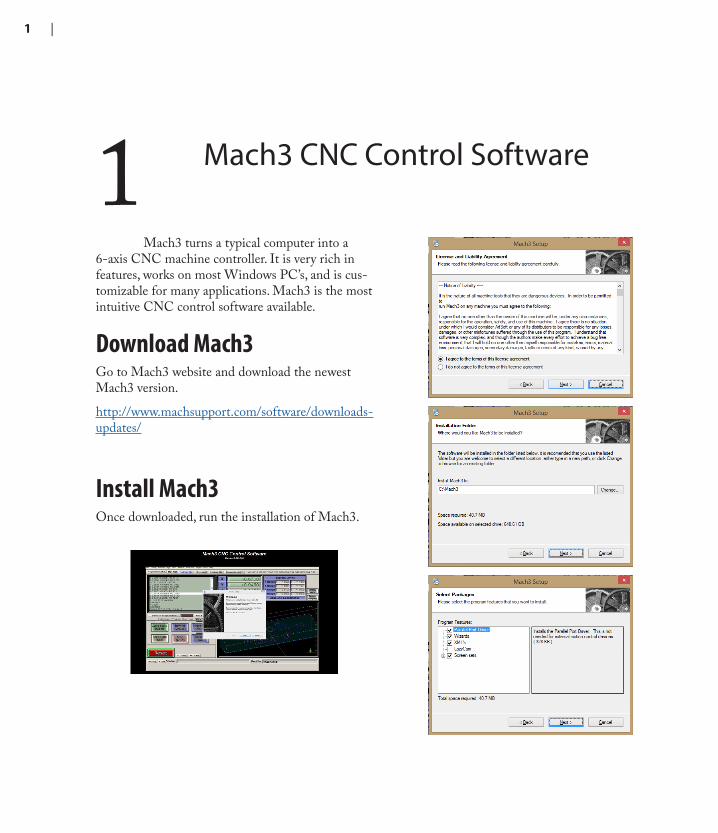
Mach3 turns a typical computer into a 6-axis CNC machine controller. It is very rich in features, works on most Windows PC’s, and is cus-tomizable for many applications. Mach3 is the most intuitive CNC control software available.
Download Mach3Go to Mach3 website and download the newest Mach3 version.
http://www.machsupport.com/software/downloads-updates/
Install Mach3Once downloaded, run the installation of Mach3.
2
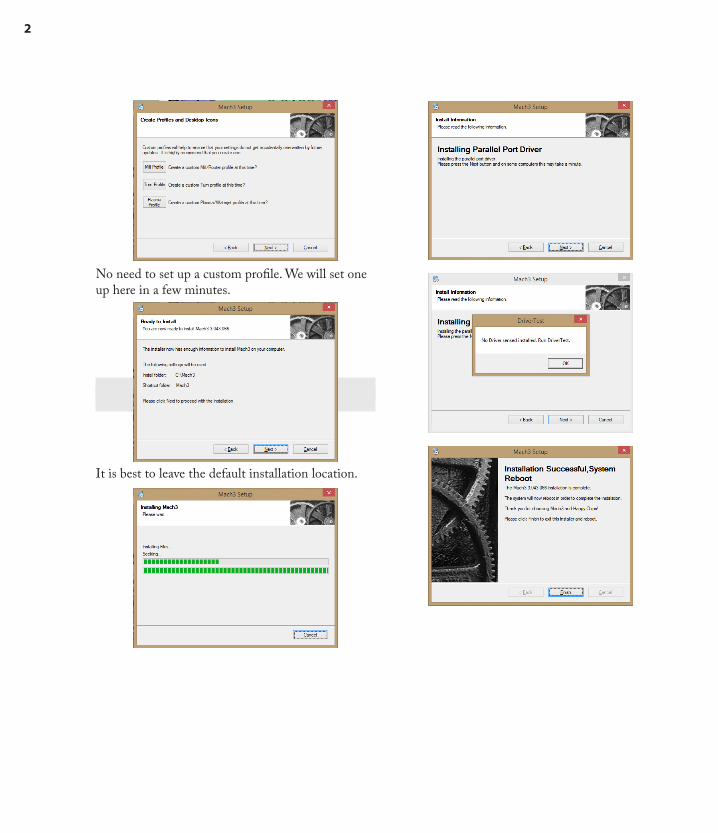
No need to set up a custom profile. We will set one up here in a few minutes.
It is best to leave the default installation location.

3
Mach 3 Profile InstallationIf you ordered a machine from us, we have a machine profile already set up for your machine.
You can download it here: https://goo.gl/qn4SY3
Copy the 5-axis CNC.xml file and paste into your Mach3 directory (C://Mach3)
Opening the machine profileOpen Mach3 Loader.exe from your desktop. You should see the new profile that you just copied over.
You can now skip the following topics,
Creating a Machine Profile
Configuring Mach3
Motor Tuning

4
Creating a Machine Profile
Open Mach3 Loader from your desktop. You’re going to want to create a new profile and load the default settings to begin.
Click create profile.
Give your profile a name.
Check the box, and agree to the terms.
Configuring Mach3 Most of the important settings you will be changing are in the Config tab. Make the nessary changes to match the screenshots below.
Click Config > Ports & Pins to start.

5
Motor TuningThe next settings to set up are in Motor Tuning. These are ballpark values and you will be calibrating them in a littlw while. Make the nessary changes to match the screenshots below.
Click Config > Motor Tuning to start.
6
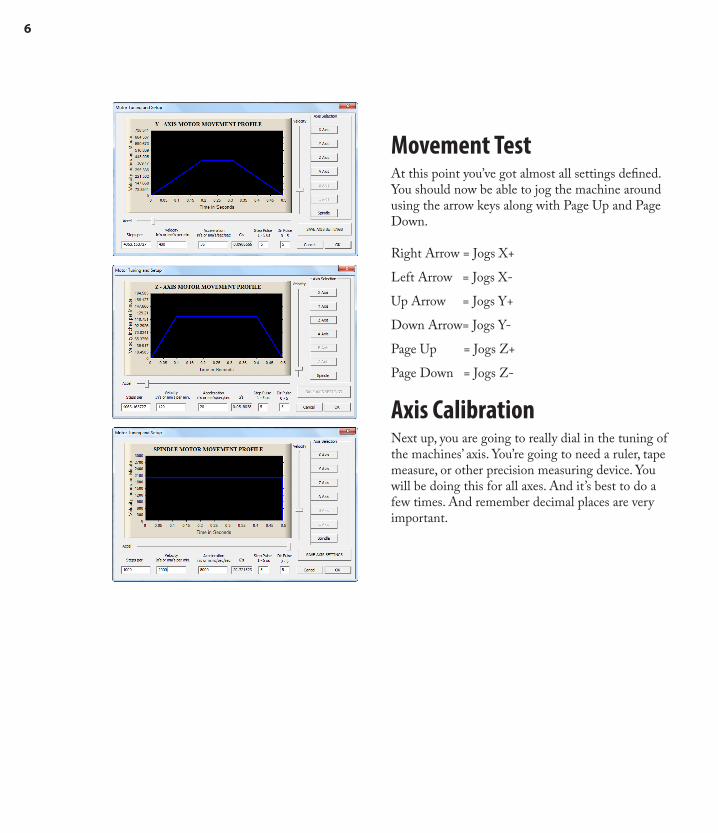
Movement TestAt this point you’ve got almost all settings defined. You should now be able to jog the machine around using the arrow keys along with Page Up and Page Down.
Right Arrow = Jogs X+
Left Arrow = Jogs X-
Up Arrow = Jogs Y+
Down Arrow= Jogs Y-
Page Up = Jogs Z+
Page Down = Jogs Z-
Axis CalibrationNext up, you are going to really dial in the tuning of the machines’ axis. You’re going to need a ruler, tape measure, or other precision measuring device. You will be doing this for all axes. And it’s best to do a few times. And remember decimal places are very important.

7
What you need to do is take your measuring device and lay it on the table parallel to the axis you are going to calibrate. Jog the machine to line up an edge to a number on the measuring device. (you may need to switch tabs to Program Run to jog the machine)Lets start with X. Click the Settings tab in Mach3 and navigate down to the button, Set Steps per Unit.
You’re going to want to run through this process multiple times per axis, each time increasing the distance. We usually suggest three or four times.
Alternatively, if you would like a video explaining please visit the following link. https://www.youtube.com/watch?v=EVrqObwaAF4
Pick the axis you are calibrating.
Input a small value, like 2. Once you press OK, the machine will jog to what it thinks is 2 inches.
Measure the amount the machine actually moved and input here.
The machine will then automatically calculate the correct steps per unit you saw back in Motor Tuning.

8
2 Setting Up the CNC
There are two tubes included for the water cooled spindle
Unscrew nuts on the spindle
Fit the tubes through the two nuts and tighten up.
Hardware

9
Use the supplied bin as a water reservoir and drill two holes for the water tubes. (5/16)
The blue and orange nozzle attachment is an acces-sory for flood coolant, if you go that route. You will want to use a seperate bucket and pump and filters in place to catch debris.
Attach one water tube from the supplied pump (The use of heat may be required to stretch the tube) You can also grab a coupler fitting at the hardware store.
We have a different screenset to fit all 5 DRO’s on the main screen of Mach3. You should already have the file from when you downloaded the machine XML profile.
If not, you can download it here: https://goo.gl/qn4SY3
You will see a folder called Mach Screens.
5-axis CD Contents > Mach Screens > Mach3
Copy the .set file into the Mach3 installation direc-tory (typically C:\Mach3)
Copy the graphic directory into the Mach3\Bitmaps\MillBitmaps folder
Open Mach3 click View > Load Screens
Navigate to the 6Axis.set you placed into your Mach3 directory.
Mach3- The 5-Axis Screen