Making a Movie Using iSight By Linda Yollis ~ Chaparral Elementary.
42
Making a Movie Using iSigh By Linda Yollis ~ Chaparral Elementary
-
Upload
claribel-cross -
Category
Documents
-
view
219 -
download
0
Transcript of Making a Movie Using iSight By Linda Yollis ~ Chaparral Elementary.

Making a Movie
Using iSight
By Linda Yollis ~ Chaparral Elementary
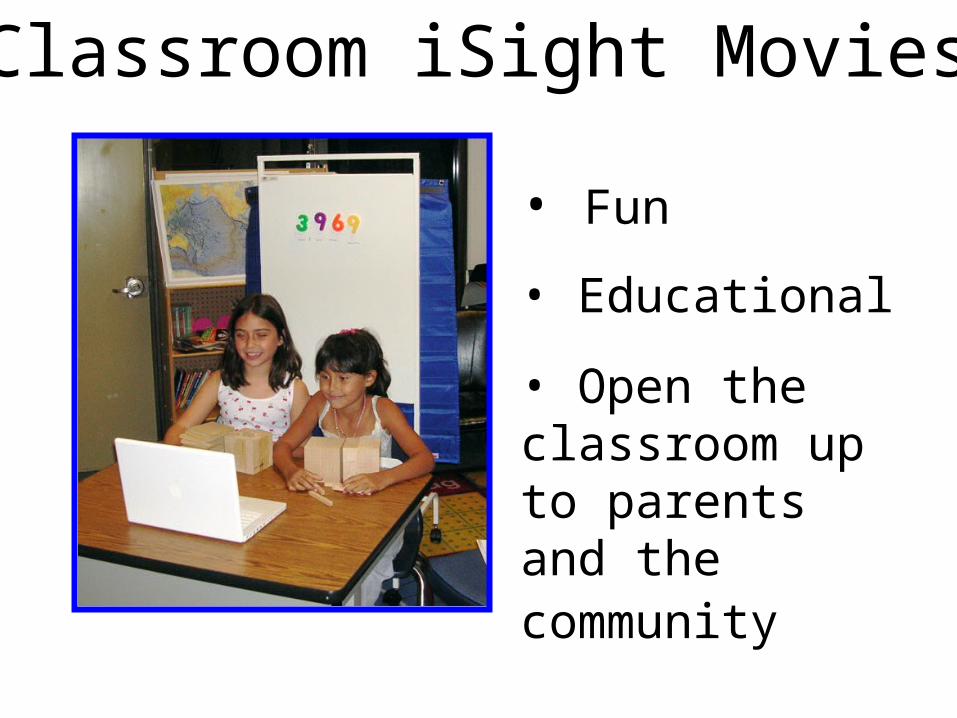
• Fun
• Educational
• Open the classroom up to parents and the community
Classroom iSight Movies
Three examples of movies I made with my class:
• September Movie
• Place Value Movie
• The Polygon Movie

Students share one thing they
learned in September in third grade.
QuickTime™ and aH.264 decompressor
are needed to see this picture.
I gave the introduction to the class film.

QuickTime™ and aH.264 decompressor
are needed to see this picture.
Students present a four digit number in standard form, expanded form, word form,
and block form.

The next iSight movie is much more advanced!
• Microphone• Title slide• Credit slides • Music• Inserted jpg files• Sound effects• Video effects
The Polygon Movie!
QuickTime™ and aH.264 decompressor
are needed to see this picture.
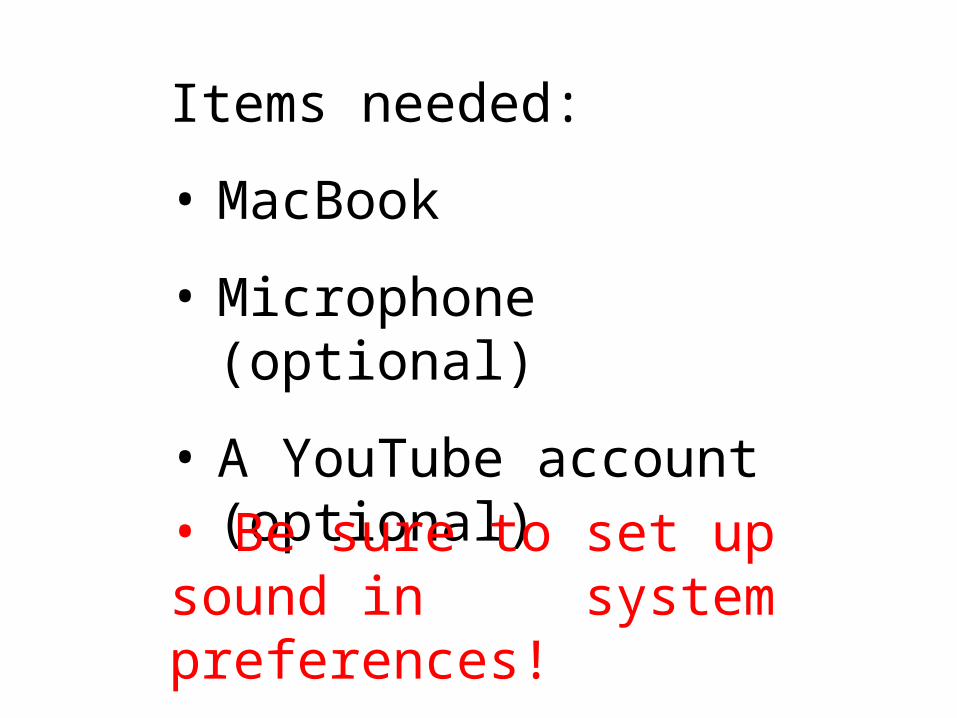
Items needed:
• MacBook
• Microphone (optional)
• A YouTube account (optional)
• Be sure to set up sound in system preferences!
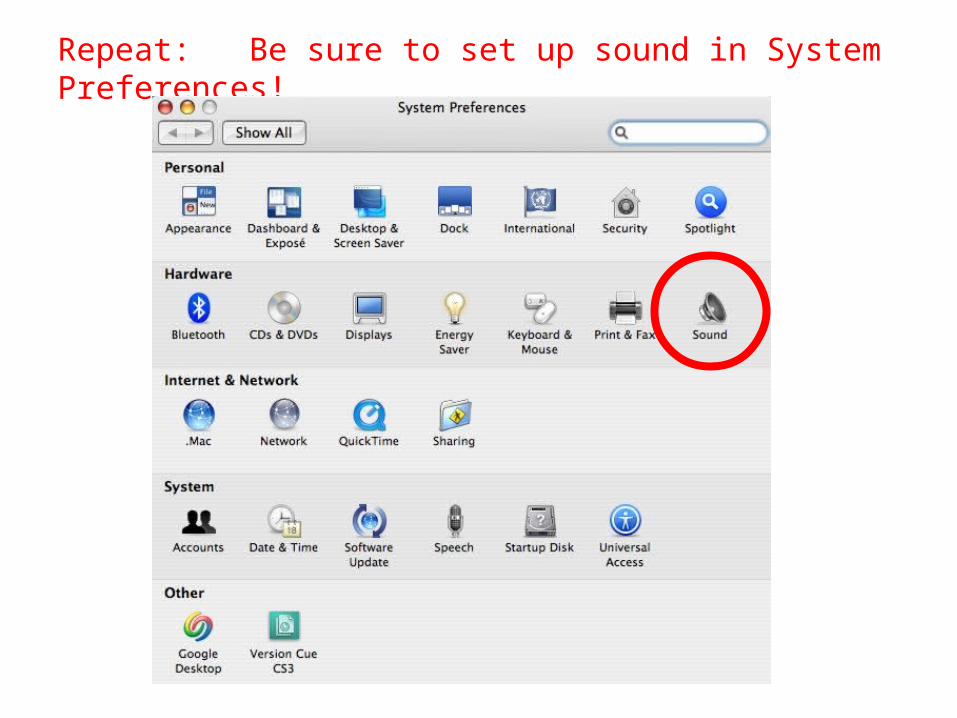
Repeat: Be sure to set up sound in System Preferences!
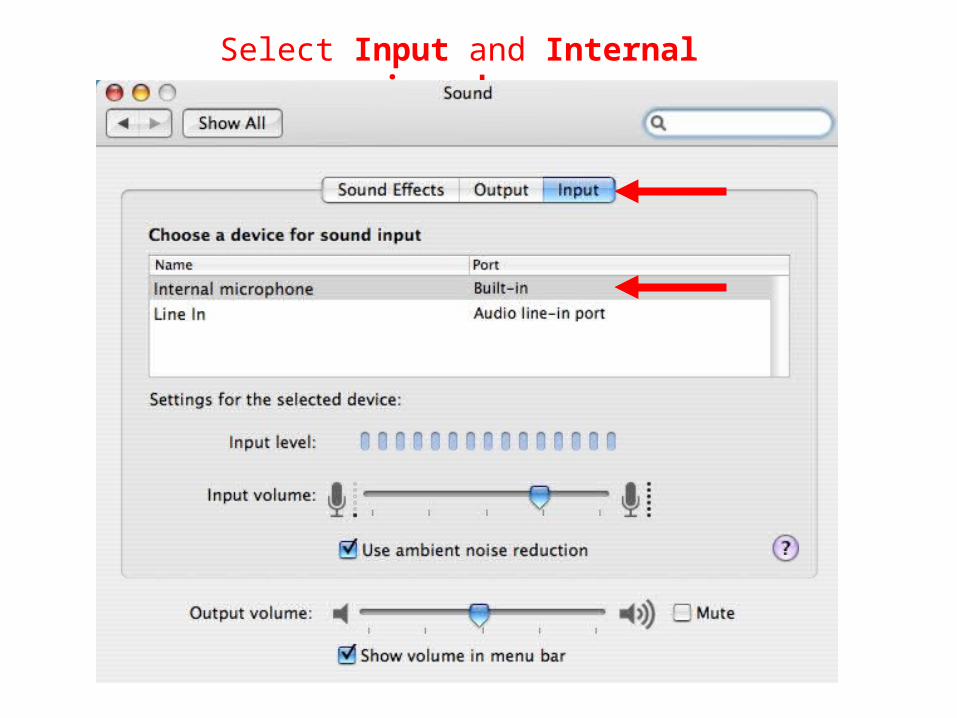
Select Input and Internal microphone
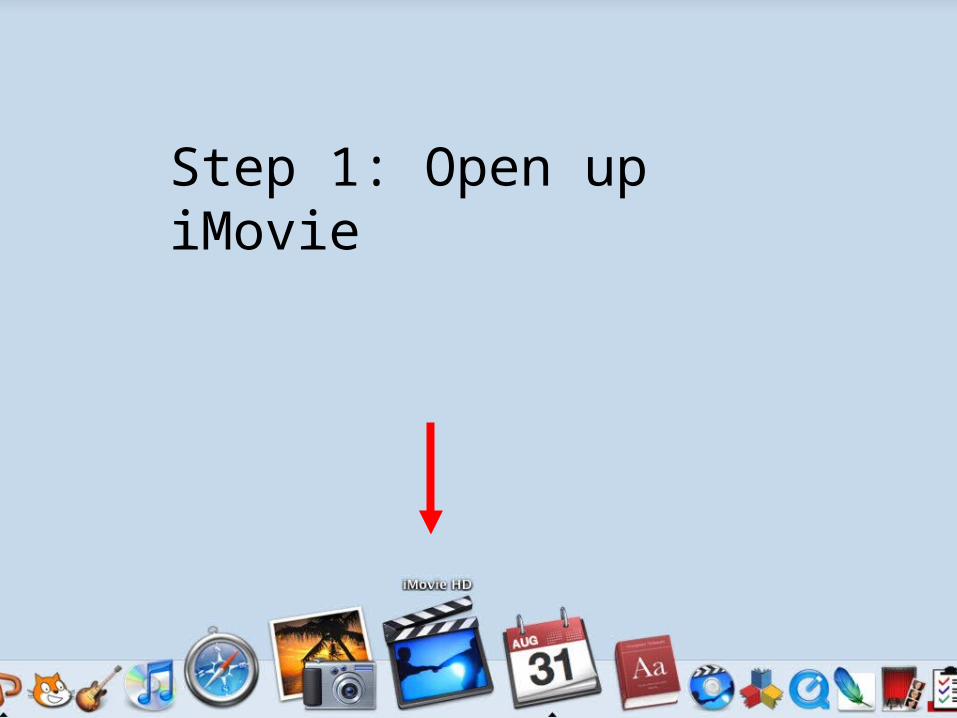
Step 1: Open up iMovie

Step 2: Create a New Project

iMovie always creates the default name “My Great Movie” when you create a new project.
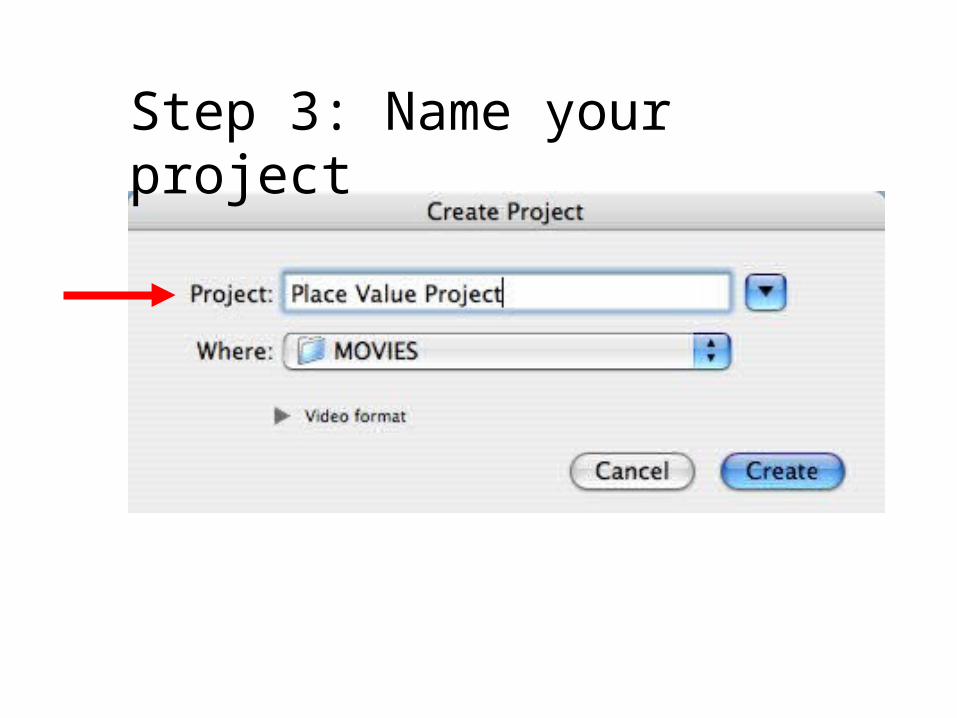
Step 3: Name your project

Step 4: Create

The iMovie screen will open up. It will be black.

I’m going to zoom in to this area in order to help you switch from edit mode to camera mode.

Step 5: Switch from “Edit” to “Camera”

Step 5: Switch from “Edit” to “Camera”

Step 6: Record your clip.

Press “Record With iSight” to start recording.
Press “Record With iSight” to stop recording.

Hint: If you are recording, time will be passing!
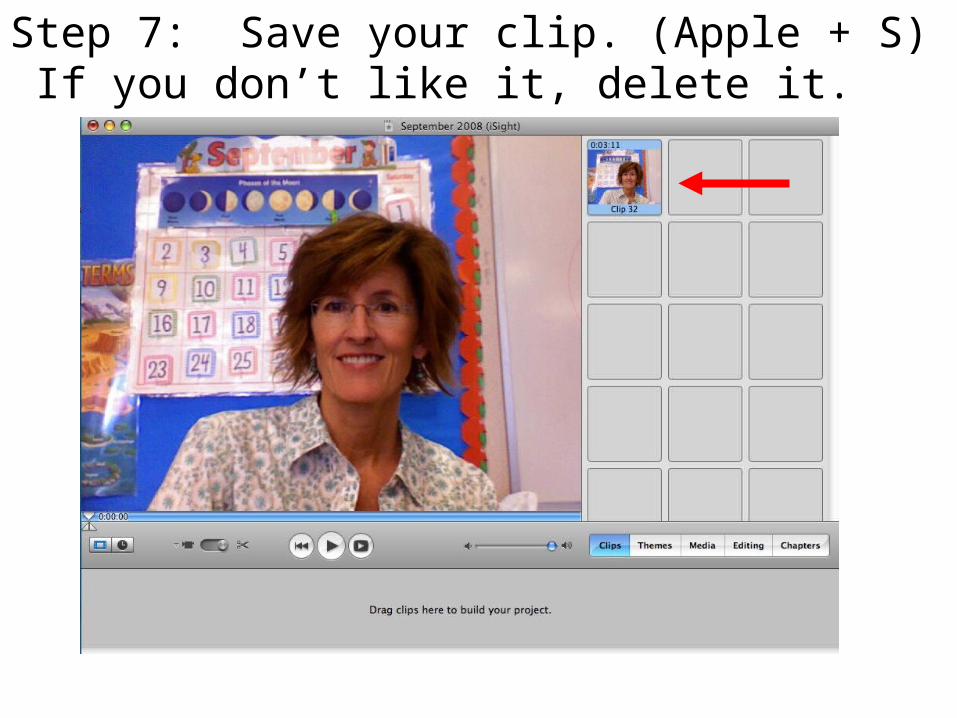
Step 7: Save your clip. (Apple + S) If you don’t like it, delete it.

Step 8: Crop your clip, if necessary.
(Leave some time at both ends.)

Move the triangular cropping markers along the scrubber bar to mark the beginning and ending points of the clip. The golden portion of the scrubber bar is what will be saved.
The triangular cropping markers are the tools for cropping.

When you are ready, go to Edit>Crop.

Step 9: Drag the clip to the clip viewer tray.

To play your movie, press the large triangle.
(Click in the gray area if you have one clip highlighted.) .

All clips can be moved by clicking and dragging. All
clips can be deleted.
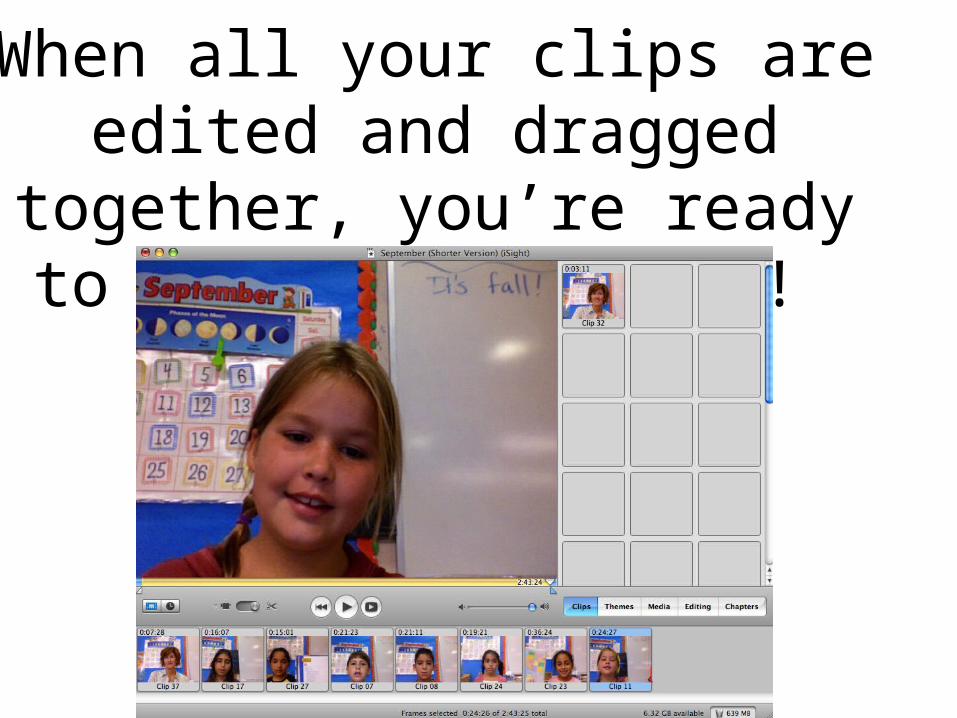
When all your clips are edited and dragged together, you’re ready to share your movie!

In order to post your movie on your LVUSD website, you will need to save it in a special way.

Step 1: File>Export

Step 2: Choose Web Streaming

Step 3: Name this new Web Streaming file. (Using the word “web” in the name is helpful.)

Step 4: Wait for the movie to compress.

Step 5: Upload your web streaming movie file to your YouTube account.

Step 6:
Copy the LAST PART of your url address from your uploaded video.

Copy the LAST PART of the url address after the = sign.
http://www.youtube.com/watch?v=uBrhEJc8Ff0
{youtube}uBrhEJc8Ff0{/youtube}
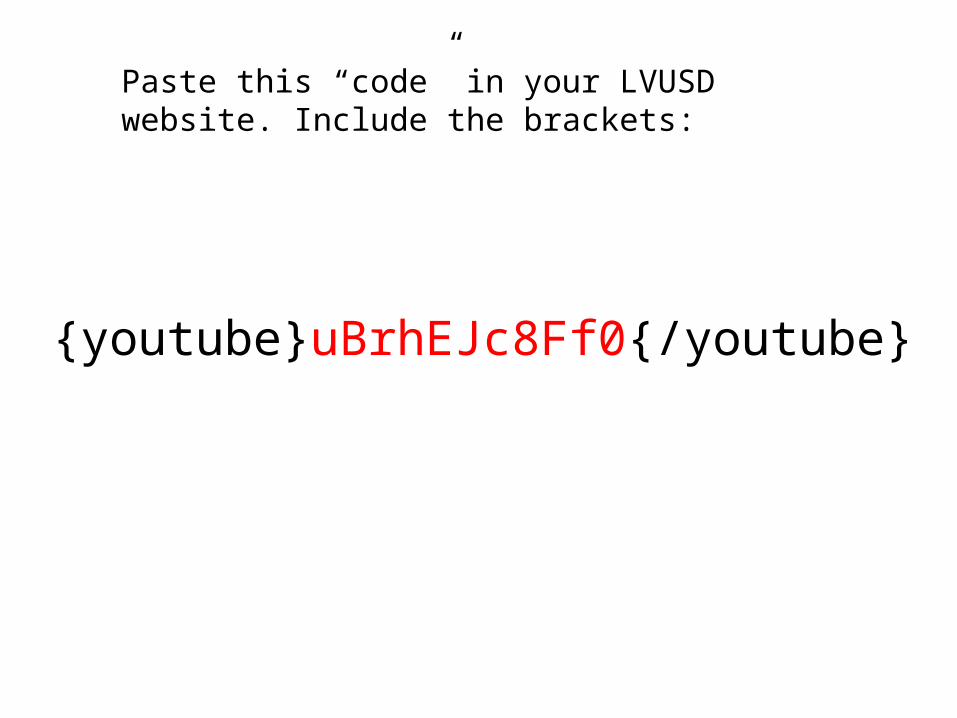
Paste this “code” in your LVUSD website. Include the brackets:

{youtube}uBrhEJc8Ff0{/youtube}
Warning: The movie won’t appear until you log out
of your teacher page.

When you log out, you can watch the movie!

Things to consider:
•External hard drive
•Use the “Help” menu
•Keep it simple!
•Email me with any projects you post!
chaparralelementaryschool.org