MAKEOVER WEB EDITION MCPSS Web Site – Teacher Page Extreme.
32
MAKEOVER WEB EDITION MCPSS Web Site – Teacher Page Extreme
-
Upload
aubrie-anderson -
Category
Documents
-
view
217 -
download
0
Transcript of MAKEOVER WEB EDITION MCPSS Web Site – Teacher Page Extreme.
MAKEOVER
WEB EDITION
MCPSS Web Site – Teacher Page
Extreme
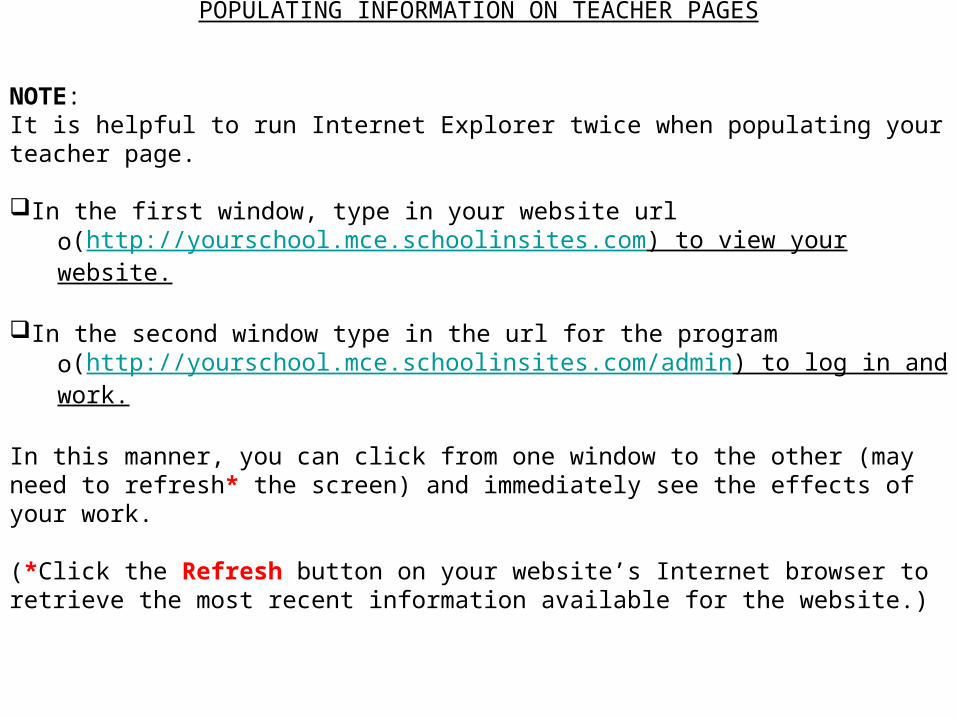
POPULATING INFORMATION ON TEACHER PAGES
NOTE:It is helpful to run Internet Explorer twice when populating your teacher page.
In the first window, type in your website url o(http://yourschool.mce.schoolinsites.com) to view your website.
In the second window type in the url for the program o(http://yourschool.mce.schoolinsites.com/admin) to log in and work.
In this manner, you can click from one window to the other (may need to refresh* the screen) and immediately see the effects of your work.
(*Click the Refresh button on your website’s Internet browser to retrieve the most recent information available for the website.)

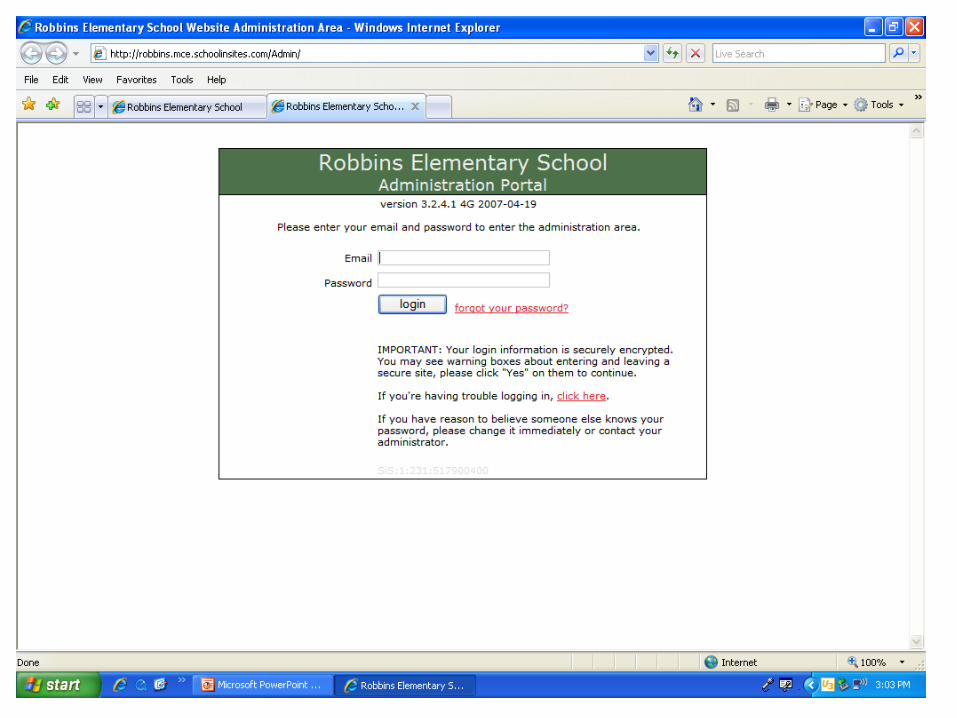
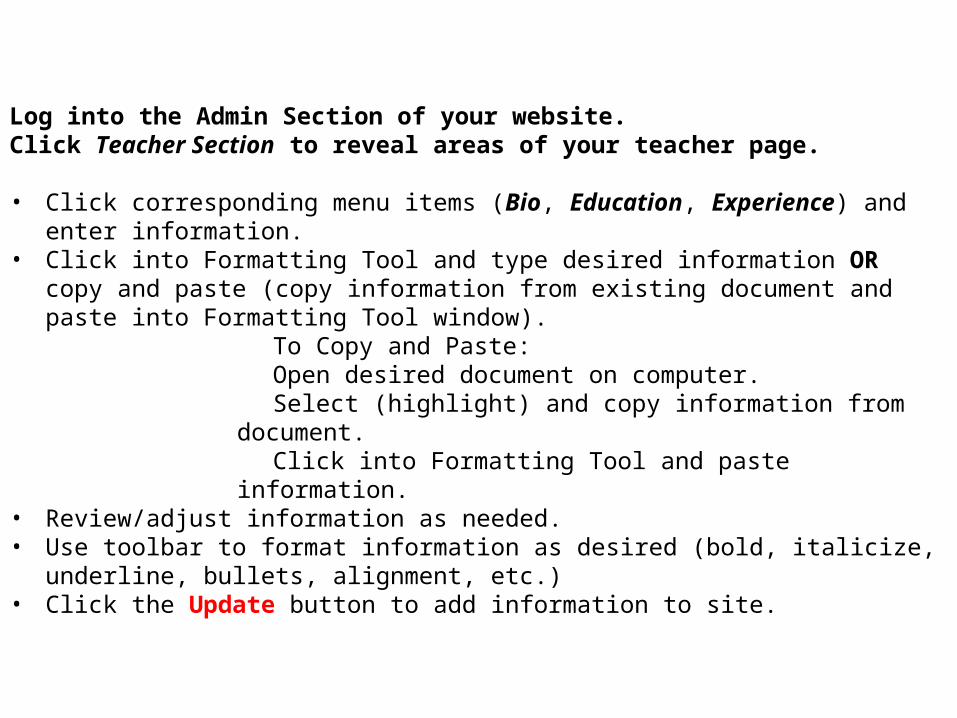
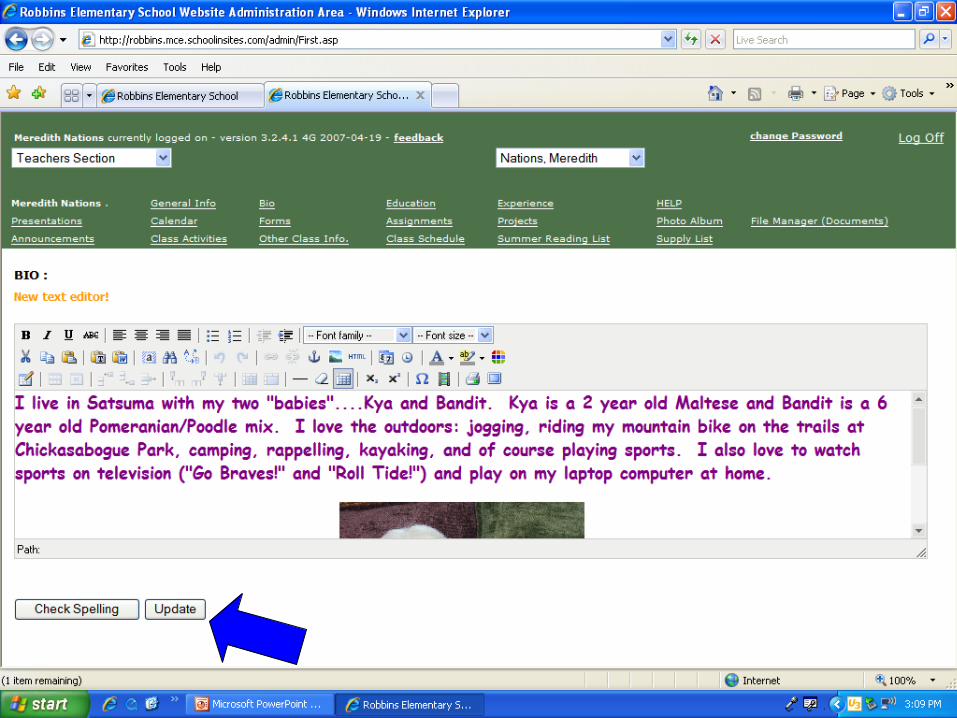
Log into the Admin Section of your website. Click Teacher Section to reveal areas of your teacher page.
• Click corresponding menu items (Bio, Education, Experience) and enter information.
• Click into Formatting Tool and type desired information OR copy and paste (copy information from existing document and paste into Formatting Tool window).
To Copy and Paste: Open desired document on computer. Select (highlight) and copy information from document. Click into Formatting Tool and paste information.
• Review/adjust information as needed. • Use toolbar to format information as desired (bold, italicize, underline, bullets,
alignment, etc.)• Click the Update button to add information to site.
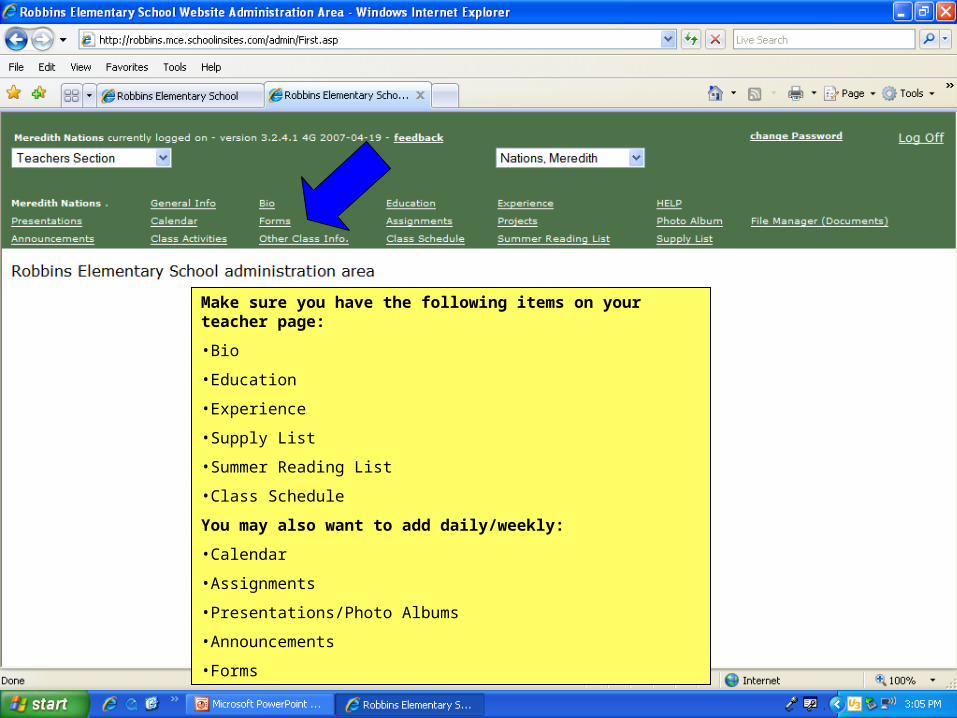
Make sure you have the following items on your teacher page:
•Bio
•Education
•Experience
•Supply List
•Summer Reading List
•Class Schedule
You may also want to add daily/weekly:
•Calendar
•Assignments
•Presentations/Photo Albums
•Announcements
•Forms
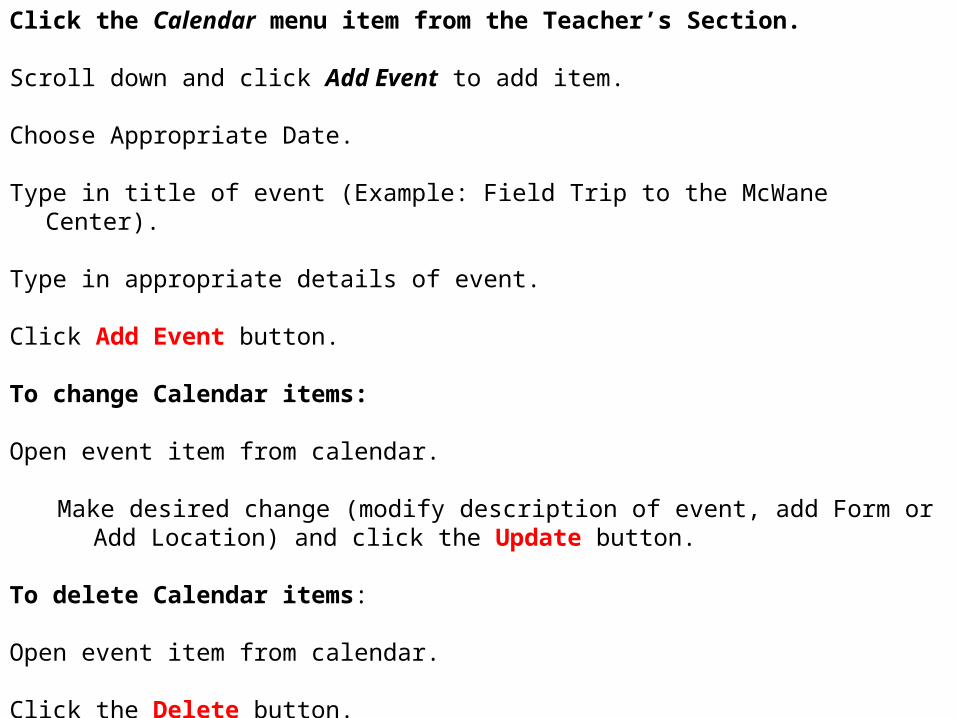
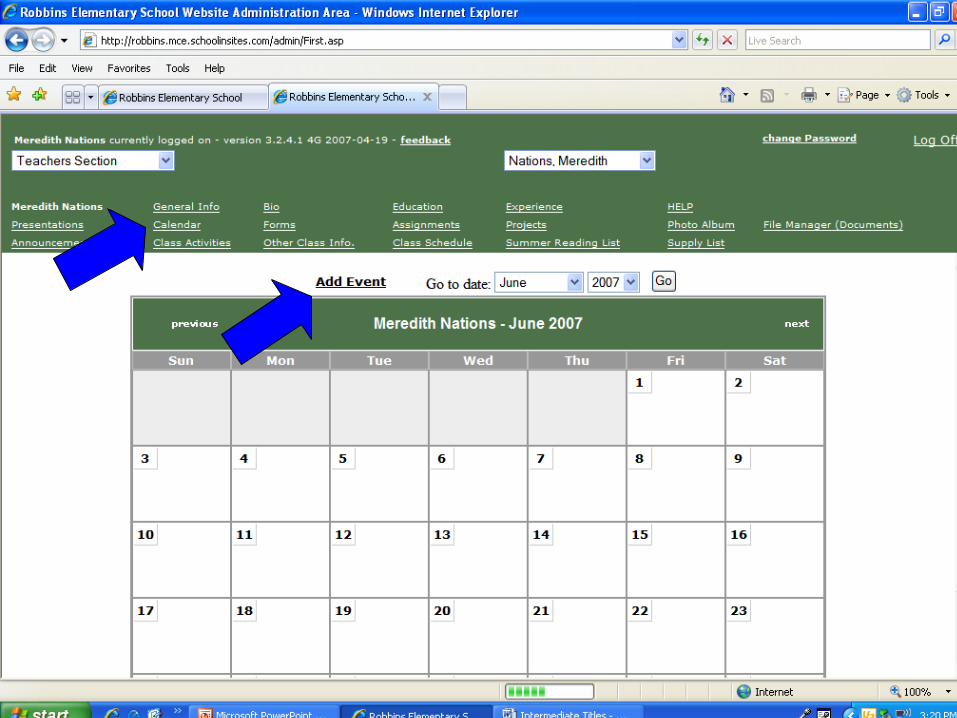
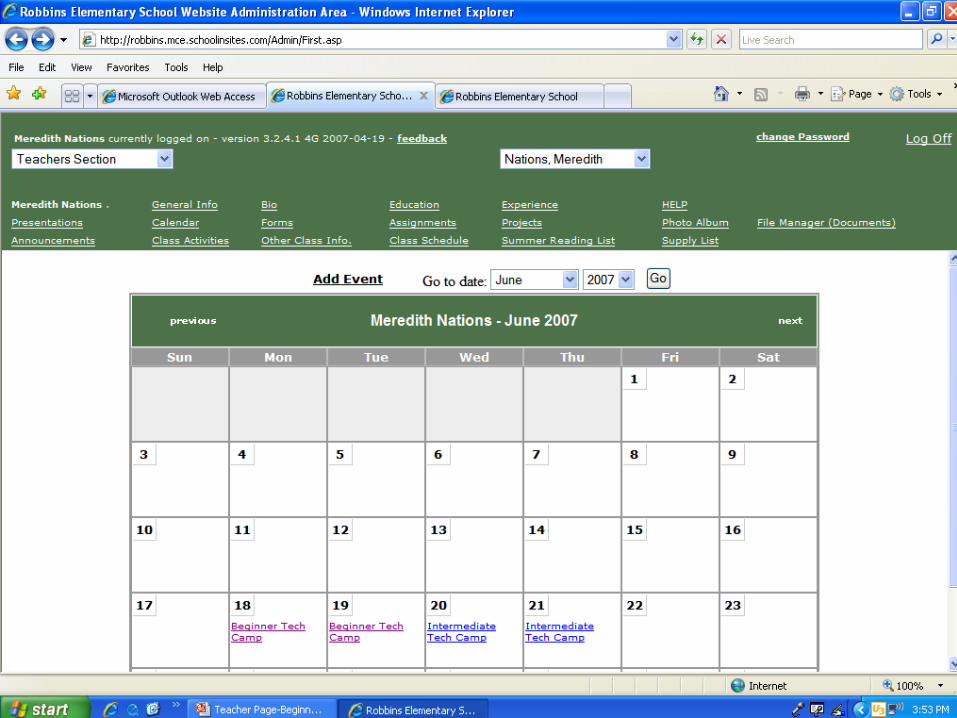
Click the Calendar menu item from the Teacher’s Section.
Scroll down and click Add Event to add item.
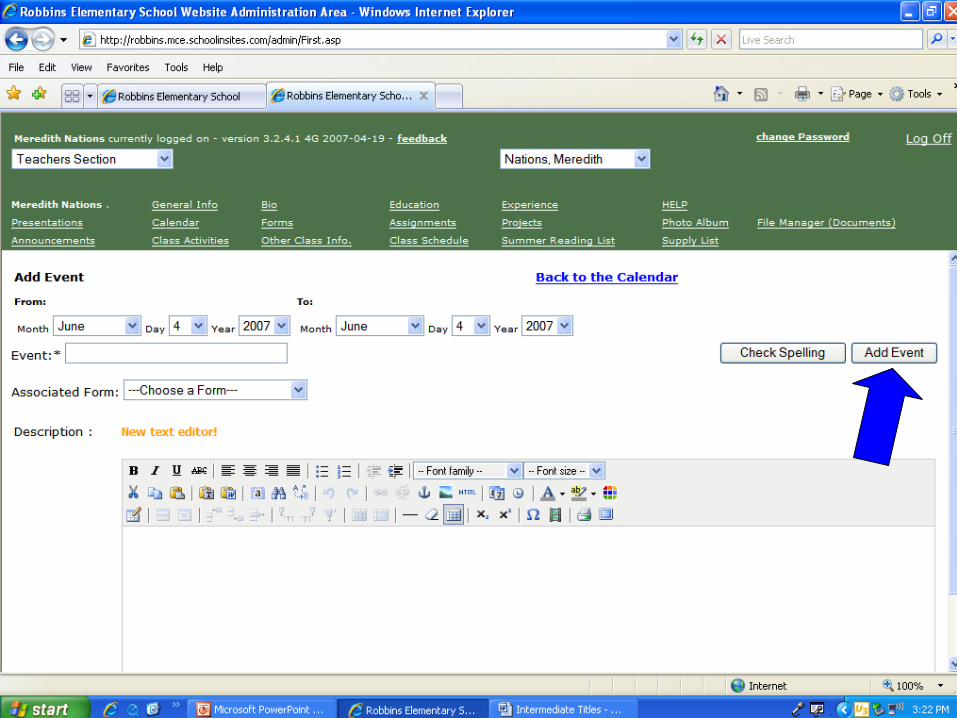
Choose Appropriate Date.
Type in title of event (Example: Field Trip to the McWane Center).
Type in appropriate details of event.
Click Add Event button.
To change Calendar items:
Open event item from calendar.
Make desired change (modify description of event, add Form or Add Location) and click the Update button.
To delete Calendar items:
Open event item from calendar.
Click the Delete button.
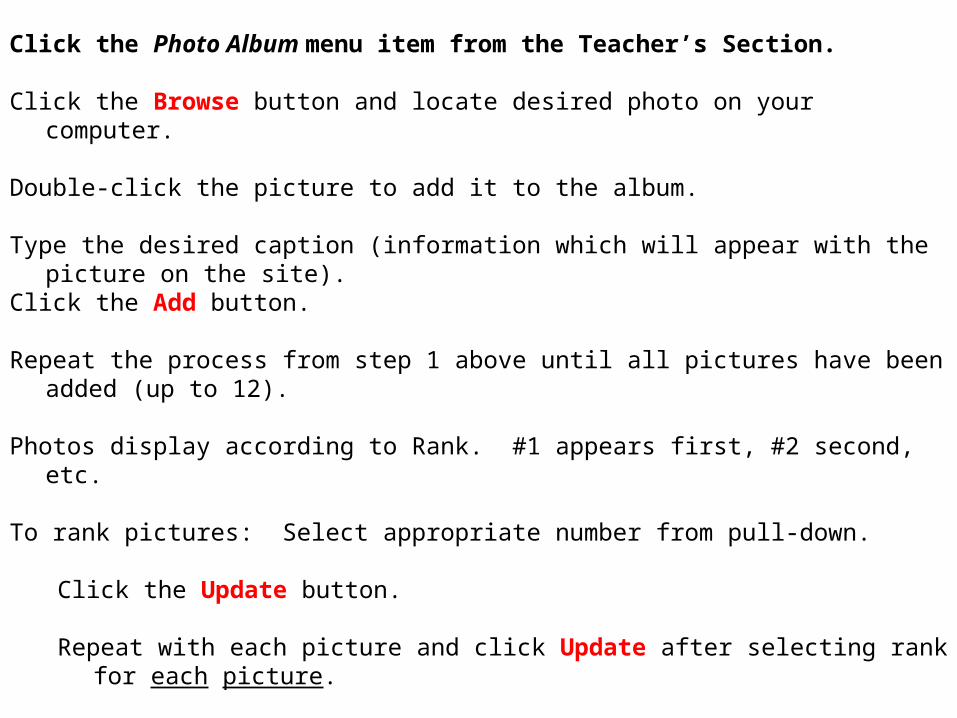
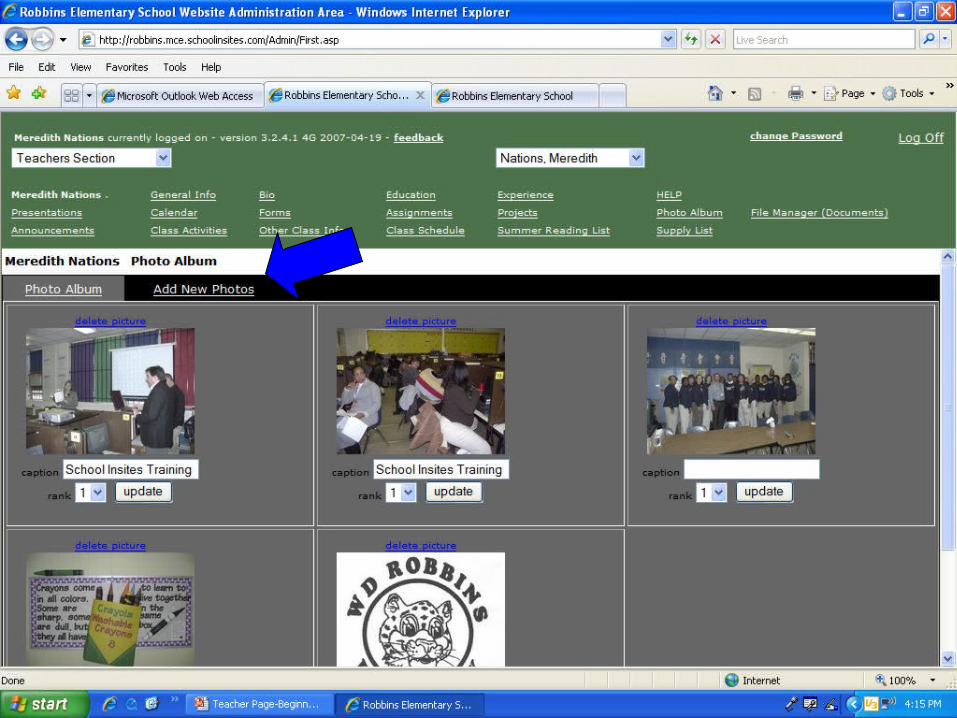
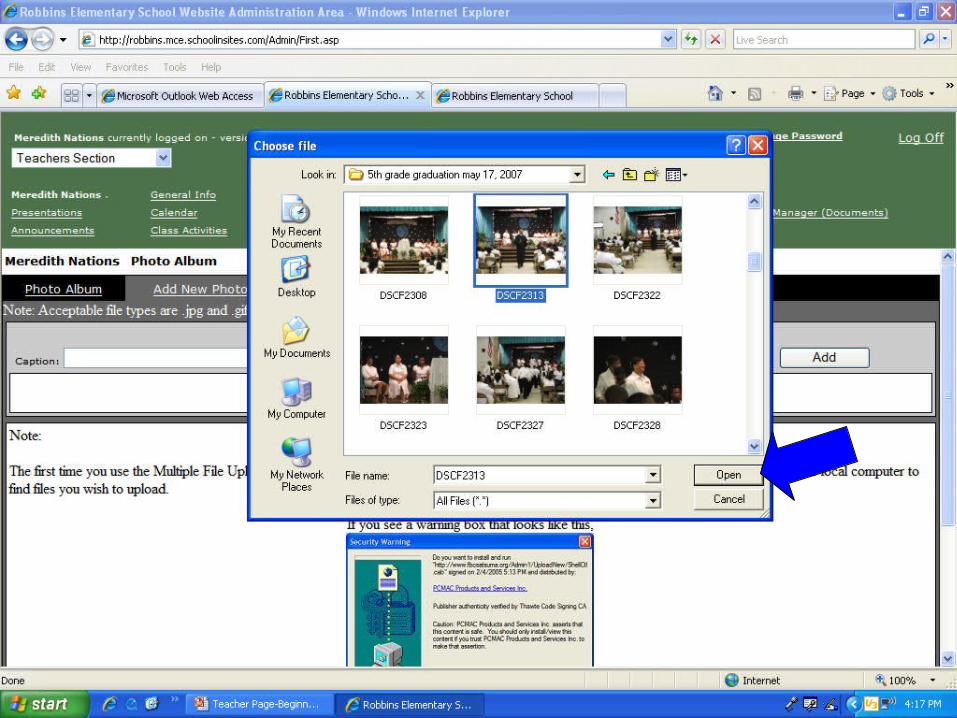
Click the Photo Album menu item from the Teacher’s Section.
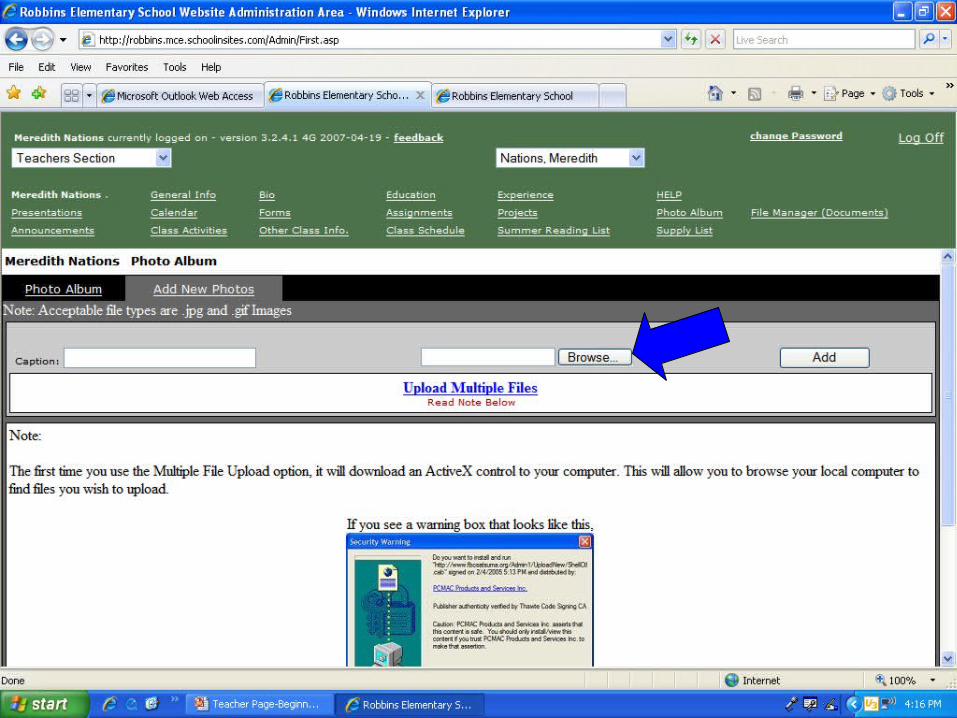
Click the Browse button and locate desired photo on your computer.
Double-click the picture to add it to the album.
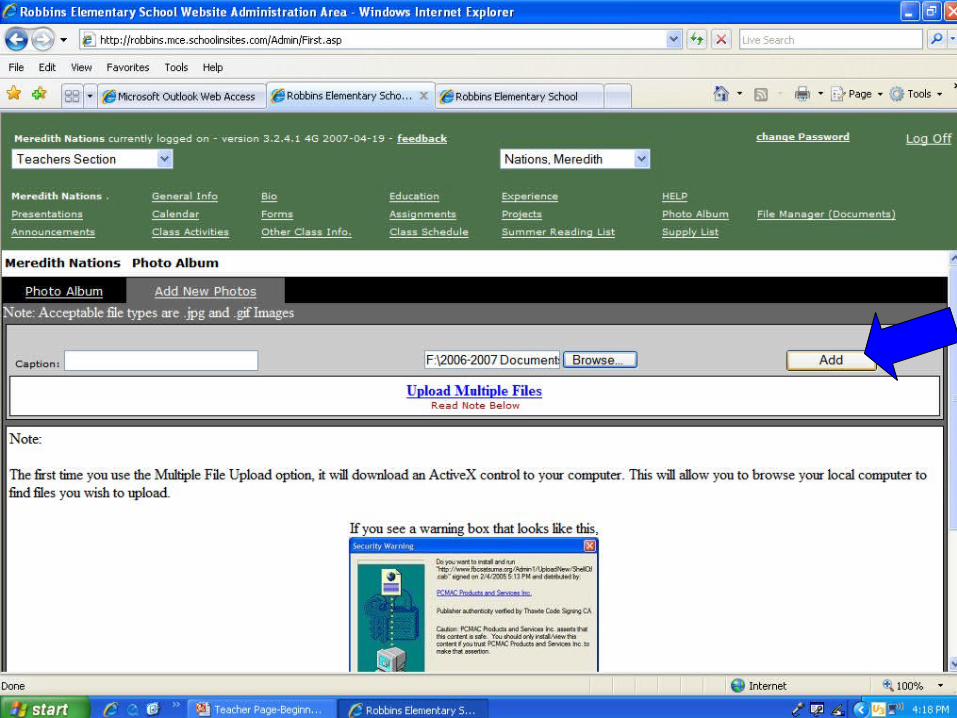
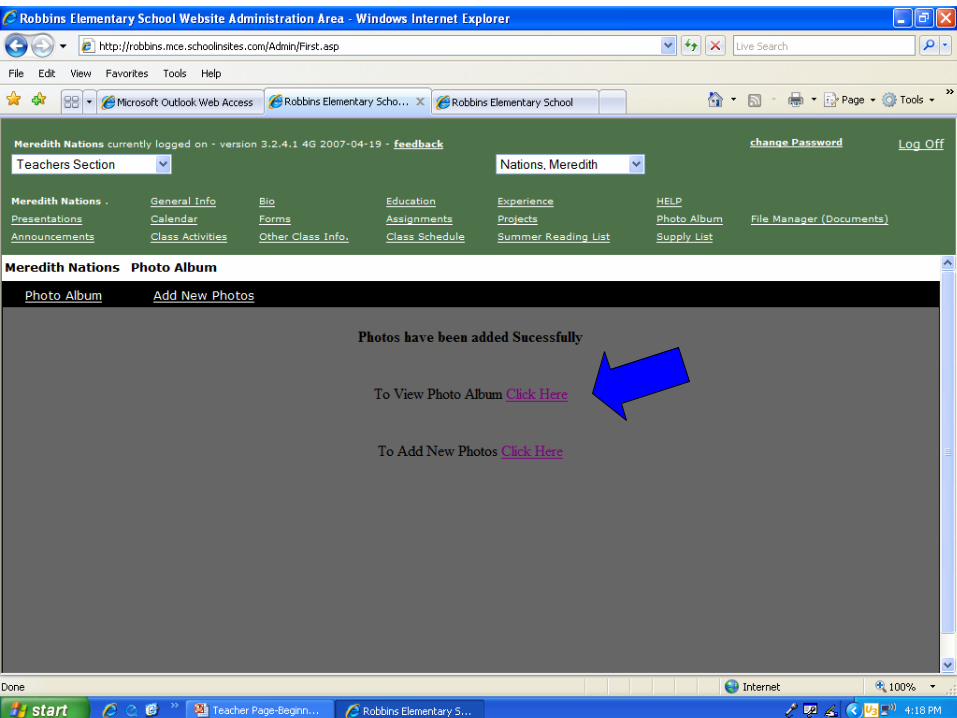
Type the desired caption (information which will appear with the picture on the site).Click the Add button.
Repeat the process from step 1 above until all pictures have been added (up to 12).
Photos display according to Rank. #1 appears first, #2 second, etc.
To rank pictures: Select appropriate number from pull-down.
Click the Update button.
Repeat with each picture and click Update after selecting rank for each picture.
To Delete Photos:
Click the delete picture link directly above the photo to be deleted.
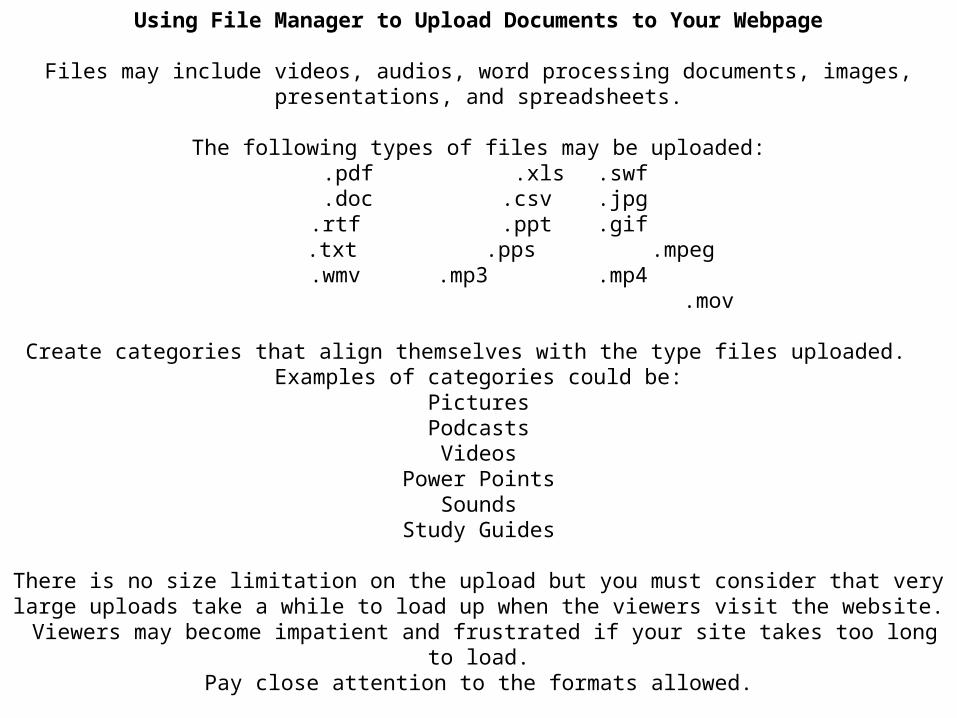
Using File Manager to Upload Documents to Your Webpage
Files may include videos, audios, word processing documents, images, presentations, and spreadsheets.
The following types of files may be uploaded: .pdf .xls .swf .doc .csv .jpg.rtf .ppt .gif
.txt .pps .mpeg .wmv .mp3 .mp4
.mov
Create categories that align themselves with the type files uploaded. Examples of categories could be:
PicturesPodcastsVideos
Power PointsSounds
Study Guides
There is no size limitation on the upload but you must consider that very large uploads take a while to load up when the viewers visit the website. Viewers may become impatient and frustrated if your
site takes too long to load.Pay close attention to the formats allowed.
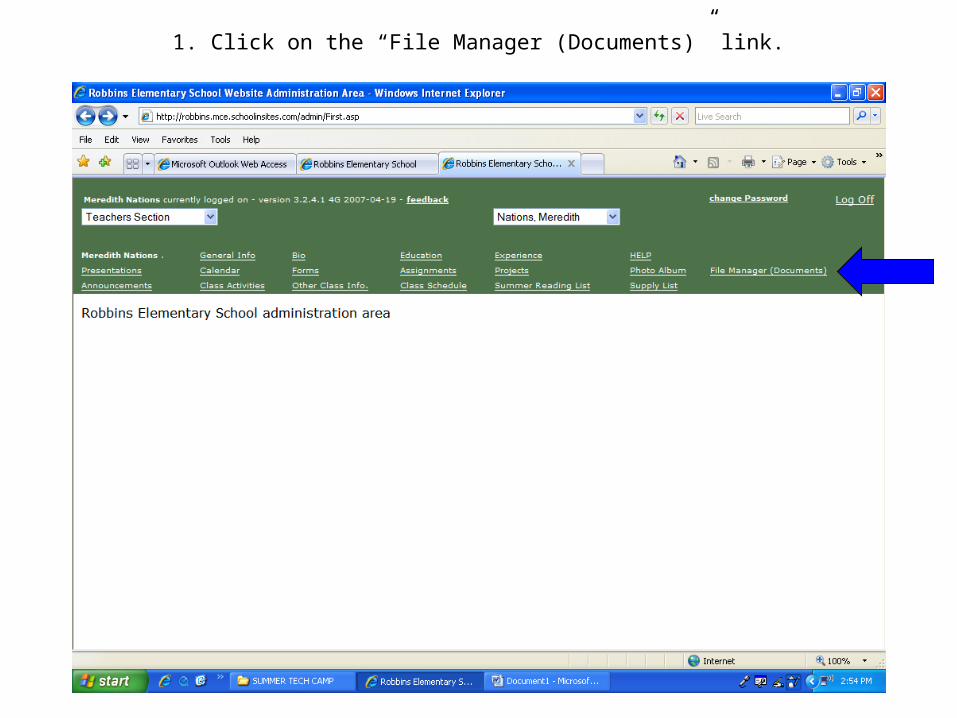
1. Click on the “File Manager (Documents)” link.

2. Click on “Add a new category”.
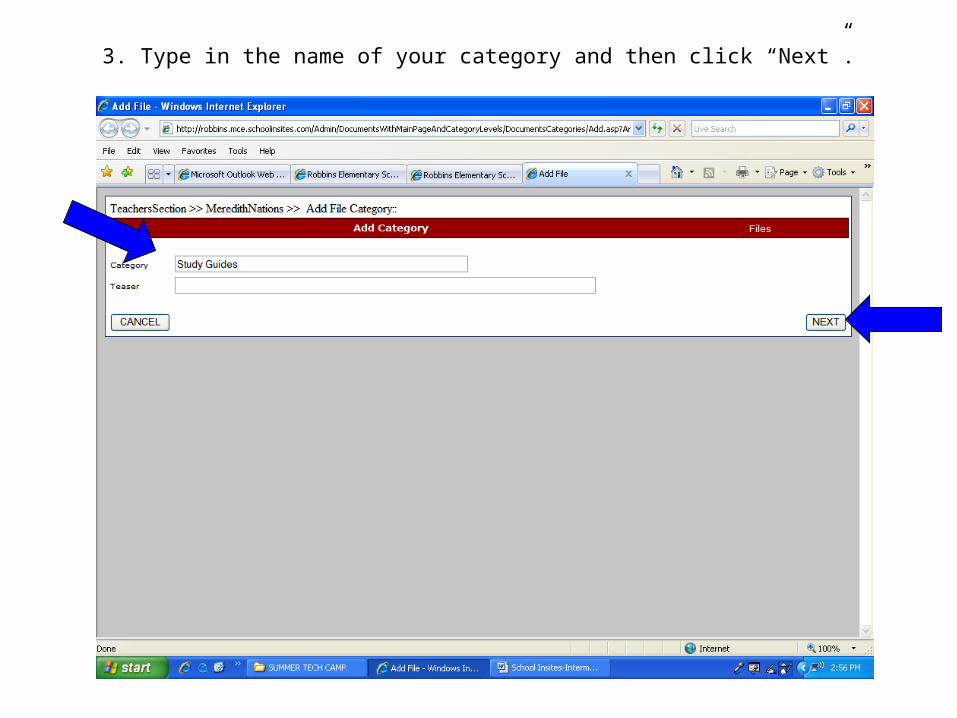
3. Type in the name of your category and then click “Next”.
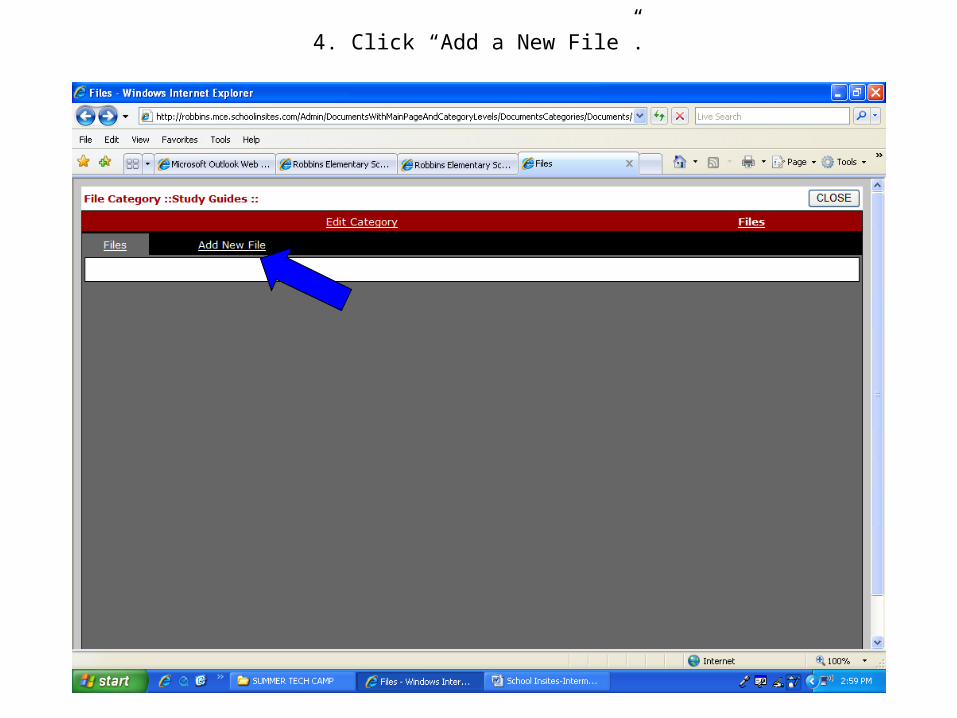
4. Click “Add a New File”.
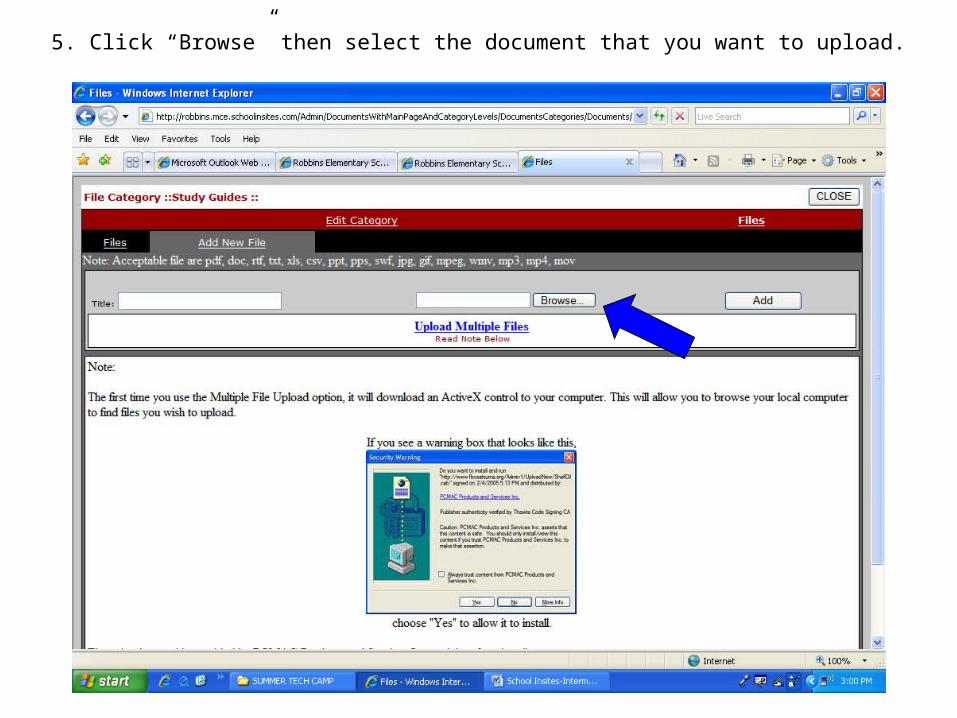
5. Click “Browse” then select the document that you want to upload.
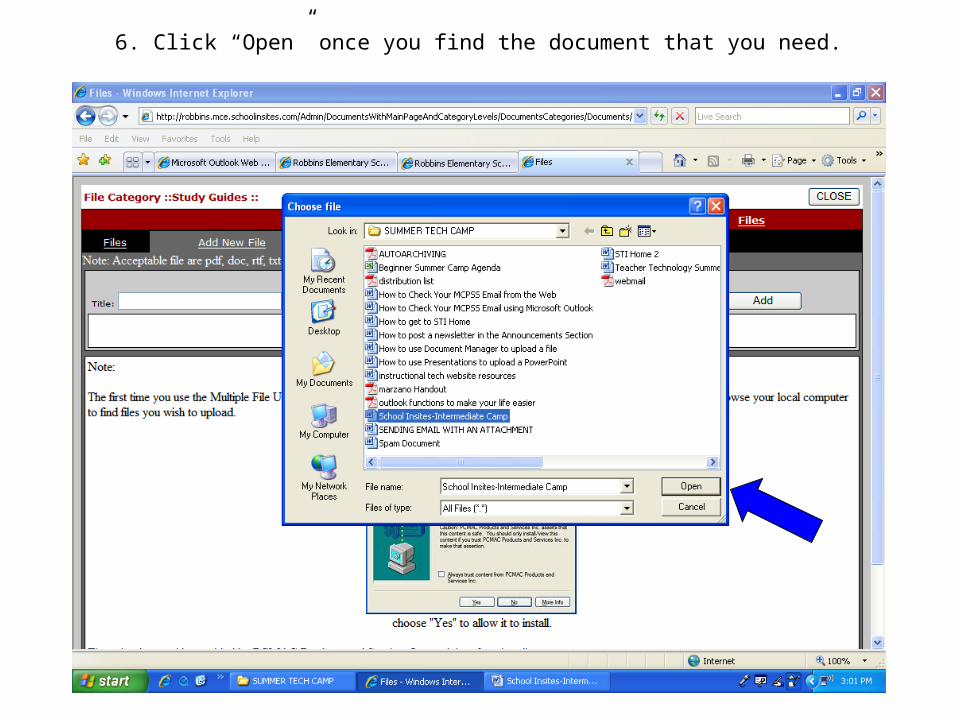
6. Click “Open” once you find the document that you need.
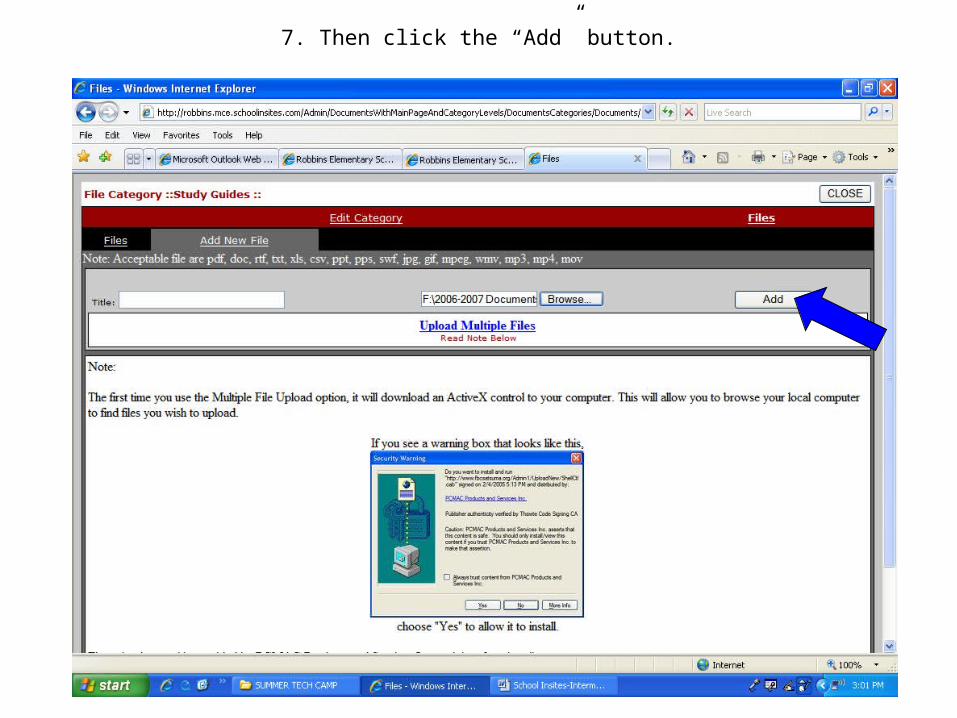
7. Then click the “Add” button.
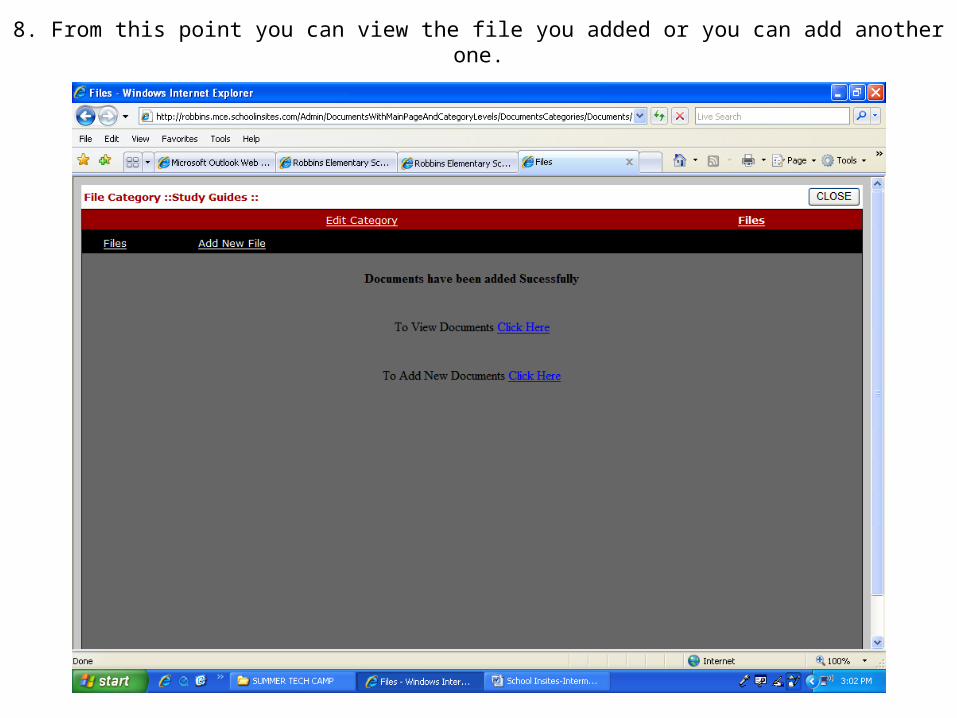
8. From this point you can view the file you added or you can add another one.
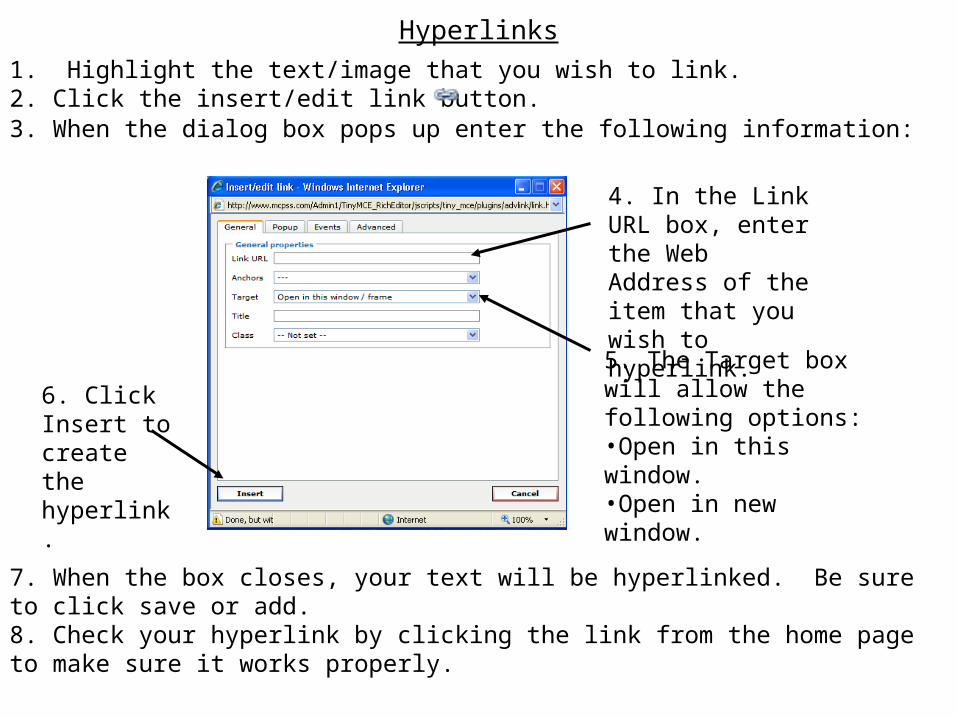
1. Highlight the text/image that you wish to link.2. Click the insert/edit link button.
4. In the Link URL box, enter the Web Address of the item that you wish to hyperlink.5. The Target box will allow the following options: •Open in this window.•Open in new window.
6. Click Insert to create the hyperlink.
3. When the dialog box pops up enter the following information:
7. When the box closes, your text will be hyperlinked. Be sure to click save or add.8. Check your hyperlink by clicking the link from the home page to make sure it works properly.
Hyperlinks

1. Highlight the text you want to hyperlink and then click the “Insert/Edit Link” button.

2. Enter the web address in the “Link URL” box and click “Insert”.
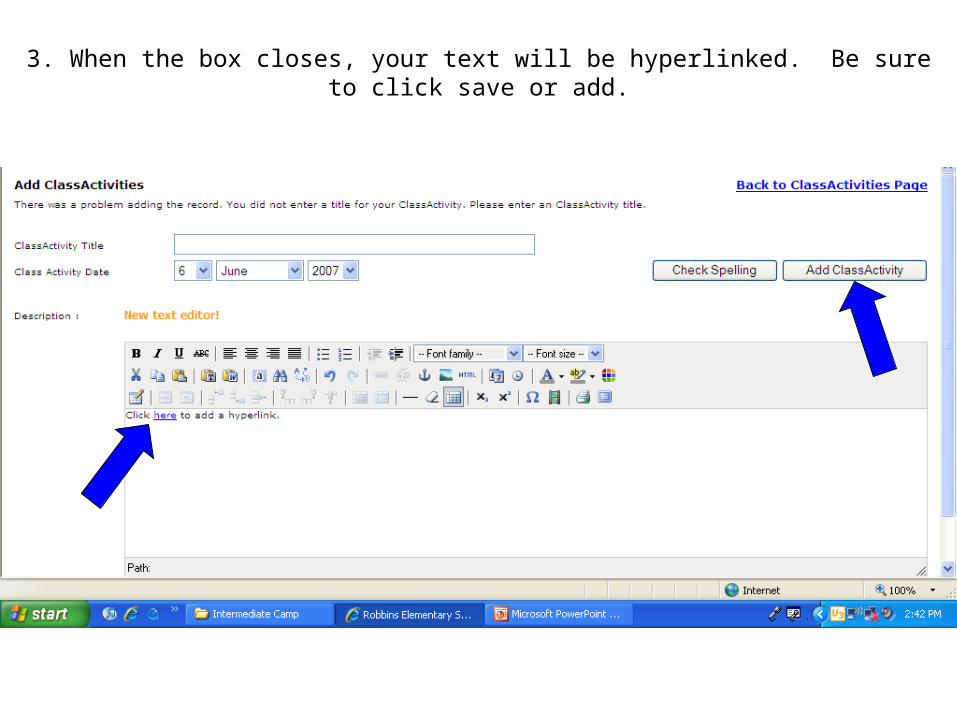
3. When the box closes, your text will be hyperlinked. Be sure to click save or add.
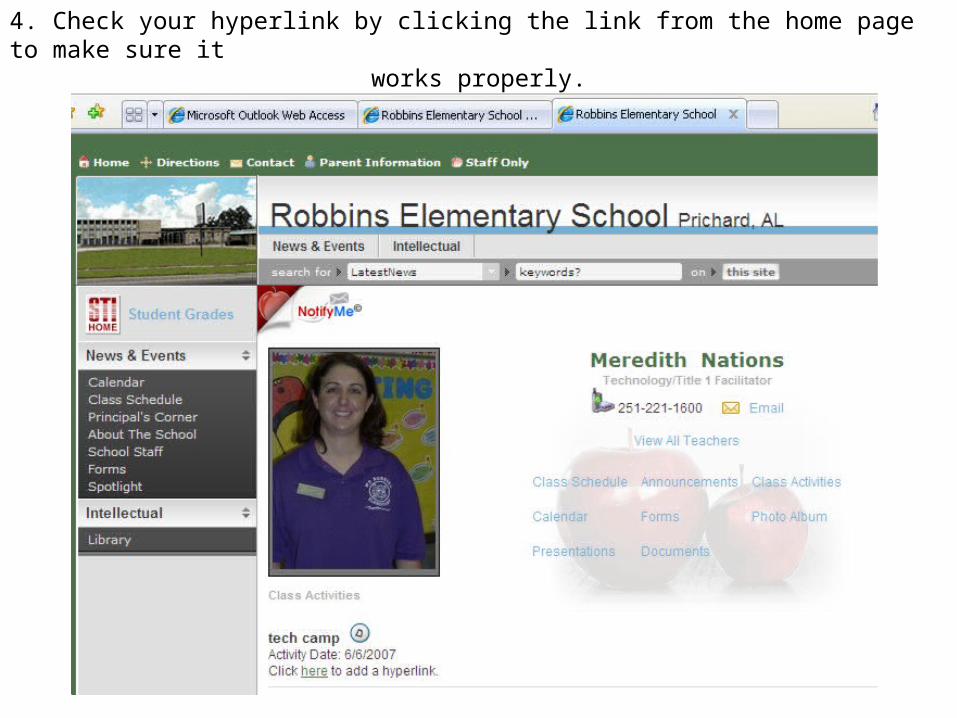
4. Check your hyperlink by clicking the link from the home page to make sure it
works properly.
Questions, Comments…..
To receive a copy of this PowerPoint presentation email Meredith Nations at
[email protected] and request the “Teacher Page-Intermediate Camp” presentation.