
Make New Houseplants with a Rooting Pot · ©KidsGardening.org..All.Rights.Reserved. 1.. . Make New...
4
©KidsGardening.org. All Rights Reserved 1 Make New Houseplants with a Rooting Pot Got the winter doldrums? Get growing! Mid to late winter is a great time for you and your kids to do some indoor plant propagating. As days begin to lengthen after the winter solstice, plants will be stimulated back into active growth. And making new plants from cuttings will let you scratch your itchy green thumbs when it's still too cold for outdoor gardening. Houseplant cuttings usually root in just a few weeks, so eager young gardeners can see results in short order. And if you end up with more plants than you have space for on your windowsills, they make delightful gifts for friends and family that are full of the promise of the coming spring. Making plants from cuttings is a form of asexual propagation—one that doesn’t rely on pollination and seeds. It produces clones—new plants that are genetically identical to the parent plant from which the cuttings were taken. Taking a cutting involves removing a piece of a leaf, stem or root and placing it in a growing medium where it then develops the other parts that were left behind (i.e., a section of stem will produce roots; a root piece will produce a stem). While cuttings of some plants will root easily when placed in a container of water, others will rot before making roots if you place them in water rather than in a rooting medium. And the roots formed in a rooting medium are more robust than those formed in water, making your chances of success greater when it’s time to move the rooted cutting to a pot filled with soil mix for growing on. Propagation is Easy with a Rooting Pot Making a special propagation pot for rooting houseplant cuttings in a potting medium is an easy, not tooexpensive project that is fun for all ages. As we’ve noted, while many cuttings will form roots in water, rooting them in moist vermiculite usually gives consistently better results. Even difficulttoroot plants respond well to this rooting medium, and cuttings started this way seem to make the transition to potting mix in much better condition. For best results be sure to start with fresh vermiculite and new, clean pots. Reused pots can be a source of disease contamination unless they have been soaked in a bleachandwater solution, scrubbed thoroughly, and rinsed carefully to remove all traces of bleach.
Transcript of Make New Houseplants with a Rooting Pot · ©KidsGardening.org..All.Rights.Reserved. 1.. . Make New...
©KidsGardening.org. All Rights Reserved 1
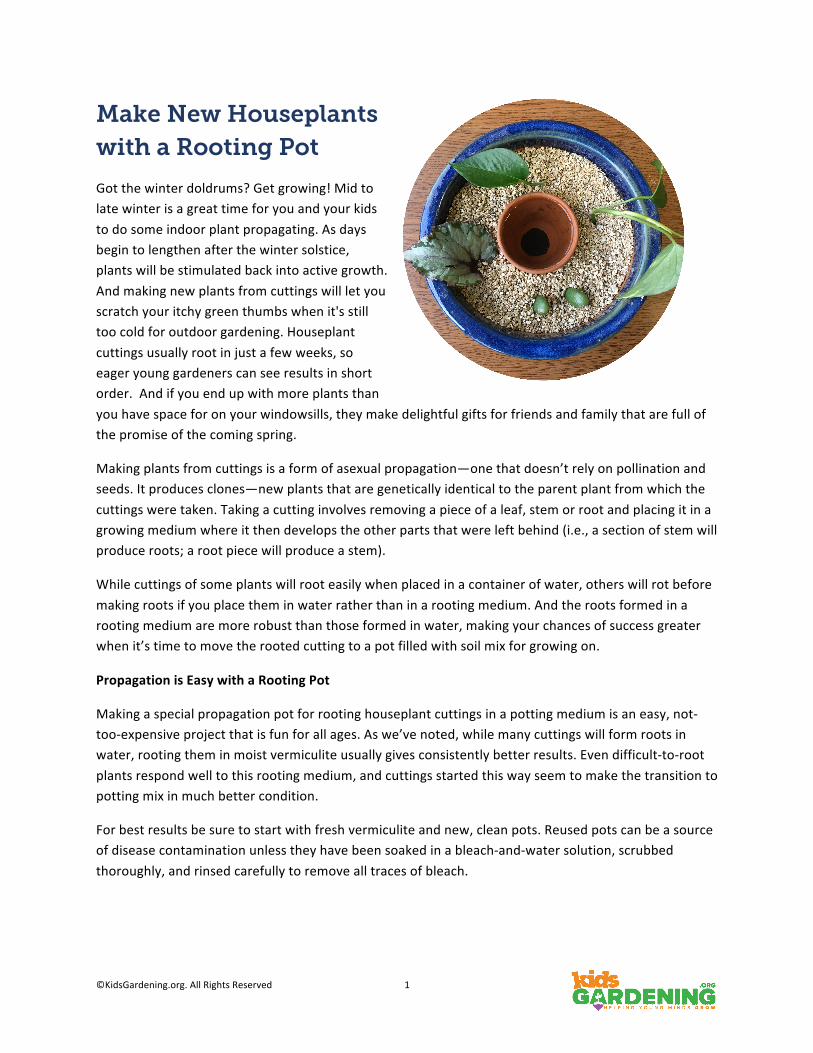
Make New Houseplants with a Rooting Pot
Got the winter doldrums? Get growing! Mid to late winter is a great time for you and your kids to do some indoor plant propagating. As days begin to lengthen after the winter solstice, plants will be stimulated back into active growth. And making new plants from cuttings will let you scratch your itchy green thumbs when it's still too cold for outdoor gardening. Houseplant cuttings usually root in just a few weeks, so eager young gardeners can see results in short order. And if you end up with more plants than you have space for on your windowsills, they make delightful gifts for friends and family that are full of the promise of the coming spring.
Making plants from cuttings is a form of asexual propagation—one that doesn’t rely on pollination and seeds. It produces clones—new plants that are genetically identical to the parent plant from which the cuttings were taken. Taking a cutting involves removing a piece of a leaf, stem or root and placing it in a growing medium where it then develops the other parts that were left behind (i.e., a section of stem will produce roots; a root piece will produce a stem).
While cuttings of some plants will root easily when placed in a container of water, others will rot before making roots if you place them in water rather than in a rooting medium. And the roots formed in a rooting medium are more robust than those formed in water, making your chances of success greater when it’s time to move the rooted cutting to a pot filled with soil mix for growing on.
Propagation is Easy with a Rooting Pot
Making a special propagation pot for rooting houseplant cuttings in a potting medium is an easy, not-‐too-‐expensive project that is fun for all ages. As we’ve noted, while many cuttings will form roots in water, rooting them in moist vermiculite usually gives consistently better results. Even difficult-‐to-‐root plants respond well to this rooting medium, and cuttings started this way seem to make the transition to potting mix in much better condition.
For best results be sure to start with fresh vermiculite and new, clean pots. Reused pots can be a source of disease contamination unless they have been soaked in a bleach-‐and-‐water solution, scrubbed thoroughly, and rinsed carefully to remove all traces of bleach.

©KidsGardening.org. All Rights Reserved 2
Here's what you'll need:
• 6-‐ or 7-‐inch-‐diameter plastic or glazed ceramic pot with drain holes • 2-‐1/2-‐inch clay pot • Vermiculite • Paper towels • Small cork or florist’s clay • Sharp scissors, hand pruners or pocket knife
Vermiculite is a natural product made from expanded mica. The mica is mined and then heated to a very high temperature. This causes moisture that is trapped in the layers of mica to expand, and it puffs out like popcorn. It is then graded as to size and sold for different purposes. Larger chunks are used for insulation. The smaller sizes are used in greenhouses as a soil amendment. Vermiculite is readily available in most garden centers, but you can substitute perlite if you already have some in the potting shed.
Line the bottom of the plastic pot with some paper toweling to prevent the vermiculite from dropping through the drain holes. Then pour in the vermiculite, almost to the top of the pot. Next, plug the bottom of the clay pot very tightly with a cork. If you can't find a small cork, green florist's clay will work just as well.
Push the plugged clay pot into the center of the vermiculite so that the pot sticks up just a bit above the vermiculite, then water the vermiculite thoroughly. Excess moisture will drip through the drain holes. (This might be a little messy, but of course, that just makes it all the more fun for kids!) Fill the clay pot with water, too. After this first time, all you'll need to do is keep water in the clay pot in the center. Because clay is porous, it will allow water to seep through into the vermiculite. As the vermiculite loses moisture, it is instantly replaced, provided you remember to keep that center pot filled with water. The moist vermiculite makes an excellent rooting medium, with just the right balance of moisture and air for good root development.
Taking Different Types of Cuttings
Now that you have your propagation pot ready, it’s time to take your cuttings. Listed in the table below are plants that grow well from cuttings and should provide you with a good success rate, even under tough classroom conditions.

©KidsGardening.org. All Rights Reserved 3
Most houseplants grow in a branching pattern with leaves angling off from main stems. Find a growing point where there are young, new leaves, and make your cutting 3 or 4 inches back from that tip. Cut about 1/2 inch below a node -‐-‐ the area where the petiole (leaf stem) or leaf blade joins the main stem. The node is an area of actively dividing cells. (This is a task for adults when doing this activity with young children.)
Next, push the cutting into the moist vermiculite so the node is just below the surface. New roots will form at this point. This step is easy for even the youngest of children along with a little adult guidance. Sometimes you have to remove the lower leaves in order to put the node into vermiculite. Be sure to do this because leaves will rot if they're buried.
Some plants, such as African violets, do not branch but instead have a thick central stalk with leaves arranged in a whorled or circular pattern around it. For plants with this habit of growth, you can simply remove a single, medium-‐sized leaf and petiole. Trim the petiole so it is only an inch long. Then poke the petiole into the vermiculite so there is contact between the underside of the leaf blade and the moist vermiculite. New plantlets will form at the base of the leaf blade.
Snake plant (Sansevieria) is another example of a non-‐branching plant. You can take several cuttings from one of these long leaves. Each section should be 3 or 4 inches long. Place them carefully to be sure you get the bottom of each cutting into the vermiculite. If they're turned inside down, they won't root. New plantlets will form at the base of the cutting.
Heated indoor air can be quite dry. To keep humidity high around your cuttings as they develop new roots, when your cuttings are in place in the propagation pot, loosely drape a clear plastic bag over the top of the pot, propped up so that it isn’t touching any of the cuttings (chopsticks or popsicle sticks work well to hold the bag up). Then place the pot near a window where it will get bright light but no direct sun.
Plant Plant Part
Coleus Stem
Pothos Stem
Geranium Stem
African violet Leaf or stem
Jade plant Stem or leaf
English ivy Stem
Snake plant Leaf

©KidsGardening.org. All Rights Reserved 4
Make sure to keep the clay pot in the center topped up with water—the perfect task for budding young gardeners. After several weeks, show children how to pull gently on the cuttings. If they feel some resistance, they’ll know the cuttings have rooted. Scoop them out of the vermiculite gently and transplant them into small containers filled with potting soil. That's all there is to it!