Light painting powerpoint
3
- Before After - This photo was taken by using the shutter speed setting on the camera for a few seconds, somebody swung some christmas lights around like a skipping rope whilst somebody took a picture of it. The shutter speed setting caused it to look like this. I put the original image in photoshop and made it look like this by using filters such as spherize and twirl. I then added some adjustments such as channel mixer, colour balance, hue/saturation, vibrance, exposure and brightness/contrast to edit the colours of the image, removing the background from the photo and making it dark blue and editing the colours of the light to make it more colourful. Also I drew around the light part of the photo and expanded it to make it cover most of the page and remove the people swinging it Image of me using the hue/ saturation adjustment on photoshop
-
Upload
smashingentertainment -
Category
Documents
-
view
365 -
download
0
Transcript of Light painting powerpoint
- Before
After -
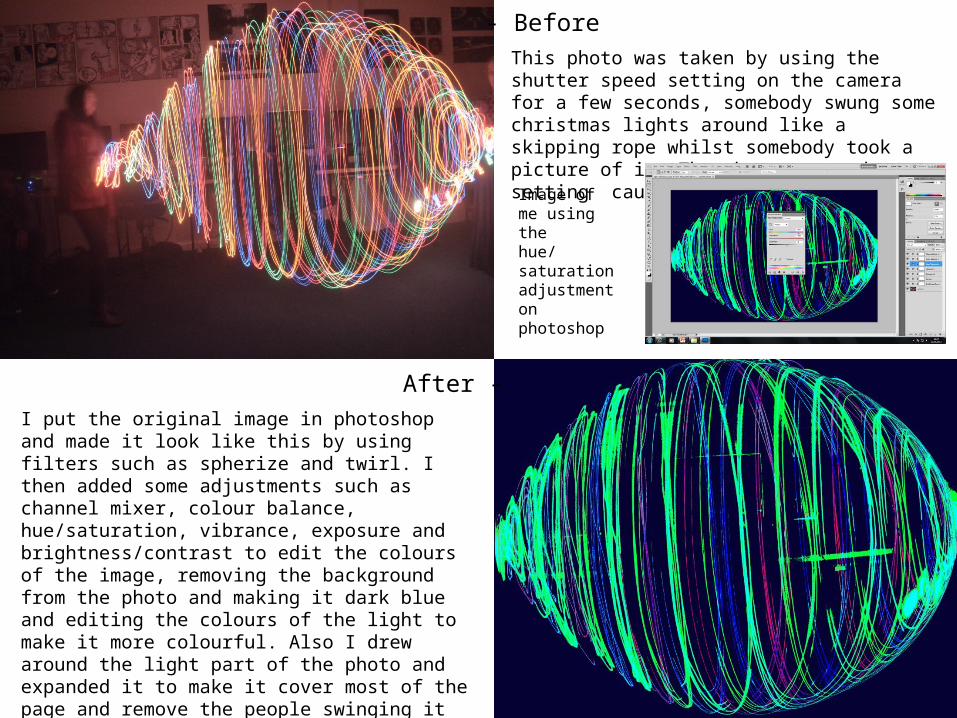
This photo was taken by using the shutter speed setting on the camera for a few seconds, somebody swung some christmas lights around like a skipping rope whilst somebody took a picture of it. The shutter speed setting caused it to look like this.
I put the original image in photoshop and made it look like this by using filters such as spherize and twirl. I then added some adjustments such as channel mixer, colour balance, hue/saturation, vibrance, exposure and brightness/contrast to edit the colours of the image, removing the background from the photo and making it dark blue and editing the colours of the light to make it more colourful. Also I drew around the light part of the photo and expanded it to make it cover most of the page and remove the people swinging it from the photograph which helped get rid of the background.
Image of me using the hue/saturation adjustment on photoshop
- Before
After -
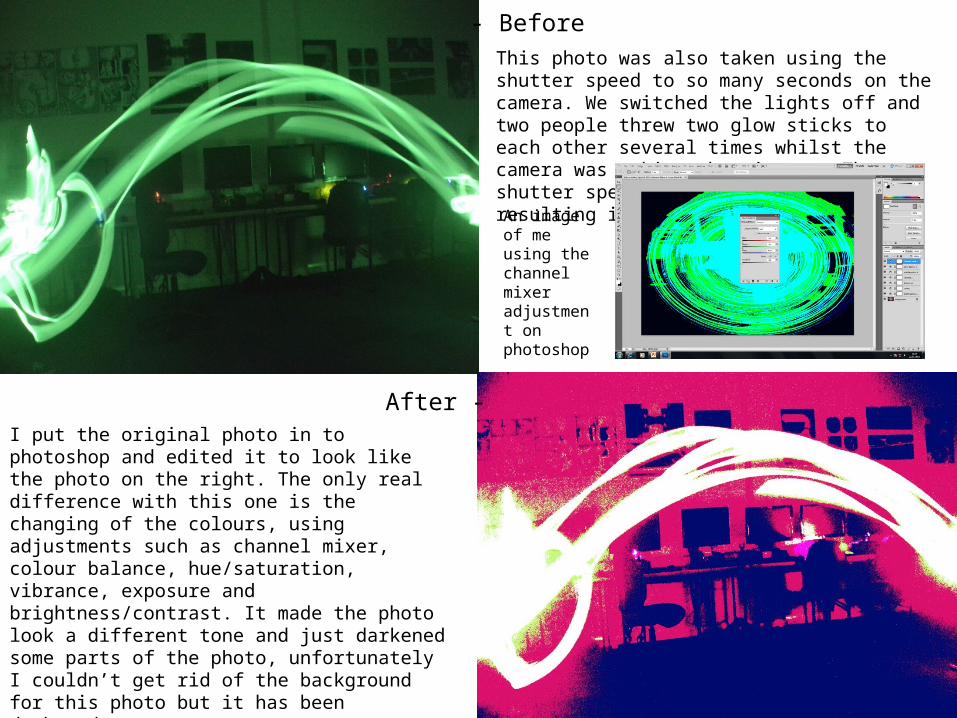
This photo was also taken using the shutter speed to so many seconds on the camera. We switched the lights off and two people threw two glow sticks to each other several times whilst the camera was taking the picture. The shutter speed setting made the resulting image look like this.
I put the original photo in to photoshop and edited it to look like the photo on the right. The only real difference with this one is the changing of the colours, using adjustments such as channel mixer, colour balance, hue/saturation, vibrance, exposure and brightness/contrast. It made the photo look a different tone and just darkened some parts of the photo, unfortunately I couldn’t get rid of the background for this photo but it has been darkened.
An image of me using the channel mixer adjustment on photoshop.
- Before
After -
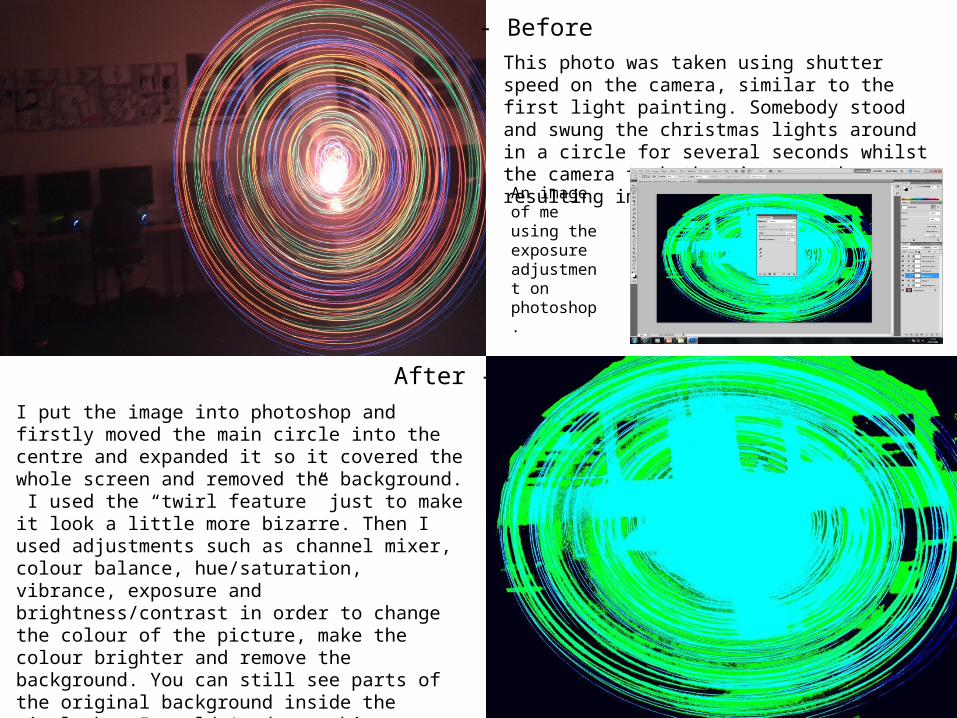
This photo was taken using shutter speed on the camera, similar to the first light painting. Somebody stood and swung the christmas lights around in a circle for several seconds whilst the camera took the picture, the resulting image looked like this.
I put the image into photoshop and firstly moved the main circle into the centre and expanded it so it covered the whole screen and removed the background. I used the “twirl feature” just to make it look a little more bizarre. Then I used adjustments such as channel mixer, colour balance, hue/saturation, vibrance, exposure and brightness/contrast in order to change the colour of the picture, make the colour brighter and remove the background. You can still see parts of the original background inside the circle but I couldn’t do anything to get rid of it.
An image of me using the exposure adjustment on photoshop.