Lesson by Lesson Guide
34
Pebbles, Sand and Silt Page 1 Lesson by Lesson Guide Pebbles, Sand, and Silt (FOSS)
Transcript of Lesson by Lesson Guide

Pebbles, Sand and Silt Page 1
Lesson by Lesson Guide
Pebbles, Sand, and Silt
(FOSS)

Pebbles, Sand and Silt Page 2
Table of Contents
NC Essential Standards and Clarifying Objectives ..................................................... 3
Essential Question for the Unit ..................................................................................... 3
Unit Pre-Assessment ...................................................................................................... 3
Lesson 1 – Investigation 1, Part 1: Three Rocks .......................................................... 4
Lesson 2 – Investigation 1, Part 2: Washing Three Rocks ........................................... 6
Lesson 3 – Investigation 1, Part 3: First Sorting .......................................................... 8
Lesson 4 – Investigation 1, Part 4: Sorting Games .................................................... 10
Lesson 5 – Investigation 1, Part 5: Start a Rock Collection ....................................... 11
Lesson 6 – Investigation 2, Part 1: Screening River Rocks ........................................ 12
Lesson 7 – Investigation 2, Part 2: River Rocks By Size ............................................ 14
Lesson 8 – Investigation 2, Part 3: Sand and Silt ....................................................... 16
Lesson 9 – Investigation 2, Part 4: Exploring Clay .................................................... 18
Lesson 10 – Investigation 3, Part 1: Rocks in Use ...................................................... 20
Lesson 11- Investigation 3, Part 2: Looking at Sandpaper ........................................ 22
Lesson 12 – Investigation 3, Part 3: Sand Sculptures ................................................ 24
Lesson 13 – Investigation 3, Part 4: Clay Beads ......................................................... 25
Lesson 14 – Investigation 3, Part 5: Making Bricks ................................................... 27
Lesson 15 – Investigation 4, Part 1: Homemade Soil ................................................. 29
Lesson 16 – Investigation 4, Part 2: Soil Search ......................................................... 31
Lesson 17 – Investigation 4, Part 3: Studying Local Soil ........................................... 33
Pebbles, Sand and Silt Page 3
NC Essential Standards and Clarifying Objectives
1.E.2 Understand the physical properties of Earth materials that make
them useful in different ways.
1.E.2.1 Summarize the physical properties of Earth materials including
rocks, minerals, soils and water that make them useful in different ways.
1.E.2.2 Compare the properties of soil samples from different places relating
to their capacity to retain water, nourish and support the growth of certain
plants.
Essential Question for the Unit What are the properties of Earth materials?
Unit Pre-Assessment “Is It a Rock? (Version 1)” is available in Uncovering Student Ideas in
Science Volume 2 (Blue cover), by Page Keeley et al. The probe is designed
to see if students recognize that rocks come in many different shapes and
sizes.

Pebbles, Sand and Silt Page 4
Lesson 1 – Investigation 1, Part 1: Three Rocks Students investigate and sort a set of six rocks. They gather information about the rocks
by matching the rock samples and rubbing them together.
Clarifying Objectives
1.E.2.1 Summarize the physical properties of Earth materials including rocks, minerals,
soils and water that make them useful in different ways.
Focus Question How are rocks different?
What happens when rocks rub together?
Activity Guiding Questions
Teach students how to care for a hand
lens, so that they do not scratch the lens.
Distribute rock sets to small groups
and a hand lens to each student. Allow time for students to observe and sort
the rocks.
Lead discussions throughout the
common experience. Add student-generated describing
words to a Word Bank (words that
describe the rocks) and Content Charts (what the students learned from the
investigation).
Suggest and demonstrate rubbing the rocks over black and white
paper. Distribute black and white
paper to students.
Direct students to collect rock dust on one plate then transfer the dust to a
vial.
Gather students to discuss their observations.
What happens when you rub two rocks
together What should we call the stuff that
comes off the rocks?
Was there one rock that had more dust than the others Does the dust look the
same on the white and black paper?
Science Content Words Use these words when teaching the lesson:
-basalt
-tuff
-scoria
-Earth materials
-rock
Pebbles, Sand and Silt Page 5
Integration Hints - Share Stone Soup by Ann McGovern as a read aloud or in a listening center.
- Place a variety of rocks in a center for students to observe with hand lenses.
Students should draw the rocks and list the properties of them.
Science Notebook Helper Students respond to the focus question with a prediction. Draw rocks and describe.
Students may use a piece of scotch tape to collect a sample of the rock dust to be placed
in science notebook.
Assessment Opportunities Teacher observation; The Teacher Guide provides a checklist of student understanding
and participation in investigations which might be helpful in tracking the progress of
students throughout this unit.

Pebbles, Sand and Silt Page 6
Lesson 2 – Investigation 1, Part 2: Washing Three Rocks Students wash their samples to see how the rocks change when they are wet and what
happens to the wash water.
Clarifying Objectives
1.E.2.1 Summarize the physical properties of Earth materials including rocks, minerals,
soils and water that make them useful in different ways.
Focus Question What happens when you wash the rocks in water?
Activity Guiding Questions
Review properties of dry rocks,
from Lesson 1.
Explain the process of washing
rocks to students. Begin by placing
each of the rocks in water, one at
the time, observing closely, then
removing the rock from water and
placing it on a paper towel.
Prompt students to share new
describing words as the rocks are
drying.
Add student-generated describing
words to the Word Wall.
Wrap up the class discussion by
revealing the rock names and add
the names to the word wall.
What happened to the rocks when
you put them in water?
What colors do you see in the
rocks?
Did the rocks change when you put
them in water? How?
What happened to the water after
you put the rocks in?
Is there anything you can see now
that you couldn’t see when the
rocks were dry?
Science Content Words
Student sheet (available as a blackline master) labeled “Rock Words” has great
describing words: crystal, rough, rock, smooth, stone, dull, sharp, shiny, light, soft, dark,
flat, small, chalky, large, diamond, pointed, mud, hard, round
Integration Hints - Share Stone Soup by Ann McGovern as a read aloud or in a listening center.
- Place a variety of rocks in a center for students to observe with hand lenses.
Students should draw the rocks and list the properties of them.
Science Notebook Helper Students add date, focus question, and write a prediction. Students draw/ write about the
investigation.
Pebbles, Sand and Silt Page 7
Assessment Opportunities - Check for observation skills. Are students holding a hand lens correctly?
- Are students including good descriptions and using new vocabulary when
observing and adding entries to their science notebooks?

Pebbles, Sand and Silt Page 8
Lesson 3 – Investigation 1, Part 3: First Sorting Students are introduced to river rocks. They listen to the story “Peter and the Rocks” and
use ideas from the story and Lesson 2 to sort their river rocks.
Clarifying Objectives
1.E.2.1 Summarize the physical properties of Earth materials including rocks, minerals,
soils and water that make them useful in different ways.
Focus Question How are some rocks the same?
Activity Guiding Questions Explain that each pair of students will
get a bag of rocks.
Circulate the classroom and monitor the groups as they divide and sort the
rocks.
Encourage students to sort by one property at a time.
Ask students how water might be
useful during this investigation.
Suggest that students use a cup half full of water for wetting the rocks and
observing one rock at a time.
Ask students to work with their partners to sort the rocks again now
that they are wet.
Guide students to clean up at the end of
the investigation. Lead a discussion to discuss what they
observed, the different ways they
sorted the rocks, and any changes they noticed when they placed the rocks in
water.
Add new words to word wall and new concepts to the content chart.
What ways did you sort the rocks?
What new ways did you sort your
rocks?
Science Content Words Use words acquired through previous lessons. Students may add describing words to the
Rock Word sheet or the Word Wall.
Integration Hints Read aloud Sylvester and the Magic Pebble by William Steig, or share it in the listening center.
As an extension, students can write a short story about their own imaginary magic pebble.
Pebbles, Sand and Silt Page 9
Science Notebook Helper Students add date, focus question, and prediction. Students can draw/write about the
investigation.
Assessment Opportunities Teacher observations and science notebook entries. Are students sorting beyond color?
Pebbles, Sand and Silt Page 10
Lesson 4 – Investigation 1, Part 4: Sorting Games Students use sorting mats to play sorting games with the river rocks.
*The sorting mats are available as blackline masters in the Teacher Guide. You might
consider laminating the mats for durability and future use.
Clarifying Objectives
1.E.2.1 Summarize the physical properties of Earth materials including rocks, minerals,
soils and water that make them useful in different ways.
Focus Question How many ways can you sort river rocks?
Activity Guiding Questions Introduce the two-sided sorting mats to
the students.
Introduce and demonstrate the rock
sorting games listed in Investigation 1,
part 4 of the Foss Teacher’s Guide. Circulate the classroom and ask
students to explain how they have
sorted the rocks. Add new words to the word wall and
new concepts to the content chart.
What ways did you sort the rocks? What new ways did you sort your
rocks?
Science Content Words Use science words acquired in previous lessons. Include words that the children use to
describe their rocks.
Integration Hints - Read aloud Sylvester and the Magic Pebble by William Steig, or share it in the
listening center. As an extension, students can write a short story about their own
imaginary magic pebble - Students can create a Geologist Tool Kit – directions are found at the end of the
Investigation 1 Folio of the Teacher Guide.
Science Notebook Helper
Students add date and focus question. Students record different ways they sorted the
rocks.
Assessment Opportunities: Teacher observation. Check for sorting skills.
Pebbles, Sand and Silt Page 11
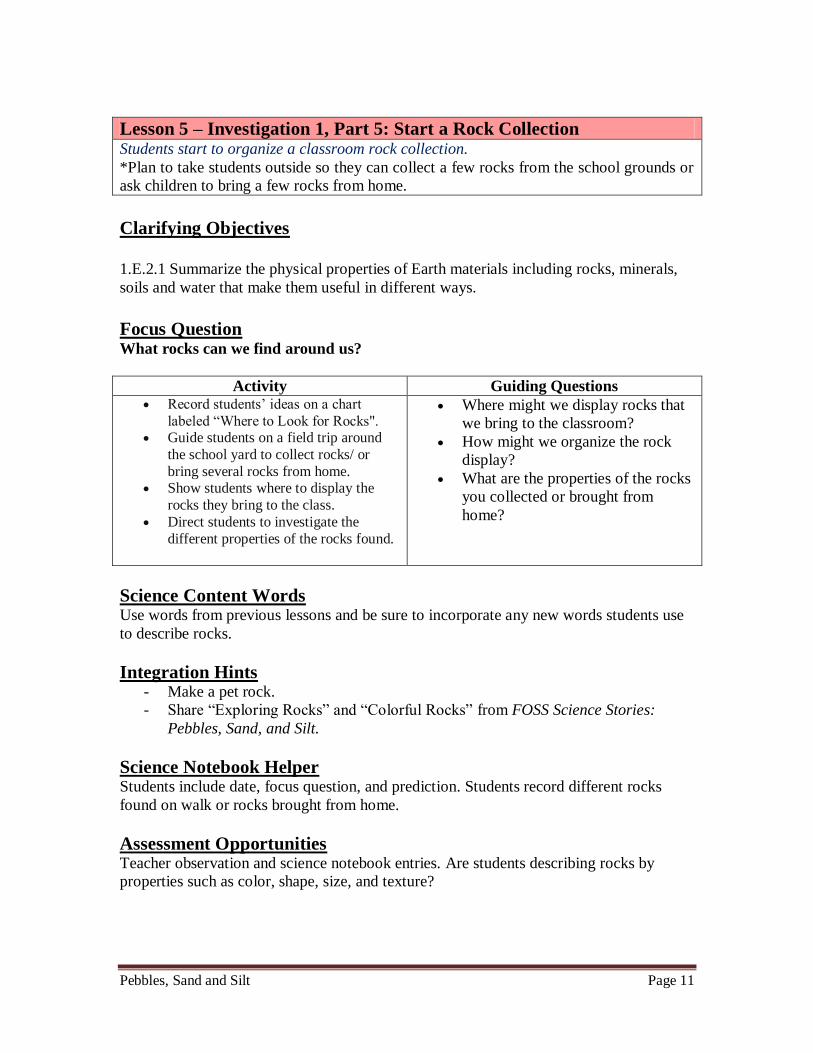
Lesson 5 – Investigation 1, Part 5: Start a Rock Collection Students start to organize a classroom rock collection.
*Plan to take students outside so they can collect a few rocks from the school grounds or
ask children to bring a few rocks from home.
Clarifying Objectives
1.E.2.1 Summarize the physical properties of Earth materials including rocks, minerals,
soils and water that make them useful in different ways.
Focus Question What rocks can we find around us?
Activity Guiding Questions Record students’ ideas on a chart
labeled “Where to Look for Rocks". Guide students on a field trip around
the school yard to collect rocks/ or
bring several rocks from home. Show students where to display the
rocks they bring to the class.
Direct students to investigate the
different properties of the rocks found.
Where might we display rocks that
we bring to the classroom?
How might we organize the rock
display?
What are the properties of the rocks
you collected or brought from
home?
Science Content Words Use words from previous lessons and be sure to incorporate any new words students use
to describe rocks.
Integration Hints - Make a pet rock.
- Share “Exploring Rocks” and “Colorful Rocks” from FOSS Science Stories:
Pebbles, Sand, and Silt.
Science Notebook Helper Students include date, focus question, and prediction. Students record different rocks
found on walk or rocks brought from home.
Assessment Opportunities
Teacher observation and science notebook entries. Are students describing rocks by
properties such as color, shape, size, and texture?

Pebbles, Sand and Silt Page 12
Lesson 6 – Investigation 2, Part 1: Screening River Rocks Students separate a river rock mixture, using a set of three screens. At the end of the
separation, students discover they have five sizes of Earth materials: large pebbles, small
pebbles, large gravel, small gravel, and sand.
* Before doing this lesson, you might have students practice folding a paper plate (that is
holding large math manipulatives) in half and funneling/pouring the contents back into
the math tubs.
Clarifying Objectives
1.E.2.1 Summarize the physical properties of Earth materials including rocks, minerals,
soils and water that make them useful in different ways.
Focus Question How can river rocks be sorted by size?
Activity Guiding Questions
Distribute materials to each pair of
students.
Direct students to divide the
mixture between two paper plates
and observe.
Demonstrate how to fold a paper
plate in half to funnel the rock
mixture into the cup.
Demonstrate the screening process
then distribute the large-mesh
screen.
Allow time for students to screen.
Lead a discussion about the
screening process then introduce
the medium and small-mesh
screens.
Distribute the medium and small-
mesh screens and allow time for
students to engage in the screen
process.
Prompt students to use all three
screens again.
Introduce the names for rock sizes,
add new words to the word wall,
and new content to the content
chart.
How could we separate our rock
mixture?
How could we use this screen to
separate the rock mixture?
What happened to the rock mixture
that was too large to go through the screen?
Where do the rocks go that are smaller
than the screen holes?
Here are two new screens – one with
medium holes and one with little holes. Can you use these screens to separate
the rock mixture into more sizes?
How many sizes of rock do we have
now?
Which screens did the smallest pieces
go through?
Which screens did the largest rocks go
through?
Were there any rocks that did not pass
through any of the screens?
Can you separate those large rocks into
two groups by hand?

Pebbles, Sand and Silt Page 13
Science Content Words: Use these words when teaching the lesson:
-Sand
-small gravel
-large gravel
-small pebbles
-large pebbles
-boulders
-cobble
-mixture
-screen
Integration Hints
Students can write a how-to explaining how to sort rocks by size.
Science Notebook Helper
Students include date, focus question, and a prediction. Students record investigation
using pictures/words.
Assessment Opportunities - Teacher observation
- Science notebook entries – Are students using science content words as they label
the various sizes of Earth materials?

Pebbles, Sand and Silt Page 14
Lesson 7 – Investigation 2, Part 2: River Rocks By Size Students use a sorting mat to reinforce the idea of grouping rocks based on size.
*The sorting mat is available as a blackline master in the Teacher Guide.
Clarifying Objectives
1.E.2.1 Summarize the physical properties of Earth materials including rocks, minerals,
soils and water that make them useful in different ways.
Focus Question How else can rocks be sorted by size?
Activity Guiding Questions
Demonstrate how to use the "Sand,
Gravel, and Pebbles" sheet to
identify rock sizes.
Direct students to choose a rock
particle from the earth material
mixture, and then check to see if it
fits in the space on the recording
sheet.
Next, ask students to glue (optional)
or draw the particle in the
appropriate box.
Circulate the classroom and
challenge students to identify rock
sizes you pull out of their cups.
Challenge students to divide the
pebbles into large and small pebbles
and the gravel group into large and
small gravel. Prompt students to
divide the circles into two halves
and label them.
Lead class discussion about the
investigation and add new words to
word wall and new content to the
content chart.
How was using the squares like using
the screens for separating the rock
sizes?
Science Content Words
-Sand
-gravel
-pebble
-particle

Pebbles, Sand and Silt Page 15
Science Notebook Helper - Students include the date, focus question, and a prediction.
- Limit the number of particles students may use to glue in their notebook.
Recording sheet may be glued or stapled into the science notebook.
Assessment Opportunities Student sheet/ Teacher Observation – Are students able to correctly sort the sizes of Earth
materials?
Pebbles, Sand and Silt Page 16
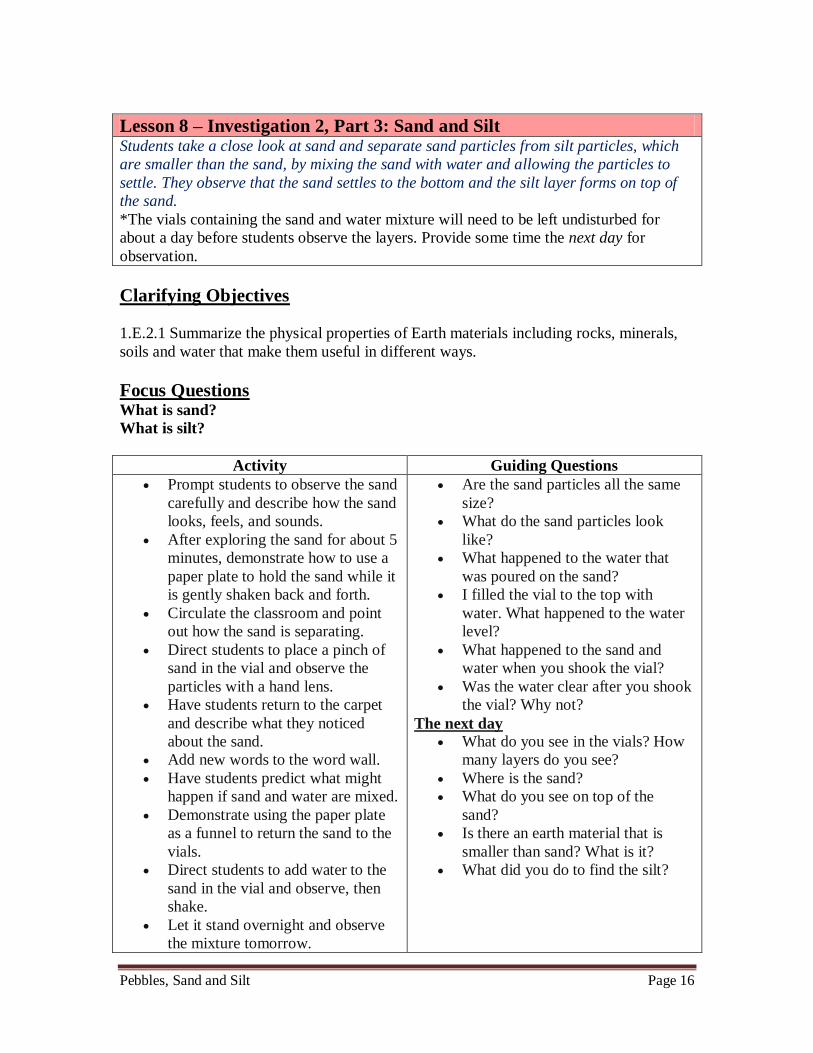
Lesson 8 – Investigation 2, Part 3: Sand and Silt Students take a close look at sand and separate sand particles from silt particles, which
are smaller than the sand, by mixing the sand with water and allowing the particles to
settle. They observe that the sand settles to the bottom and the silt layer forms on top of
the sand.
*The vials containing the sand and water mixture will need to be left undisturbed for
about a day before students observe the layers. Provide some time the next day for
observation.
Clarifying Objectives
1.E.2.1 Summarize the physical properties of Earth materials including rocks, minerals,
soils and water that make them useful in different ways.
Focus Questions What is sand?
What is silt?
Activity Guiding Questions
Prompt students to observe the sand
carefully and describe how the sand
looks, feels, and sounds.
After exploring the sand for about 5
minutes, demonstrate how to use a
paper plate to hold the sand while it
is gently shaken back and forth.
Circulate the classroom and point
out how the sand is separating.
Direct students to place a pinch of
sand in the vial and observe the
particles with a hand lens.
Have students return to the carpet
and describe what they noticed
about the sand.
Add new words to the word wall.
Have students predict what might
happen if sand and water are mixed.
Demonstrate using the paper plate
as a funnel to return the sand to the
vials.
Direct students to add water to the
sand in the vial and observe, then
shake.
Let it stand overnight and observe
the mixture tomorrow.
Are the sand particles all the same
size?
What do the sand particles look
like?
What happened to the water that
was poured on the sand?
I filled the vial to the top with
water. What happened to the water
level?
What happened to the sand and
water when you shook the vial?
Was the water clear after you shook
the vial? Why not?
The next day
What do you see in the vials? How
many layers do you see?
Where is the sand?
What do you see on top of the
sand?
Is there an earth material that is
smaller than sand? What is it?
What did you do to find the silt?

Pebbles, Sand and Silt Page 17
The next day, direct students to
observe the settled sand and the
layer of silt that has formed on top
of the sand.
Introduce silt, have the students
label the layers, and feel the silt.
Science Content Words -Sand
-silt
-particle
Integration Hints - Share “The Story of Sand” from FOSS Science Stories: Pebbles, Sand, and Silt.
- Share aloud Tommie dePoala’s Quicksand.
Science Notebook Helper
Students include date, focus question, and a prediction. Students record observations
from the investigation using pictures and words.
Assessment Opportunities Students correctly label the layers they observe in the vial. Label the layers: sand, silt,
water, and air.
Pebbles, Sand and Silt Page 18
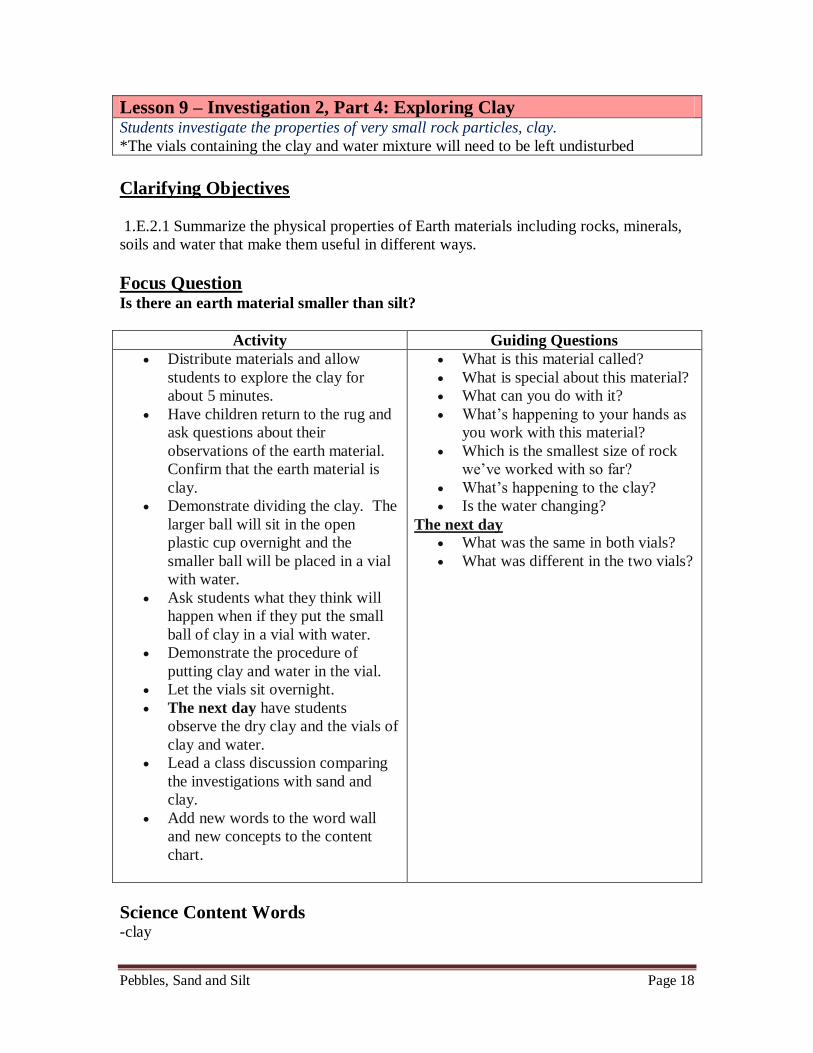
Lesson 9 – Investigation 2, Part 4: Exploring Clay Students investigate the properties of very small rock particles, clay.
*The vials containing the clay and water mixture will need to be left undisturbed
Clarifying Objectives
1.E.2.1 Summarize the physical properties of Earth materials including rocks, minerals,
soils and water that make them useful in different ways.
Focus Question Is there an earth material smaller than silt?
Activity Guiding Questions
Distribute materials and allow
students to explore the clay for
about 5 minutes.
Have children return to the rug and
ask questions about their
observations of the earth material.
Confirm that the earth material is
clay.
Demonstrate dividing the clay. The
larger ball will sit in the open
plastic cup overnight and the
smaller ball will be placed in a vial
with water.
Ask students what they think will
happen when if they put the small
ball of clay in a vial with water.
Demonstrate the procedure of
putting clay and water in the vial.
Let the vials sit overnight.
The next day have students
observe the dry clay and the vials of
clay and water.
Lead a class discussion comparing
the investigations with sand and
clay.
Add new words to the word wall
and new concepts to the content
chart.
What is this material called?
What is special about this material?
What can you do with it?
What’s happening to your hands as
you work with this material?
Which is the smallest size of rock
we’ve worked with so far?
What’s happening to the clay?
Is the water changing?
The next day
What was the same in both vials?
What was different in the two vials?
Science Content Words -clay
Pebbles, Sand and Silt Page 19
Integration Hints Math extensions available in the Teacher Guide: Graph rock data, Student Sheet # 16.
and Shop for Rocks #17.
Music: place gravel, sand, and pebbles in opaque vials such as film canisters or plastic
eggs. Compare the sounds that they make when they are shaken.
Social Studies: Visit a rock quarry.
Science Notebook Helper
Students add date, focus question, and a prediction. Students can draw/write about the
investigation. Students draw layers and label. Are students using science content words as
they label their drawings or explaining their investigation?
Assessment Opportunities - A Bottle Drawing assessment is available in the Teacher Guide. Students would
need the experience observing the vial of sand and water to be successful with the
assessment opportunity.
- Are students using science content words as they label their drawings or
explaining their investigation?

Pebbles, Sand and Silt Page 20
Lesson 10 – Investigation 3, Part 1: Rocks in Use Students learn how people use rocks as natural resources to construct objects and to
make useful materials. They start by looking outside the school building for places where
Earth materials can be found naturally or as building materials.
*Plan to take students outside to explore how Earth materials are used around the school.
Clarifying Objectives
1.E.2.1 Summarize the physical properties of Earth materials including rocks, minerals,
soils and water that make them useful in different ways.
Focus Question How do people use earth materials?
Activity Guiding Questions
Tell students we are going around
the schoolyard/playground to look
for as many places as possible
where we can find these materials.
Discuss students’ observations
while walking. Prompt students to
observe, identify, and compare the
sizes of rocks they see.
Return to the classroom and go
through the list of rock sizes on the
board.
Invite students to share where they
found each material. Record the
places where students discovered
the materials.
Add new words to the word wall
and new concepts to the content
chart.
Guide students to see examples of
pebbles, gravel, sand, silt, and clay
around the school grounds.
Science Content Words -Asphalt
-cement
-concrete
-brick
-glass
-shale
-stone
Pebbles, Sand and Silt Page 21
Integration Hints - Share “Rocks Move” from FOSS Science Stories: Pebbles, Sand, and Silt.
- Invite students to search around their homes for ways Earth materials are used
there: sidewalks, bricks, clay pots, clay cookware, etc.
Science Notebook Helper - Students add date, focus question, and a prediction. Students can draw/write about
their exploration of the school grounds.
- Consider taking digital photos of Earth materials in use for students to include in
their science notebooks.
Assessment Opportunities Teacher observation and science notebook entries – Are students describing the
properties of Earth materials they observe? Are they using science content words to
describe the Earth material or its size?

Pebbles, Sand and Silt Page 22
Lesson 11- Investigation 3, Part 2: Looking at Sandpaper Students observe sandpaper and compare it to sand. They make and compare rubbings of
three grades of sandpaper, noticing different size particles.
Clarifying Objectives
1.E.2.1 Summarize the physical properties of Earth materials including rocks, minerals,
soils and water that make them useful in different ways.
Focus Question What are the properties of sandpaper?
Activity Guiding Questions
Allow students to observe sand on
paper plates using hand lenses and
loupes.
Distribute one piece of each grade
of sandpaper to each student.
Encourage students to rub their
fingers gently over the paper and
the hand lens to get a closer view.
Explain that each piece of
sandpaper has different textures.
Demonstrate how to make a
rubbing of each piece of sandpaper.
Have students label the rubbings.
Have students challenge each other
to identify the type of sandpaper
with their eyes close.
Prompt students to gently rub two
pieces of sandpaper together over
white paper to see what comes off.
Encourage students to view the
particles with a magnifier.
Add new words to the word wall
and new concepts to the content
chart.
What is sand made of?
Is sand smaller or larger than
gravel?
Is sand smaller or larger than silt or
clay?
How is sand like clay? How is it
different?
What is different about each paper?
What is sandpaper made from?
Why do you think people use
coarse, medium, or fine
sandpapers?
Science Content Words
-Texture
-Fine
-medium
-coarse
-sandpaper
Pebbles, Sand and Silt Page 23
Integration Hints Art: Students make sandpaper rubbings or use sandpaper to sand some wood to make it
smooth.
Science Notebook Helper
Students add date, focus question, and a prediction. Students can draw/write about the
investigation. Students might want to add sandpaper rubbings to their notebooks as a way
to collect data from this investigation.
Assessment Opportunities Teacher observations and science notebook entries – Are students noticing the various
size of sand particles?

Pebbles, Sand and Silt Page 24
Lesson 12 – Investigation 3, Part 3: Sand Sculptures Students mix sand with a cornstarch matrix to make durable sand sculptures.
*The matrix needs to be prepared in advance. It will keep up to a week refrigerated in a
sealed container. Don’t use the unwashed sand in this kit for this lesson. You will need
washed sand, such as play sand available at garden supply or home improvement stores.
Prepare a place for students
Clarifying Objective
1.E.2.1 Summarize the physical properties of Earth materials including rocks, minerals,
soils and water that make them useful in different ways.
Focus Question What are different ways sand can be used?
Activity Guiding Questions
Distribute materials and add a
spoonful of matrix on top of the
sand on each plate.
Model for the class how to mix the
sand and the matrix completely.
Invite students to begin molding
and making sculptures.
Direct students to add their names
to the paper plate and carefully
move their sculptures to the drying
location.
What is sand made of?
Is sand smaller or larger than
gravel?
Is sand smaller or larger than silt or
clay?
How is sand like clay? How is it
different?
Science Content Words -Matrix
-sculpture
Integration Hints - Art Lesson: Color sand with food coloring and students can make sand paintings.
- Read the book the Castle Builder and have students create sand sculptures out of
torn manilla paper.
- Check with the Art Specialist at your school – is he/she willing to cover this
lesson in an art class?
Science Notebook Helper Students add date, focus question, and prediction. Students can draw/write about the
investigation.
Assessment Opportunities Anecdotal Notes, conferencing with students as they work.

Pebbles, Sand and Silt Page 25
Lesson 13 – Investigation 3, Part 4: Clay Beads Students use clay to make beads or something decorative, which they later paint and keep
as a memento of their investigation of clay.
*Be sure to use real Earth clay for this lesson, not modeling clay or dough clay. Straws
can be cut so each student has a third of a straw to create a hole in the clay bead. Check
with the Art Specialist at your school. Is he/she willing to cover this lesson in art class
and fire clay projects in a kiln?
Clarifying Objective
1.E.2.1 Summarize the physical properties of Earth materials including rocks, minerals,
soils and water that make them useful in different ways.
Focus Question What can be made with clay?
Activity Guiding Questions
Discuss and demonstrate some clay
techniques with the students such as
dipping a finger in water to smooth out
cracks, poking a short piece of straw
through the clay and leaving it until the
clay dries, and using a pencil to carve
lines and designs on the clay.
Distribute materials to each student.
Have students write their names on a
piece of paper for a label and direct
them to take their bead and label to the
drying area in the classroom.
At the end of the activity, lead a class
discussion and add new words to the
word wall and new concepts to the
content chart.
A few days later (depending on
humidity), the clay should harden.
When the clay is dry, have students
paint their creations. Let the paint dry
overnight.
Next, have students thread a piece of
yarn through the finished project to
make a necklace.
How are the sand and clay sculptures
different?
Science Content Words -bead
-harden

Pebbles, Sand and Silt Page 26
Integration Hints Art Lesson- Students create different things out of clay. (This would be a great activity
for the art specialist to do with the students.)
Science Notebook Helper - Students add date, focus question, and prediction. Students can draw/write about
the investigation.
- Students may sketch different variations of how they will paint their finished
bead.
Assessment Opportunities Anecdotal Notes, conferencing with students as they work.
Pebbles, Sand and Silt Page 27
Lesson 14 – Investigation 3, Part 5: Making Bricks Students make adobe clay bricks with a mixture of clay soil, dry grass or weeds, and
water. After the bricks dry, they can be used to build a class wall.
*This investigation is messy! It is best done outdoors with the support of an assistant or
adult volunteers. Provide loaf pans (one for each pair of students) to create large bricks.
Consider scaling down the size of the brick and making mini bricks in ice cube trays.
You might consider using small, cardboard milk containers (from the cafeteria) that have
been rinsed and dried.
Clarifying Objectives
1.E.2.1 Summarize the physical properties of Earth materials including rocks, minerals,
soils and water that make them useful in different ways.
Focus Question How are bricks made?
Activity Guiding Questions
Invite students to rub some clay soil
between their wet fingers. Explain
that the soil has a lot of clay.
Have students help prepare the mud
by mixing the mixture with their
hands.
When the mud is ready, distribute
loaf pans for students to mold their
bricks.
Direct students to move the pans to
a warm, dry location to “dry.”
A week later: The bricks will need
at least a week to dry thoroughly.
Have students stack their bricks
together in a wall or some other
construction.
Wrap up the investigation by
adding new words to the word wall
and new concepts to the content
chart.
Why do you think we need material
with lots of clay for making bricks?
Why is clay a good material for
making bricks?
Science Content Words -brick
-adobe
-grass
-weeds
Pebbles, Sand and Silt Page 28
Integration Hints
- Share “Making Things with Rocks” from FOSS Science Stories: Pebbles, Sand,
and Silt.
- Research animal homes made out of earth materials.
- Students can write How To Make a Brick.
Science Notebook Helper
Students add date, focus question, and a prediction. Students can draw/write about the
investigation. Consider taking photos of the step by step procedures for students to paste
in their notebooks.
Assessment Opportunities
Anecdotal Notes, conferencing with students as they work.
Pebbles, Sand and Silt Page 29
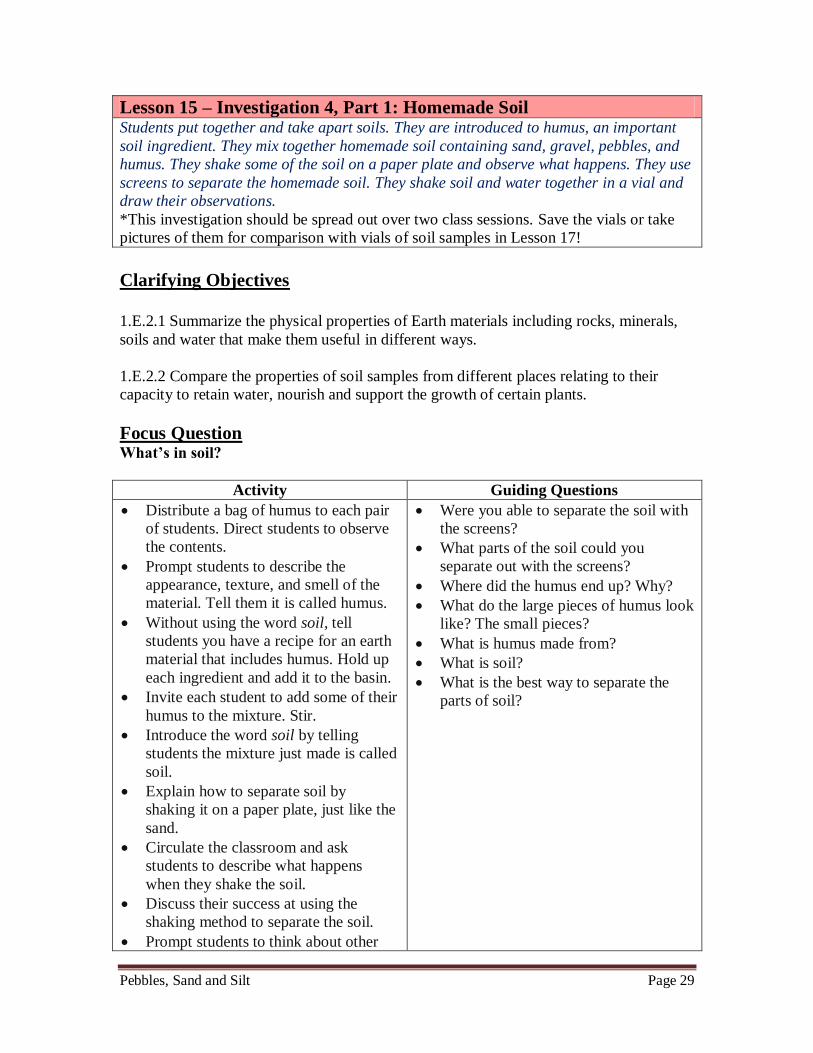
Lesson 15 – Investigation 4, Part 1: Homemade Soil Students put together and take apart soils. They are introduced to humus, an important
soil ingredient. They mix together homemade soil containing sand, gravel, pebbles, and
humus. They shake some of the soil on a paper plate and observe what happens. They use
screens to separate the homemade soil. They shake soil and water together in a vial and
draw their observations.
*This investigation should be spread out over two class sessions. Save the vials or take
pictures of them for comparison with vials of soil samples in Lesson 17!
Clarifying Objectives
1.E.2.1 Summarize the physical properties of Earth materials including rocks, minerals,
soils and water that make them useful in different ways.
1.E.2.2 Compare the properties of soil samples from different places relating to their
capacity to retain water, nourish and support the growth of certain plants.
Focus Question What’s in soil?
Activity Guiding Questions Distribute a bag of humus to each pair
of students. Direct students to observe
the contents.
Prompt students to describe the
appearance, texture, and smell of the
material. Tell them it is called humus.
Without using the word soil, tell
students you have a recipe for an earth
material that includes humus. Hold up
each ingredient and add it to the basin.
Invite each student to add some of their
humus to the mixture. Stir.
Introduce the word soil by telling
students the mixture just made is called
soil.
Explain how to separate soil by
shaking it on a paper plate, just like the
sand.
Circulate the classroom and ask
students to describe what happens
when they shake the soil.
Discuss their success at using the
shaking method to separate the soil.
Prompt students to think about other
Were you able to separate the soil with
the screens?
What parts of the soil could you
separate out with the screens?
Where did the humus end up? Why?
What do the large pieces of humus look
like? The small pieces?
What is humus made from?
What is soil?
What is the best way to separate the
parts of soil?

Pebbles, Sand and Silt Page 30
ways to separate the soil. Suggest
screens and review how to use them.
Call for attention, invite students to
carpet, and discuss what happened with
the screening.
Suggest adding water to aid soil
separation.
Distribute vials and caps. Direct
students to place the vials in the storage
location so the vial will be undisturbed
overnight.
The next day, review the homemade
soil and the methods used to separate
the soil.
Direct students to observe their vials
and record what they see.
Lead a class discussion for students to
share what they observed.
Add new words to the word wall and
new concepts to the content chart.
Science Content Words -humus
-soil
-decay
Integration Hints - Students write a how-to about making soil.
Science Notebook Helper Students add date, focus question, and a prediction. Students can draw/write about the
investigation.
Assessment Opportunities Observe student’s skills at using plates, screens, and vials for separating soil. Be sure
students refer to it as soil rather than dirt.

Pebbles, Sand and Silt Page 31
Lesson 16 – Investigation 4, Part 2: Soil Search Students go on a schoolyard field trip to collect soil sample. They try to find soil in as
many places as possible: next to sidewalks, near trees, and in landscaped areas.
*Try to find soil samples that vary in color and texture. You might give students a zip bag
with the assignment to return soil from home or a place near home. Plan to display the
soil samples in the classroom so students can see and touch them for observation.
Clarifying Objectives
1.E.2.1 Summarize the physical properties of Earth materials including rocks, minerals,
soils and water that make them useful in different ways.
1.E.2.2 Compare the properties of soil samples from different places relating to their
capacity to retain water, nourish and support the growth of certain plants.
Focus Question Are all soils the same?
Activity Guiding Questions
Students go on a schoolyard field
trip to collect soil samples.
They try to find soil in as many
places as possible: next to
sidewalks, near trees, and in
landscaped areas.
Help students label the sample with
the location in which it was found.
Lead a discussion about the soil
samples and add new words and
content to class charts.
What color is your soil sample?
Were all the soil samples the same
color?
How does your soil feel?
Were all the soils the same texture?
What was growing around your soil
sample?
Do plants grow as well in all the
soils?
Which animals might you have
found when collecting a soil
sample? [earthworms, isopods,
ants]
Science Content Words -Clay
-humus
-soil
-sand
-rocks
-gravel
-silt

Pebbles, Sand and Silt Page 32
Integration Hints - Share “What’s In Soil?” from FOSS Science Stories: Pebbles, Sand, and Silt.
- Set up a screening and magnification station for students to further investigate soil
samples through screening and observe the samples with a hand lens.
Science Notebook Helper - Students add date, focus question, and a prediction. Students can draw/write about
the investigation. They may want to place a very small amount of their soil
samples under clear tape as an artifact.
- Consider taking photographs of students collecting soil samples in various places.
Assessment Opportunities Teacher observations and science notebook entries. Are students describing the properties
of soil? Are they using the word soil instead of dirt?

Pebbles, Sand and Silt Page 33
Lesson 17 – Investigation 4, Part 3: Studying Local Soil Students study their schoolyard (or home) soil samples. They shake some of the soil with
water in vials and draw the results. They compare the vials and drawings of their
samples with the vials and drawings of homemade soil.
*This investigation will need to be spread over two class sessions.
Clarifying Objectives
1.E.2.1 Summarize the physical properties of Earth materials including rocks, minerals,
soils and water that make them useful in different ways.
1.E.2.2 Compare the properties of soil samples from different places relating to their
capacity to retain water, nourish and support the growth of certain plants.
Focus Question How are the soil samples different?
Activity Guiding Questions
Students study their schoolyard soil
samples.
They shake some of their soil with
water in vials and draw the results.
The next day: They compare the
vials and drawings of their
schoolyard samples with the vials
and drawings of their homemade
soil.
How are the soils different from
each other?
How are all the soils alike?
Science Content Words -alike
-different
-amount
Integration Hints - Share “Testing Soil” and “Fossils” from FOSS Science Stories: Pebbles, Sand,
and Silt.
- You might set up an observation station of planting some radish seeds in a cup of
sand and some in a cup of soil. Students can visit the observation station to record
the results and discuss their findings: Which Earth material better supports the
growth of radish seeds?
-
Science Notebook Helper Students add date, focus question, and a prediction. Students can draw/write about the
investigation.
Pebbles, Sand and Silt Page 34
Assessment Opportunities - Students draw and label their observations.
- Are students utilizing vocabulary they have acquired throughout the unit?