Lecturer: Vicki Denby B.App.Sc (MIT). WE WILL LOOK AT… Radiograph & film critiquing Problem...
31
RADIOGRAPHIC CRITIQUE & PROBLEM SOLVING Lecturer: Vicki Denby B.App.Sc (MIT)
-
Upload
emery-simpson -
Category
Documents
-
view
217 -
download
1
Transcript of Lecturer: Vicki Denby B.App.Sc (MIT). WE WILL LOOK AT… Radiograph & film critiquing Problem...

RADIOGRAPHIC CRITIQUE &
PROBLEM SOLVING
Lecturer: Vicki Denby B.App.Sc (MIT)

WE WILL LOOK AT…
Radiograph & film critiquing
Problem solving for radiographic images
Problem solving for processing & technical errors

ASSESSING RADIOGRAPHIC QUALITY
When we look at the final radiographic image, we automatically assess the
degree of blackness & white, the shades of grey representing various anatomical structures i.e. correct exposure factors used for the ROI (kVp & mAs), correct patient positioning, correct anatomy seen, anatomical marker present &
correct, identification present & correct, image sharpness

ASSESSING RADIOGRAPHIC QUALITY
DENSITY
Density is the degree of blackening of the film
It is related to the exposure factors used (kVp & mAs)
It is also related to the processing technique

EXPOSURE FACTORS
A general term referring to the exposure factors used i.e. kVp, mAs, FFD, focal spot, grid etc
The following 2 slides are an excellent summary of differentiating between a light or a dark film & the correct terminology for each situation

EXPOSURE FACTORS Image too dark
1. the film is overexposed - too much mAs or
2. the film is overpenetrated – too much kVp
So how do we tell which one it is??...
3. If the cortex of the bone is burnt out, it is overpenetrated (too much kVp)
4. If the soft tissues are black but the bone cortex can still be seen, it is overexposed (too much mAs)

EXPOSURE FACTORS
Image too light
1. If the image is too light, the film is underexposed or underpenetrated.
2. If the background of the radiograph is not black, the mAs was too low
3. If the bony trabeculae cannot be seen or there are white areas with no density in the ROI, the kVp was too low

PROCESSING
Underdevelopment occurs due to diluted, exhausted or cold developer or developing for too short a time
All areas of the film are too light including the background
The finger test can be used! Put finger behind a black, non-patient area. If you can see your finger, the film is underdeveloped.

REMEDY Top up chemicals with replenisher, not water
Changing the developer regularly
Use correct developer temperature
Use correct developing time
Warm up automatic processors fully before using

PROCESSING
Overdevelopment occurs when the developer is too hot or the film is in for too long
The unexposed silver halide crystals are converted to metallic silver resulting in development fog (a uniform darkening of the film)

TOO MUCH RADIATION vs OVERDEVELOPMENT
Both make the film too dark In the metal marker area, overexposed
films will still be white, whilst overdeveloped films will be darkened
Both an underexposed radiograph & an underdeveloped film have grey background

REMEMBERIf the radiograph is too dark, you may still get
enough diagnostic information using a bright light to view it (not the most optimal situation)
If the radiograph is too pale, it is NOT diagnostic!
IF THE ROI IS UNDEREXPOSED OR UNDERPENETRATED, REPEAT THE
RADIOGRAPH

RADIOGRAPHIC CONTRAST
The difference between various shades of grey (densities) on the film

CONTRAST High contrast = white image on a black
background with few shades of grey High contrast = low latitude High contrast doesn’t allow a large range of
anatomy to be visualised If the kV was too low & there was
insufficient penetrating power, there will be no bony trabeculae & there will be areas of white on the film where no x-rays reached the film

CONTRAST Low contrast = the film has too many
shades of grey Described as a ‘flat film’ The higher the kV, the lower the contrast Fogging can also contribute to low
contrast Underdevelopment can also result in a
‘grey, flat’ film

SHARPNESS
“The clarity of structures visible on a radiograph”
Image sharpness can be affected by a large number of factors

Movement Unsharpness A common cause on abdominal & chest
views due to respiration or struggling Can occur if the tube stand or plate
moves Can be minimised by sedation or
anaesthesia of the patient Use sandbags, troughs etc Keep exposure time as low as possible

Scatter Radiation
Unsharpness caused by scatter radiation occurs when x-raying thick or dense tissues
This can be reduced by collimating to the ROI
Use a grid

Fog Darkening of the film unrelated to the
radiographic image Fog is an unwanted increase in density Fog reduces radiographic contrast Fog makes it look as if ALL the image is being
viewed through a grey veil
Fog can be caused by:
scatter radiation, exposure of the film to radiation, exposure to white light, unsuitable safelight filter, safelight too close to workbench, prolonged storage, overdevelopment

Poor film-screen contact
Caused by a shrinkage of the felt pad behind the intensifying screens
Also, there could be an artifact in the cassette & the felt pad will cause blurring in the same spot
This will decrease image sharpness

Focal Spot Size
Fine focus provides fine definition but limits your exposure
Broad focus allows higher exposure but some detail is lost
This may be minimise this by keeping the object-film distance (OFD) as short as practicable & maintaining a reasonably long FFD

Magnification & OFD The diverging x-ray beam produces
some magnification Increasing magnification leads to an
increased penumbra effect This may be minimised by positioning
the animal as close to the cassette as possible
A standard FFD of 100cm or 115cm maximum is preferable

BASIC ERRORS IN RADIOGRAPHY
No coning No identification No left or right markers Not centering on the ROI Wrong FFD Wrong exposure factors for the film/screen
type Not having the x-ray beam perpendicular to
the cassette

BASIC ERRORS CONTINUED
Basic grid problems Endotracheal tube still in Collar still on dog/lead on the x-ray cassette Double exposure Wet fur or contrast agent in fur or on sheet
under animal Hands, opaque restraint devices or lead
gloves in the radiation field

GRID DOUBLE-CHECKS
1. Centre the beam to the centre of the grid
2. Be sure the grid is level (see diagram in handbook)
3. If a focussed grid is used: Use correct FFD Place the ‘tube side’ upwards
4. Use correct exposure factors for grid type

TECHNICAL ERRORS X-ray film is also sensitive to extraneous
pressure, fumes, humidity, rough handling & temperature
For these reasons, unexpected artifacts, technical errors sometimes appear on radiographs
Can happen to manually or automatically processed films
Repeat rates can be as high as 10%! Causing undue waste of time, money & additional radiation to patients & staff

TECHNICAL ERRORS
A technical error may destroy the diagnostic value of the radiograph
Or radiographic quality may be diminished, but deemed useable
This compromises the whole diagnostic quality of the examination
Some errors are sporadic; some regular Recognition of a pattern is helpful when
searching for the cause & corrective action
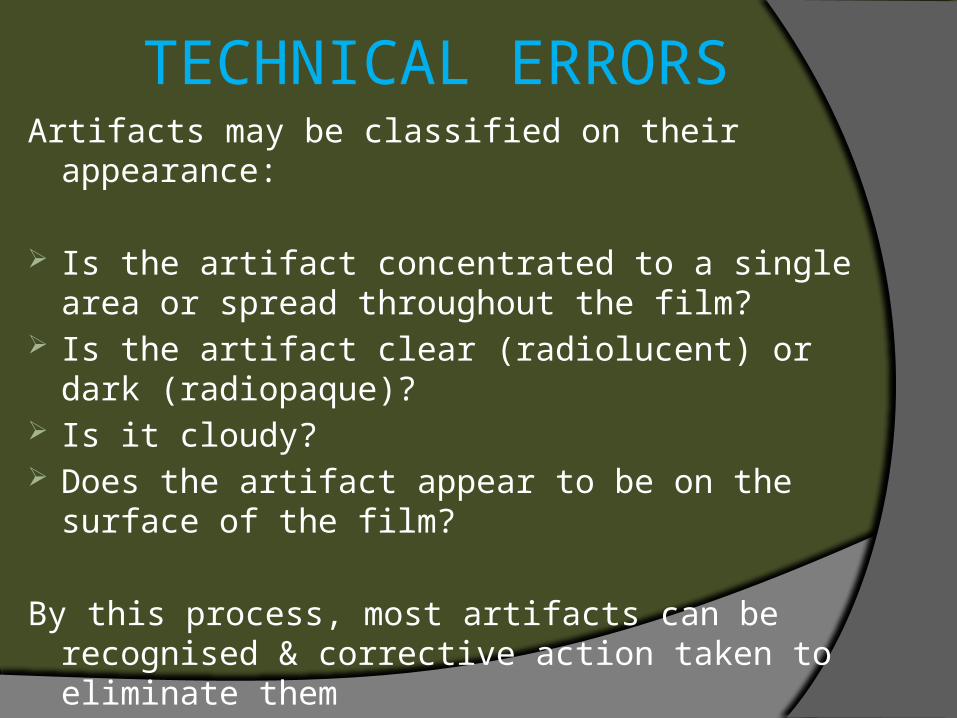
TECHNICAL ERRORSArtifacts may be classified on their appearance:
Is the artifact concentrated to a single area or spread throughout the film?
Is the artifact clear (radiolucent) or dark (radiopaque)?
Is it cloudy? Does the artifact appear to be on the surface of
the film?
By this process, most artifacts can be recognised & corrective action taken to eliminate them

TECHNICAL ERRORS
Refer to chart labelled “What to Ask When Dealing With Film
Artifacts?”Page 147 in your student handbook

TROUBLE-SHOOTING
For trouble-shooting and problem solving please refer to pages 147-
153 in your student handbooks

ARTIFACTS
There are examples of some common radiographic artifacts on Page 154
in your student handbooks!