Lecture 2 Windows Account Management. Objectives Understand user account types Understand local user...
38
Lecture 2 Windows Account Management
-
Upload
rodger-lambert -
Category
Documents
-
view
225 -
download
1
Transcript of Lecture 2 Windows Account Management. Objectives Understand user account types Understand local user...
Lecture 2
Windows Account Management
Objectives
• Understand user account types
• Understand local user logon authentication process
• Understand local groups
• Cover password management
• Cover account logging (Event Viewer)
• Cover Local Group Policy Objects
• Cover Local Security Policies
Local Users and Groups in Windows - Overview
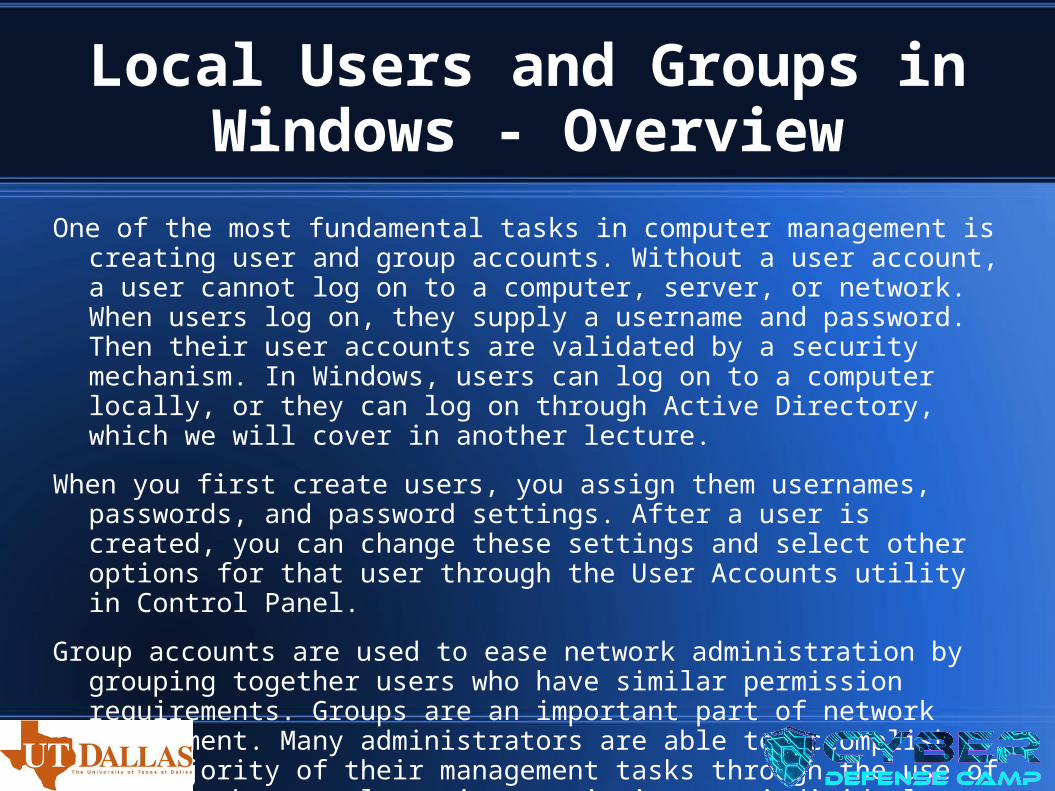
One of the most fundamental tasks in computer management is creating user and group accounts. Without a user account, a user cannot log on to a computer, server, or network. When users log on, they supply a username and password. Then their user accounts are validated by a security mechanism. In Windows, users can log on to a computer locally, or they can log on through Active Directory, which we will cover in another lecture.
When you first create users, you assign them usernames, passwords, and password settings. After a user is created, you can change these settings and select other options for that user through the User Accounts utility in Control Panel.
Group accounts are used to ease network administration by grouping together users who have similar permission requirements. Groups are an important part of network management. Many administrators are able to accomplish the majority of their management tasks through the use of groups; they rarely assign permissions to individual users.
Local Users and Groups in Windows - Overview
Windows includes built-in local groups, such as Administrators and Backup Operators. These groups already have all the permissions needed to accomplish specific tasks. Windows also uses default special groups, which are managed by the system. Users become members of special groups based on their requirements for computer and network access.
You can create and manage local groups through the Local Users and Groups utility. With this utility, you can add groups, change group membership, rename groups, and delete groups.
Local Users and Groups in Windows
Default User Accounts
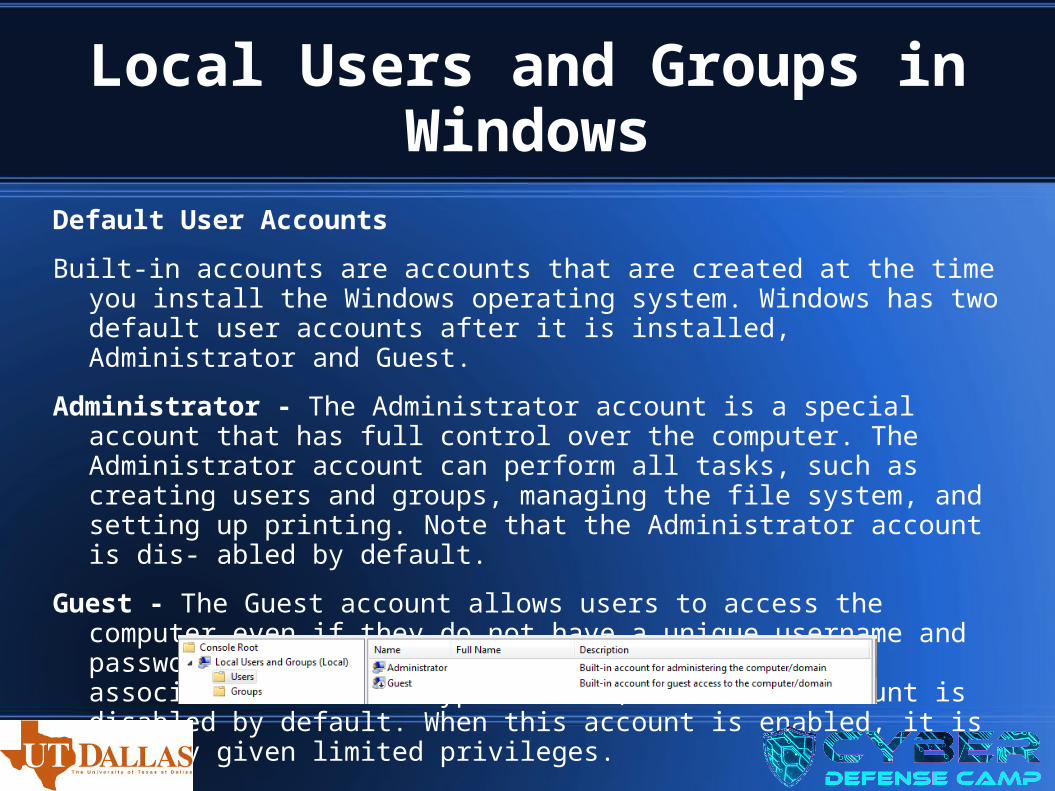
Built-in accounts are accounts that are created at the time you install the Windows operating system. Windows has two default user accounts after it is installed, Administrator and Guest.
Administrator - The Administrator account is a special account that has full control over the computer. The Administrator account can perform all tasks, such as creating users and groups, managing the file system, and setting up printing. Note that the Administrator account is dis- abled by default.
Guest - The Guest account allows users to access the computer even if they do not have a unique username and password. Because of the inherent security risks associated with this type of user, the Guest account is disabled by default. When this account is enabled, it is usually given limited privileges.
Local User Logon Authentication Process
When you log on to a Windows computer locally, you must present a valid username and password (ones that exist within the local accounts database). As part of a successful authentication, the following steps take place:
1) At system startup, the user is prompted to click their username from a list of users who have been created locally. This is significantly different from the Ctrl+Alt+Del logon sequence that was used by earlier versions of Windows. The Ctrl+Alt+Del sequence is still used when you log on to a domain environment. You can also configure the Ctrl+Alt+Del logon sequence as an option in a local environment.
2) The local computer compares the user’s logon credentials with the information in the local security database.
3) If the information presented matches the account database, an access token is created. Access tokens are used to identify the user and the groups of which that user is a member.
Managing Local User Accounts
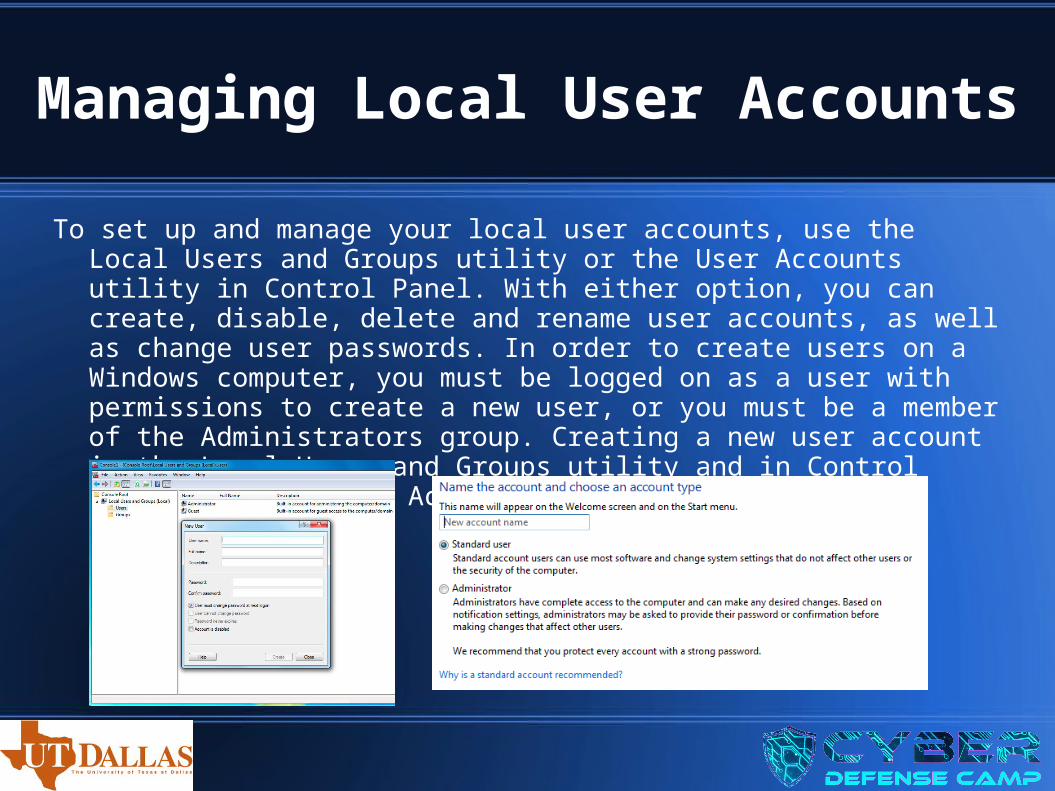
To set up and manage your local user accounts, use the Local Users and Groups utility or the User Accounts utility in Control Panel. With either option, you can create, disable, delete and rename user accounts, as well as change user passwords. In order to create users on a Windows computer, you must be logged on as a user with permissions to create a new user, or you must be a member of the Administrators group. Creating a new user account in the Local Users and Groups utility and in Control Panel with the User Accounts component respectively:
Usernames and Security Identifiers
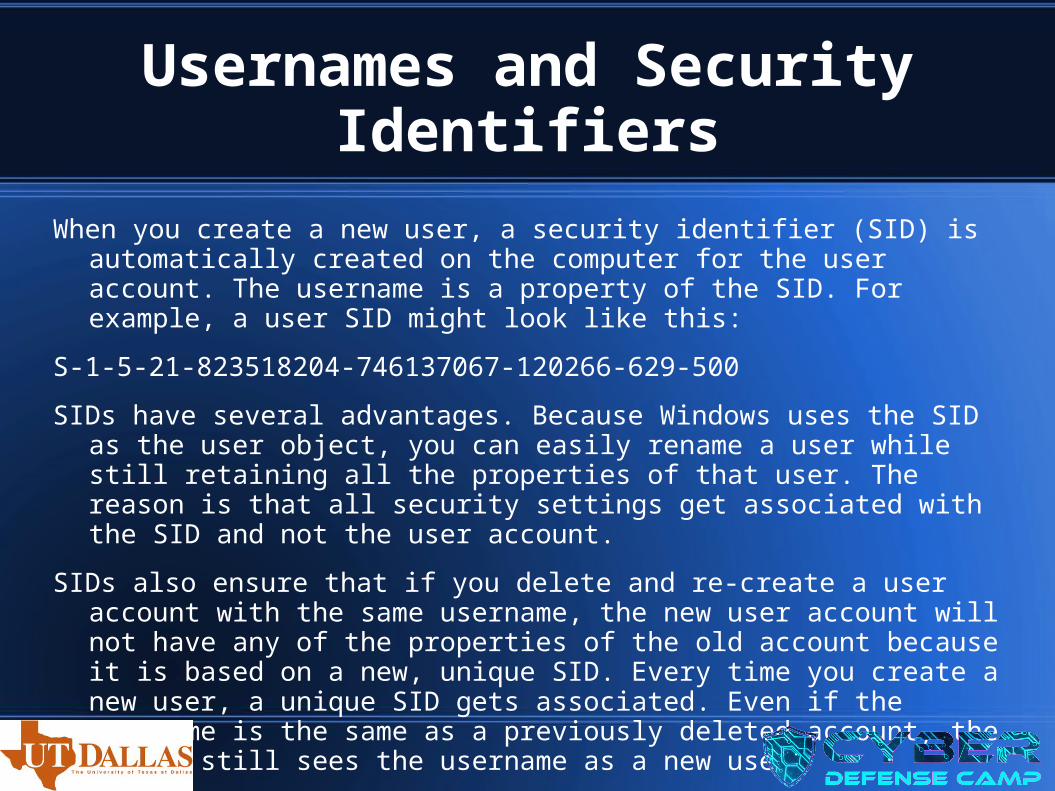
When you create a new user, a security identifier (SID) is automatically created on the computer for the user account. The username is a property of the SID. For example, a user SID might look like this:
S-1-5-21-823518204-746137067-120266-629-500
SIDs have several advantages. Because Windows uses the SID as the user object, you can easily rename a user while still retaining all the properties of that user. The reason is that all security settings get associated with the SID and not the user account.
SIDs also ensure that if you delete and re-create a user account with the same username, the new user account will not have any of the properties of the old account because it is based on a new, unique SID. Every time you create a new user, a unique SID gets associated. Even if the username is the same as a previously deleted account, the system still sees the username as a new user.
Usernames and Security Identifiers
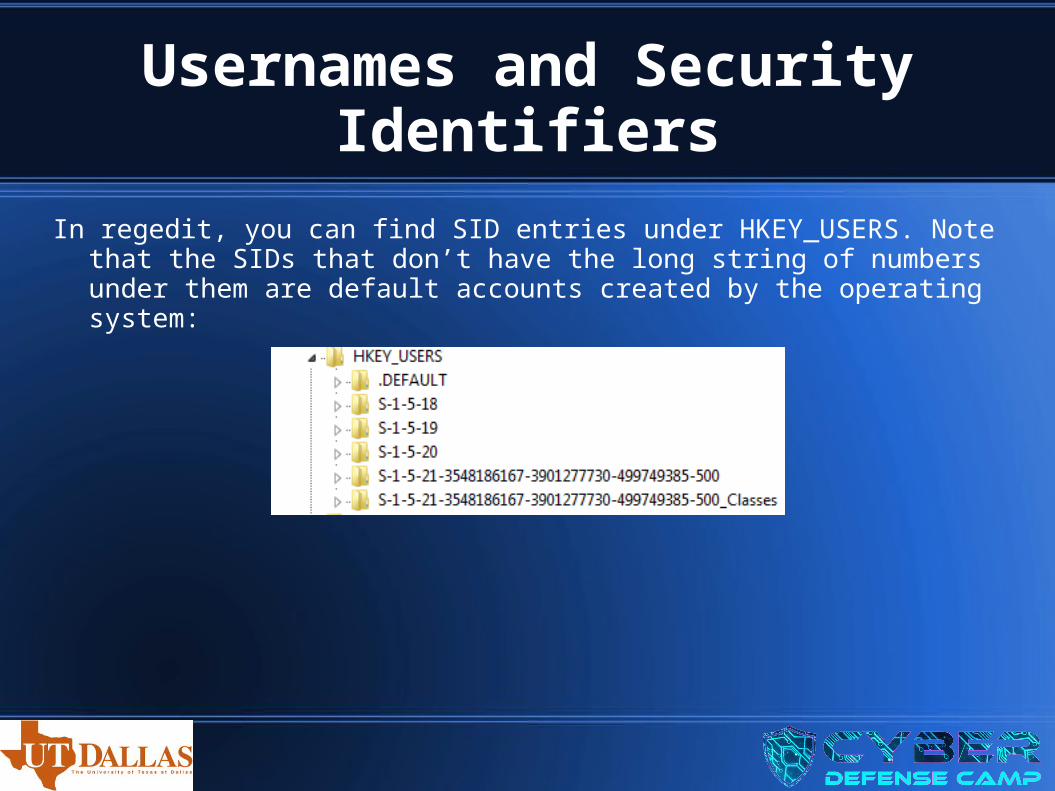
In regedit, you can find SID entries under HKEY_USERS. Note that the SIDs that don’t have the long string of numbers under them are default accounts created by the operating system:
User Profiles and Profile Paths
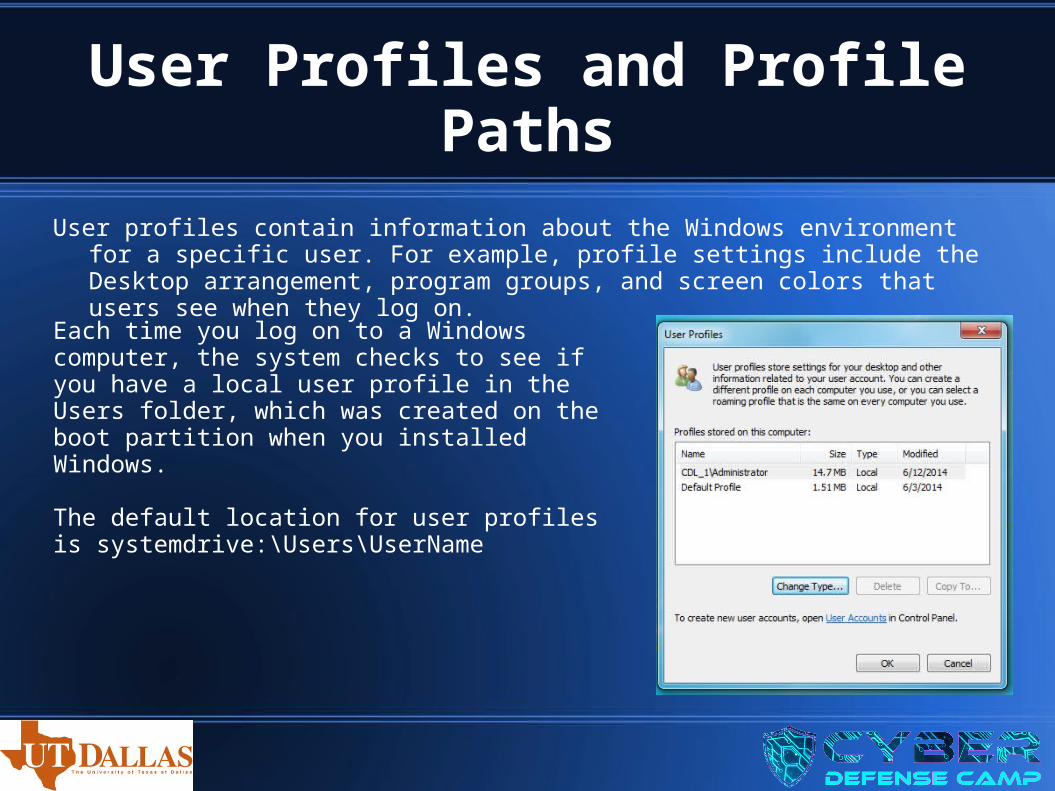
User profiles contain information about the Windows environment for a specific user. For example, profile settings include the Desktop arrangement, program groups, and screen colors that users see when they log on.
Each time you log on to a Windows computer, the system checks to see if you have a local user profile in the Users folder, which was created on the boot partition when you installed Windows. The default location for user profiles is systemdrive:\Users\UserName
User Profiles and Profile Paths
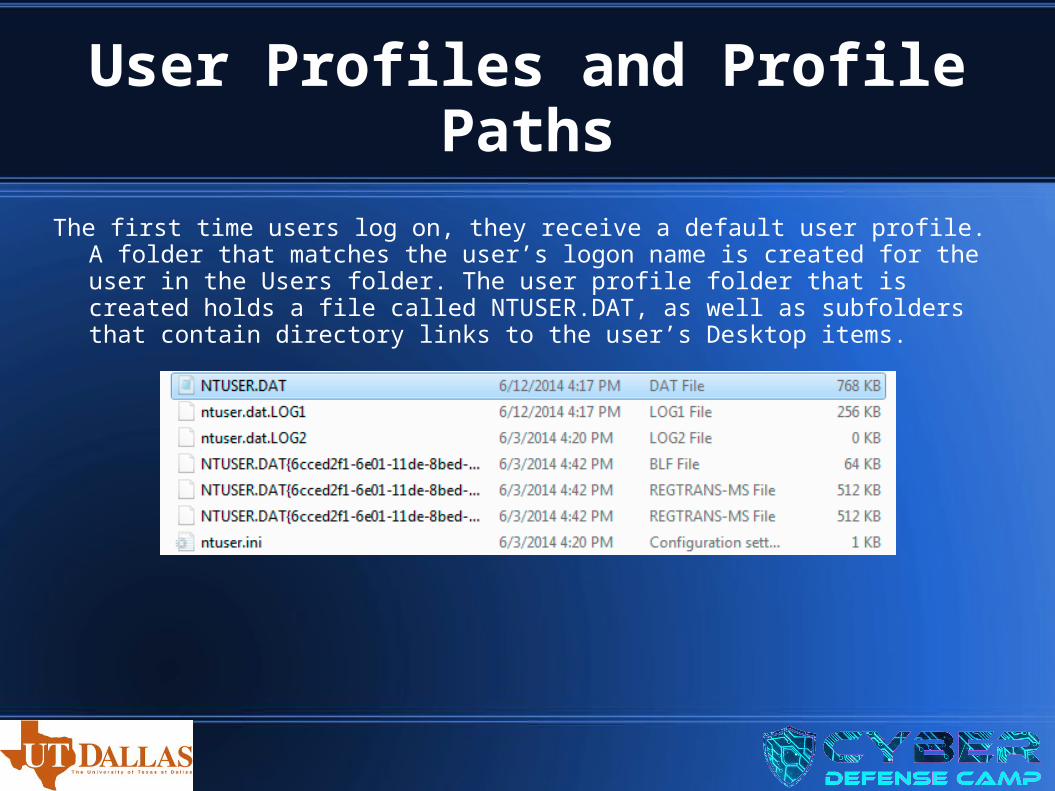
The first time users log on, they receive a default user profile. A folder that matches the user’s logon name is created for the user in the Users folder. The user profile folder that is created holds a file called NTUSER.DAT, as well as subfolders that contain directory links to the user’s Desktop items.
Using Profiles
Using Roaming Profiles
A roaming profile is stored on a network server and allows users to access their user profile, regardless of the client computer to which they’re logged on. Roaming profiles provide a consistent Desktop for users who move around, no matter which computer they access. Even if the server that stores the roaming profile is unavailable, the user can still log on using a local profile.
If you are using roaming profiles, the contents of the user’s systemdrive:\Users\UserName folder will be copied to the local computer each time the roaming profile is accessed.
Using Mandatory Profiles
A mandatory profile is a profile that can’t be modified by the user. Only members of the Administrators group can manage mandatory profiles. You might consider creating mandatory profiles for users who should maintain consistent Desktops. You can create mandatory profiles for a single user or a group of users. The mandatory profile is stored in a file named NTUSER.MAN. A user with a mandatory profile can set different Desktop preferences while logged on, but those settings will not be saved when the user logs off.
Using Profiles
Using Super Mandatory Profiles
A super mandatory profile is a mandatory user profile with an additional layer of security. With mandatory profiles, a temporary profile is created if the mandatory profile is not avail- able when a user logs on. However, when super mandatory profiles are configured, temporary profiles are not created if the mandatory profile is not available over the network, and the user is unable to log on to the computer.
The process for creating super mandatory profiles is similar to creating mandatory profiles, except that instead of renaming the user folder to Username.v2, you name the folder Username.man.v2.
Creating and Managing Groups
Groups are an important part of network management. Many administrators are able to accomplish the majority of their management tasks through the use of groups; they rarely assign permissions to individual users.
Windows 7 includes built-in local groups, such as Administrators and Backup Operators. These groups already have all the permissions needed to accomplish specific tasks. Windows 7 also uses default special groups, which are managed by the system. Users become members of special groups based on their requirements for computer and network access.
You can create and manage local groups through the Local Users and Groups utility. With this utility, you can add groups, change group membership, rename groups, and delete groups.
One misconception with groups is that they have to work with Group Policy Objects (GPOs). This is not correct. GPOs are a set of rules that allow you to set computer configuration and user configuration options that apply to users or computers. Group Policies are typically used with Active Directory and are applied as GPOs.
Creating and Managing Groups
Using Build-in Groups
On a Windows 7 computer, default local groups have already been created and assigned all necessary permissions to accomplish basic tasks. In addition, there are built-in special groups that the Windows 7 system handles automatically. These groups are described in the following sections.
Using Default Local Groups - A local group is a group that is stored on the local computer’s accounts database. These are the groups you can add users to and can manage directly on a Windows 7 computer. By default, the following local groups are created on Windows computers:
Administrators, Backup Operators, Cryptographic Operators, Distributed COM Users, Event Log Readers, Guests, IIS_IUSERS, Network Configuration Operators, Performance Log Users, Performance Monitor Users, Power Users, Remote Desktop Users, Replicator, Users
The Administrators Group - The Administrators group has full permissions and privileges. Its members can grant themselves any permissions they do not have by default to manage all the objects on the computer. (Objects include the file system, printers, and account management.) By default, the Administrator account, which is disabled by default, and the initial user account are members of the Administrators local group.
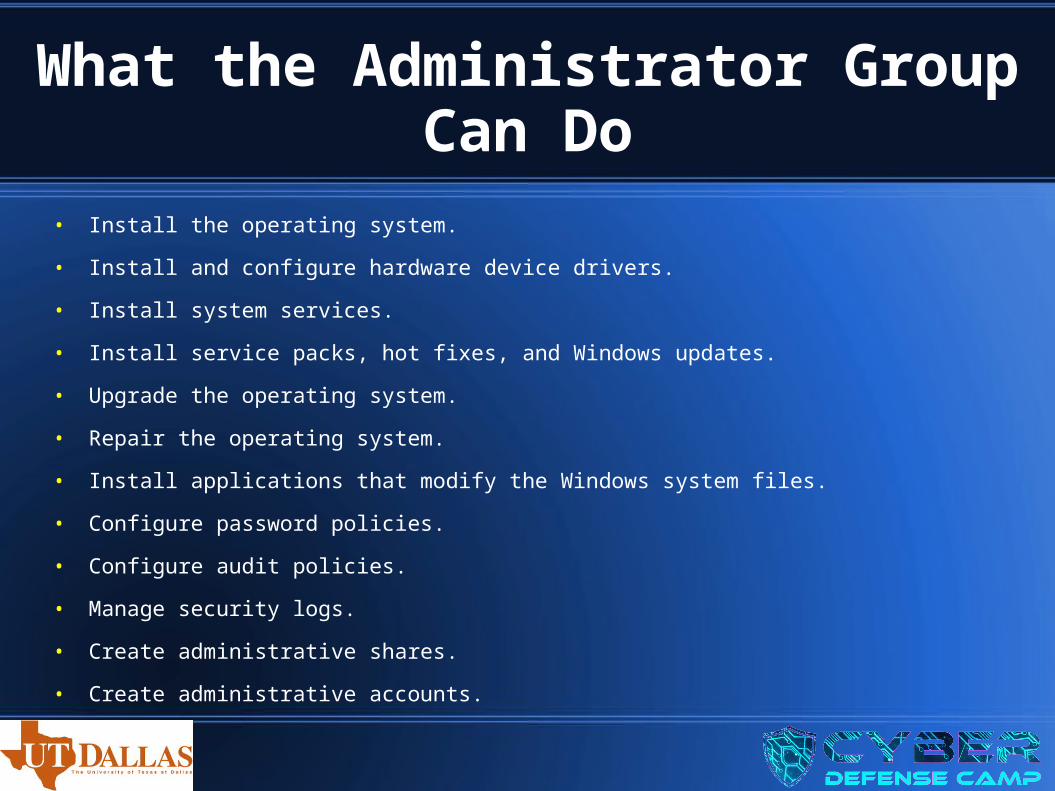
What the Administrator Group Can Do
• Install the operating system.
• Install and configure hardware device drivers.
• Install system services.
• Install service packs, hot fixes, and Windows updates.
• Upgrade the operating system.
• Repair the operating system.
• Install applications that modify the Windows system files.
• Configure password policies.
• Configure audit policies.
• Manage security logs.
• Create administrative shares.
• Create administrative accounts.
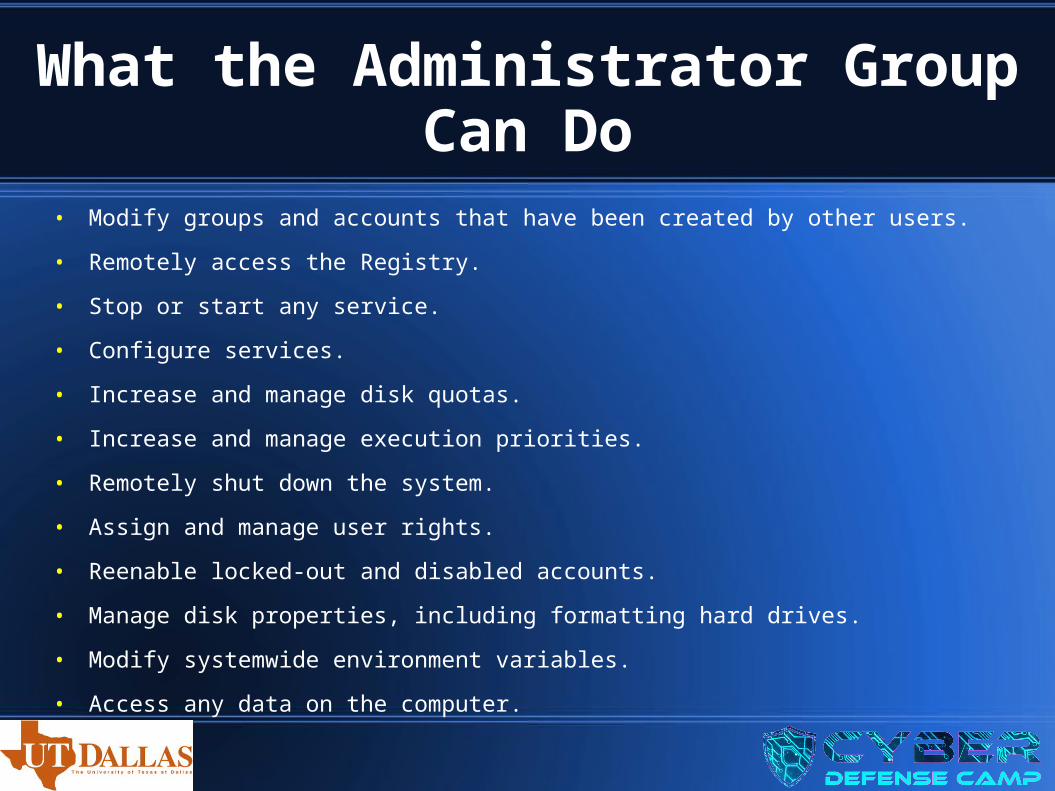
What the Administrator Group Can Do
• Modify groups and accounts that have been created by other users.
• Remotely access the Registry.
• Stop or start any service.
• Configure services.
• Increase and manage disk quotas.
• Increase and manage execution priorities.
• Remotely shut down the system.
• Assign and manage user rights.
• Reenable locked-out and disabled accounts.
• Manage disk properties, including formatting hard drives.
• Modify systemwide environment variables.
• Access any data on the computer.
Groups
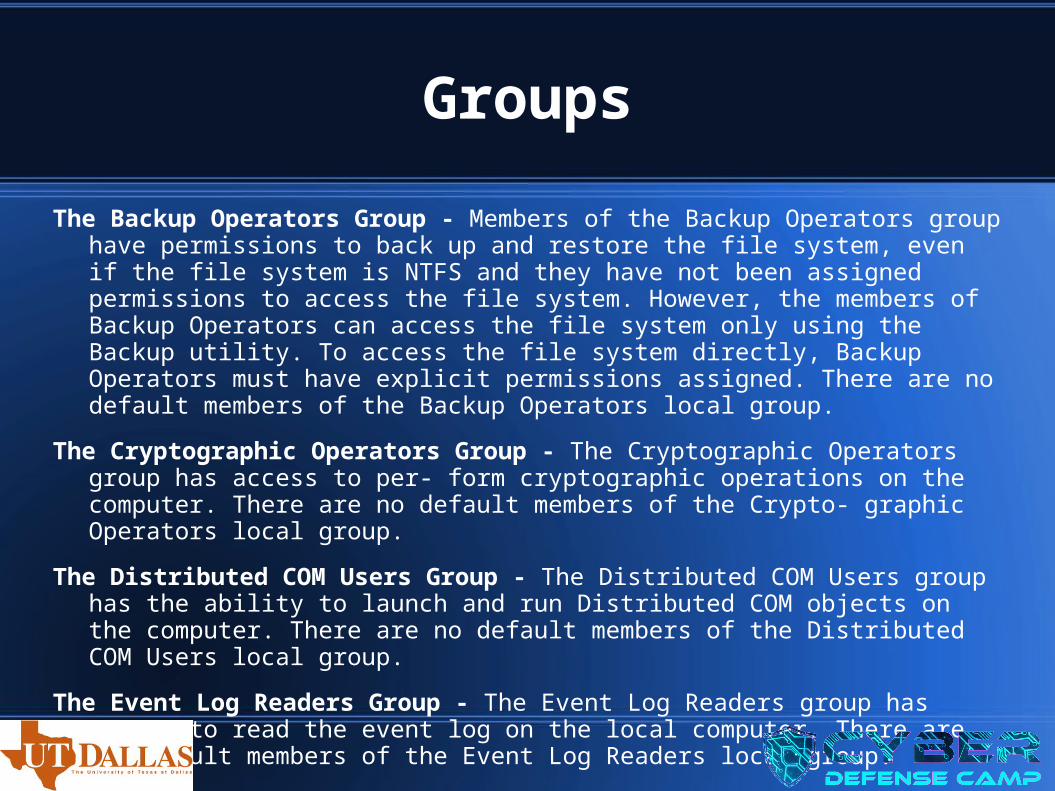
The Backup Operators Group - Members of the Backup Operators group have permissions to back up and restore the file system, even if the file system is NTFS and they have not been assigned permissions to access the file system. However, the members of Backup Operators can access the file system only using the Backup utility. To access the file system directly, Backup Operators must have explicit permissions assigned. There are no default members of the Backup Operators local group.
The Cryptographic Operators Group - The Cryptographic Operators group has access to per- form cryptographic operations on the computer. There are no default members of the Crypto- graphic Operators local group.
The Distributed COM Users Group - The Distributed COM Users group has the ability to launch and run Distributed COM objects on the computer. There are no default members of the Distributed COM Users local group.
The Event Log Readers Group - The Event Log Readers group has access to read the event log on the local computer. There are no default members of the Event Log Readers local group.
.
Groups
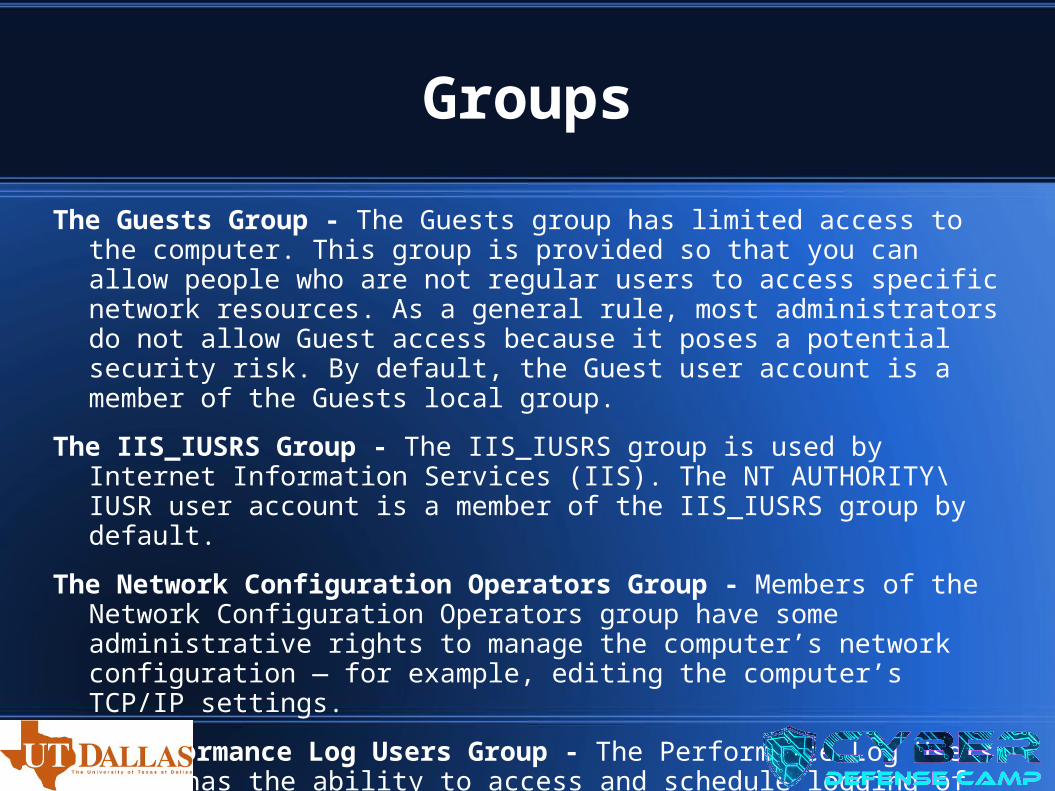
The Guests Group - The Guests group has limited access to the computer. This group is provided so that you can allow people who are not regular users to access specific network resources. As a general rule, most administrators do not allow Guest access because it poses a potential security risk. By default, the Guest user account is a member of the Guests local group.
The IIS_IUSRS Group - The IIS_IUSRS group is used by Internet Information Services (IIS). The NT AUTHORITY\IUSR user account is a member of the IIS_IUSRS group by default.
The Network Configuration Operators Group - Members of the Network Configuration Operators group have some administrative rights to manage the computer’s network configuration — for example, editing the computer’s TCP/IP settings.
The Performance Log Users Group - The Performance Log Users group has the ability to access and schedule logging of performance counters and can create and manage trace coun- ters on the computer.
Groups
The Performance Monitor Users Group - The Performance Monitor Users group has the abil- ity to access and view performance counter information on the computer. Users who are mem- bers of this group can access performance counters both locally and remotely.
The Power Users Group - The Power Users group is included in Windows 7 for backward compatibility. The Power Users group is included to ensure that computers upgraded from Windows XP function as before with regard to folders that allow access to members of the Power Users group. Otherwise, the Power Users group has limited administrative rights.
The Remote Desktop Users Group - The Remote Desktop Users group allows members of the group to log on remotely for the purpose of using the Remote Desktop service.
The Replicator Group - The Replicator group is intended to support directory replication, which is a feature that domain servers use. Only domain users who will start the replication service should be assigned to this group. The Replicator local group has no default members.
The Users Group - The Users group is intended for end users who should have very limited system access. If you have installed a fresh copy of Windows 7, the default settings for the Users group prohibit its members from compromising the operating system or program files. By default, all users who have been created on the computer, except Guest, are members of the Users local group.
Using Special Groups
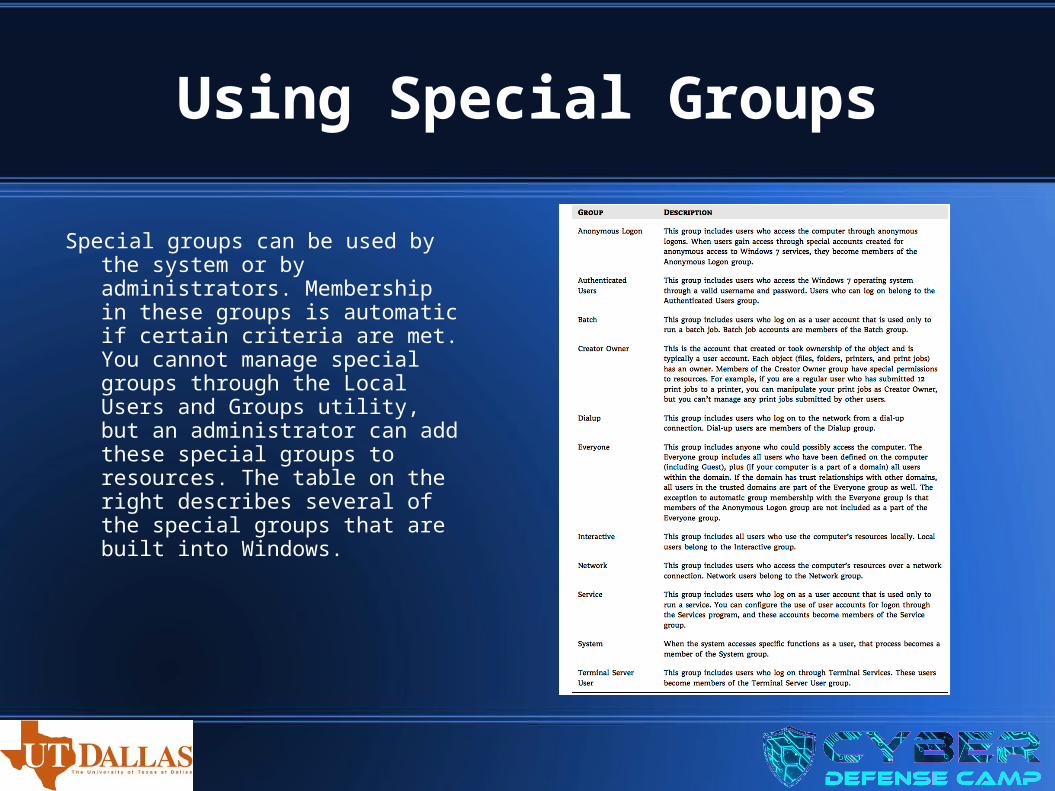
Special groups can be used by the system or by administrators. Membership in these groups is automatic if certain criteria are met. You cannot manage special groups through the Local Users and Groups utility, but an administrator can add these special groups to resources. The table on the right describes several of the special groups that are built into Windows.
Working With Groups
Groups are used to logically organize users with similar rights requirements. Groups simplify administration because you can manage a few groups rather than many user accounts. For the same reason, groups simplify troubleshooting. Users can belong to as many groups as needed, so it’s not difficult to put users into groups that make sense for your organization.
For example, suppose Jane is hired as a data analyst to join the four other data analysts who work for your company. You sit down with Jane and create an account for her, assigning her the network permissions for the access you think she needs. Later, however, you find that the four other data analysts (who have similar job functions) sometimes have network access Jane doesn’t have, and sometimes she has access they don’t have. This is happening because all their permissions were assigned individually and months apart.
To avoid such problems and reduce your administrative workload, you can assign all the company’s data analysts to a group and then assign the appropriate permissions to that group. Then, as data analysts join or leave the department, you can simply add them to or remove them from the group.
You can create new groups for your users, and you can use the Windows 7 default local built-in groups that were described in the previous section. In both cases, your planning should include checking to see if an existing local group meets your requirements before you decide to create a new group.
Creating New Groups
To create a group, you must be logged on as a member of the Administrators group. The Administrators group has full permissions to manage users and groups.
As you do in your choices for usernames, keep your naming conventions in mind when assigning names to groups. When you create a local group, consider the following guidelines:
• The group name should be descriptive (for example, Accounting Data Users).
• The group name must be unique to the computer, different from all other group names and usernames that exist on that computer.
• Group names can be up to 256 characters. It is best to use alphanumeric characters for ease of administration. Most special characters — for example, backslash (\) — are not allowed.
Local Group Policy Objects (LGPOs)
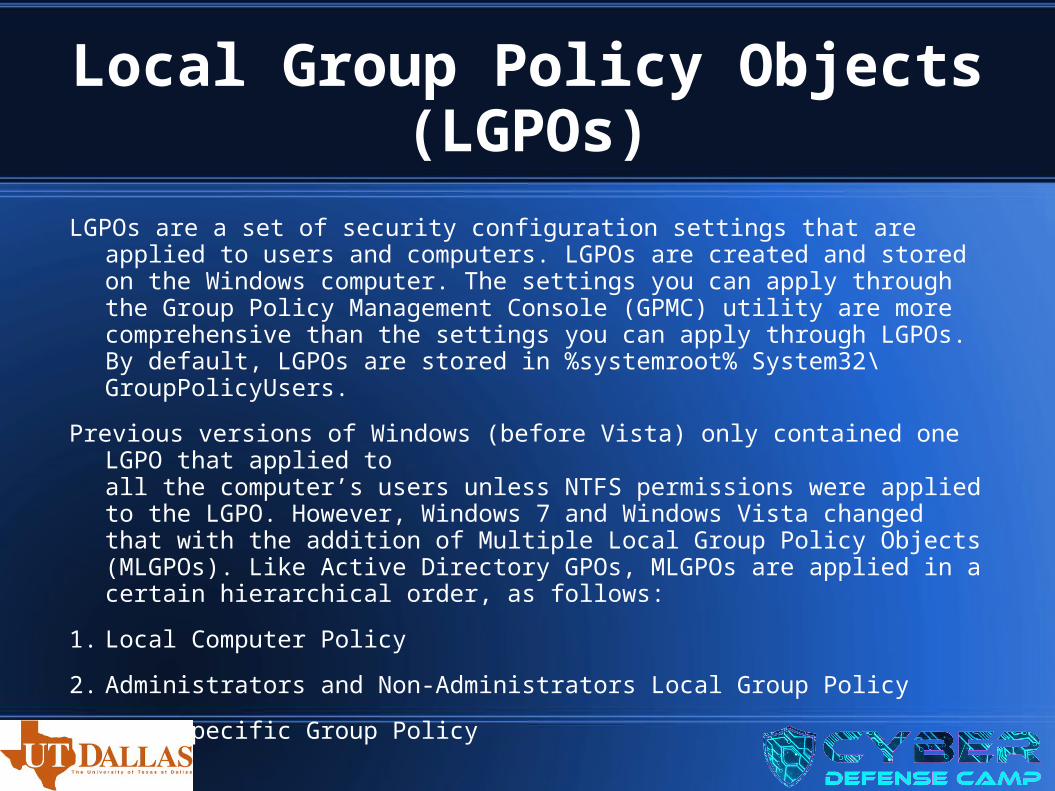
LGPOs are a set of security configuration settings that are applied to users and computers. LGPOs are created and stored on the Windows computer. The settings you can apply through the Group Policy Management Console (GPMC) utility are more comprehensive than the settings you can apply through LGPOs. By default, LGPOs are stored in %systemroot% System32\GroupPolicyUsers.
Previous versions of Windows (before Vista) only contained one LGPO that applied toall the computer’s users unless NTFS permissions were applied to the LGPO. However, Windows 7 and Windows Vista changed that with the addition of Multiple Local Group Policy Objects (MLGPOs). Like Active Directory GPOs, MLGPOs are applied in a certain hierarchical order, as follows:
1. Local Computer Policy
2. Administrators and Non-Administrators Local Group Policy
3. User-Specific Group Policy
Local Group Policy Objects (LGPOs)
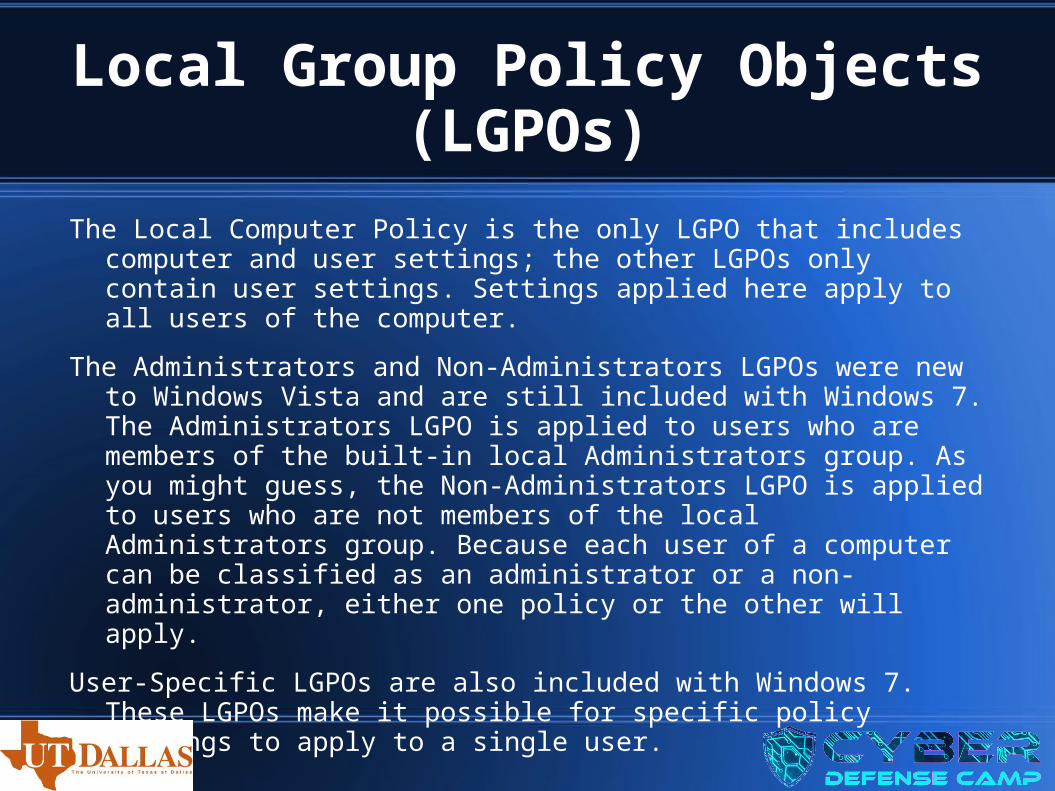
The Local Computer Policy is the only LGPO that includes computer and user settings; the other LGPOs only contain user settings. Settings applied here apply to all users of the computer.
The Administrators and Non-Administrators LGPOs were new to Windows Vista and are still included with Windows 7. The Administrators LGPO is applied to users who are members of the built-in local Administrators group. As you might guess, the Non-Administrators LGPO is applied to users who are not members of the local Administrators group. Because each user of a computer can be classified as an administrator or a non-administrator, either one policy or the other will apply.
User-Specific LGPOs are also included with Windows 7. These LGPOs make it possible for specific policy settings to apply to a single user.
Local Group Policy Objects (LGPOs)
Local Policies
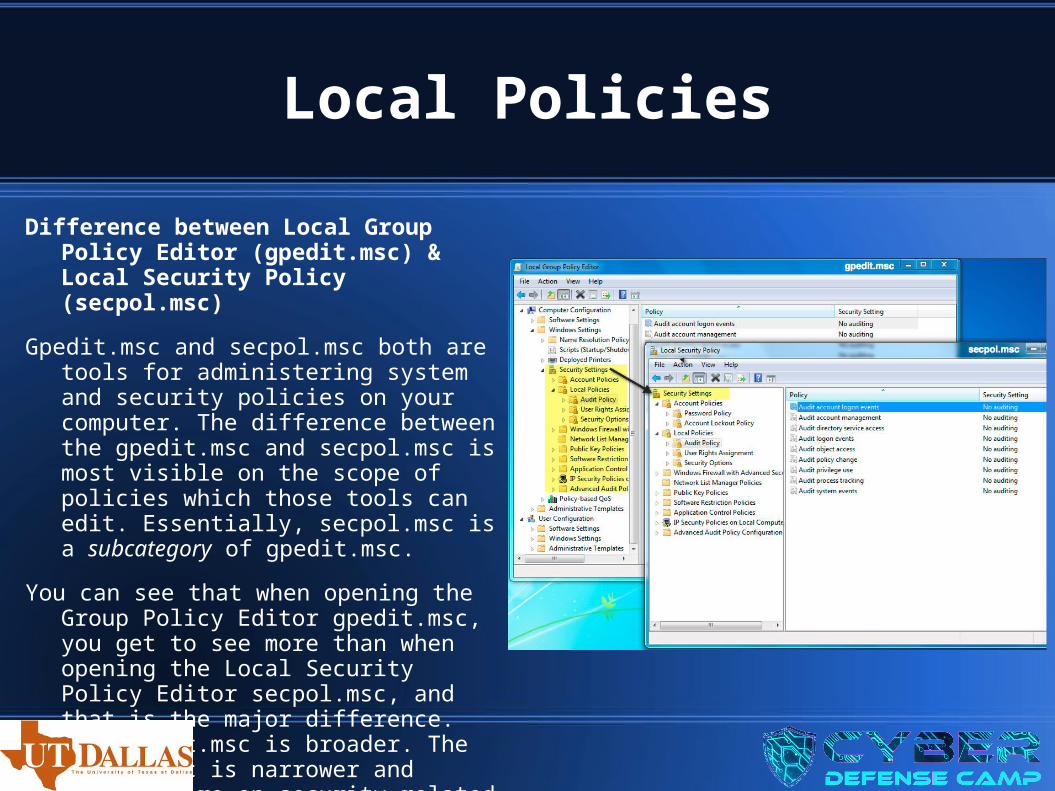
Difference between Local Group Policy Editor (gpedit.msc) & Local Security Policy (secpol.msc)
Gpedit.msc and secpol.msc both are tools for administering system and security policies on your computer. The difference between the gpedit.msc and secpol.msc is most visible on the scope of policies which those tools can edit. Essentially, secpol.msc is a subcategory of gpedit.msc.
You can see that when opening the Group Policy Editor gpedit.msc, you get to see more than when opening the Local Security Policy Editor secpol.msc, and that is the major difference. The gpedit.msc is broader. The secpol.msc is narrower and focuses more on security related registry entries.
Configuring Local Security Policies
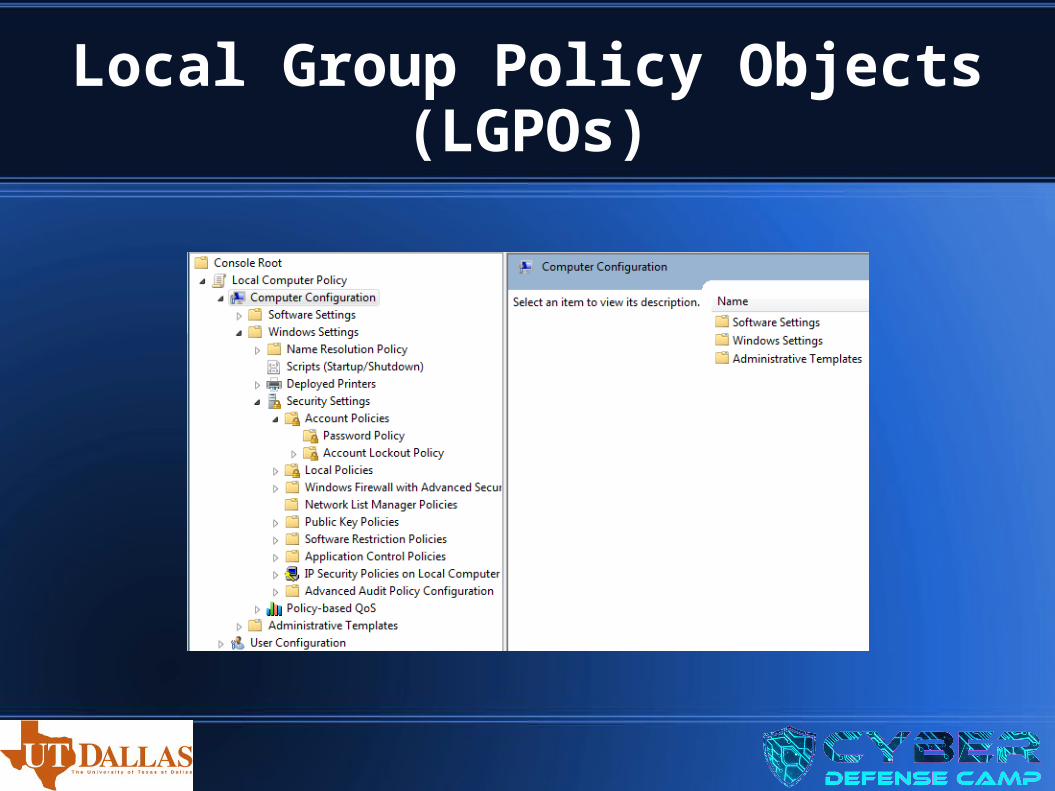
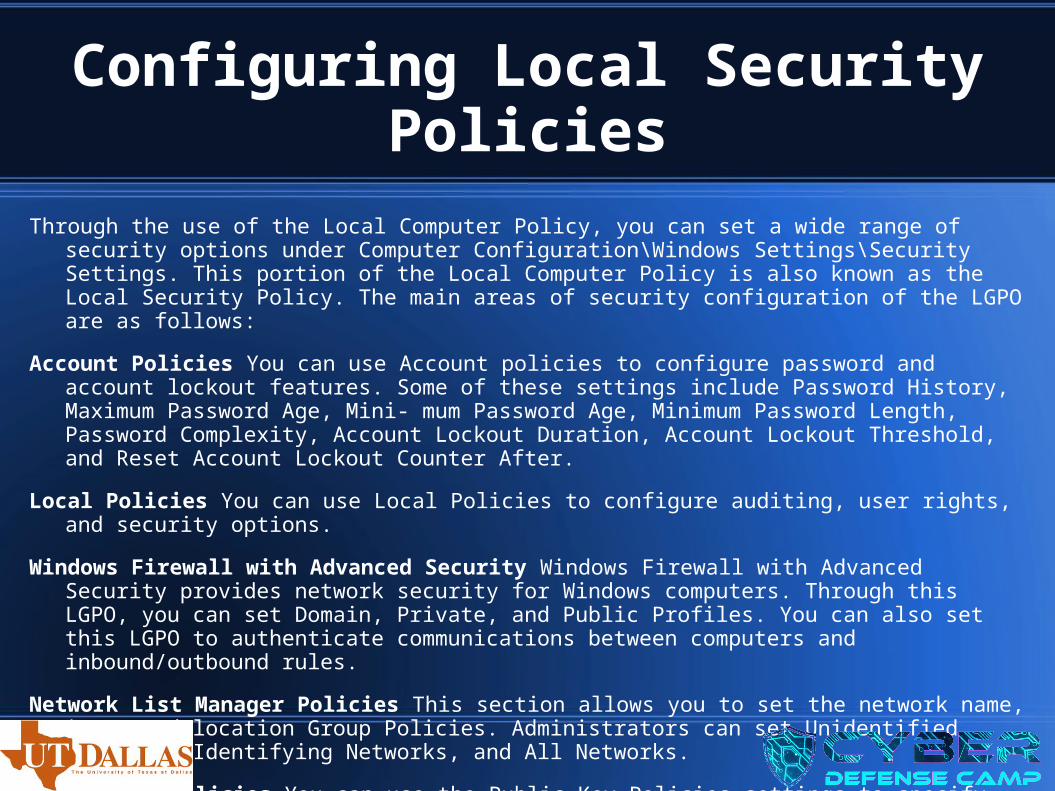
Through the use of the Local Computer Policy, you can set a wide range of security options under Computer Configuration\Windows Settings\Security Settings. This portion of the Local Computer Policy is also known as the Local Security Policy. The main areas of security configuration of the LGPO are as follows:
Account Policies You can use Account policies to configure password and account lockout features. Some of these settings include Password History, Maximum Password Age, Mini- mum Password Age, Minimum Password Length, Password Complexity, Account Lockout Duration, Account Lockout Threshold, and Reset Account Lockout Counter After.
Local Policies You can use Local Policies to configure auditing, user rights, and security options.
Windows Firewall with Advanced Security Windows Firewall with Advanced Security provides network security for Windows computers. Through this LGPO, you can set Domain, Private, and Public Profiles. You can also set this LGPO to authenticate communications between computers and inbound/outbound rules.
Network List Manager Policies This section allows you to set the network name, icon, and location Group Policies. Administrators can set Unidentified Networks, Identifying Networks, and All Networks.
Public Key Policies You can use the Public Key Policies settings to specify how to manage certificates and certificate life cycles.
Configuring Local Security Policies
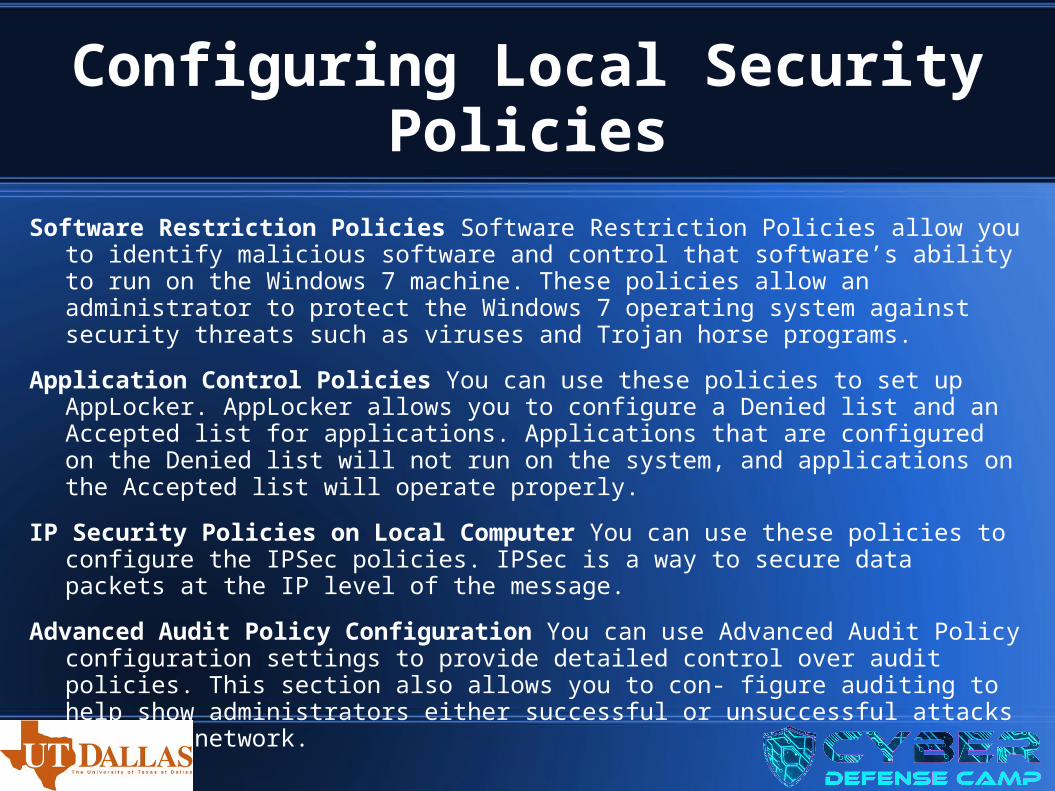
Software Restriction Policies Software Restriction Policies allow you to identify malicious software and control that software’s ability to run on the Windows 7 machine. These policies allow an administrator to protect the Windows 7 operating system against security threats such as viruses and Trojan horse programs.
Application Control Policies You can use these policies to set up AppLocker. AppLocker allows you to configure a Denied list and an Accepted list for applications. Applications that are configured on the Denied list will not run on the system, and applications on the Accepted list will operate properly.
IP Security Policies on Local Computer You can use these policies to configure the IPSec policies. IPSec is a way to secure data packets at the IP level of the message.
Advanced Audit Policy Configuration You can use Advanced Audit Policy configuration settings to provide detailed control over audit policies. This section also allows you to con- figure auditing to help show administrators either successful or unsuccessful attacks on their network.

Setting Password Policies
Password policies ensure that security requirements are enforced on the computer. It is important to understand that the password policy is set on a per-computer basis; it cannot be configured for specific users.
Enforce Password History Prevents users from repeatedly using the same passwords. Users must create a new password when their password expires or is changed.
Maximum Password Age Forces users to change their password after the maximum password age is exceeded. Setting this value to 0 will specify that the password will never expire.
Minimum Password Age Prevents users from changing their password several times in rapid succession in order to defeat the purpose of the Enforce Password History policy.
Minimum Password Length Ensures that users create a password and specifies the length requirement for that password. If this option isn’t set, users are not required to create a pass- word at all.
Setting Password Policies
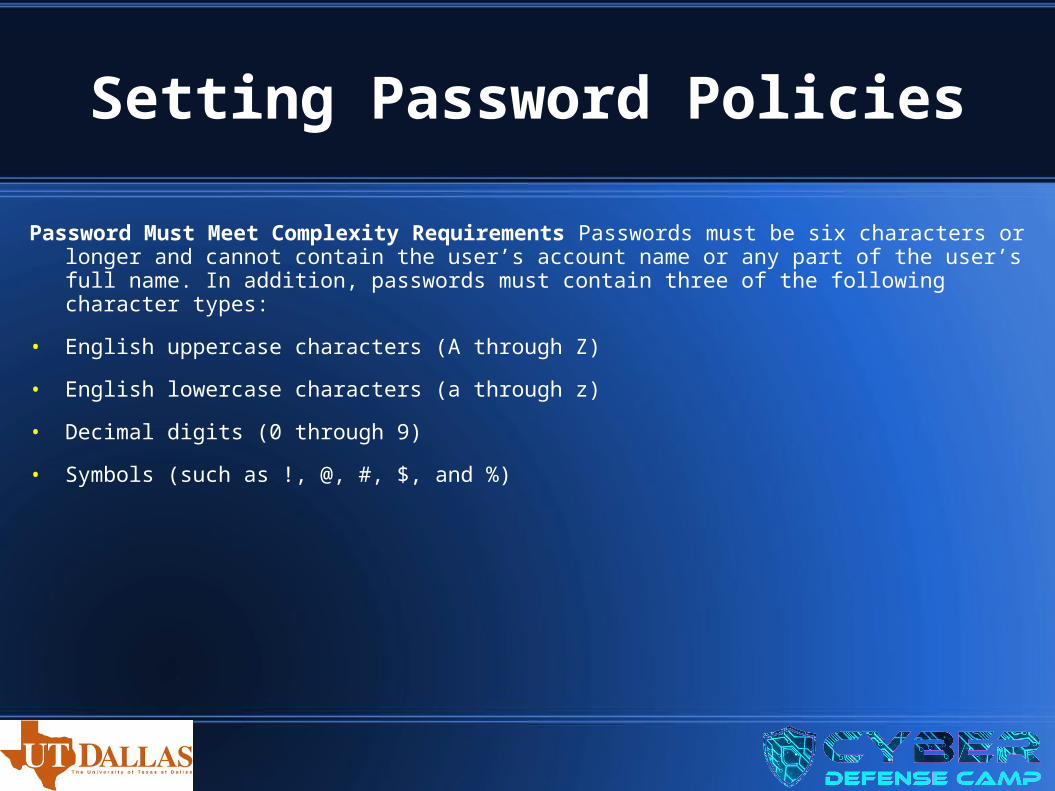
Password Must Meet Complexity Requirements Passwords must be six characters or longer and cannot contain the user’s account name or any part of the user’s full name. In addition, passwords must contain three of the following character types:
• English uppercase characters (A through Z)
• English lowercase characters (a through z)
• Decimal digits (0 through 9)
• Symbols (such as !, @, #, $, and %)
Setting Account Lockout Policies
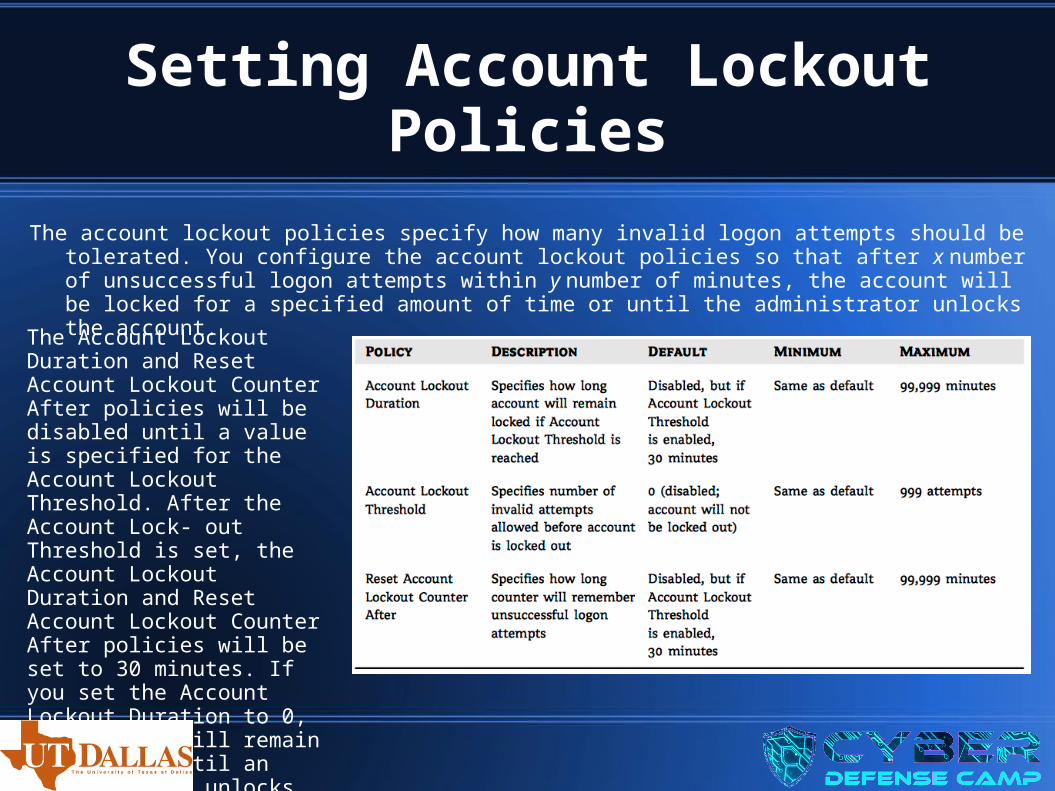
The account lockout policies specify how many invalid logon attempts should be tolerated. You configure the account lockout policies so that after x number of unsuccessful logon attempts within y number of minutes, the account will be locked for a specified amount of time or until the administrator unlocks the account.
The Account Lockout Duration and Reset Account Lockout Counter After policies will be disabled until a value is specified for the Account Lockout Threshold. After the Account Lock- out Threshold is set, the Account Lockout Duration and Reset Account Lockout Counter After policies will be set to 30 minutes. If you set the Account Lockout Duration to 0, the account will remain locked out until an administrator unlocks it.
Setting Audit Policies
You can implement audit policies to track success or failure of specified user actions. You audit events that pertain to user management through the audit policies. By tracking certain events, you can create a history of specific tasks, such as user creation and successful or unsuccessful logon attempts. You can also identify security violations that arise when users attempt to access system management tasks for which they do not have permissions.
When you define an audit policy, you can choose to audit success or failure of specific events. The success of an event means that the task was successfully accomplished. The failure of an event means that the task was not successfully accomplished.
By default, auditing is not enabled, and it must be manually configured. After you have configured auditing, you can see the results of the audit in the Security log by using the Event Viewer utility.
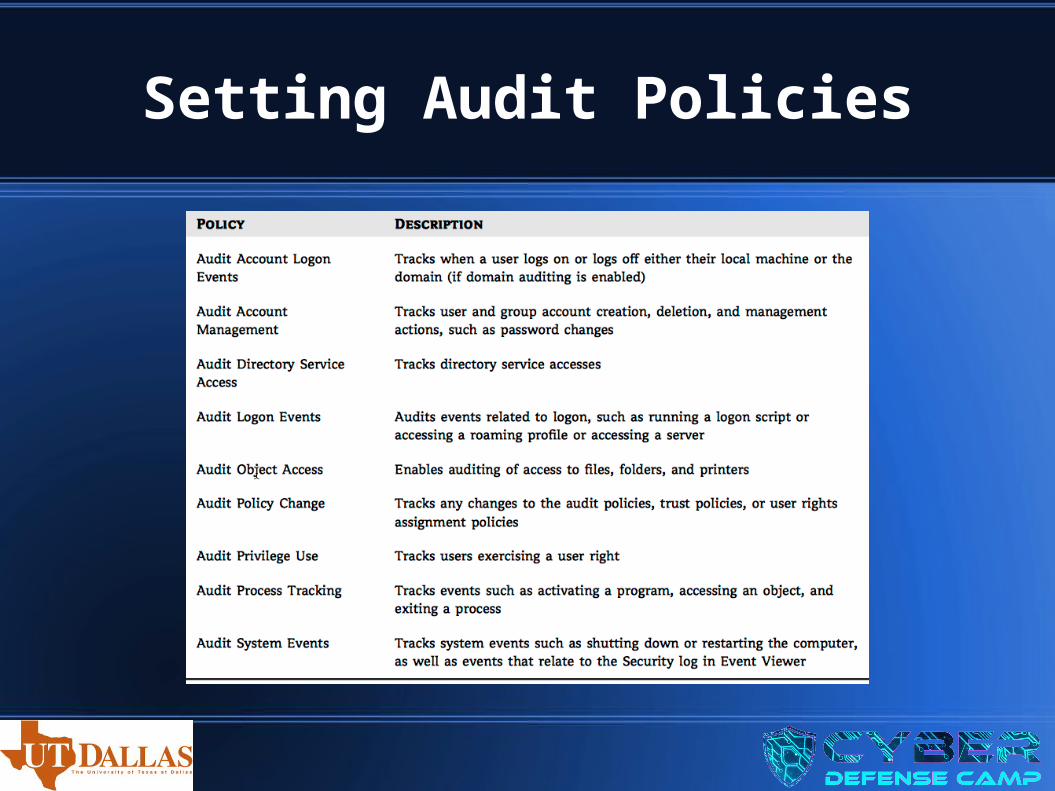
Setting Audit Policies
Setting Audit Policies
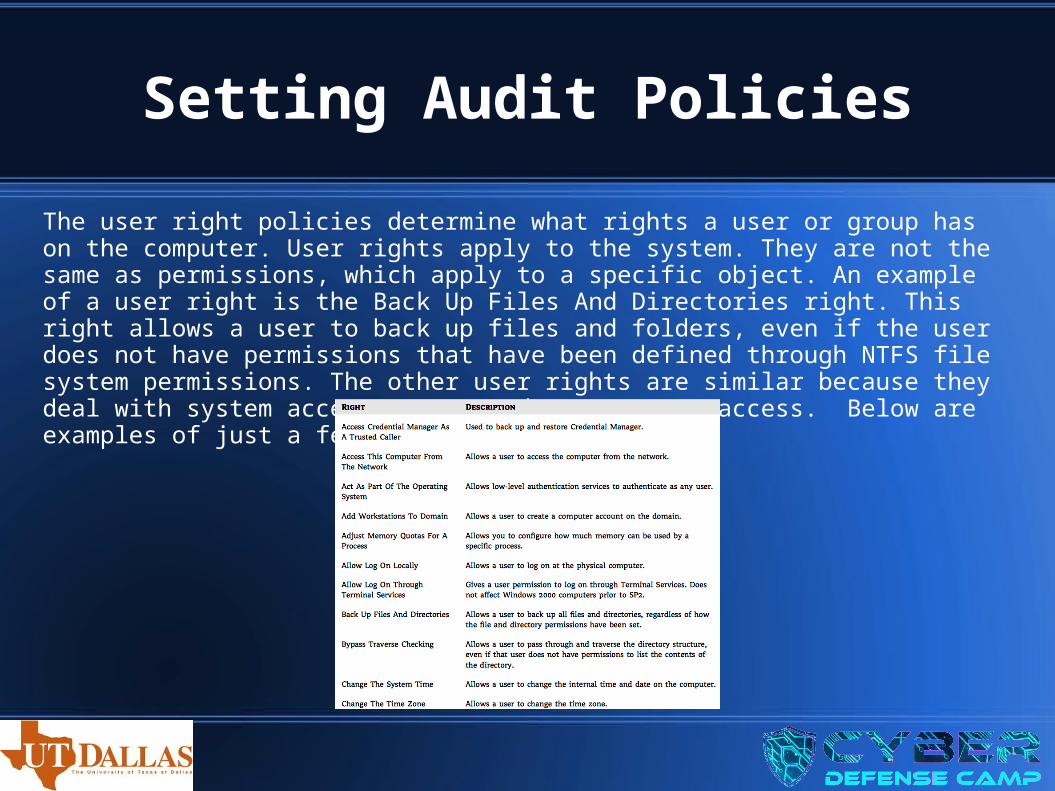
The user right policies determine what rights a user or group has on the computer. User rights apply to the system. They are not the same as permissions, which apply to a specific object. An example of a user right is the Back Up Files And Directories right. This right allows a user to back up files and folders, even if the user does not have permissions that have been defined through NTFS file system permissions. The other user rights are similar because they deal with system access as opposed to resource access. Below are examples of just a few of these rights.

Defining Security Options
You can use security option policies to configure security for the computer. Unlike user right policies, which are applied to a user, security option policies apply to the computer. On the right are a few commonly configured options.
Configuring User Account Control
Most administrators have had to wrestle with the balance between security and enabling applications to run correctly. In the past, some applications simply would not run correctly under Windows unless the user running the application was a local administrator. Unfortunately, granting local administrator permissions to a user also allows the user to install software and hardware, change configuration settings, modify local user accounts, and delete critical files. Even more troubling is the fact that malware that infects a computer while an administrator is logged in is also able to perform those same functions. Limited user accounts in Windows XP were supposed to allow applications to run correctly and allow users to perform necessary tasks. However, in practical application, it did not work as advertised. Many applications require that users have permissions to write to protected folders and to the Registry, and limited user accounts did not allow users to do so. Windows 7’s answer to the problem is User Account Control (UAC). UAC enables nonadministrator users to perform standard tasks, such as install a printer, configure a VPN or wire- less connection, and install updates, while preventing them from performing tasks that require administrative privileges, such as installing applications.
Configuring User Account Control
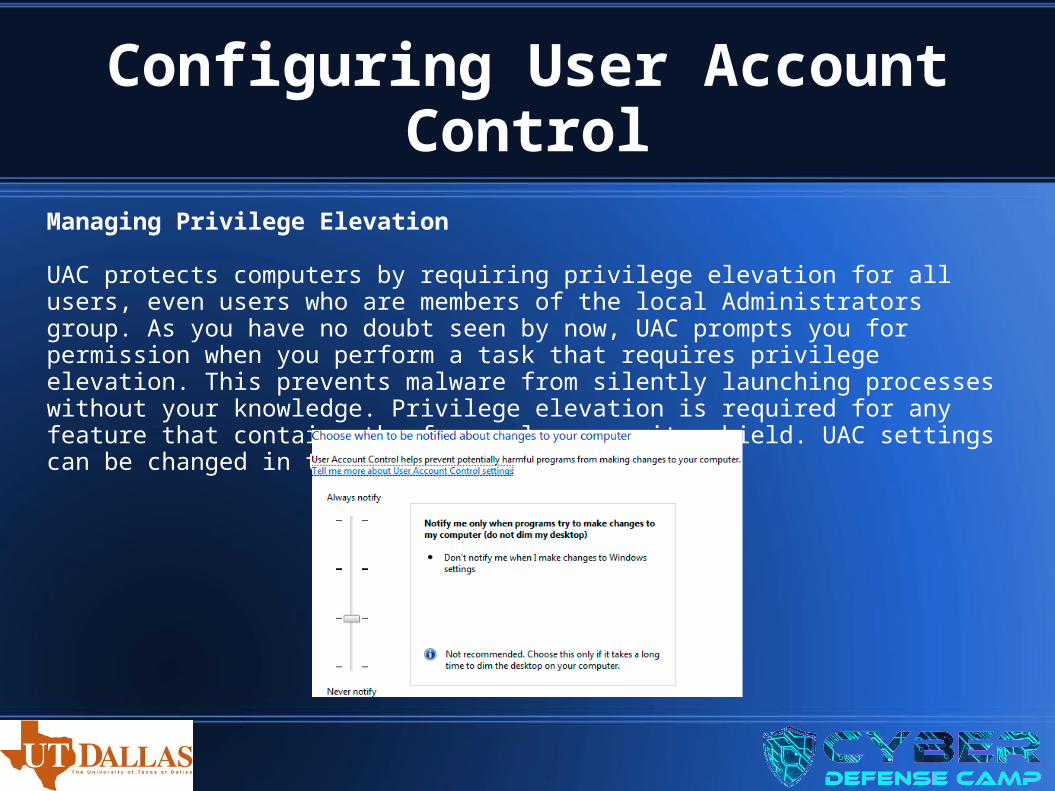
Managing Privilege Elevation UAC protects computers by requiring privilege elevation for all users, even users who are members of the local Administrators group. As you have no doubt seen by now, UAC prompts you for permission when you perform a task that requires privilege elevation. This prevents malware from silently launching processes without your knowledge. Privilege elevation is required for any feature that contains the four-color security shield. UAC settings can be changed in the Control Panel.