Landscape Design Techniques & Maintenance Obj: Understand principles of landscape design techniques...
53
Landscape Design Techniques & Maintenance Obj: Understand principles of landscape design techniques and maintenance.
-
Upload
karin-booth -
Category
Documents
-
view
218 -
download
0
Transcript of Landscape Design Techniques & Maintenance Obj: Understand principles of landscape design techniques...

Landscape Design Techniques & Maintenance Obj: Understand principles of landscape design techniques and maintenance.
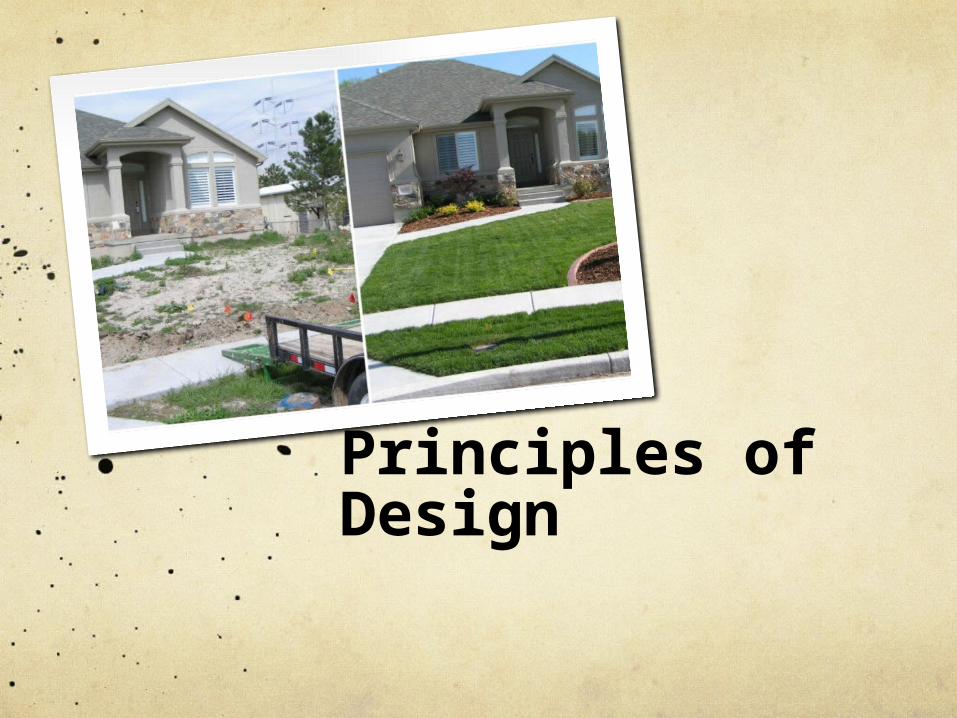
Principles of Design
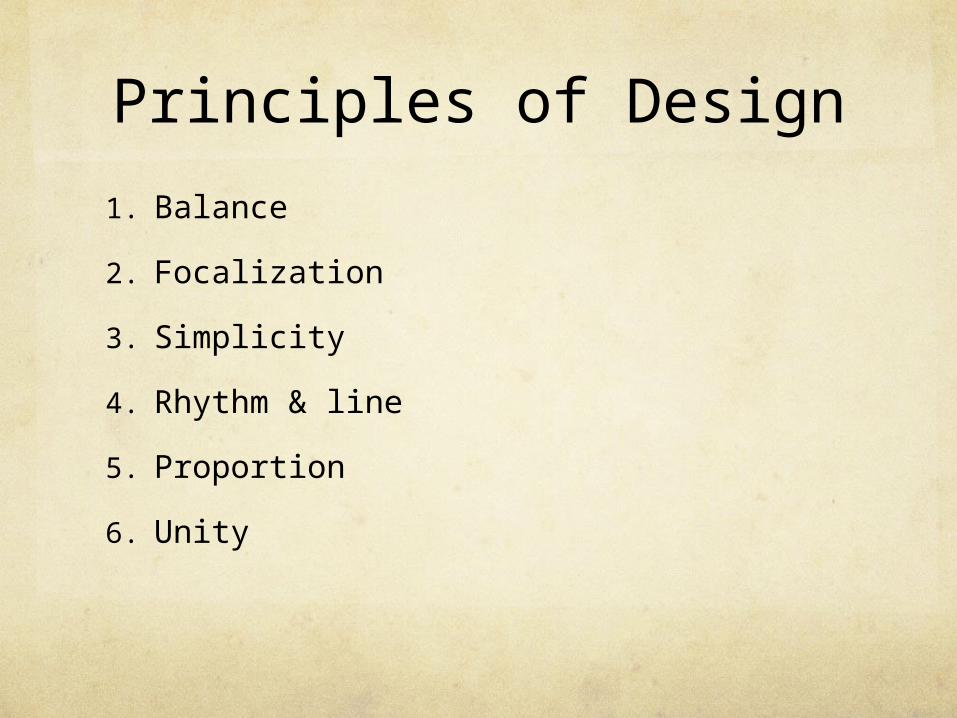
Principles of Design
1. Balance
2. Focalization
3. Simplicity
4. Rhythm & line
5. Proportion
6. Unity
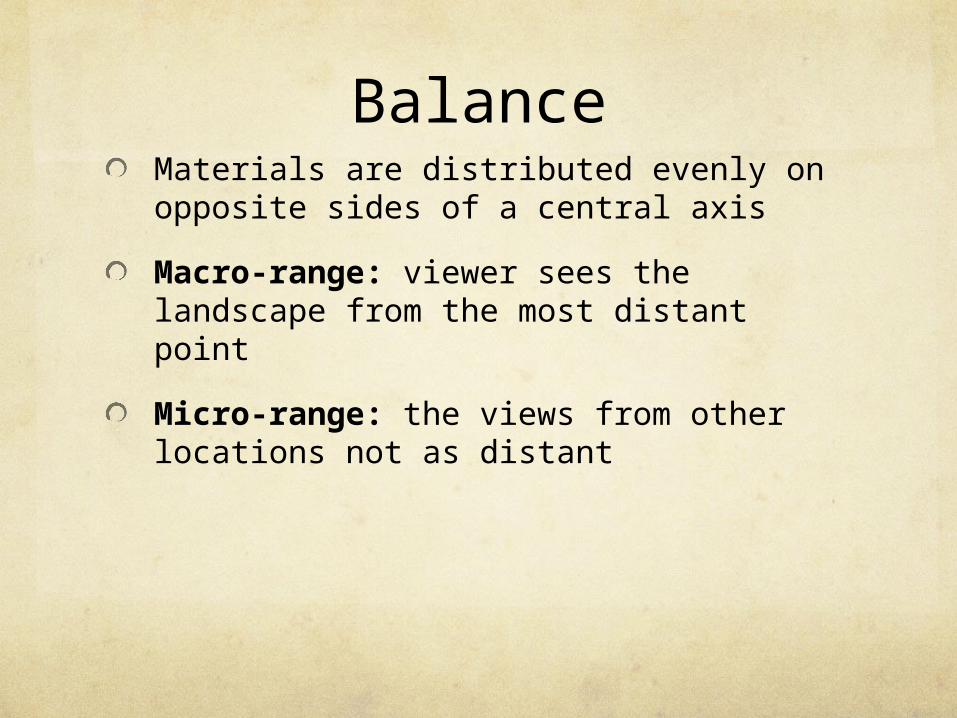
BalanceMaterials are distributed evenly on opposite sides of a central axis
Macro-range: viewer sees the landscape from the most distant point
Micro-range: the views from other locations not as distant
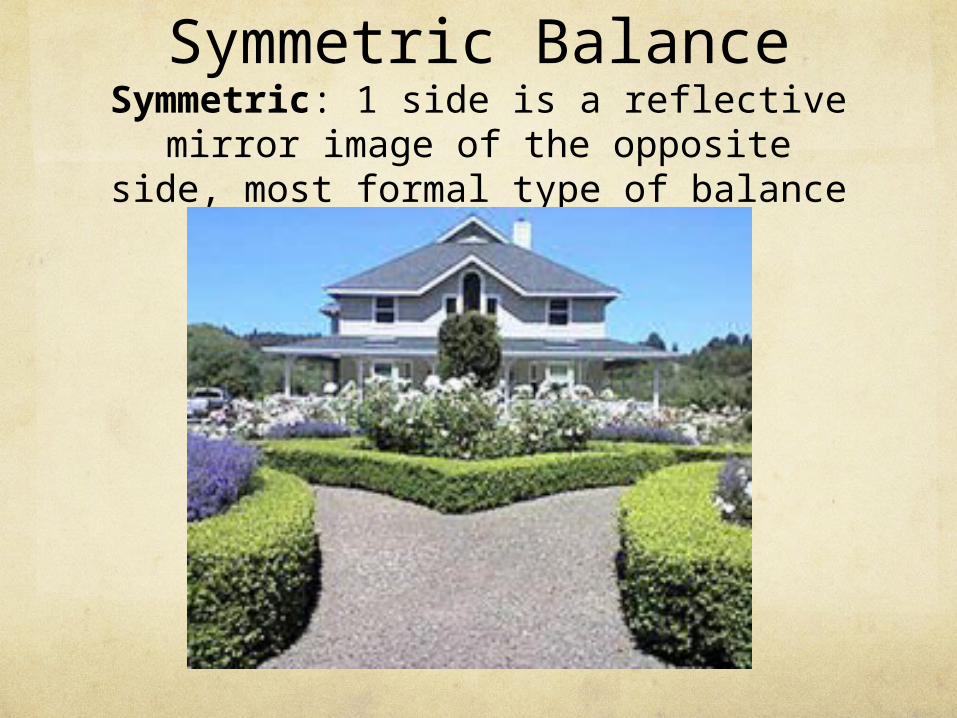
Symmetric BalanceSymmetric: 1 side is a reflective
mirror image of the opposite side, most formal type of balance
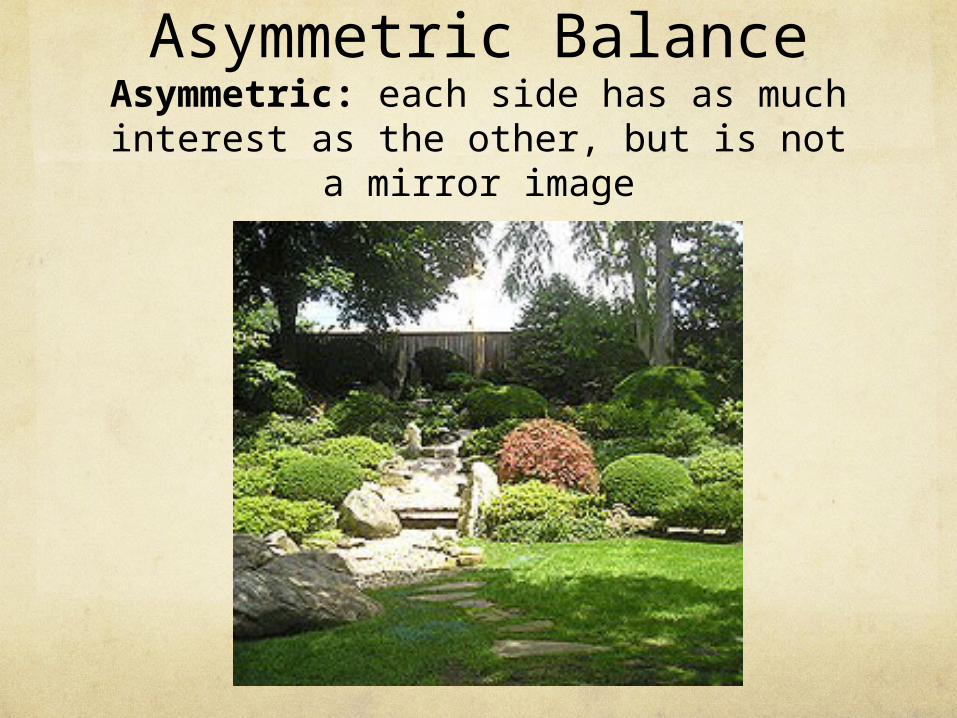
Asymmetric BalanceAsymmetric: each side has as much
interest as the other, but is not a mirror image

Proximal/DistalProximal/distal: balances right and
left as well as near and far

Focalization
Selects and positions visually strong items in the landscape composition to create focal points
It draws the eye of the viewer to one major feature

Simplicity
Seeks to make viewers comfortable within the landscape
Excludes any unnecessary changes in shape, color, direction, etc.

Rhythm & LineRepeating something at a standard interval or pattern creates rhythm and lines
Establishes the shape and form of the landscape replicating strong existing lines such as the lines of a house or pool
Functions of line plantings include foundation plantings, block a view, frame a view and provide privacy
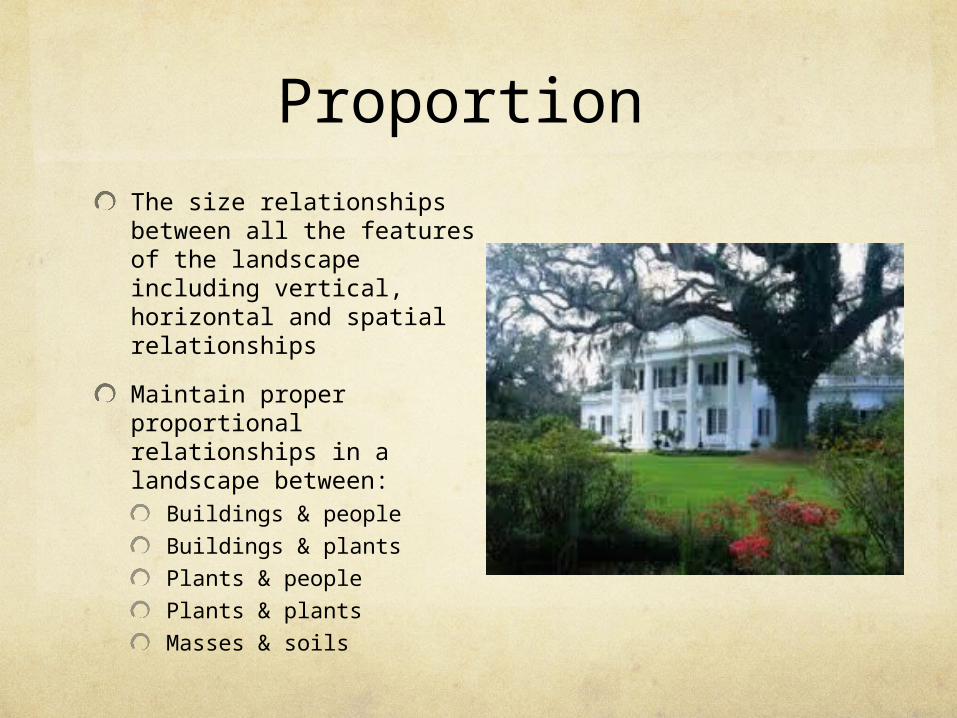
Proportion
The size relationships between all the features of the landscape including vertical, horizontal and spatial relationships
Maintain proper proportional relationships in a landscape between:
Buildings & people
Buildings & plants
Plants & people
Plants & plants
Masses & soils
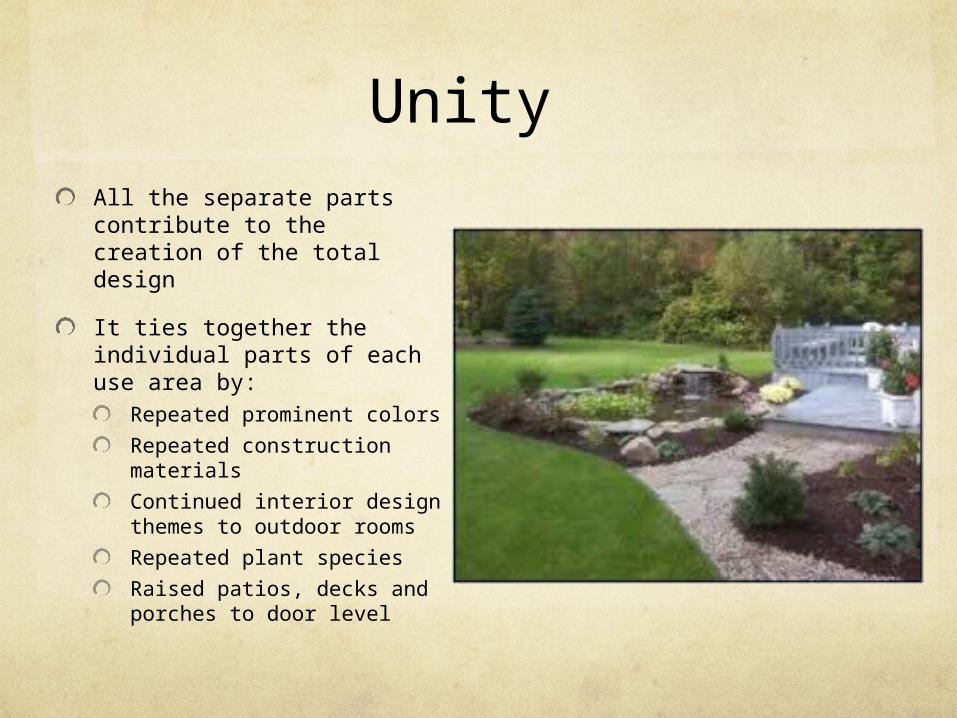
Unity All the separate parts contribute to the creation of the total design
It ties together the individual parts of each use area by:
Repeated prominent colors
Repeated construction materials
Continued interior design themes to outdoor rooms
Repeated plant species
Raised patios, decks and porches to door level
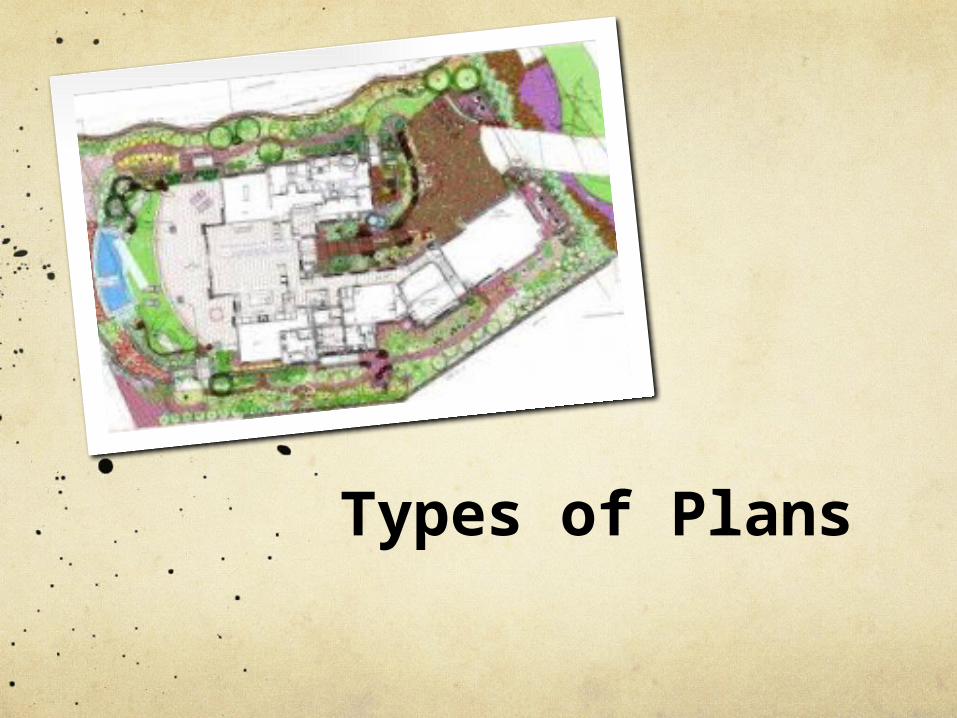
Types of Plans

1. SequentialEach is increasingly more specific and detailed
Functional
Diagrams
Preliminary
Designs
Final Plans
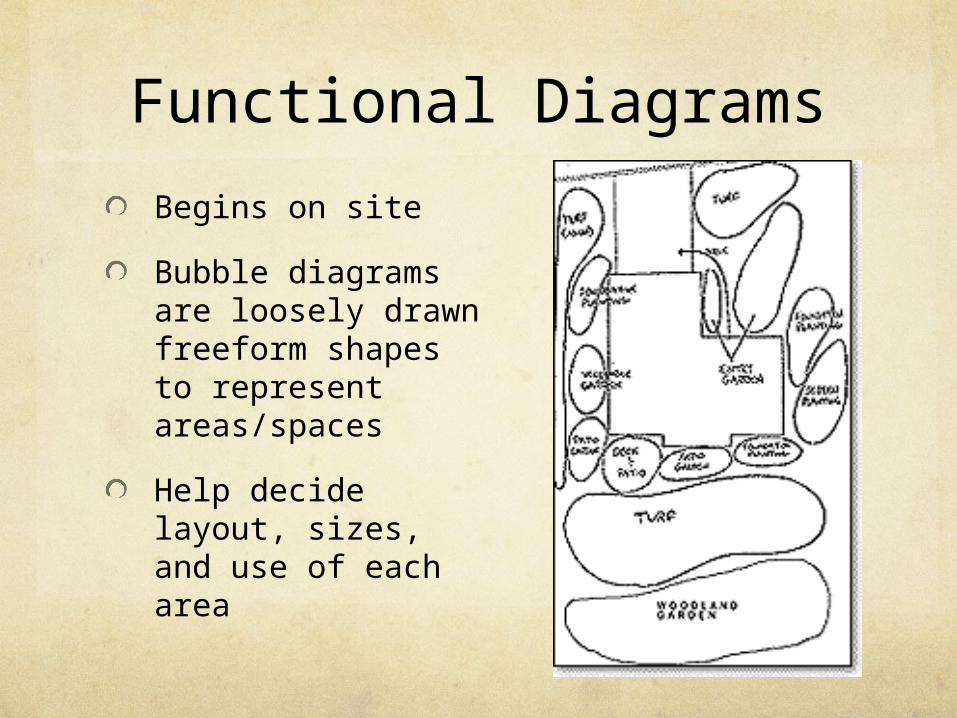
Functional Diagrams
Begins on site
Bubble diagrams are loosely drawn freeform shapes to represent areas/spaces
Help decide layout, sizes, and use of each area
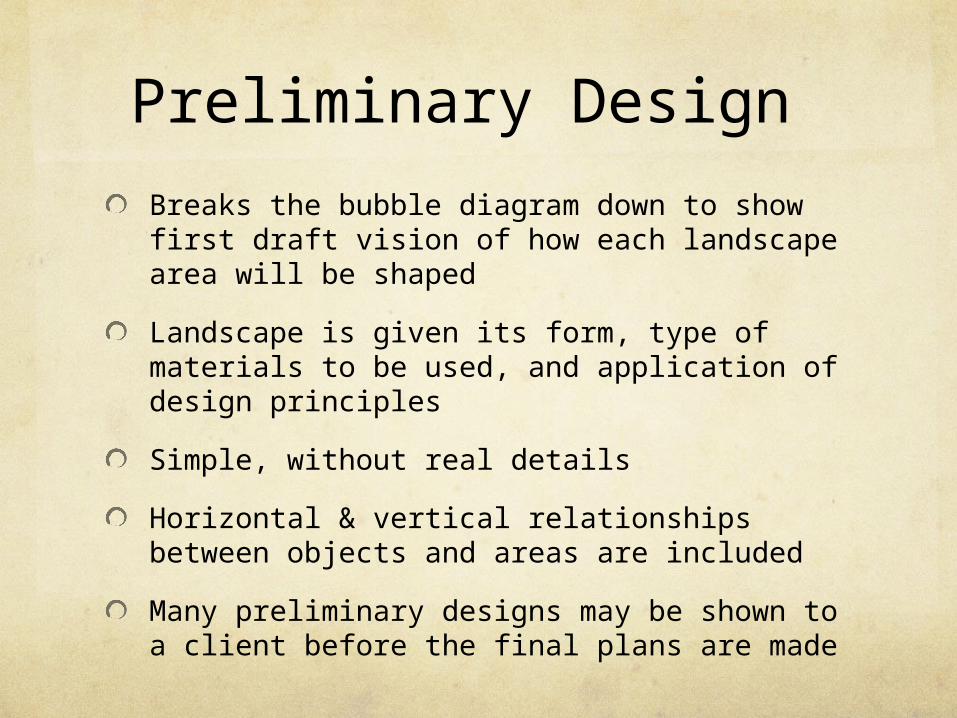
Preliminary Design
Breaks the bubble diagram down to show first draft vision of how each landscape area will be shaped
Landscape is given its form, type of materials to be used, and application of design principles
Simple, without real details
Horizontal & vertical relationships between objects and areas are included
Many preliminary designs may be shown to a client before the final plans are made
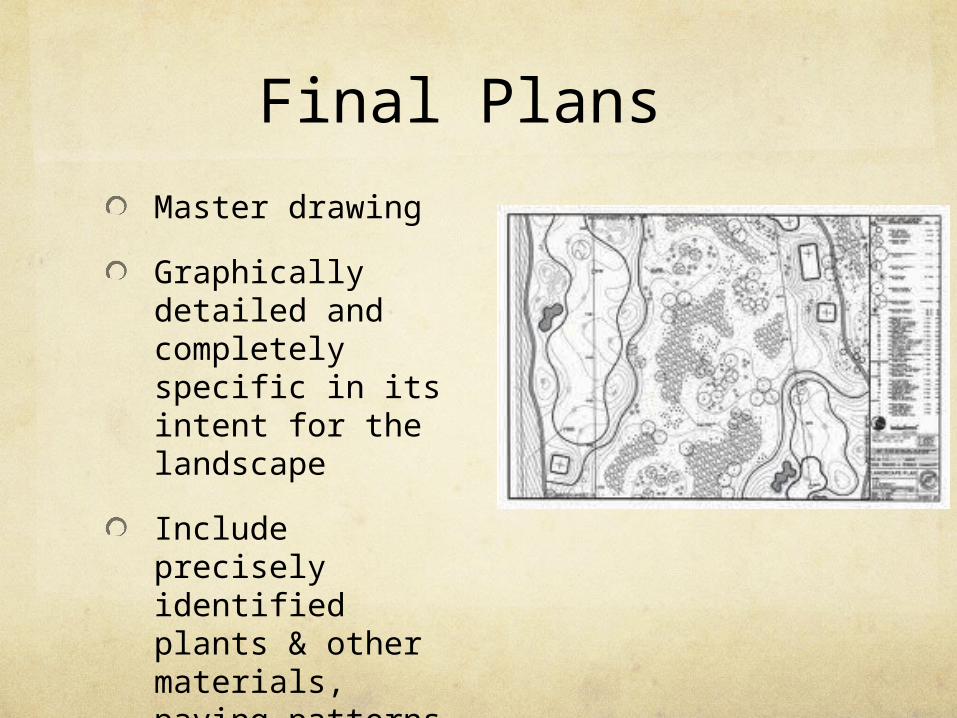
Final Plans
Master drawing
Graphically detailed and completely specific in its intent for the landscape
Include precisely identified plants & other materials, paving patterns & all other detailed information

2. Computer assisted/drawing board
Computer aided design or design programs
Hand drawn
Many professionals choose to hand draw their designs
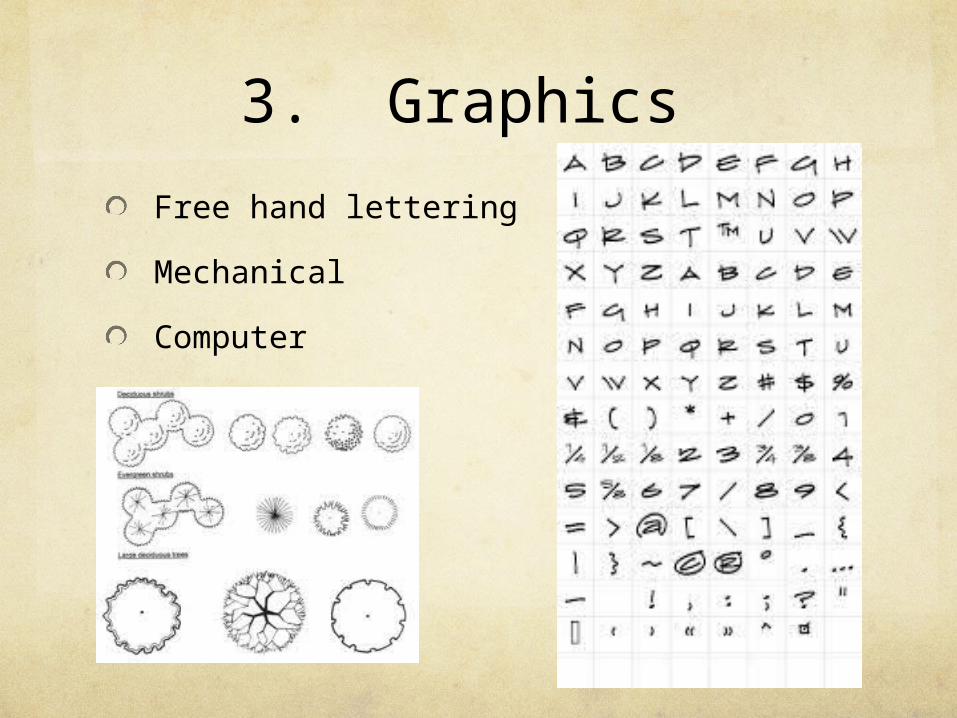
3. Graphics
Free hand lettering
Mechanical
Computer

Drawing Instruments
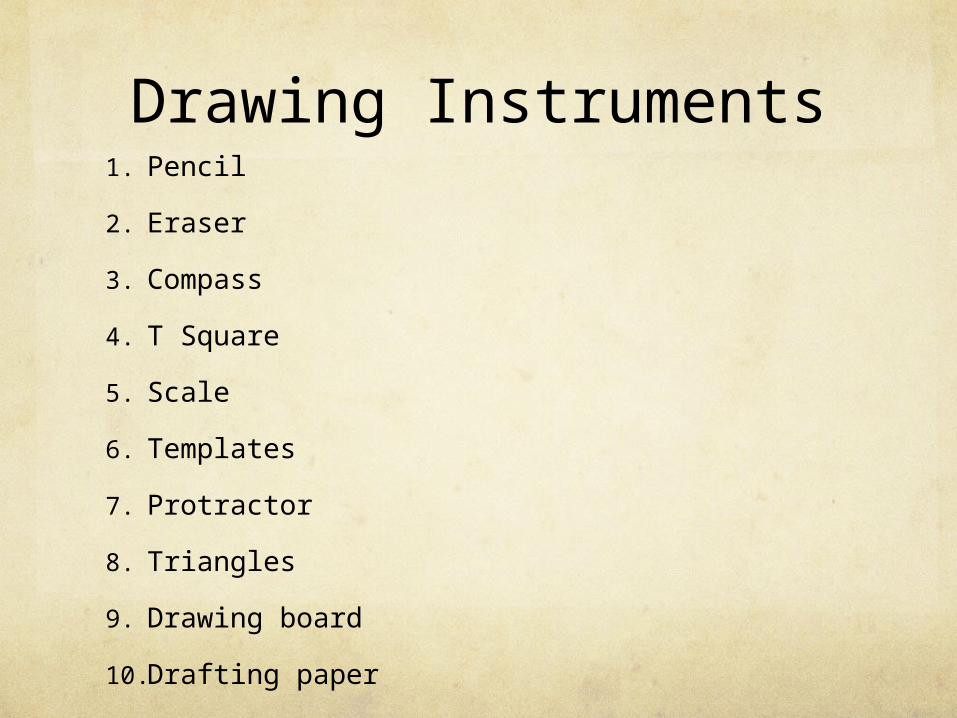
Drawing Instruments1. Pencil
2. Eraser
3. Compass
4. T Square
5. Scale
6. Templates
7. Protractor
8. Triangles
9. Drawing board
10. Drafting paper

PencilMechanical pencils
Lead sizes- 0.2, 0.3, 0.5, 0.9mm thick
Uses a lead holder
Does not require sharpening
Drawing pencils Varying degree of hardness- 2B, B, HB, F, H, 2H-9H
H is harder lead and produces lighter lines and is less likely to smear
B is softer lead and produces darker lines and will smear
A good choice for a landscape designer is HB-2H
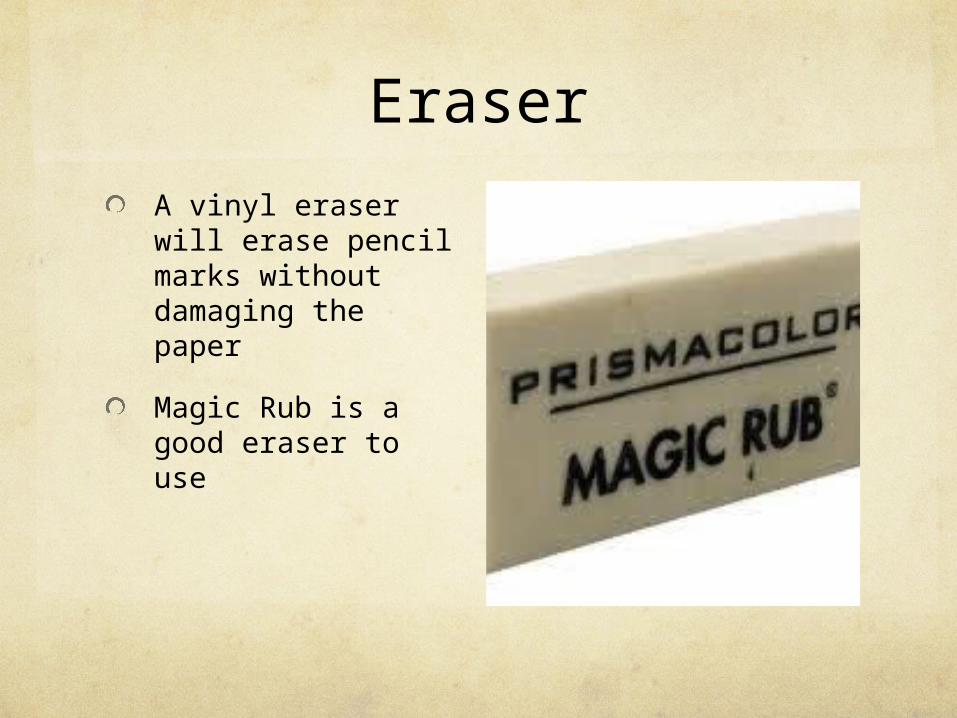
Eraser
A vinyl eraser will erase pencil marks without damaging the paper
Magic Rub is a good eraser to use
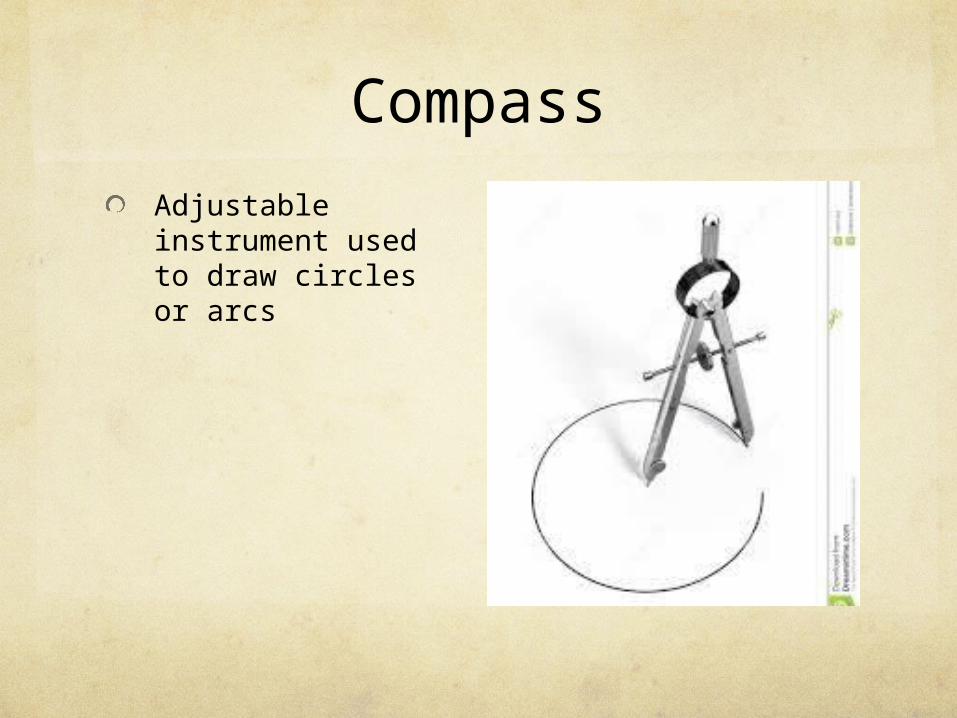
Compass
Adjustable instrument used to draw circles or arcs
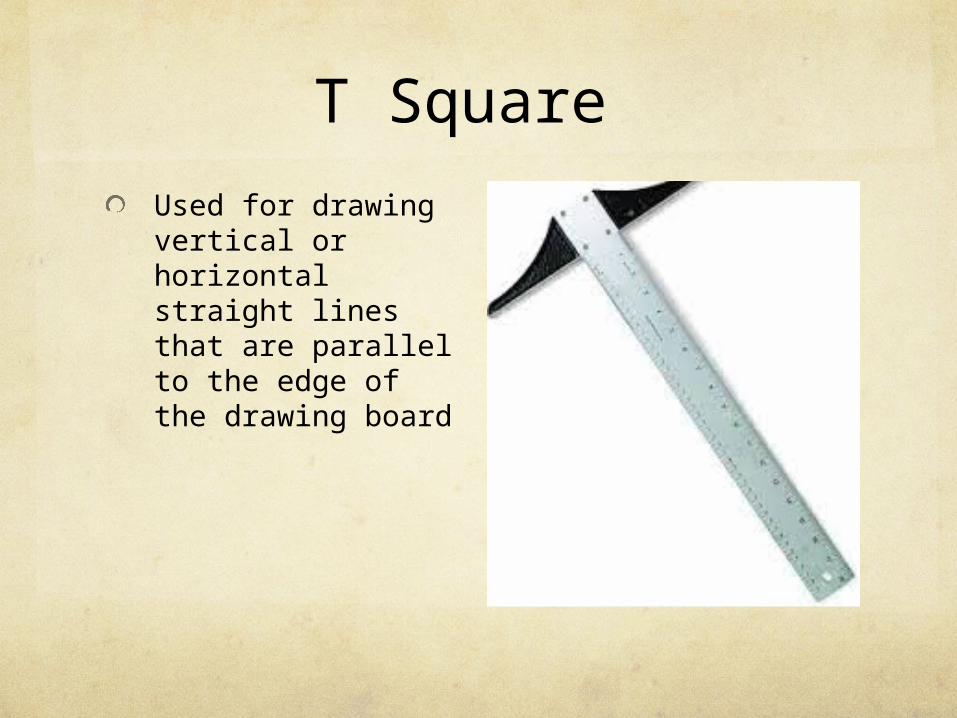
T Square
Used for drawing vertical or horizontal straight lines that are parallel to the edge of the drawing board
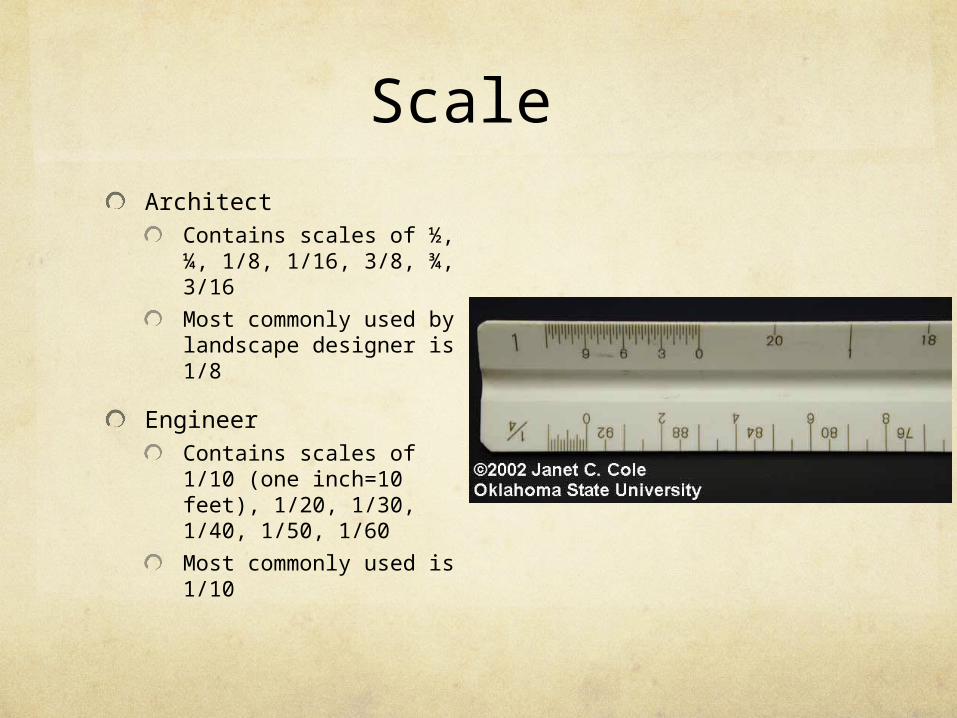
Scale Architect
Contains scales of ½, ¼, 1/8, 1/16, 3/8, ¾, 3/16
Most commonly used by landscape designer is 1/8
Engineer Contains scales of 1/10 (one inch=10 feet), 1/20, 1/30, 1/40, 1/50, 1/60
Most commonly used is 1/10

Templates
Used to draw circles and landscape features such as fences, hedges, etc.
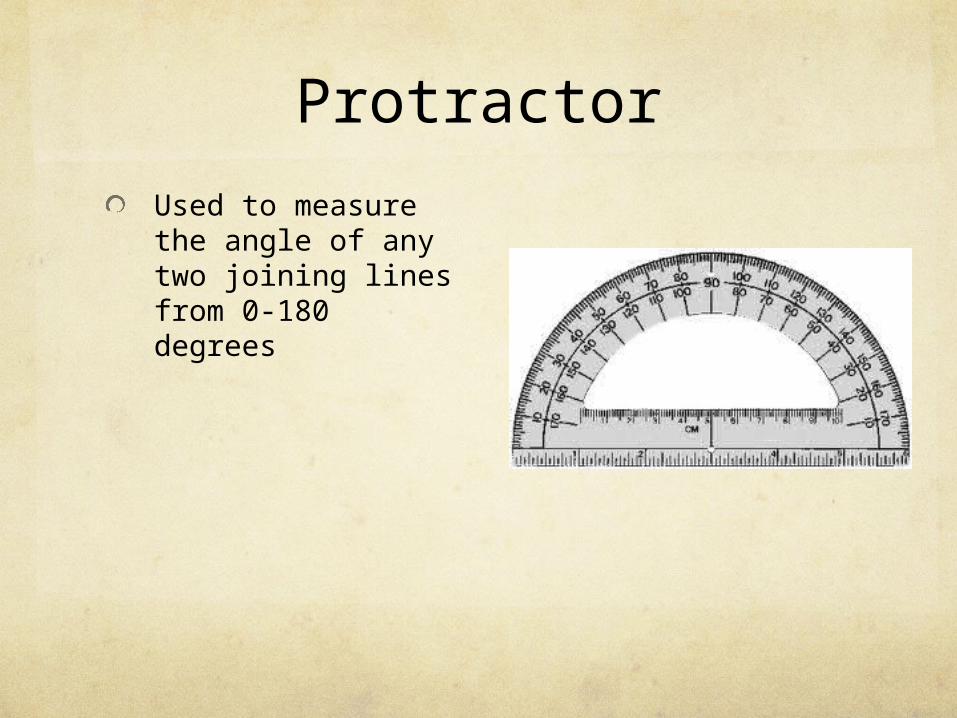
Protractor
Used to measure the angle of any two joining lines from 0-180 degrees

Triangles
Used to draw angled lines
Most common angles are 45 and 90 degree
Other angles are 30, 45, 60 or 90 degree
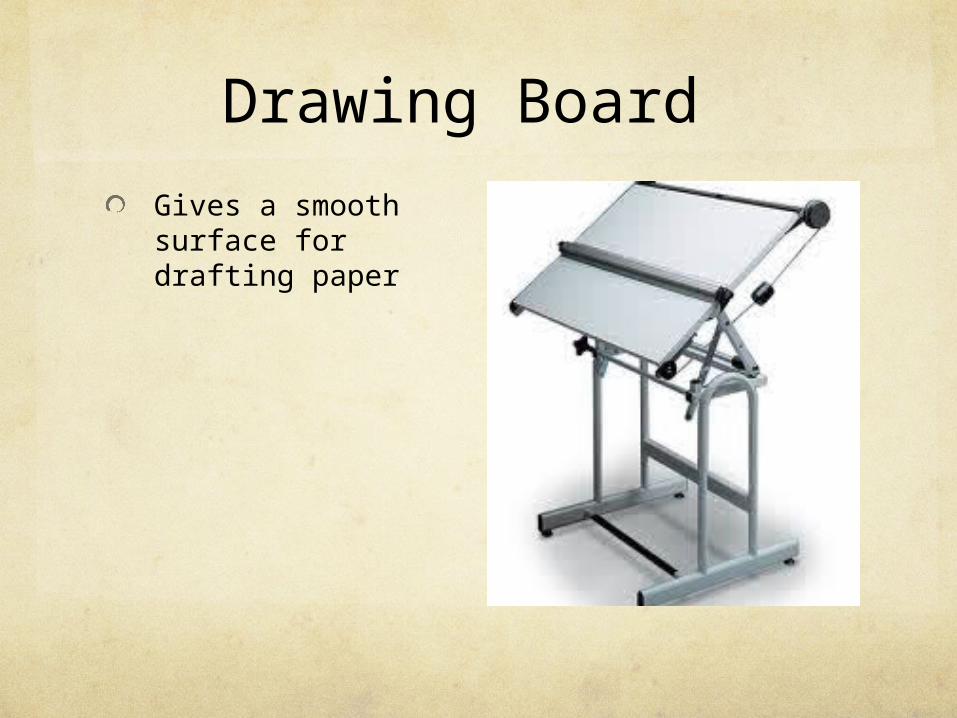
Drawing Board
Gives a smooth surface for drafting paper

Drafting Paper
Available as opaque or transparent in a wide variety of sizes
Vellum paper (100% cotton) is commonly used for hand drawings
Gridded paper is also popular to use in landscape design. Grid sizes available are ¼”=1’, 1/8”=1’, 1/10”=1’
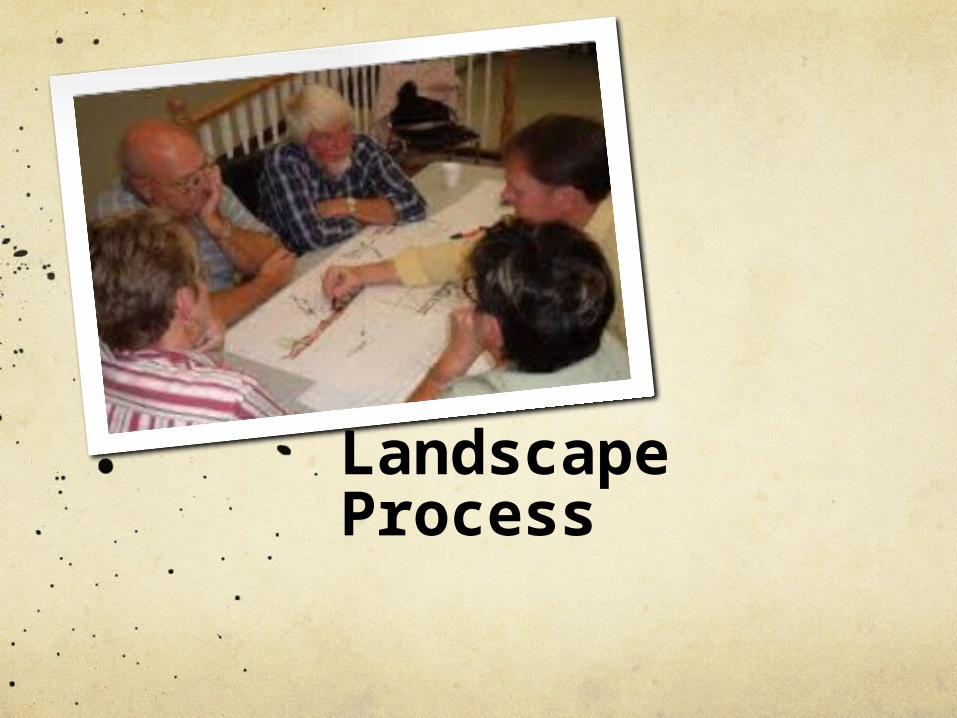
Landscape Process

Landscape Process
Process is a sequence of steps to reach a goal

Project Development Process
Needs or objectives
Design process
Accepting the design
Contracting
Subcontracting
Actual landscaping acceptance
Billing and payment
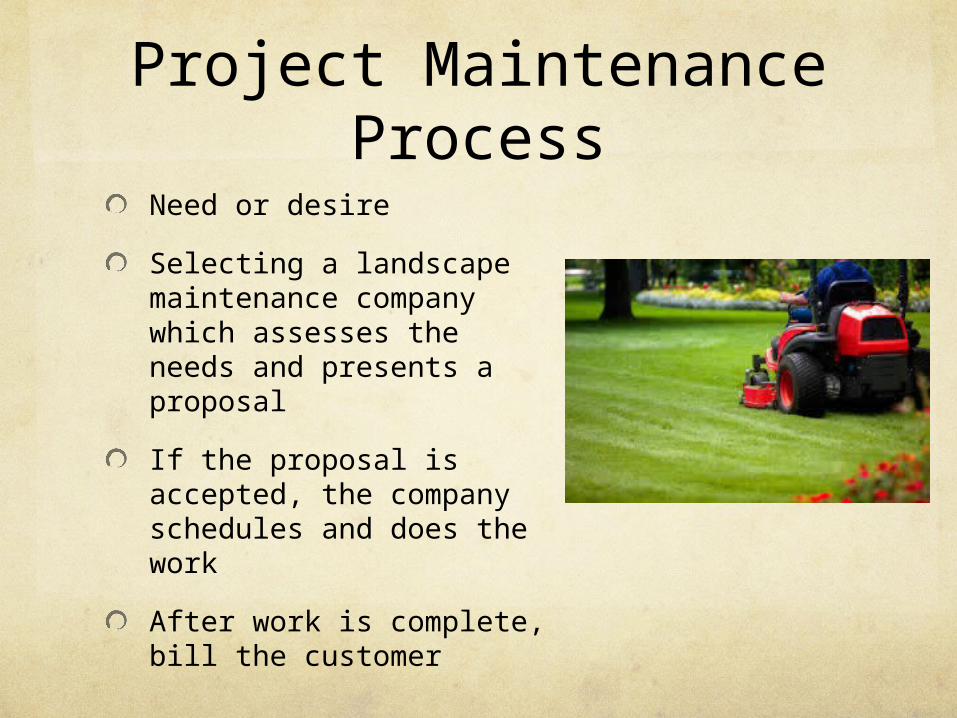
Project Maintenance Process
Need or desire
Selecting a landscape maintenance company which assesses the needs and presents a proposal
If the proposal is accepted, the company schedules and does the work
After work is complete, bill the customer
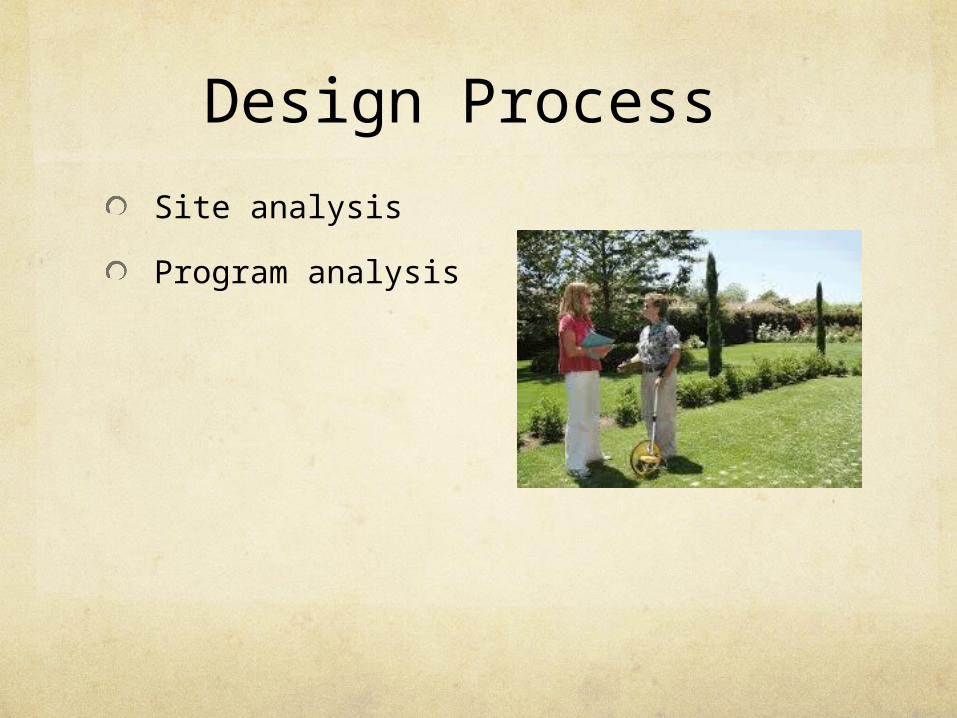
Design Process
Site analysis
Program analysis
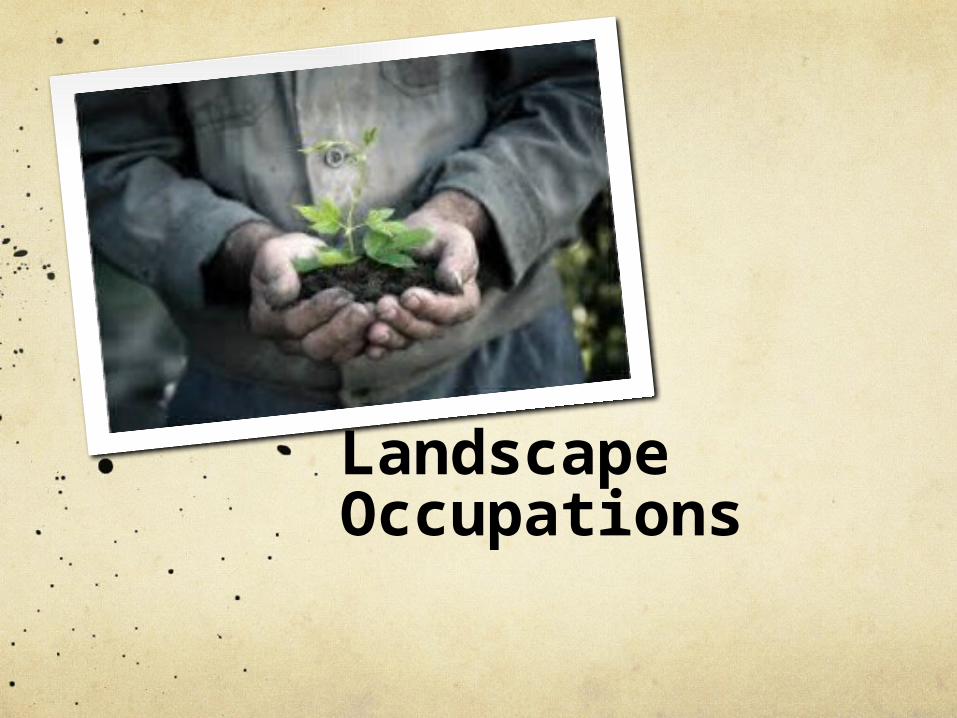
Landscape Occupations

Landscape Occupations
Landscaping: profession that includes designing, installing and maintaining the outdoor human environment
Complete the Landscape
Occupations worksheet to learn
more!

Planting & Maintenance
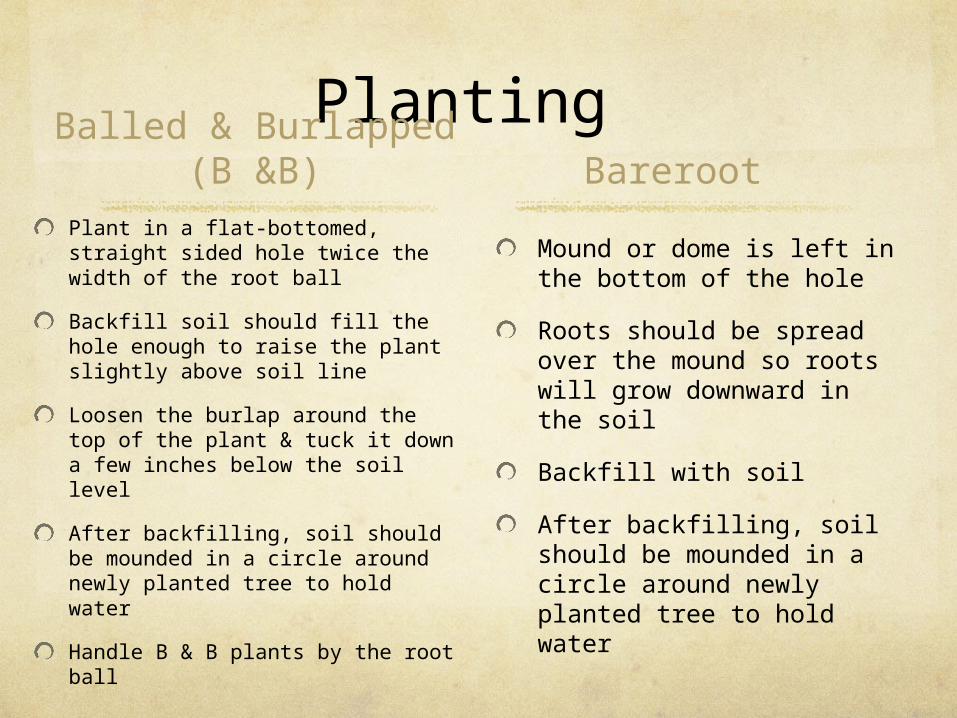
Planting Balled & Burlapped (B &B)
Plant in a flat-bottomed, straight sided hole twice the width of the root ball
Backfill soil should fill the hole enough to raise the plant slightly above soil line
Loosen the burlap around the top of the plant & tuck it down a few inches below the soil level
After backfilling, soil should be mounded in a circle around newly planted tree to hold water
Handle B & B plants by the root ball
Bareroot
Mound or dome is left in the bottom of the hole
Roots should be spread over the mound so roots will grow downward in the soil
Backfill with soil
After backfilling, soil should be mounded in a circle around newly planted tree to hold water

PlantingContainer
Plants may need to have the roots cut or unwound before planting
This prevents the roots from continuing to grow in a circle pattern
Other Tips
Newly planted trees should be staked to keep trees growing straight
Careful observation of newly planted shrubs, trees, annuals, and perennials, on a regular basis, will determine the time and amount of maintenance needed

Watering
Should be done at planting and frequently for a few days to prevent roots from drying out and the plant wilting
Water to a depth of 12”-16” initially to help develop a root system
Different plants have different water requirements

Fertilizing
Trees: drill holes or use a soil tube 12” deep at 24” intervals around the tree at the canopy drip line
Shrubs: hand apply small amounts of low analysis fertilizer but not too late in the growing season
Lawns: need regular fertilizing
Fertilizer should be mixed in back fill soil at planting for trees and shrubs and in soil beds during prep for annuals & perennials

Mulching
Suppresses weeds
Retains soil moisture
Equalize soil temperature
Refreshed or replaced yearly
Mulch depths vary depending on type of material used
2-4” is commonly recommended, add 1” in sandy soils
Types of mulchShredded or ground bark
Pine needles
Stone
Shredded rubber
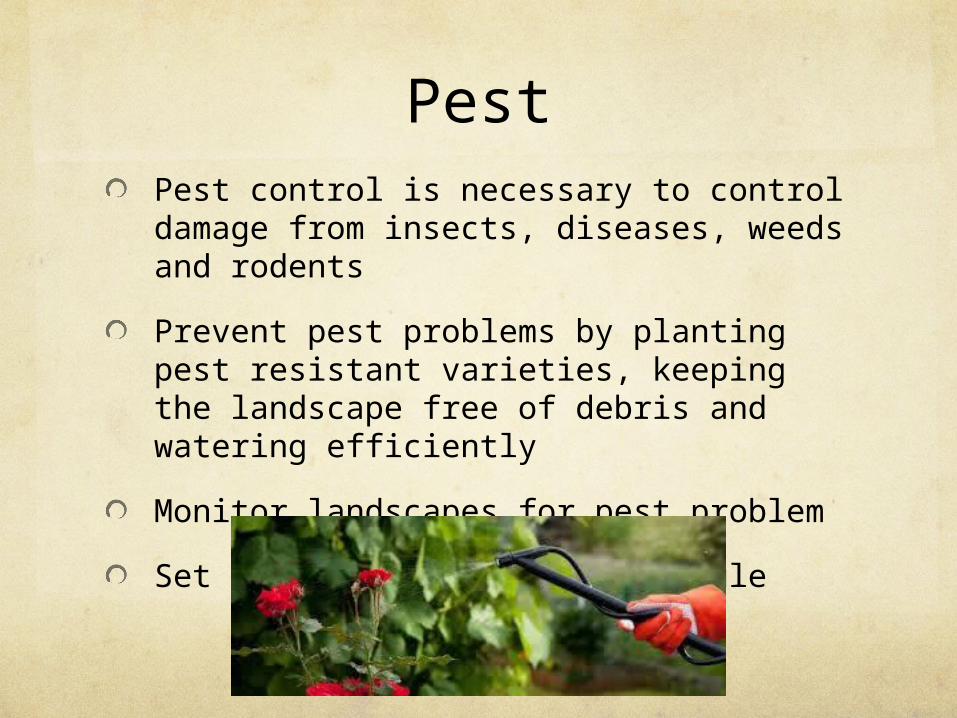
PestPest control is necessary to control damage from insects, diseases, weeds and rodents
Prevent pest problems by planting pest resistant varieties, keeping the landscape free of debris and watering efficiently
Monitor landscapes for pest problem
Set up pest maintenance schedule
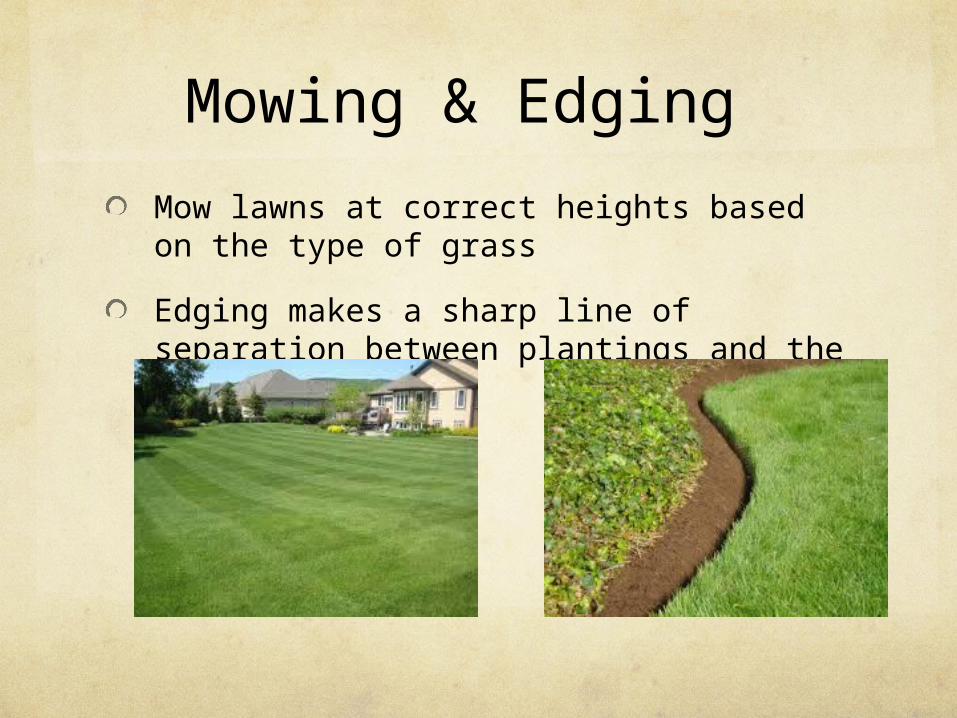
Mowing & Edging
Mow lawns at correct heights based on the type of grass
Edging makes a sharp line of separation between plantings and the lawn

Winterizing
Treat wintertime weeds such as chickweed and henbit
Remove leaves and other debris from lawns; can smother grass, promote diseases and invite pests
Drain irrigation systems
Mulch beds
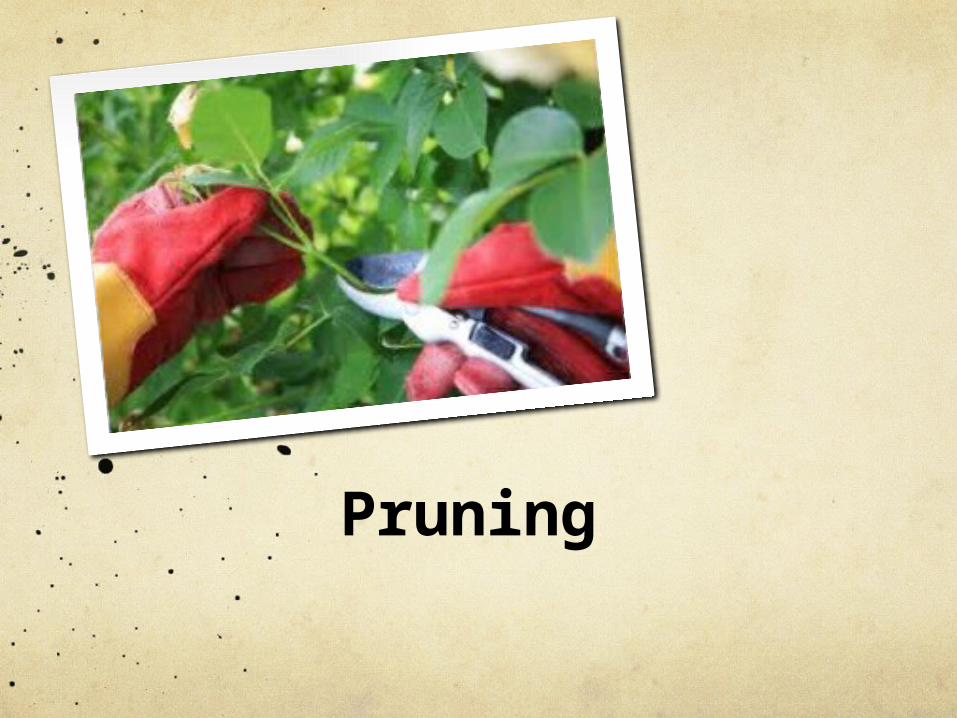
Pruning

Pruning Tools Pruning Saw
1. Will cut live or dead limbs2. Has coarse teeth
3. Blade may or may not fold into the handle
Pole Pruner1. Has a saw and pruning tool on
a pole to remove branches over 12 ft. up
2. Non-powered or gas powered
Grass Shears
1. Has two blades designed to cut grass around edges of
walks/flower beds 2. Non powered or battery
powered
Lopping Shears
1. Long handled, bypass cut (scissor type blade that
overlap each other) 2. Cuts limbs from 1”-1 ½” in
diameter
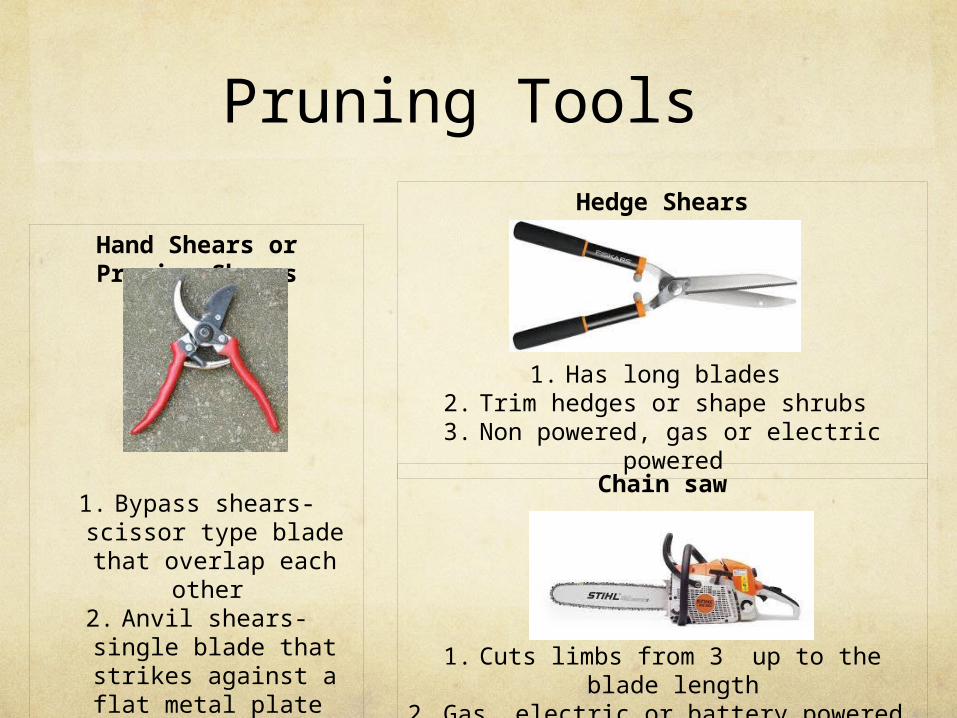
Pruning Tools
Hand Shears or Pruning Shears
1. Bypass shears- scissor type blade that
overlap each other 2. Anvil shears- single
blade that strikes against a flat metal
plate 3. Removes branches ¼”-
½”
Hedge Shears
1. Has long blades 2. Trim hedges or shape shrubs
3. Non powered, gas or electric powered
Chain saw
1. Cuts limbs from 3” up to the blade length
2. Gas, electric or battery powered
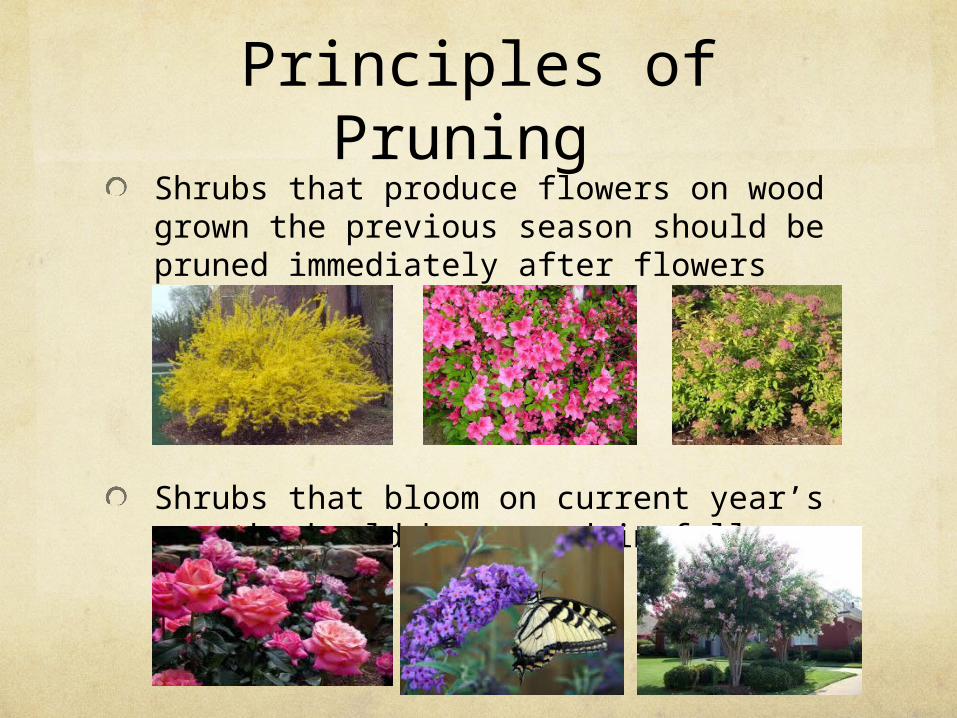
Principles of Pruning Shrubs that produce flowers on wood grown the previous season should be pruned immediately after flowers fall off
Shrubs that bloom on current year’s growth should be pruned in fall or early spring
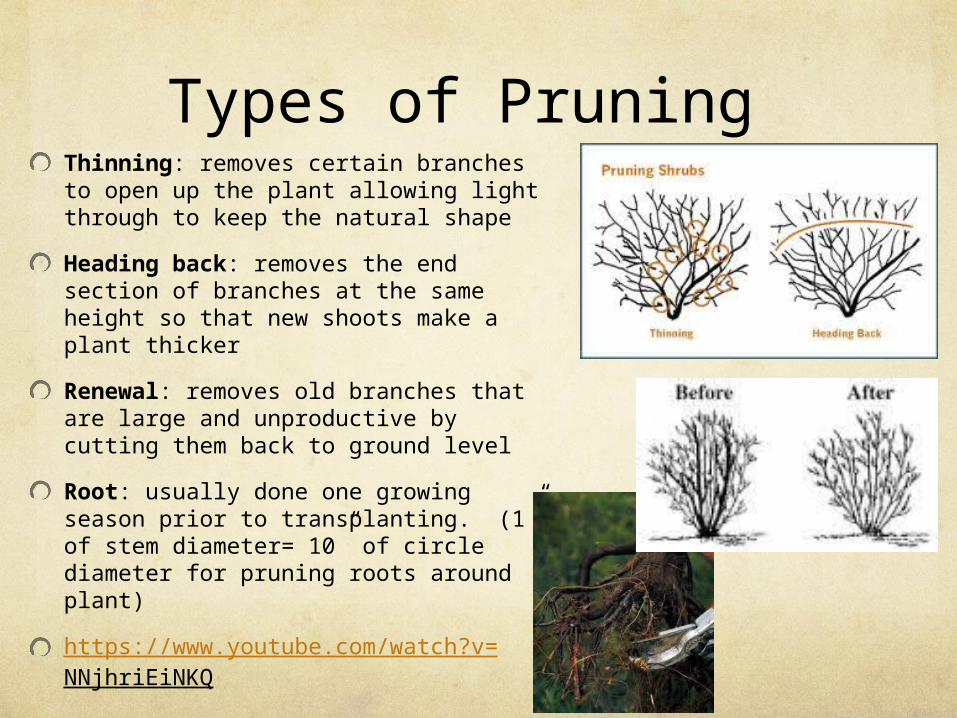
Types of Pruning Thinning: removes certain branches to open up the plant allowing light through to keep the natural shape
Heading back: removes the end section of branches at the same height so that new shoots make a plant thicker
Renewal: removes old branches that are large and unproductive by cutting them back to ground level
Root: usually done one growing season prior to transplanting. (1” of stem diameter= 10” of circle diameter for pruning roots around plant)
https://www.youtube.com/watch?v=NNjhriEiNKQ
Pruning
Inventory Trees & Shrubs around campus and determine the best time to prune