kolam designs
22
description
kolam designs
Transcript of kolam designs


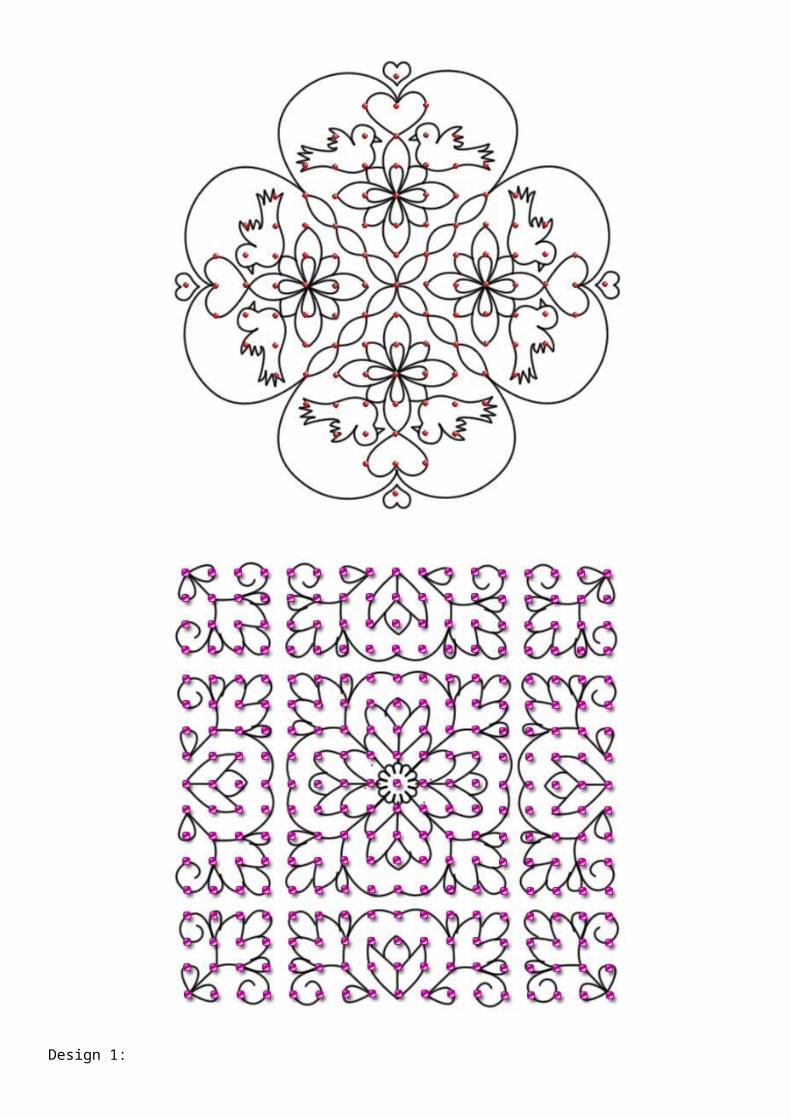
Design 1:

Design 2:19 X 19 Straight Line Dots
Design 3:5 rows of 15 dots. Straight line dots going on till 5 dot row.
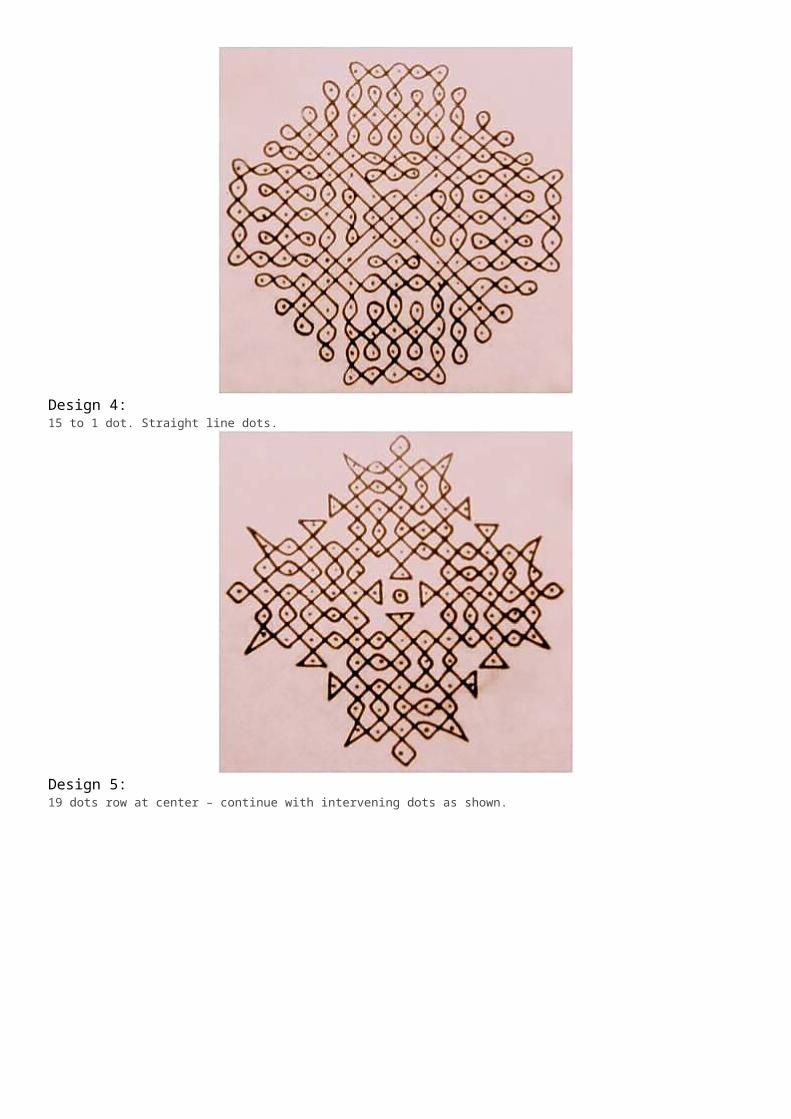
Design 4:15 to 1 dot. Straight line dots.
Design 5:19 dots row at center – continue with intervening dots as shown.

Design 6:
Design 7:3 rows of 29 Dots at the center. Continue with straight dots till row of three dots at the top and bottom.

Design 8:5 rows of 16 dots4 rows of 10 dots4 rows of 4 dots (Straight line)
These kolams are quite advanced and need substantial time initially. But once you get comfortable with drawing pulli kolams, the process tends to get a bit easier. The most important step is to keep the dots with the correct number and maintaining a uniform distance between the dots.All the designs are drawn with the base of 5 X 5 matrix dots:
Kolam Design 1:Step 1: Step 2: Step 3:Kolam Design 2:

Step 1: Step 2: Step 3:Kolam Design 3:
Step 1: Step 2: Step 3: KKolam Design 4:
Step 1: Step 2: Step 3:
Poo kolams are kolams which are drawn with a flowery design. These kolams are popular as they are suitable for beginners and
those who would like to draw kolams in small spaces. Given below are a few simple poo kolam designs.
Design 1:
8 X 8 dots (Straight)
Design 2:
8 X 8 dots (Straight)

Design 3:
Intervening dots (starting from 13 to 1)
Design 4:
Intervening dots (starting from 11 to 1)
Design 5:
Intervening dots (starting from 13 to 1)

Design 6:
Start with 4 rows of 6 dots each at center, make intervening dots of one row each till 1 dot.
These kolams can also be drawn without dots for those who aren’t good with making symmetrical dots. These can be filled with
color powder to get a simple rangoli design.
Kolam design drawn using only 6 rows of dots and 6 columns of dots. Beautiful kolam pattern can be
formed with these dots. Look at the pictures to practice kolam.