KATRIENETTE Glasses Case Pattern and sewing instructions · KATRIENETTE Glasses Case Pattern and...
14
KATRIENETTE Glasses Case Pattern and sewing instructions Copyright © 2018-2019 Katrien Westhovens, KATRIENETTE Alle rechten voorbehouden | All rights reserved Pagina 1 van 14 Contents Supplies.......................................................................................................................................................................................... 2 Pattern pieces ............................................................................................................................................................................ 3 Cutting instructions ................................................................................................................................................................. 3 Interfacing instructions ......................................................................................................................................................... 3 Sewing instructions................................................................................................................................................................. 8 Photo pages............................................................................................................................................................................... 12 © No part of this manual may be copied, reproduced, translated, digitized or shared without the author's permission. This pattern is exclusively intended for personal home use. Glasses cases made with this pattern only made at home-based production scale may be sold, with reference to the author. It is not permitted to use this pattern for commercial purposes (copying, selling, giving workshops, etc.) and/or production purposes.
Transcript of KATRIENETTE Glasses Case Pattern and sewing instructions · KATRIENETTE Glasses Case Pattern and...

KATRIENETTE Glasses Case Pattern and sewing instructions
Copyright © 2018-2019 Katrien Westhovens, KATRIENETTE Alle rechten voorbehouden | All rights reserved Pagina 1 van 14
Contents Supplies .......................................................................................................................................................................................... 2
Pattern pieces ............................................................................................................................................................................ 3
Cutting instructions ................................................................................................................................................................. 3
Interfacing instructions ......................................................................................................................................................... 3
Sewing instructions ................................................................................................................................................................. 8
Photo pages ............................................................................................................................................................................... 12
© No part of this manual may be copied, reproduced, translated, digitized or shared without the author's permission. This pattern is
exclusively intended for personal home use. Glasses cases made with this pattern only made at home-based production scale may be sold,
with reference to the author. It is not permitted to use this pattern for commercial purposes (copying, selling, giving workshops, etc.) and/or
production purposes.
KATRIENETTE Glasses Case Pattern and sewing instructions
Copyright © 2018-2019 Katrien Westhovens, KATRIENETTE Alle rechten voorbehouden | All rights reserved Pagina 2 van 14
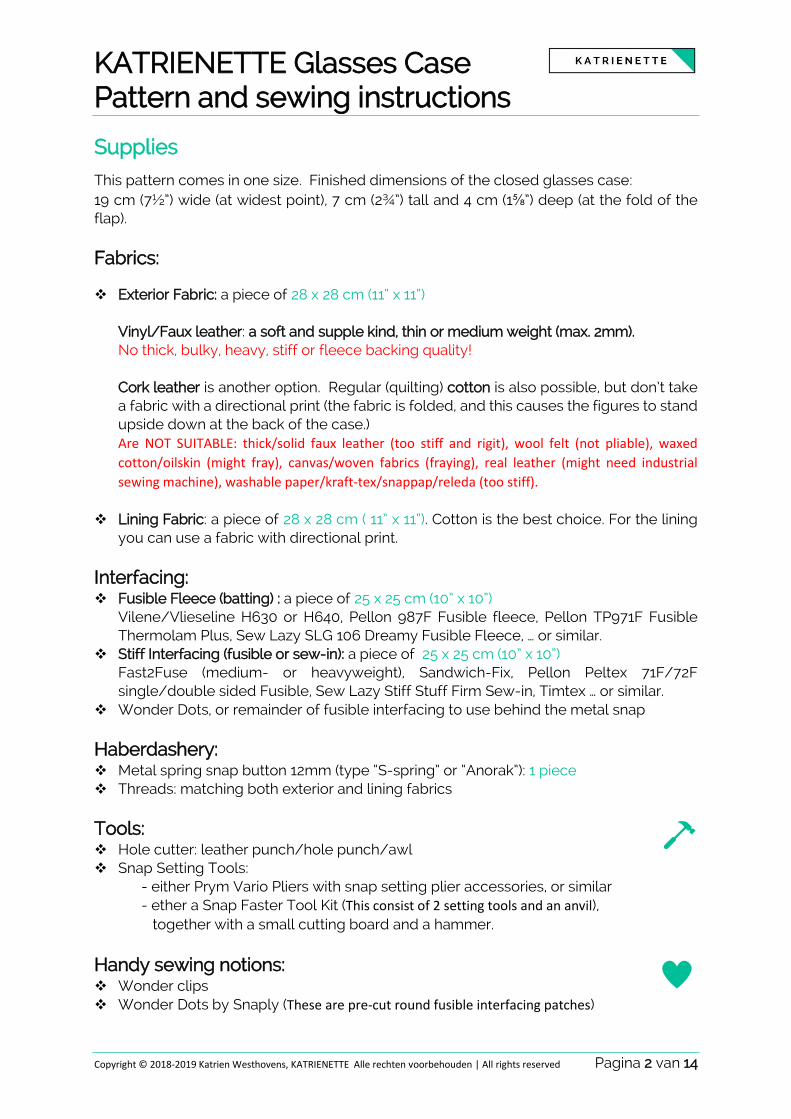
Supplies This pattern comes in one size. Finished dimensions of the closed glasses case: 19 cm (7½”) wide (at widest point), 7 cm (2¾”) tall and 4 cm (1⅝”) deep (at the fold of the flap).
Fabrics: ❖ Exterior Fabric: a piece of 28 x 28 cm (11” x 11”)
Vinyl/Faux leather: a soft and supple kind, thin or medium weight (max. 2mm). No thick, bulky, heavy, stiff or fleece backing quality! Cork leather is another option. Regular (quilting) cotton is also possible, but don’t take a fabric with a directional print (the fabric is folded, and this causes the figures to stand upside down at the back of the case.) Are NOT SUITABLE: thick/solid faux leather (too stiff and rigit), wool felt (not pliable), waxed
cotton/oilskin (might fray), canvas/woven fabrics (fraying), real leather (might need industrial
sewing machine), washable paper/kraft-tex/snappap/releda (too stiff).
❖ Lining Fabric: a piece of 28 x 28 cm ( 11” x 11”). Cotton is the best choice. For the lining
you can use a fabric with directional print.
Interfacing: ❖ Fusible Fleece (batting) : a piece of 25 x 25 cm (10” x 10”)
Vilene/Vlieseline H630 or H640, Pellon 987F Fusible fleece, Pellon TP971F Fusible Thermolam Plus, Sew Lazy SLG 106 Dreamy Fusible Fleece, … or similar.
❖ Stiff Interfacing (fusible or sew-in): a piece of 25 x 25 cm (10” x 10”) Fast2Fuse (medium- or heavyweight), Sandwich-Fix, Pellon Peltex 71F/72F single/double sided Fusible, Sew Lazy Stiff Stuff Firm Sew-in, Timtex … or similar.
❖ Wonder Dots, or remainder of fusible interfacing to use behind the metal snap
Haberdashery: ❖ Metal spring snap button 12mm (type “S-spring” or “Anorak”): 1 piece ❖ Threads: matching both exterior and lining fabrics
Tools: ❖ Hole cutter: leather punch/hole punch/awl ❖ Snap Setting Tools:
- either Prym Vario Pliers with snap setting plier accessories, or similar - ether a Snap Faster Tool Kit (This consist of 2 setting tools and an anvil), together with a small cutting board and a hammer.
Handy sewing notions: ❖ Wonder clips ❖ Wonder Dots by Snaply (These are pre-cut round fusible interfacing patches)

KATRIENETTE Glasses Case Pattern and sewing instructions
Copyright © 2018-2019 Katrien Westhovens, KATRIENETTE Alle rechten voorbehouden | All rights reserved Pagina 3 van 14
Pattern pieces
The seam allowance of 1 cm (⅜”)
is included in all paper pattern pieces.
Print the pattern pieces from a computer or laptop, since tablets or smartphones may unsolicited) change the printer settings. Print at “100% scale” or “actual size”. Be sure that your printer is NOT set to “fit the page” when printing. Measure that the “test box” measures exactly 2 x 2 cm (¾” x ¾”). Cut the 4 pattern pieces (page 4 to page 7), along (exterior) solid lines. Tape them two by two together at marked letters. ▪ Pattern piece Fabrics
consists of 2 parts that you tape together matching the letters “F” ▪ Pattern piece Interfacing
consists of 2 parts that you tape together matching the letters “I”
Cutting instructions Exterior Fabric: 1✂ Pattern piece Fabrics
Lining Fabric: 1✂ Pattern Piece Fabrics Fusible Fleece: 1✂ Pattern piece Interfacing Stiff Interfacing: 1✂ Pattern piece Interfacing
Interfacing instructions
▪ In advance: fuse the Fusible Fleece on wrong side of the Lining Fabric. The interfacing is smaller, place it centred so that all around 1 cm (⅜”) remains free.
▪ During stitching: the Stiff Interfacing will be slid between the fabrics.
Do you have any questions, tips or suggestions? Let me know!
messenger: Katrien Westhovens, mail: [email protected], call: +32(0)475/56.17.38, or post a message or photo on : www.facebook.com/groups/katrienettesgroep/
Do you have a fabric with a print or direction?
Arrange the pattern pieces in such a way that you
can read the letters.
The convex (bulb-shaped) side is the top of the
pattern, the wavy side is the bottom of the pattern
piece.

KATRIENETTE Glasses Case Pattern and sewing instructions
Copyright © 2018-2019 Katrien Westhovens, KATRIENETTE Alle rechten voorbehouden | All rights reserved Pagina 4 van 14

KATRIENETTE Glasses Case Pattern and sewing instructions
Copyright © 2018-2019 Katrien Westhovens, KATRIENETTE Alle rechten voorbehouden | All rights reserved Pagina 5 van 14

KATRIENETTE Glasses Case Pattern and sewing instructions
Copyright © 2018-2019 Katrien Westhovens, KATRIENETTE Alle rechten voorbehouden | All rights reserved Pagina 6 van 14

KATRIENETTE Glasses Case Pattern and sewing instructions
Copyright © 2018-2019 Katrien Westhovens, KATRIENETTE Alle rechten voorbehouden | All rights reserved Pagina 7 van 14
KATRIENETTE Glasses Case Pattern and sewing instructions
Copyright © 2018-2019 Katrien Westhovens, KATRIENETTE Alle rechten voorbehouden | All rights reserved Pagina 8 van 14
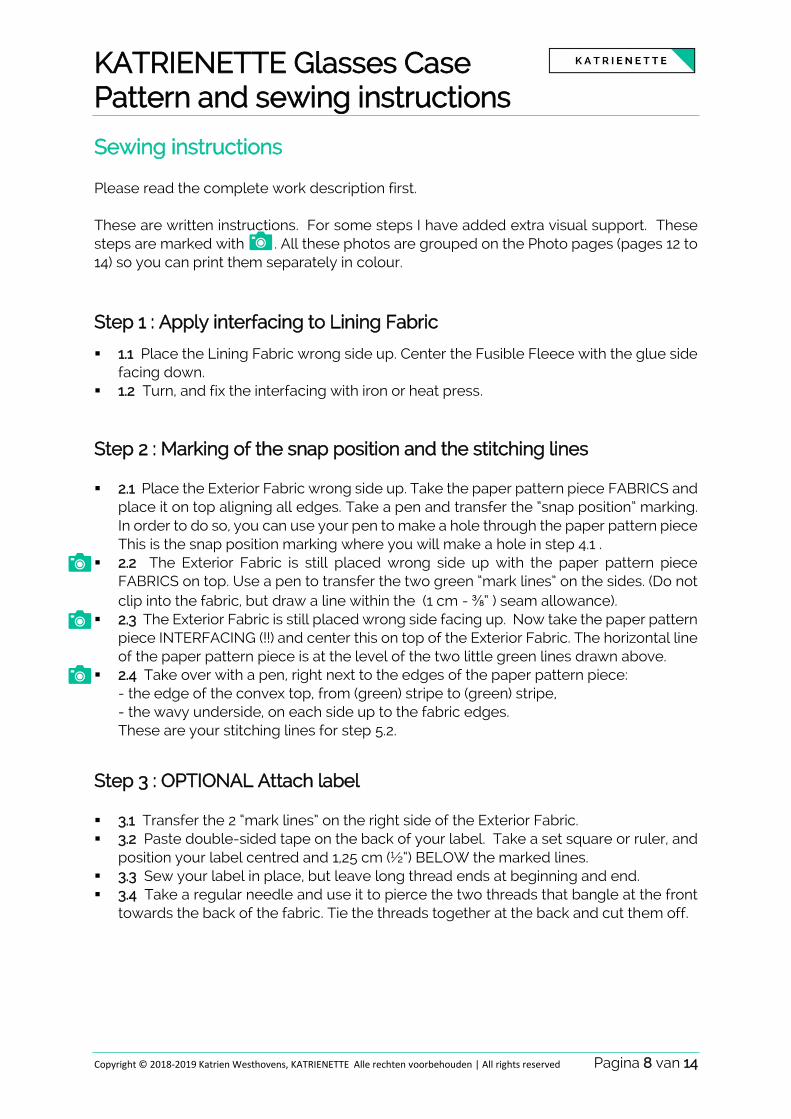
Sewing instructions Please read the complete work description first. These are written instructions. For some steps I have added extra visual support. These steps are marked with . All these photos are grouped on the Photo pages (pages 12 to 14) so you can print them separately in colour.
Step 1 : Apply interfacing to Lining Fabric
▪ 1.1 Place the Lining Fabric wrong side up. Center the Fusible Fleece with the glue side facing down.
▪ 1.2 Turn, and fix the interfacing with iron or heat press.
Step 2 : Marking of the snap position and the stitching lines ▪ 2.1 Place the Exterior Fabric wrong side up. Take the paper pattern piece FABRICS and
place it on top aligning all edges. Take a pen and transfer the “snap position” marking. In order to do so, you can use your pen to make a hole through the paper pattern piece This is the snap position marking where you will make a hole in step 4.1 .
▪ 2.2 The Exterior Fabric is still placed wrong side up with the paper pattern piece FABRICS on top. Use a pen to transfer the two green “mark lines” on the sides. (Do not clip into the fabric, but draw a line within the (1 cm - ⅜“ ) seam allowance).
▪ 2.3 The Exterior Fabric is still placed wrong side facing up. Now take the paper pattern piece INTERFACING (!!) and center this on top of the Exterior Fabric. The horizontal line of the paper pattern piece is at the level of the two little green lines drawn above.
▪ 2.4 Take over with a pen, right next to the edges of the paper pattern piece: - the edge of the convex top, from (green) stripe to (green) stripe, - the wavy underside, on each side up to the fabric edges. These are your stitching lines for step 5.2.
Step 3 : OPTIONAL Attach label ▪ 3.1 Transfer the 2 “mark lines” on the right side of the Exterior Fabric. ▪ 3.2 Paste double-sided tape on the back of your label. Take a set square or ruler, and
position your label centred and 1,25 cm (½“) BELOW the marked lines. ▪ 3.3 Sew your label in place, but leave long thread ends at beginning and end. ▪ 3.4 Take a regular needle and use it to pierce the two threads that bangle at the front
towards the back of the fabric. Tie the threads together at the back and cut them off.

KATRIENETTE Glasses Case Pattern and sewing instructions
Copyright © 2018-2019 Katrien Westhovens, KATRIENETTE Alle rechten voorbehouden | All rights reserved Pagina 9 van 14
Step 4 : Install the lower snap ▪ 4.1. Use an awl or hole punch to make a hole in the Exterior Fabric on the marked spot
(of step 2.1). ▪ 4.2 Fuse a Wonder Dot or other patch of fusible interfacing centered over the pinhole
on the wrong side of the Exterior Fabric. Turn your fabric right side up. Then make a hole in exactly the same place through both fabric and Wonder Dot/interfacing.
▪ 4.3 Take the 2 “lower-parts” of the snap button: Post & Stud. Push the Post through the hole from the wrong side towards the right side of the exterior fabric. Turn your fabric right side up. Place the Stud on top of the Post.
▪ 4.4 Install the lower snap with your Snap Setting Tools.
Step 5 : Stitching the flat shape ▪ 5.1 Place the Lining Fabric right side up. Place the Exterior Fabric on top right side
facing down. (Both fabrics are right sides together, aligning all edges). Pin in place with wonder clips.
▪ 5.2 Sew, using exact 1 cm (⅜”) seam allowance, not all the way around! but only: - the convex top, from stripe to stripe (do not sew the marked stripes themselves) - the wavy underside, from the edge of the fabric all the way to the other fabric edge. Stitch perfectly on your marked stitching lines (of step 2.4). Backstitch at the beginning and end of each stitching. (It is correct that there is still an opening on both sides).
▪ 5.3 Clip (through both layers) on the marked stripes, but NOT INTO your stitches. ▪ 5.4 Use pinking shears to trim the seam allowances of the sewn sides (convex top and
wavy underside) till 3 mm (⅛”). ▪ 5.5 Turn right side out through an opening on the side. Finger press the seams and push
them flat. Leave the unstitched side seams lying flat on top of each other. ▪ 5.6 Place the Stiff Interfacing on top of your workpiece. Trim the interfacing so that it
is 3mm (⅛”) smaller when centered on your workpiece. Depending on the materials used, it may be necessary to cut 2 to 6mm (⅛” to ¼”) at the rounding.
▪ 5.7 Fold the interfacing in 3. First fold the wavy underside (wides part) upwards, then fold these 2 layers upwards again. (You now have a stack of 3 layers on top of each other).
▪ 5.8 Slide the folded interfacing through an open side seam of your workpiece. Place the interfacing nice and flat between the two fabrics. To do this, first slide the convex top edge more and more upwards until it lays completely against the upper edge. Then fold open the underside and lay flat against the bottom edge. Use your hand to go inside and place all the seam allowances along the side of the lining (on top of the interfacing). 5.9 Place the workpiece with the Exterior Fabric facing up and topstitch (only) the wavy underside along curved seam. Use a top spool matching your exterior fabric and a bobbin thread matching your lining fabric. Backstitch at the beginning and end of your stitching.

KATRIENETTE Glasses Case Pattern and sewing instructions
Copyright © 2018-2019 Katrien Westhovens, KATRIENETTE Alle rechten voorbehouden | All rights reserved Pagina 10 van 14
▪ 5.10 Place the workpiece with the Exterior Fabric facing up and mark (e.g. with Washi-tape) a horizontal line at the level of the (green) mark stripes. Topstitch this horizontal line. Use a top spool matching your exterior fabric and a bobbin thread matching your lining fabric. Backstitch at the beginning and end of your stitching. Remove the Washi-tape or marking.
Step 6 : Assembly
▪ 6.1 Place the workpiece with the exterior fabric facing up. Fold the wavy underside upwards. Begin with one side at a time. The tip should meet the raw fabric edge at the height of the cut in the side. Make sure all the fabric edges of the exterior fabrics are aligned. Pin in place with wonder clips. Then fold the other side. “Shape” the underside of the case by making it a little “rounder”. Also pin the other side with wonder clips.
▪ 6. 2 Turn your work piece with the folded side up, and start sewing the side from the fold up to the cuts. Sew right next to the interfacing, using a 0,8 to 1 cm (a scant ⅜”) seam allowance. Use thread matching your exterior fabric, and make sure to backstitch. Repeat for the other side. You will sew here from the cuts to the fold. Check your stitching to make sure it is firm and no stitches have been skipped. If necessary, you can turn your work over (lining side facing up) and sew a second time over the same stitching.
▪ 6.3 In case some Stiff Interfacing was caught in between the seam allowance, first cut (only this interfacing layer) just right next to your stitching. Reduce the seam by carefully trimming (all layers) seam allowance to 3 mm (⅛”).
▪ 6.4 Turn right side out. Turn one corner at a time. Carefully push corners out ▪ 6.5 Place the workpiece flat and with exterior fabric facing up. Finger press the side
seams and the convex upper side. Pin in place with wonder clips to flatten the seams. ▪ 6.6 We are going to sew the outside in one go, starting from one side seam, continuing
over the convex top, to the other side seam. Place the work piece exterior fabric facing up and use thread matching your exterior fabric. Sew everywhere using a 0,5 cm (a scant ¼”) seam allowance. (This will hide the 3 mm (⅛”) seam). Sew at the slowest speed possible, if necessary use your handwheel at difficult points. Sew at the thickenings (at the level of the horizontal line) back and forth twice for extra strength.

KATRIENETTE Glasses Case Pattern and sewing instructions
Copyright © 2018-2019 Katrien Westhovens, KATRIENETTE Alle rechten voorbehouden | All rights reserved Pagina 11 van 14
Step 7: Install the upper snap.
▪ 7.1 Shape the bottom of your glasses case by “squeezing” a fold on each side, from the top of the wave towards the bottom corner. The bottom of the case will now be open/upstanding (about 3,5 to 4 cm / 1⅜” to & 1½”).
▪ 7.2 Fold the flap of your glasses case. Make a first fold on the stitched horizontal line. Then make a second fold about 4 cm (1½”) above it. By making this two folds you create a flap top that covers the upstanding sides.
▪ 7.3 Push the flap firmly on the lower snap. Make sure the flap is aligned straight. Lift the flap. Using a pen, mark a dot on the lining fabric at the spot where the fabric was pressed in by the lower snap.
▪ 7.4 Use an awl or hole punch to make a (through all layers) on the marked spot. ▪ 7.5 Take the 2 “upper-parts” of the snap button: Cap & Socket. Push the Cap through
the hole from the exterior fabric towards the lining fabric. Turn your workpiece lining side up. Place the Socket (spring facing down) on the lining on top of the Cap.
▪ 7.6 Install the lower snap with your Snap Setting Tools. Test the snap button: hear if it “clicks” and feel if it closes properly. The stud should be able to sit deep enough in the Socket. If necessary, tap the parts again.
Congratulations! Your glasses case is ready. Well done.
Share a picture?
Use hashtag: #glassescasekatrienette
and tag/link @katrienette
See pic.. 4.3 fotfotofoto
.344.3
I'm very curious to see which glasses case you made. You would
make me very happy if you would share your creation 😊! And,
who knows, you might inspire others!
If you share, please tag or link to Katrienette, so I can see it too.
Big thank you in advance.

KATRIENETTE Glasses Case Pattern and sewing instructions
Copyright © 2018-2019 Katrien Westhovens, KATRIENETTE Alle rechten voorbehouden | All rights reserved Pagina 12 van 14
Photo pages
2.2 2.3
2.4 4.3
4
5.1 5.3

KATRIENETTE Glasses Case Pattern and sewing instructions
Copyright © 2018-2019 Katrien Westhovens, KATRIENETTE Alle rechten voorbehouden | All rights reserved Pagina 13 van 14
5.4 5.7
5.8 5.9
5.10 6.1

KATRIENETTE Glasses Case Pattern and sewing instructions
Copyright © 2018-2019 Katrien Westhovens, KATRIENETTE Alle rechten voorbehouden | All rights reserved Pagina 14 van 14
6.3 6.5
6.6 6.6
7.1 7.3