It’s Pop-Up Time!. Technique #1: Angle of Crease 8 1/2” x 11” paper folded Measure length and...
29
It’s Pop-Up Time!
-
Upload
sherman-cunningham -
Category
Documents
-
view
217 -
download
1
Transcript of It’s Pop-Up Time!. Technique #1: Angle of Crease 8 1/2” x 11” paper folded Measure length and...
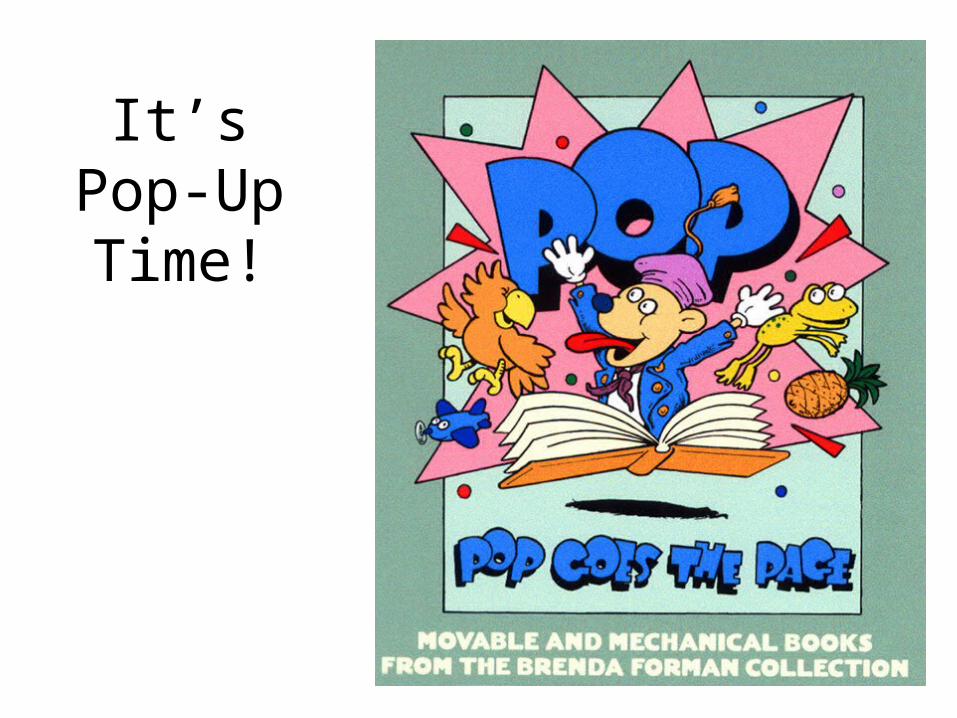
It’s Pop-Up Time!
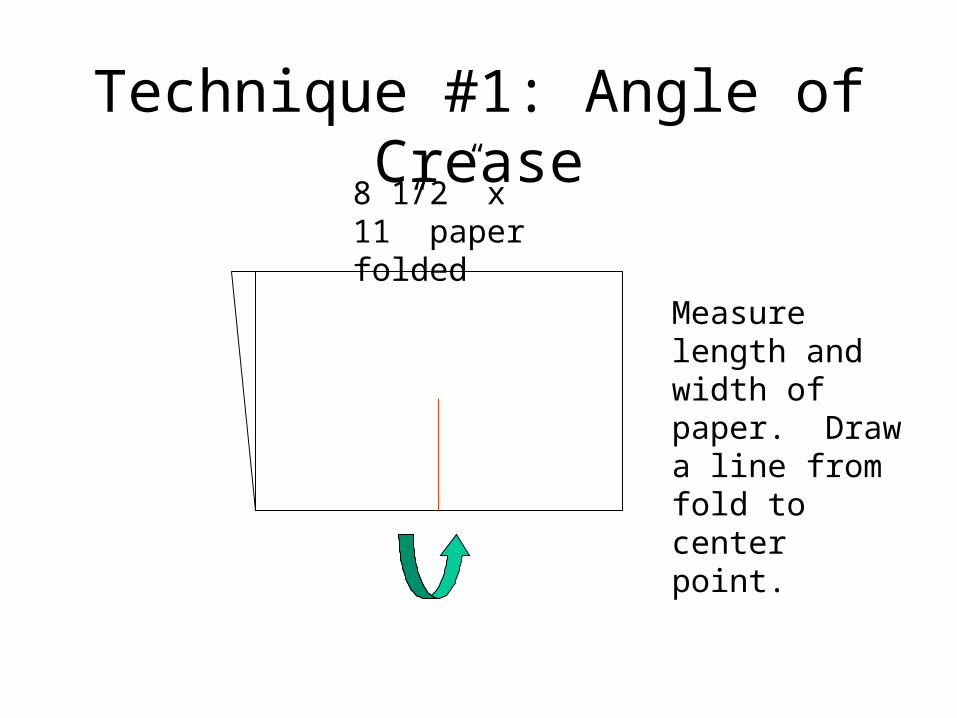
Technique #1: Angle of Crease8 1/2” x 11” paper folded
Measure length and width of paper. Draw a line from fold to center point.

Draw another line to form a triangle.

#1: Cut from fold to center point
#2: Fold back along red lines and crease fold.

Fold triangle in the opposite direction and crease fold again.
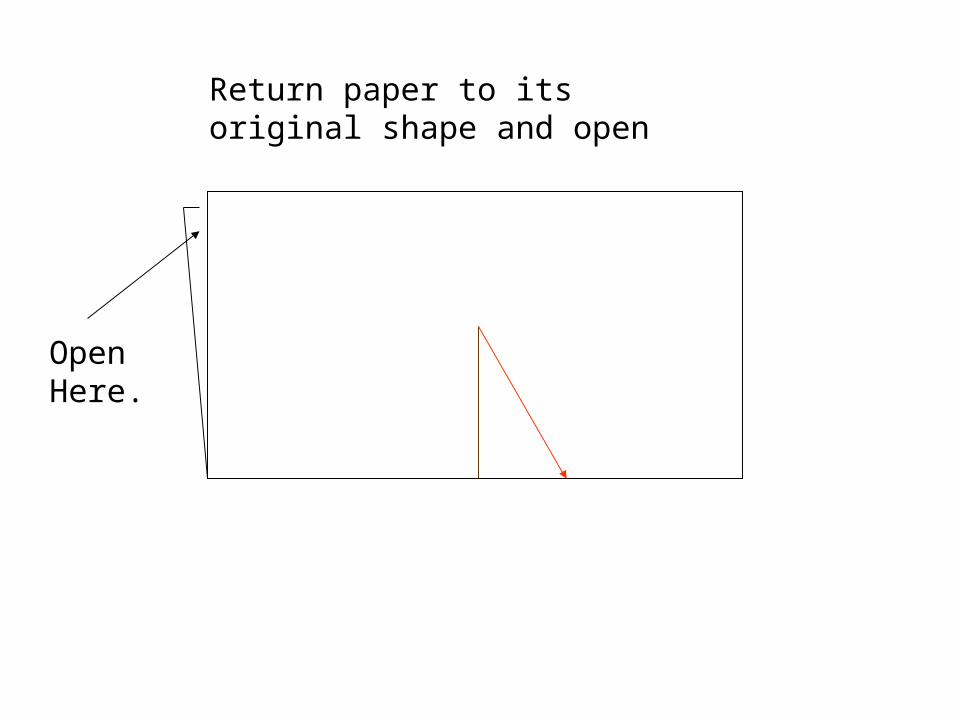
Return paper to its original shape and open
Open Here.
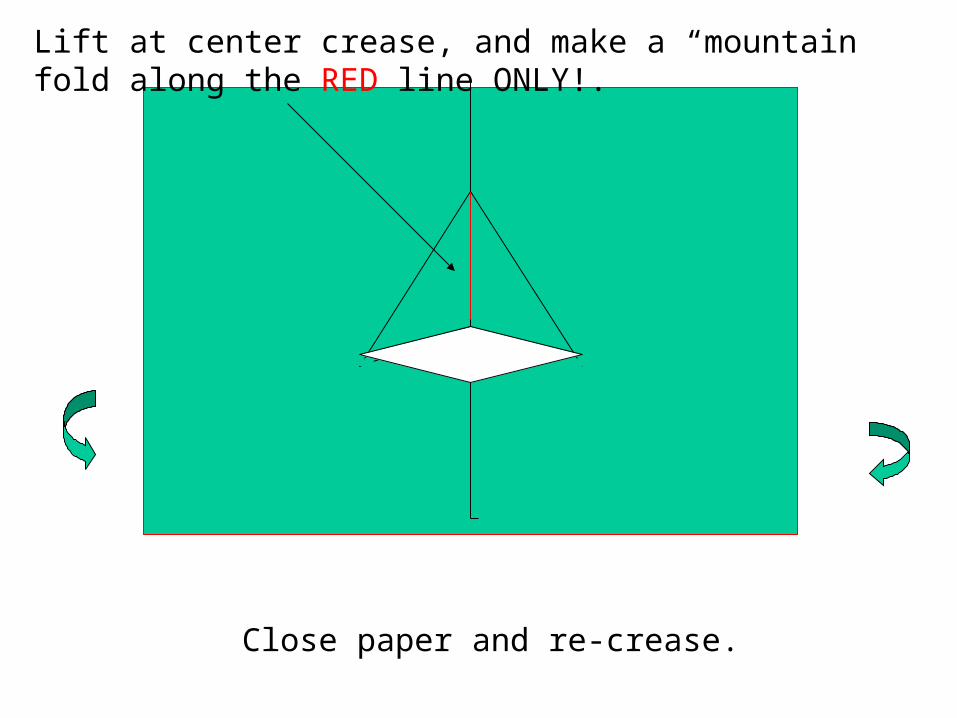
Lift at center crease, and make a “mountain” fold along the RED line ONLY!.
Close paper and re-crease.
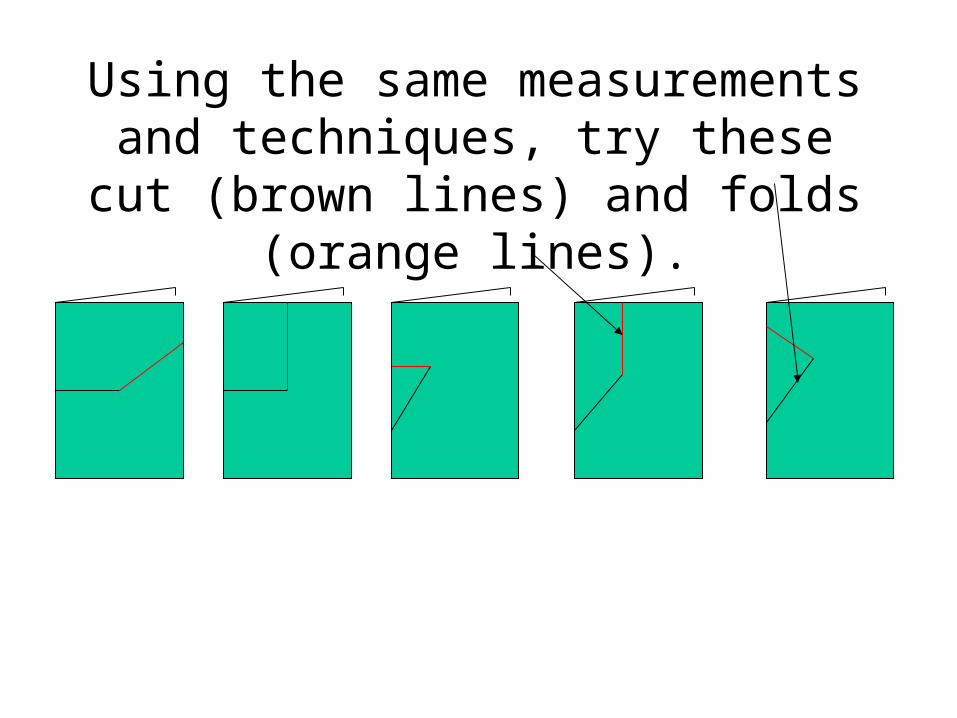
Using the same measurements and techniques, try these cut (brown lines)
and folds (orange lines).

Technique #3: GenerationsStep I:
Using a pencil and ruler, draw a line from the fold to the exact center of the page.
Step II:
Carefully cut along the line from the fold to the center.
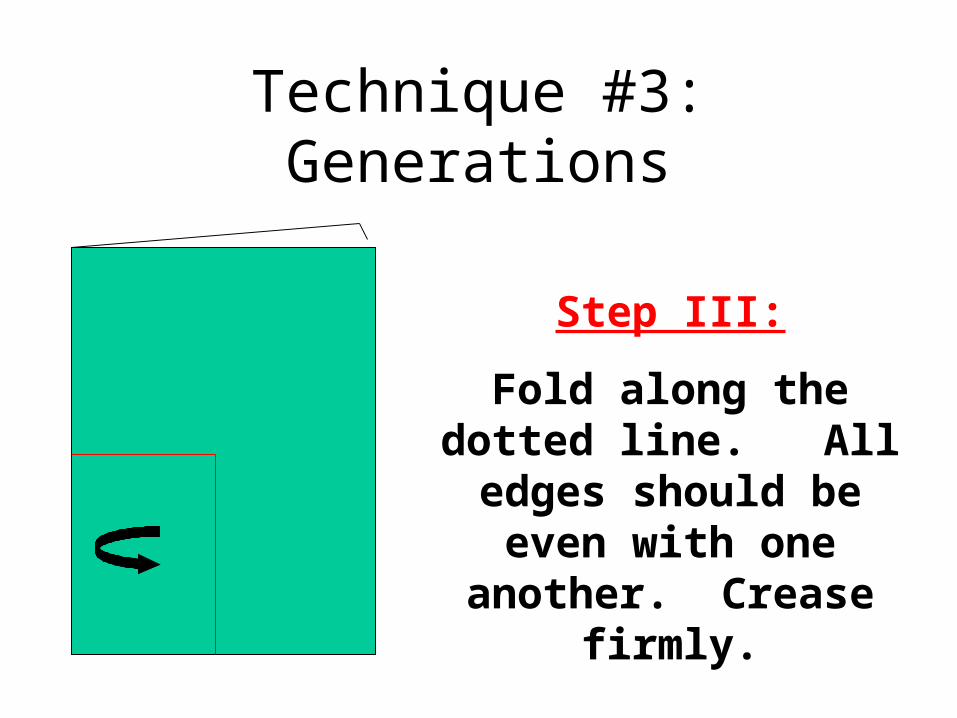
Technique #3: Generations
Step III:
Fold along the dotted line. All edges should be even
with one another. Crease firmly.

Technique #3: Generations
Step IV:
Open the pop-up and pull the cut
out section forward as shown. Make a mountain crease along RED
line ONLY!
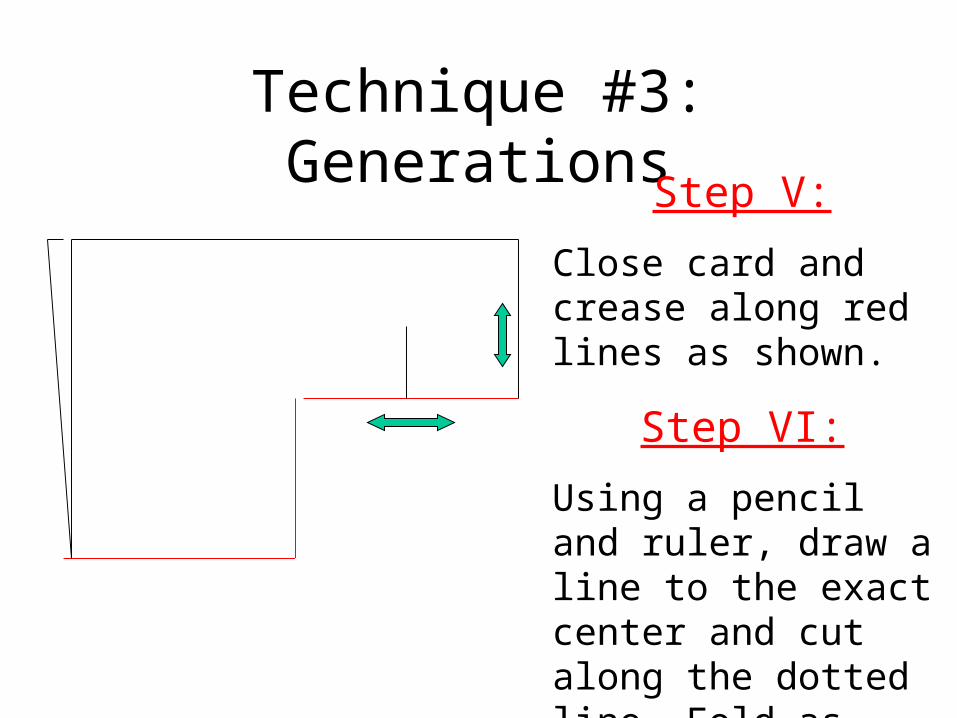
Technique #3: GenerationsStep V:
Close card and crease along red lines as shown.
Step VI:
Using a pencil and ruler, draw a line to the exact center and cut along the dotted line. Fold as before, open card, and pull forms to the front.

Technique #3: GenerationsStep VII:
Close card and crease along red lines as shown.
Step VI:
Using a pencil and ruler, draw a line to the exact center and cut along the dotted line. Fold as before.

Go Ahead; Make a Scene...• Fold paper in half and create tabs by cutting from fold toward center.
• Vary the height of the tabs, but do not exceed 1/2 the height of the paper.
• Fold and refold tabs along RED line as before.
• Flatten paper to original size.
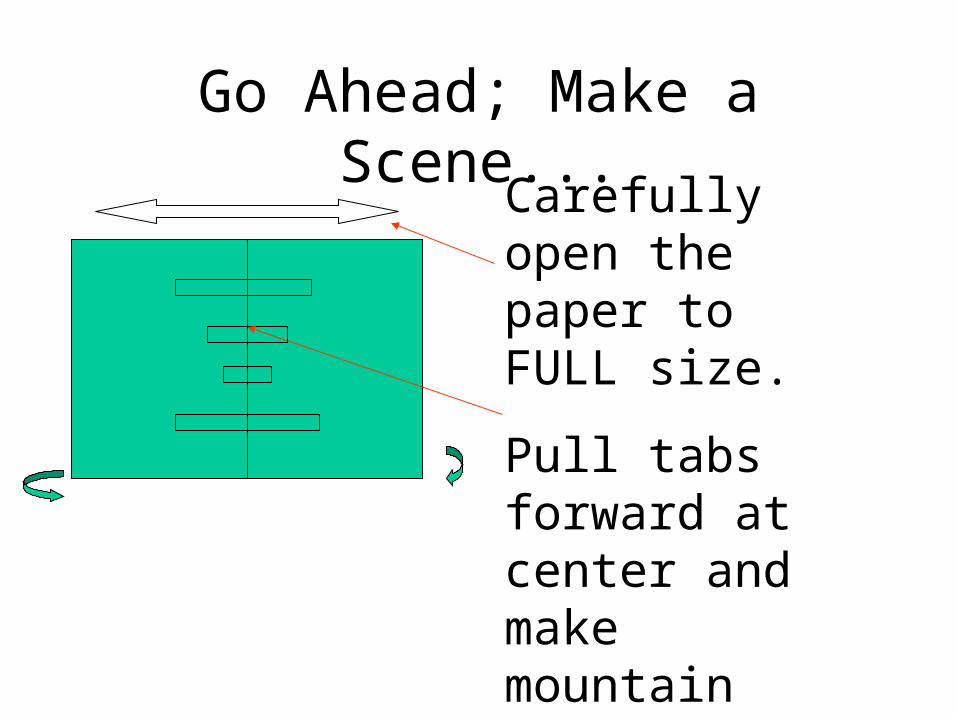
Go Ahead; Make a Scene...Carefully open the paper to FULL size.
Pull tabs forward at center and make mountain creases.
Close paper & re-crease everything.
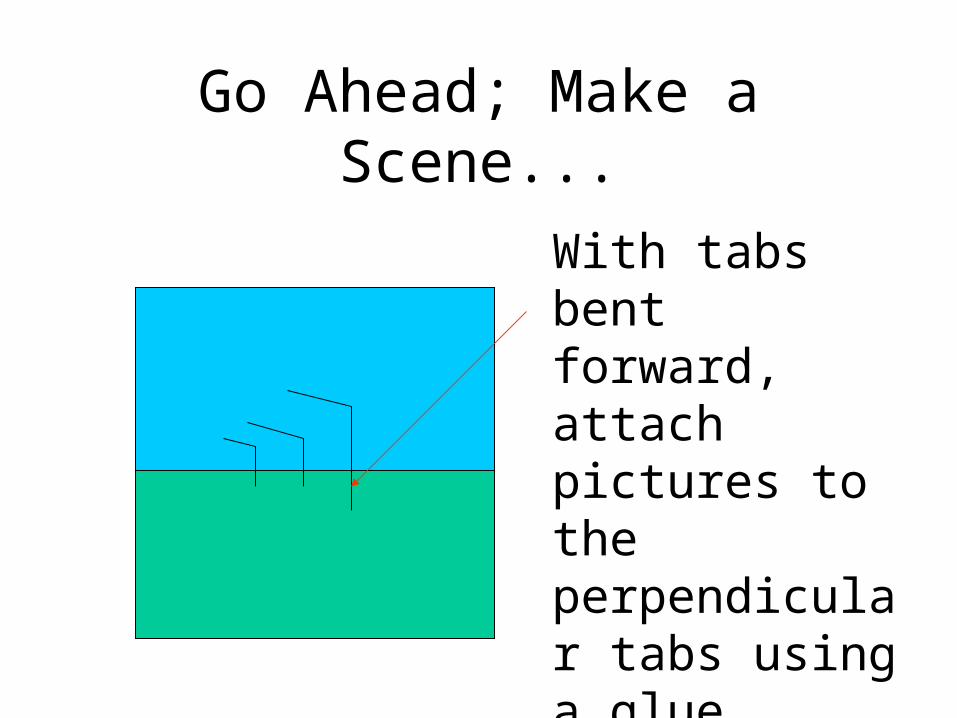
Go Ahead; Make a Scene...
With tabs bent forward, attach pictures to the perpendicular tabs using a glue stick. These images will fold flat when the book is closed.
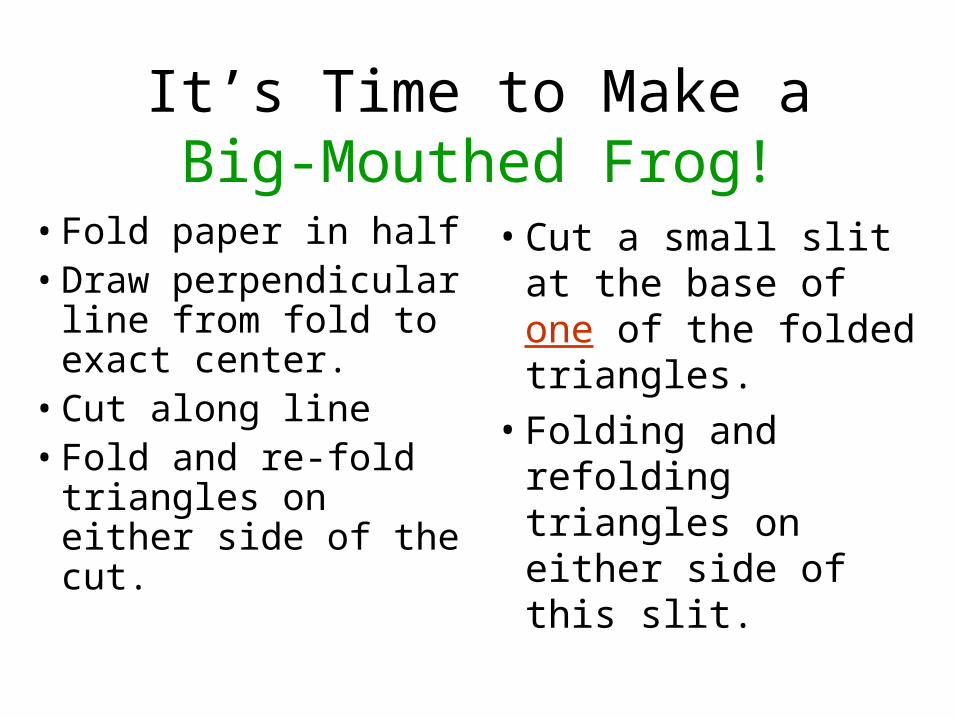
It’s Time to Make a Big-Mouthed Frog!
• Fold paper in half• Draw perpendicular
line from fold to exact center.
• Cut along line• Fold and re-fold
triangles on either side of the cut.
• Cut a small slit at the base of one of the folded triangles.
• Folding and refolding triangles on either side of this slit.

It’s Time to Make a Big-Mouthed Frog!
• Carefully open the paper to its Full size.
• Draw a frog shape around the eye and mouth cutouts.
• Carefully pull the triangles forming the eyes and mouth to the front, making mountain creases.
• Carefully fold paper in half & re-crease.
• Glue or tape on colored backings.
Technique #5: Multi-piece
Now let’s add some imagination and expand on the
basic skills:
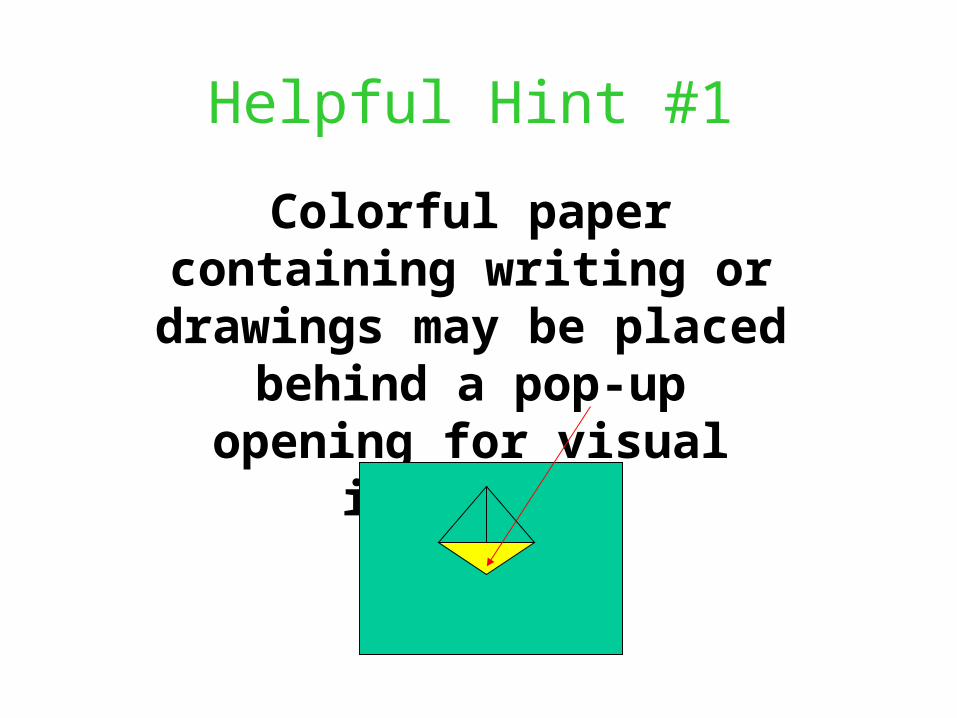
Helpful Hint #1
Colorful paper containing writing or drawings may be
placed behind a pop-up opening for visual interest.
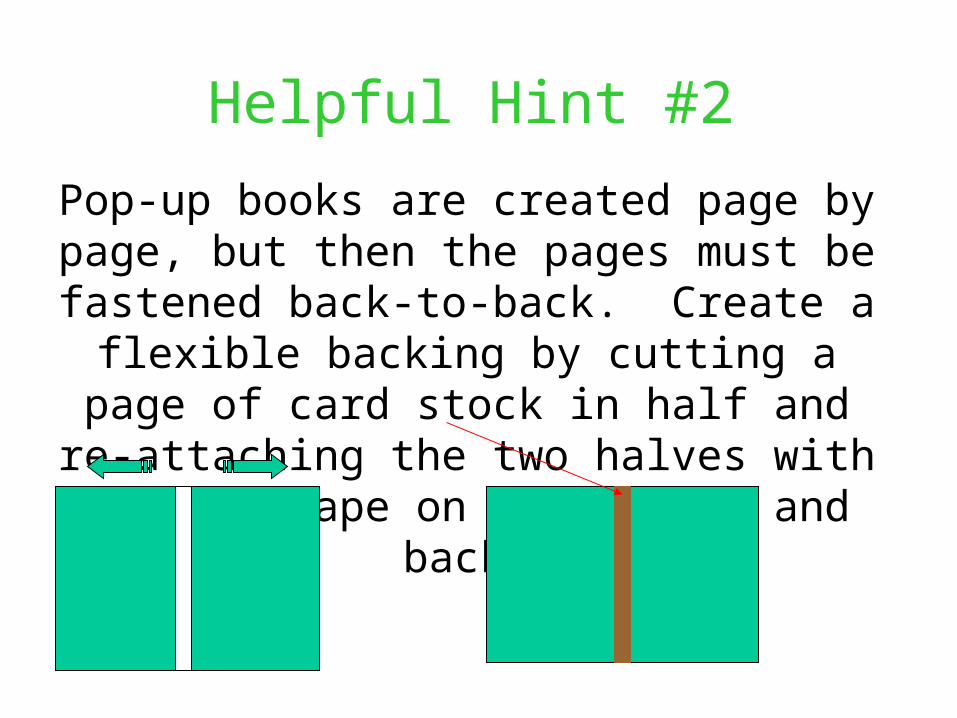
Helpful Hint #2
Pop-up books are created page by page, but then the pages must be fastened back-to-back.
Create a flexible backing by cutting a page of card stock in half and re-attaching the two halves with masking tape on both front and
back.

Just You and Your Imagination:
Construct a pop-up page using at least 2 of the techniques demonstrated
today. Plan carefully BEFORE you begin cutting.

Technique #2: Shape of Slit
Step I:Using a ruler and a pencil,Draw both the solid and thedotted lines on your paper.
Step II:Beginning at the fold, cut alongall solid
lines.

Technique #2: Shape of Slit
Step III:
With solid lines cut, fold both sides back along the dotted lines and toward the spine.
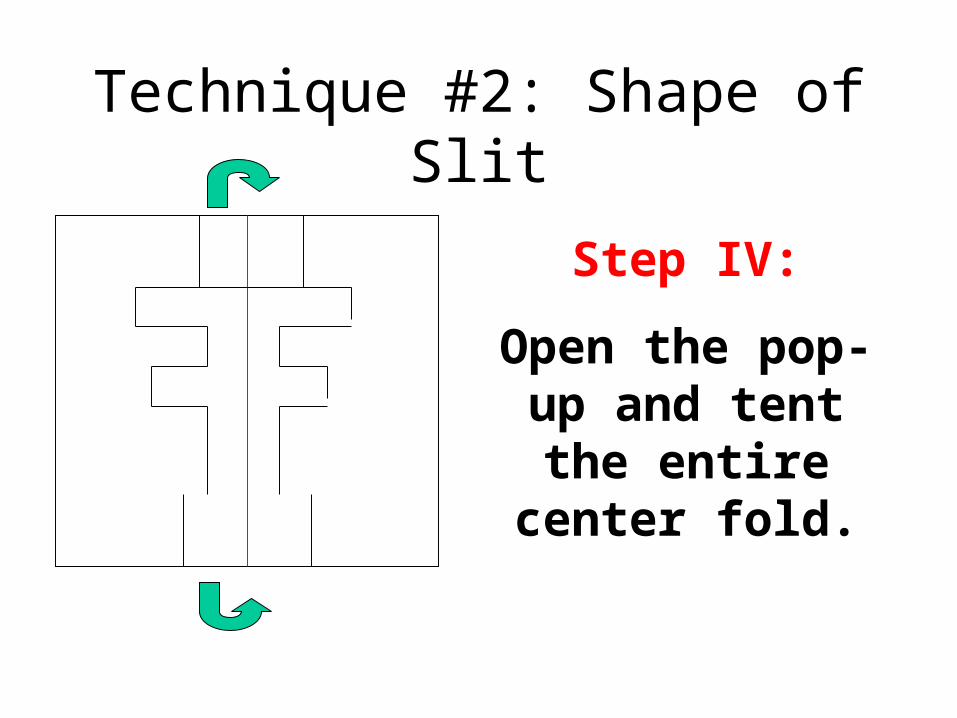
Technique #2: Shape of Slit
Step IV:
Open the pop-up and tent the entire
center fold.

Technique #4: Cut-Aways Cut-Aways are not traditional pop-ups, but can
be incorporated on pop-up pages
Step #1
Using a ruler and pencil, draw lines dividing the paper into 4 equal sections

Technique #4: Cut-Aways
Step #2
Draw a number, letter, or object over the line separating sections 1 & 2; 3 & 4
1 2 3 4

Technique #4: Cut-Aways
Step #3
Carefully cut away only that portion of the drawings that is in sec. 2 & 4. Do not cut from 1 or 3.
1 2 3 4

Technique #4: Cut-Aways
Step #4
Fold and crease along each of the 3 dividing lines. When pages are opened, the forms pop out.
1 2 3 4