Introduction to Astrophotography SPS Members Carl Fredrickson Zachary Long.
18
Introduction to Astrophotography SPS Members Carl Fredrickson Zachary Long
-
Upload
jasper-flynn -
Category
Documents
-
view
229 -
download
1
Transcript of Introduction to Astrophotography SPS Members Carl Fredrickson Zachary Long.

Introduction to Astrophotography
SPS MembersCarl Fredrickson
Zachary Long

Why are you here?
I got hijacked into putting this together.You want to take pictures of night sky.Take advantage of workshops or travel
where little or no light pollution is present.

Disclaimer:
I am not a professional. I just have a passion for photography.
I learn.I share.
I have probably broken a few copyrights.
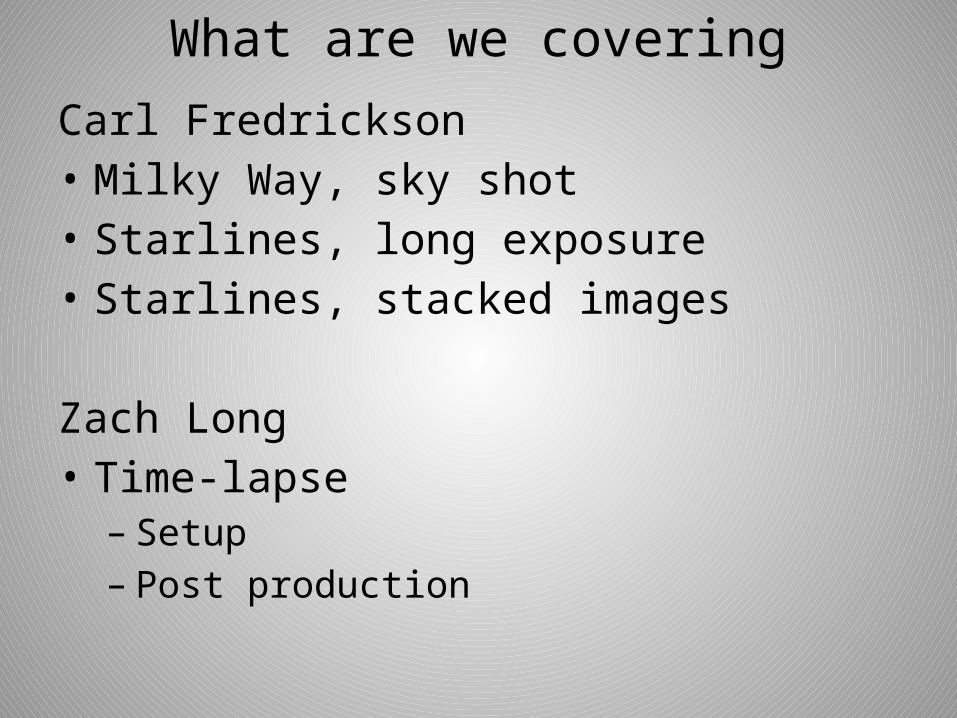
What are we coveringCarl Fredrickson• Milky Way, sky shot• Starlines, long exposure• Starlines, stacked images
Zach Long• Time-lapse– Setup– Post production

Need to have equipment• DSLR• Lens(es), (full frame, 1.6x crop), field of view
– Mid-range (26-60mm, 42-96mm) , 40-20o
– Wide (16-26mm, 26-42mm) , 80-40o
– Ultra-wide (10-16mm,16-26mm) , 100-80o
• Tripod• Cable release– Standard, wired or wireless– Intravolameter
• Flashlight, red gel• Wide rubberband• Extra batteries• Extra memory cards

Nice to have equipment• Compass• Hand warmers• Lightstick• Multiple camera bodies• Chair, blanket, cold weather gear• Company• Entertainment• Warm beverages

Location• Research– Internet– The Photographer’s Ephemeris (TPE),
photoephemeris.com• Sunrise/Sunset, Moonrise/Moonset times
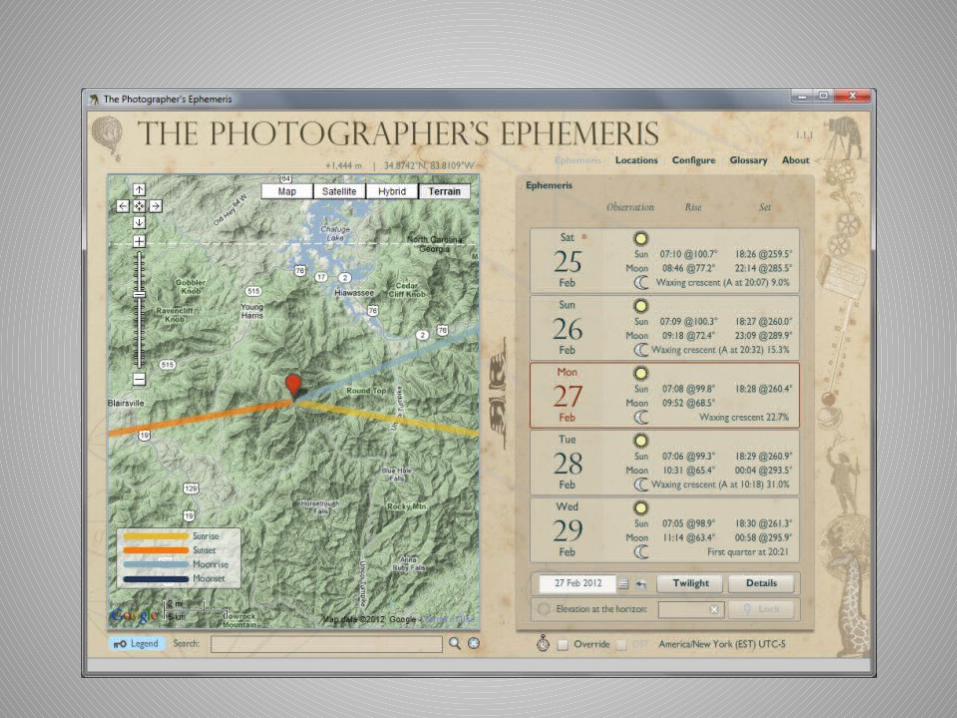

Location• Research– Internet– The Photographer’s Ephemeris (TPE),
photoephemeris.com– Google Sky Map – Android phones


Location• Research– Internet– The Photographer’s Ephemeris (TPE),
photoephemeris.com• Sunrise/Sunset, Moonrise/Moonset times
– Google Sky Map – Android phones– Weather

Weather

Location• Research– Internet– The Photographer’s Ephemeris (TPE),
photoephemeris.com– Google Sky Map – Android phones– Sunrise/Sunset, Moonrise/Moonset times– Weather
• Scout– Look for foreground– Know where your direction
• Where’s North?• Where’s the Milky Way?

Milky Way, sky shot
Settings:• Manual focus, focus on infinity • High ISO 1600-3200• 20-25 sec exposure, Speed Priority
• Any longer and the stars will streak• 600 rule
• Turn on long exposure noise reduction• White Balance, Tungsten• Make adjustments as necessary

Long exposure, starlines single image
Pros:o One shotCons:o All your eggs in one basketo High propensity for capturing ambient, light pollutiono Short battery lifeSettings:• Manual focus, focus on infinity • Locate North star and acceptable foreground• Low ISO 100-200• Manual Priority • Speed, bulb setting• Aperture, lowest possible• White Balance, Tungsten• Cable release, hold/lock for minimum of 40 minutes• Make adjustments as necessary

Long exposure, starlinesmultiple images
Pros:o Multiple, single exposureso Less ambient, light pollutiono Ready to create time-lapseo Longer battery lifeCons:o Need software to merge images
o Photoshopo http://www.startrails.de
oJpegs
Settings:• Manual focus, focus on infinity • Locate North star and acceptable foreground• Low ISO 100-200
•The higher the ISO, the more starlines• Speed Priority, 20 seconds, Rule 600• Aperture setting, lowest possible• Cable release, hold/lock for minimum of 40 minutes. • White Balance, Tungsten• Use Intravolameter• Make adjustments as necessary

Before heading out…Test your infinity focus during daylight.
When reading manuals or photography magazines and books, you will come across the term, 'focus your camera to infinity'. You may also notice the word or infinity symbol on one of your camera lenses. This can usually be found when you turn your camera lens to manual focus (MF) and rotate the focus ring either all the way to the right, or all the way to the left. Nikon and Canon lenses work complete opposite to each other.
On the example lens on the right, notice there are two focus rings that can be rotated. If your DSLR lens doesn't have these, then it can't manually be set to infinity.
If your lens does have two rotatable focus rings, firstly change the AF/MF switch to MF (manual focus). Next, turn the smaller focal ring all the way to the right and then all the way to the left, until you see the infinity symbol.
Now look through your viewfinder and point your lens towards an object in the distance that you want to photograph. Rotate the larger ring with your fingers until the object looks to be in sharp focus. If doing this doesn't achieve sharp focus, you may need to physically move yourself closer to or further away from the object. Now take the shot.
This is the technique known as focus to infinity.
http://www.slrphotographyguide.com

Post Production• Lightroom or PS– Increase Blacks– Recovery or white adjustments– Tonal curve– Clarity, Vibrance– Color sliders– Noise reduction– Sharpening