Install Ubuntu 20.04 with a Graphical User Interface (GUI)
6
The amosp server will host a number of server-side applications that will suit organisations that have requirements beyond those provided by the desktop version of amosp. The aim is to provide a server that can can be administered using command line tools but for those not comfortable with this paradigm, a Graphical User Interface (GUI) - otherwise known as windows management system - is also provided. This 'how to' tutorial details how to install the server Operating System amosp. The 'how to' tutorial was developed using the Vultr VPS service provider. The aim is not to endorse vultr services but because vultr provides servers located in Australia. Such laws as the United States' Patriot Act that allows the US government to access the data on any server hosted on American soil means that some Australian organisations want the option to have their servers hosted in Australia. While this 'how to' shows the steps to set up a server using vultr services, the concepts underlying the approach here should apply to what ever VPS service provider you choose. amosp is not sponsored by Vultr. Software Name Version Ubuntu 20.04 LTS Desktop GUI Gnome 3 Install Ubuntu 20.04 with a Graphical User Interface (GUI) Overview The Server Operating System - Ubuntu 20.04
Transcript of Install Ubuntu 20.04 with a Graphical User Interface (GUI)
The amosp server will host a number of server-side applications that will suit organisations that have requirements beyond those provided by the desktop version of amosp. The aim is to provide a server that can can be administered using command line tools but for those not comfortable with this paradigm, a Graphical User Interface (GUI) - otherwise known as windows management system - is also provided.
This 'how to' tutorial details how to install the server Operating System amosp. The 'how to' tutorial was developed using the Vultr VPS service provider. The aim is not to endorse vultr services but because vultr provides servers located in Australia. Such laws as the United States' Patriot Act that allows the US government to access the data on any server hosted on American soil means that some Australian organisations want the option to have their servers hosted in Australia. While this 'how to' shows the steps to set up a server using vultr services, the concepts underlying the approach here should apply to what ever VPS service provider you choose.
amosp is not sponsored by Vultr.
Software Name Version
Ubuntu 20.04 LTS
Desktop GUI Gnome 3
Install Ubuntu 20.04 with a Graphical User Interface (GUI)Overview
The Server Operating System - Ubuntu 20.04
The amosp server version will standardise to Ubuntu 20.04 as the server operating system because it is a Long Term Support version that will allow organisation a level stability for the support period.
There are huge number of ways to deliver server infrastructure however, this project assumes that a Virtual Private Server (VPS) will be used. While this is not mandatory, it is believed that this will be attractive to a number of small organisations because it is a very low cost approach that would be manageable for individuals and small organisations.
The tools and methods utilised by the VPS service provider are similar to the service provider used to develop this documentation however, the user will be need to research and address any difference in the way their VPS service provider's service offing.The setup of a domain is not required at this point.Secure Shell (SSH) is installed with the base server. Note: to confirm whether SSH is installed use ssh -V to find the version. If not installed, and assuming port 22 has already been opened, use sudo apt install ssh and to set up a daemon so SSH runs automatically use: sudo systemctl enable --now ssh
A terminal or console tool to execute commands is required. The VPS service provider used to create this 'how to' page provides a console connection. This is sufficient to execute commands however, there are some benefits in using a local terminal connection. For Windows, you might use 'Putty' for a Windows, for example, or the terminal applications provided natively with Mac or Linux distributions.
amosp chose to use the firewall that was provided by the VPS service provider however, you can choose to use another firewall such as Uncomplicated Firewall (UFW), for example. Either way, you will need to open the SSH port 22, and VNC ports 5900, 5901 and 5902.
Assumptions
PrerequisitesTerminal Connection
Firewall Settings (ports)
Deploy and Configure the Ubuntu
The first step is to have a VPS available to install the required software on. Note: these instruction are based on the VPS service provider we used.
Click on the blue '+' icon and click on the 'Deploy a New Server' menu item. The 'Deploy New Instance page is displayed.
Select the following:
1. Choose Server: 'Cloud Compute'2. Server Location: 'Sydney'3. Server Type: 'Ubuntu' and select 20.04 from the drop down list4. Servier Size: 55GB SSD5. Click the 'Deploy Now' button.
The server will be given an IP Address, have the 'root' user password set and its status will be set to 'Running'.
When a server is deployed a root user and password for the root user is set.
Note: The console provided by our VPS service provider does not allow copy and paste therefore, we chose to use a local terminal application (Linux or Mac client) or you can also opt to use 'Putty' for a Windows machines, for example, to make copying and pasting commands easier.
Connect to the new server using SSH via the terminal or console using the command:
ssh root@[ip address of your new server]
You will be prompted to enter a password. Our VPS service provider's console requires the password to be typed in, followed by you pressing the 'Enter' key. If you use another terminal then you should be able to copy and paste the password however, when using SSH from a remote client for the first time you will need to add a fingerprint for the ECDSA key, which is then saved to your local machine. At this point you will be asked if you wish to save the fingerprint. Enter 'yes', press the 'Enter' key and the fingerprint is saved to the known_hosts file, which SSH then consults
20.04 Server
Step 1 – Deploy a Server
Step 2 - Create a New Administration UserLog on as the Root User
every time you connect to that server.
The user 'amosp' is used in a number of contexts. It is suggested that this user be used rather than changing it. Alternatively, you may choose to use another user name but if you do then ensure you replace 'amosp' in all other instances (e.g. when create a PostgreSQL 'amosp' user). To add the new amosp user run:
adduser amosp
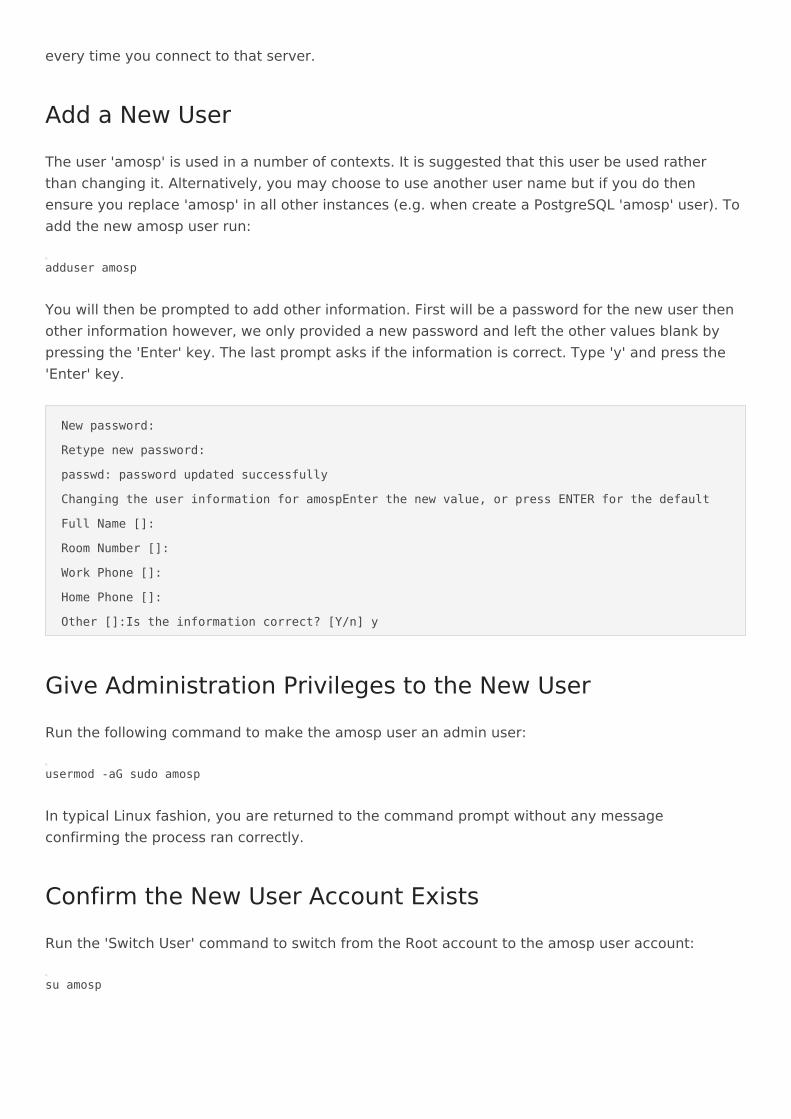
You will then be prompted to add other information. First will be a password for the new user then other information however, we only provided a new password and left the other values blank by pressing the 'Enter' key. The last prompt asks if the information is correct. Type 'y' and press the 'Enter' key.
Run the following command to make the amosp user an admin user:
usermod -aG sudo amosp
In typical Linux fashion, you are returned to the command prompt without any message confirming the process ran correctly.
Run the 'Switch User' command to switch from the Root account to the amosp user account:
su amosp
Add a New User
New password:
Retype new password:
passwd: password updated successfully
Changing the user information for amospEnter the new value, or press ENTER for the default
Full Name []:
Room Number []:
Work Phone []:
Home Phone []:
Other []:Is the information correct? [Y/n] y
Give Administration Privileges to the New User
Confirm the New User Account Exists
The command prompt will change to 'amosp@yourServer'.
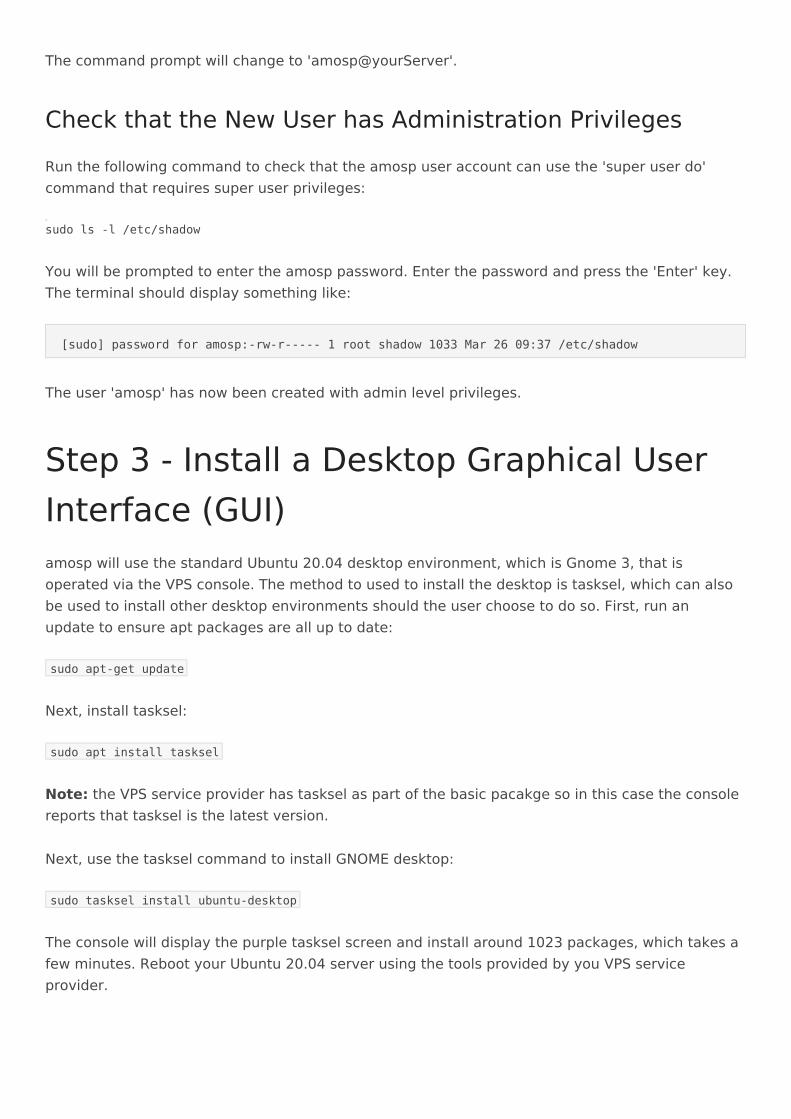
Run the following command to check that the amosp user account can use the 'super user do' command that requires super user privileges:
sudo ls -l /etc/shadow
You will be prompted to enter the amosp password. Enter the password and press the 'Enter' key. The terminal should display something like:
The user 'amosp' has now been created with admin level privileges.
amosp will use the standard Ubuntu 20.04 desktop environment, which is Gnome 3, that is operated via the VPS console. The method to used to install the desktop is tasksel, which can also be used to install other desktop environments should the user choose to do so. First, run an update to ensure apt packages are all up to date:
sudo apt-get update
Next, install tasksel:
sudo apt install tasksel
Note: the VPS service provider has tasksel as part of the basic pacakge so in this case the console reports that tasksel is the latest version.
Next, use the tasksel command to install GNOME desktop:
sudo tasksel install ubuntu-desktop
The console will display the purple tasksel screen and install around 1023 packages, which takes a few minutes. Reboot your Ubuntu 20.04 server using the tools provided by you VPS service provider.
Check that the New User has Administration Privileges
[sudo] password for amosp:-rw-r----- 1 root shadow 1033 Mar 26 09:37 /etc/shadow
Step 3 - Install a Desktop Graphical User Interface (GUI)
Once the server is reboot, open the console and you will be presented with the Gnome 3 desktop for 'Focal Fossa'. The will be some setup choices that will be ignored for now and then it is likely that a package update screen will pop up. Install the updates and again, reboot the server.
After the reboot, the console window should load with Gnome 3 instead on a terminal window.
Confirmation
Revision #16 Created Tue, Aug 25, 2020 2:42 AM by AdminUpdated Sat, Dec 5, 2020 4:36 AM by Admin