Insert-Type Venturi Flow Meter Installation and Operation Manual · Installation Procedures The...
8
Insert-Type Venturi Flow Meter Installation and Operation Manual 351-EN Please read and save these instructions.
Transcript of Insert-Type Venturi Flow Meter Installation and Operation Manual · Installation Procedures The...

Insert-Type Venturi Flow MeterInstallation and Operation Manual
351-EN
Please read and save these instructions.

Installation ProceduresThe Proper Method of Installing a Halmi Venturi Meter
2
Caution:
- This is a high quality flow meter.
- If improperly installed, it must be reinstalled.
- If damaged, it must be replaced.
- Handle it from its outside.
- Do not damage its inside.
- Install meter in the pipe line so that the “Flow Directional Arrow” agrees with the direction of the flow.
- Use gaskets appropriate for use with the flange materials.
- Make sure that the “Inlet Pressure Port” is not covered by the gasket, or plugged in any way.
- Center meter carefully in the pipe.
- Orient Pressure Taps HORIZONTALLY.
- Provide necessary clearances as deemed practical for installation, inspection and maintenance.
- Tolerances should be within industry standards for the above installation instructions.
- Impulse piping to secondary instrumentation should be corrosion resistant, sized and installed in accordance with the instrumentation manufacturer’s instructions.
FAILURE TO FOLLOW ABOVE DIRECTIONS MAY VOID WARRANTY.
Designs, materials, weights and performance ratings are approximate and subject to change without notice. Visit armstronginternational.com/emech for up-to-date information.

Designs, materials, weights and performance ratings are approximate and subject to change without notice. Visit armstronginternational.com/emech for up-to-date information. 3
Installation Procedures - continuedGeneral Piping for PI Single Range Metering

4 Designs, materials, weights and performance ratings are approximate and subject to change without notice. Visit armstronginternational.com/emech for up-to-date information.
Start-Up Procedures
Shut-Down Procedures
Determine that the meter is properly installed. The venturi meter is a piping component and should be handled accordingly with the same precautions. DO NOT HANDLE METER FROM ITS INSIDE.
Determine that the pressure connections are properly made and are appropriate for the intended service.
Determine that the meter has been installed in strict conformance with the “Installation Directions” included in this manual.
Do not over-pressurize meter. Refer to approval drawing for design pressure.
Do not subject meter to shock pressures or water hammer.
When filling pipe line, bleed-off air in the proper fashion.
Determine that pressure piping to secondary instrumentation is installed correctly.
If the meter appears damaged in any way, contact Armstrong.
If it is necessary to isolate the differential pressure signal from the secondary instrumentation, close the isolation valves (if provided) and disconnect impulse piping. If secondary instrumentation is to be disconnected for an extended period, use pipe plugs appropriate for the line pressure.
If the meter is to be removed from the line for any reason, depressurize and drain the pipe line.
Move meter with slings or strapping appropriate for the weight and geometry of the meter.
Designs, materials, weights and performance ratings are approximate and subject to change without notice. Visit armstronginternational.com/emech for up-to-date information. 5
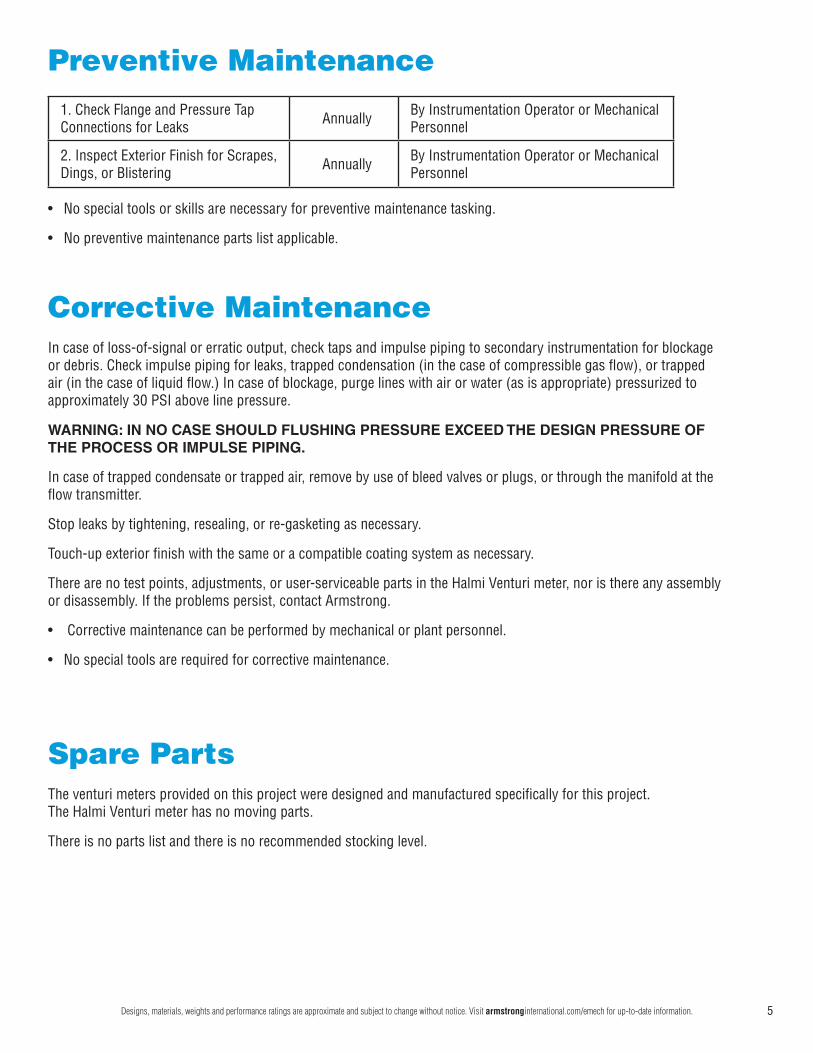
Preventive Maintenance
Corrective Maintenance
Spare Parts
1. Check Flange and Pressure Tap Connections for Leaks Annually By Instrumentation Operator or Mechanical
Personnel
2. Inspect Exterior Finish for Scrapes, Dings, or Blistering Annually By Instrumentation Operator or Mechanical
Personnel
• No special tools or skills are necessary for preventive maintenance tasking.
• No preventive maintenance parts list applicable.
The venturi meters provided on this project were designed and manufactured specifically for this project. The Halmi Venturi meter has no moving parts.
There is no parts list and there is no recommended stocking level.
In case of loss-of-signal or erratic output, check taps and impulse piping to secondary instrumentation for blockage or debris. Check impulse piping for leaks, trapped condensation (in the case of compressible gas flow), or trapped air (in the case of liquid flow.) In case of blockage, purge lines with air or water (as is appropriate) pressurized to approximately 30 PSI above line pressure.
WARNING: IN NO CASE SHOULD FLUSHING PRESSURE EXCEED THE DESIGN PRESSURE OF THE PROCESS OR IMPULSE PIPING.
In case of trapped condensate or trapped air, remove by use of bleed valves or plugs, or through the manifold at the flow transmitter.
Stop leaks by tightening, resealing, or re-gasketing as necessary.
Touch-up exterior finish with the same or a compatible coating system as necessary.
There are no test points, adjustments, or user-serviceable parts in the Halmi Venturi meter, nor is there any assembly or disassembly. If the problems persist, contact Armstrong.
• Corrective maintenance can be performed by mechanical or plant personnel.
• No special tools are required for corrective maintenance.

6 Designs, materials, weights and performance ratings are approximate and subject to change without notice. Visit armstronginternational.com/emech for up-to-date information.
Storage RequirementsInsert-Type Venturi Flow MetersIndoor Storage:• The venturi flow meters can be stored indefinitely indoors in a clean non-corrosive environment. If environment is not
clean, meters must be covered.
• Meters should be stored away from high traffic areas in order to minimize damage risk.
• Meters must not be stacked.
• Depending on the service, meters may have uncoated or lightly primed carbon steel components as required by the specification. If meters will be stored in humid or corrosive areas, the carbon steel may need to be coated with a suitable rust preventative. Note that any coating or sealant may need to be removed prior to installation; refer to the specification and applicable standards or codes. temperature and humidity fluctuations should be minimized.
• Prolonged exposure to sunlight or other ultraviolet sources (fluorescent lights, etc.) may discolor, degloss or chalk the coated or fiberglassed surfaces. See specific meter coating information.
• If storage is to be long-term, it is recommended that meters be covered with a tarp or heavy plastic sheeting.
Outdoor Storage – Short Term (less than 3 months):• Meters should be stored away from high traffic areas in order to minimize damage risk.
• Meters must not be stacked.
• If meters will be stored in humid or corrosive areas, any unpainted carbon steel may need to be coated with a suitable rust preventative appropriate for outdoor exposure. Note that any coating or sealant may need to be removed prior to installation; refer to the specification and applicable standards or codes.
• Depending on unit and order size, the venturi meters are either boxed/crated or the ends are capped to prevent foreign matter from damaging the internal portions of the meter. The meters should not be uncrated, nor should the caps be removed until installation.
• The pressure sensing tap connections have pipe plugs to eliminate the possibility of clogging. These caps must not be removed until installation.
• If the exterior finish gets damaged, it must be touched-up with the same or a compatible coating system. Note that prolonged exposure to sunlight may discolor, degloss or chalk exterior finish.
• It is recommended that the meters be covered with a tarp or heavy plastic sheeting.
Long Term Storage:• Long-term storage requires indoor storage where temperature and humidity fluctuations are minimized. Otherwise,
contact Armstrong.
Meter Transport:• Depending on unit and order size, the venturi meters are either boxed/crated or strapped onto pallets or custom skids.
• Using the skids, the meters can be moved with a forklift of adequate capacity. DO NOT DRIVE THE FORKLIFT THROUGH THE FLANGE CAPS OR INTO THE METER INTERIOR.
• The meters can be lifted by a crane or forklift in conjunction with an appropriate sling.
• Do not scrape or scratch the coated surfaces. Touch-up coatings as needed.

Designs, materials, weights and performance ratings are approximate and subject to change without notice. Visit armstronginternational.com/emech for up-to-date information. 7
SafetyPrior to Start-Up:• Determine that the meter is properly installed. The venturi meter is a piping component and should be handled
accordingly with the same precautions. DO NOT HANDLE METER FROM ITS INSIDE.
• Determine that the pressure connections are properly made and are appropriate for the intended service.
• Determine that meter has been installed in strict conformance with the “Installation Directions” included in this manual.
• If the meter appears damaged in any way, contact Armstrong.
At Start-Up:• Do not over-pressurize the meter. Refer to approval drawing for design pressure.
• Do not subject meter to shock pressures or water hammer.
• When filling pipe line, bleed-off air in the proper fashion.
After Start-Up:• Do not over-pressurize the meter. Refer to approval drawing for design pressure.
• Do not subject meter to shock pressures or water hammer.
• Conform to “Preventive Maintenance” procedures included in this manual.

Insert-Type Venturi Flow MeterInstallation and Operation Manual
Designs, materials, weights and performance ratings are approximate and subject to change without notice.Visit armstronginternational.com for up-to-date information.
Armstrong International North America • Latin America • India • Europe / Middle East / Africa • China • Pacific Rim armstronginternational.com
351-EN11-9-2016
© 2016 Armstrong International, Inc.