Incubation and Embryology
32
Incubation and Embryology Ken Koelkebeck, Ph.D. Extension Specialist, Poultry
Transcript of Incubation and Embryology
Incubation and Embryology
Ken Koelkebeck, Ph.D.Extension Specialist, Poultry
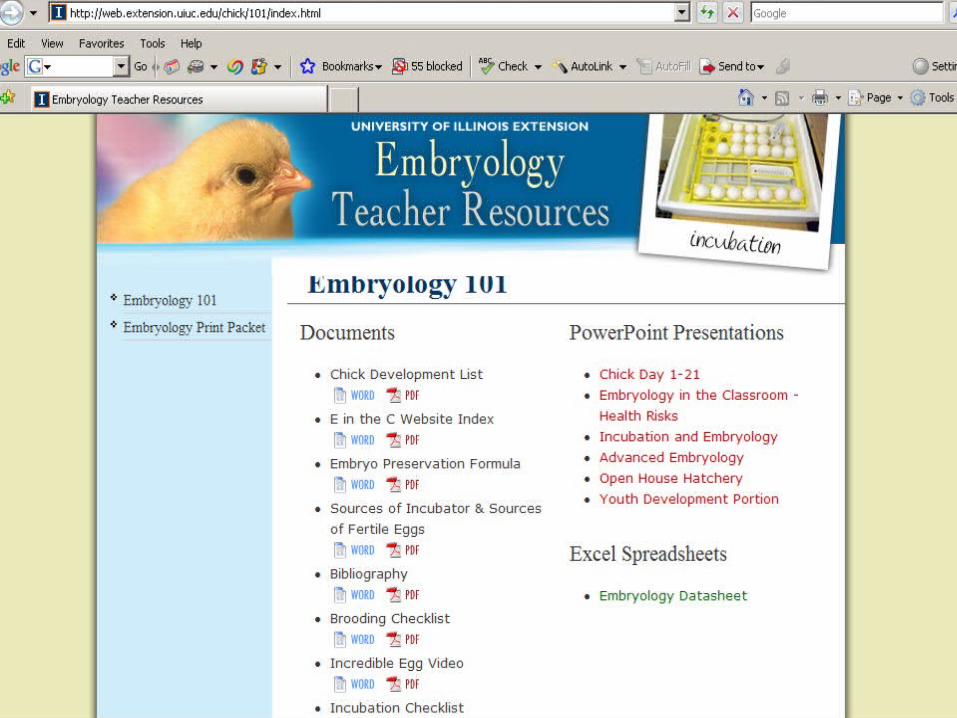
http://web.extension.uiuc.edu/chick/101/index.html
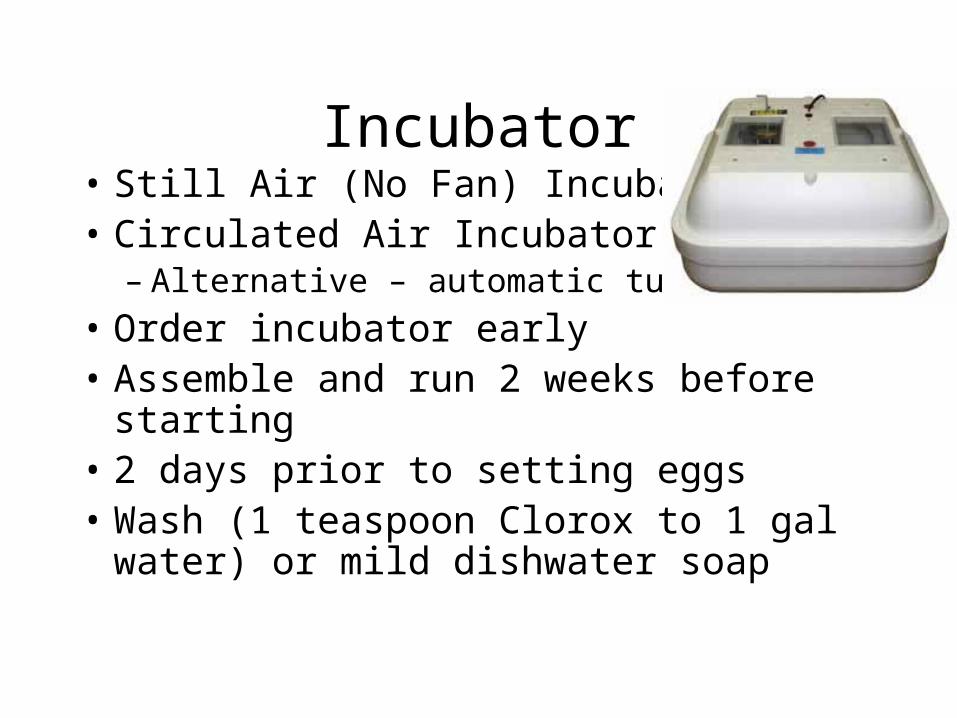
Incubator• Still Air (No Fan) Incubator• Circulated Air Incubator
– Alternative – automatic turner• Order incubator early• Assemble and run 2 weeks before starting• 2 days prior to setting eggs• Wash (1 teaspoon Clorox to 1 gal water) or
mild dishwater soap
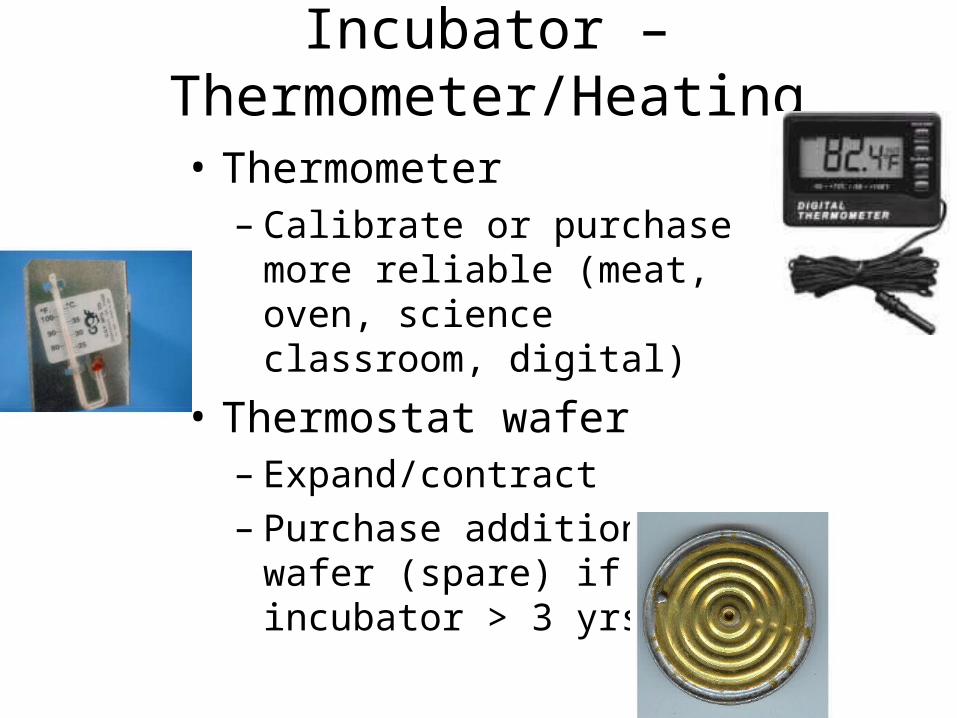
Incubator – Thermometer/Heating
• Thermometer– Calibrate or purchase more
reliable (meat, oven, science classroom, digital)
• Thermostat wafer– Expand/contract– Purchase additional wafer (spare)
if incubator > 3 yrs. old
Incubator – Set-Up
• 1- 2 days prior to setting eggs• corner of room, non-draft, away from
windows• 70-75°F room• Sign – Experiment in Progress• Adjust temperature over 2 hr. periods

Incubator• Assembly
– Bottom – vent holes for circulation– Grate– Top (red light, arrows, wing nut)– Heating Element– Electrical plug (sign, janitor)– Vent Plugs
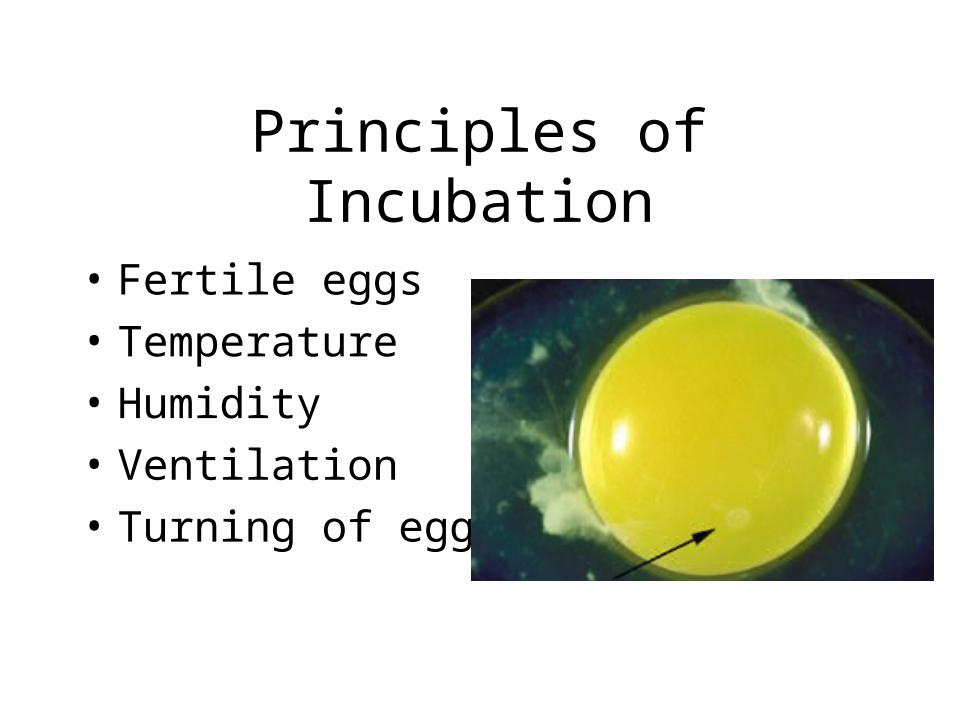
Principles of Incubation
• Fertile eggs• Temperature• Humidity• Ventilation• Turning of eggs
Fertile Eggs
• Have incubator up and running• Set eggs (Tuesday if possible)• If stored, keep at 55-60° F (veggie section)• Do not wash eggs, if dirty clean with fine
sand paper• Allow eggs to warm to room temperature
prior to setting (30 min – 2 hrs)
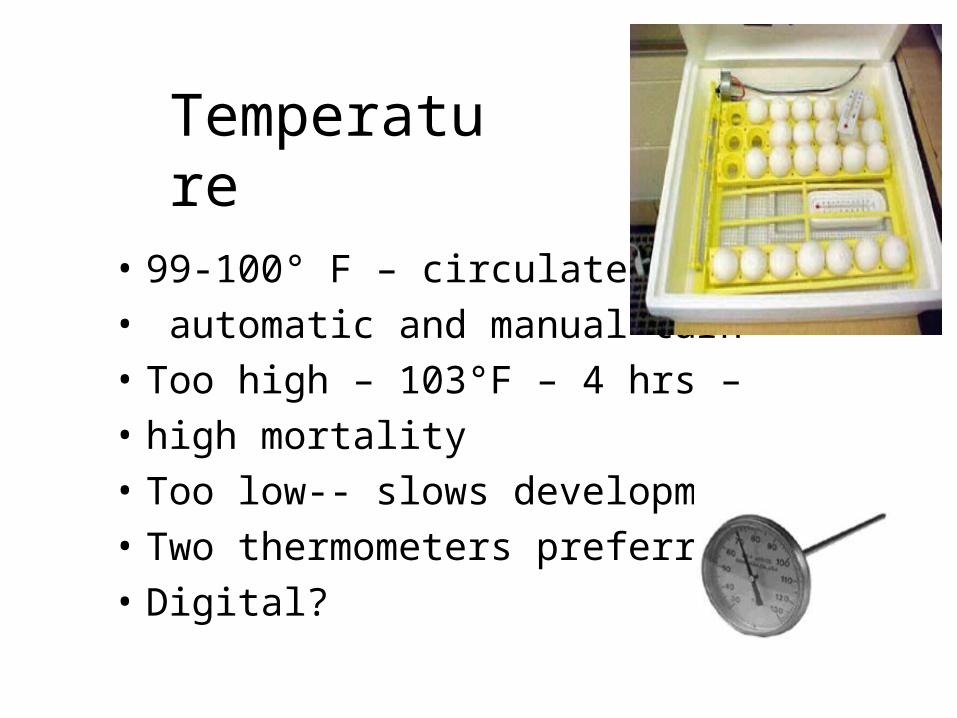
Temperature
• 99-100° F – circulated air • automatic and manual turn• Too high – 103°F – 4 hrs – • high mortality• Too low-- slows development• Two thermometers preferred• Digital?

Temperature
• Still Air (No Fan)• Manual turn 99-100° F• Automatic turn 99-100° F

Temperature
• When first placing the eggs, expect a temperature drop
• Do not adjust heat upward first 48 hrs• Do not overheat first 48-72 hrs• This cooks the embryo
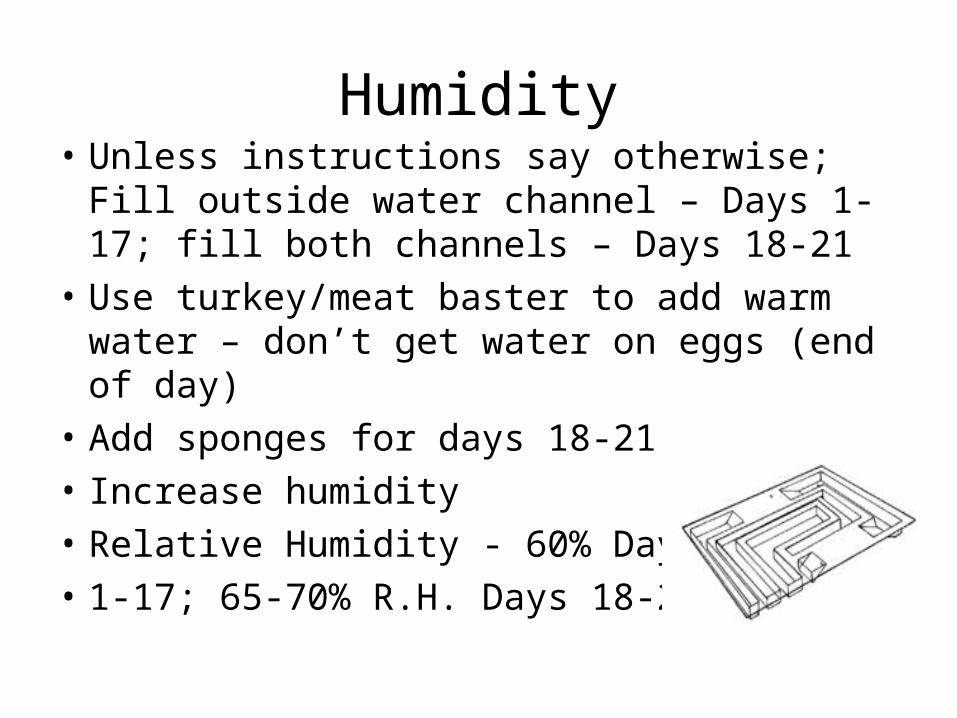
Humidity• Unless instructions say otherwise; Fill outside
water channel – Days 1-17; fill both channels – Days 18-21
• Use turkey/meat baster to add warm water – don’t get water on eggs (end of day)
• Add sponges for days 18-21 to • Increase humidity • Relative Humidity - 60% Days • 1-17; 65-70% R.H. Days 18-21

Humidity• Circulated air – add water to outer trough
from Days 1-17; both troughs Days 18-21 (follow instructions)
• Still air (No fan) – add water to inner trough from Days 1-17; both troughs Days 18-21 (follow instructions)
• If condensation forms on inside of window or on eggs, remove 1 plug to lower humidity

Humidity• How to check• Make wet bulb thermometer• Place cotton wick (tennis shoe lace) on
bulb and stick in water channel• Days 1-17 = 87° wet bulb = 60% R.H.• Days 18-21 = 90° wet bulb = 70% R.H.
Ventilation/Humidity
• Vent holes bottom of incubator• Allows oxygen in - carbon dioxide out• Incubators – 2 plugs (remove 1 during
hatch and both after chicks have hatched)
Turning• Lay eggs flat • Mark X on one side; O on other with PENCIL or
wax crayon• Number on each large end• Turn eggs odd number of times each day – 3-5
times a day (end of day)• Turn eggs from Day 0 (2 times), then Day 1-end
of 17 (3-5 time a day)• Do not turn eggs last 4 days!!!

Reasons for Poor Hatch
• Infertile eggs• Temperature• Humidity• Ventilation• Turning

First and Second Weekend• Optional take eggs home or leave in classroom• Take eggs home (1/2 hr trip)• Think about classroom conditions• If the incubator stays at the school, must visit classroom once
each day

Candling
• Commercially– Determine quality and grade– See if there are cracks
• During Incubation– See if there are cracks– See growth of embryo
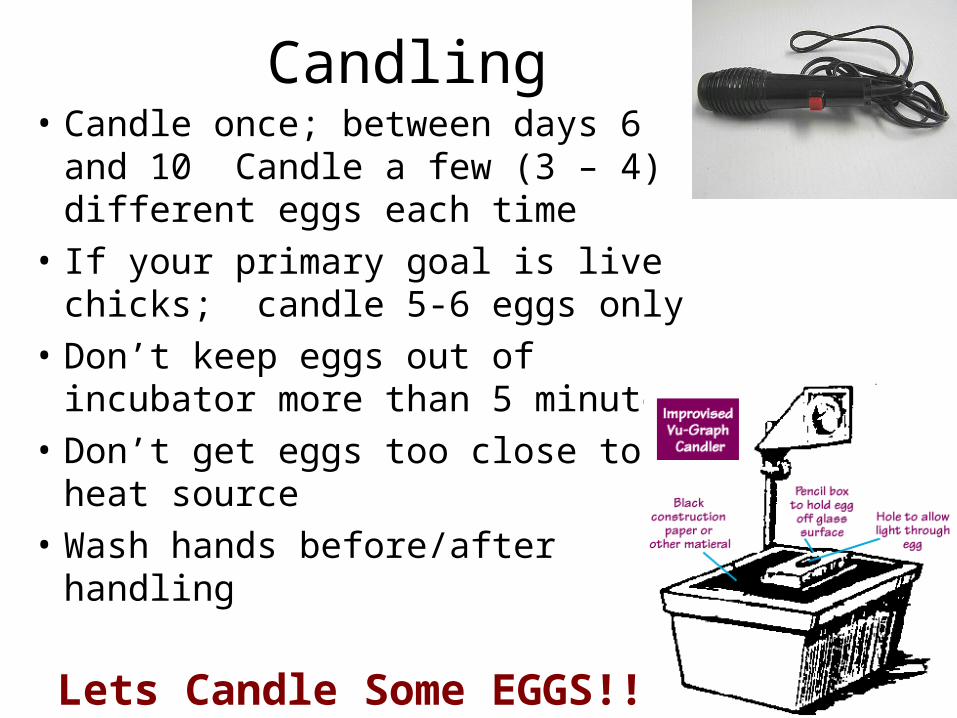
Candling• Candle once; between days 6 and 10
Candle a few (3 – 4) different eggs each time
• If your primary goal is live chicks; candle 5-6 eggs only
• Don’t keep eggs out of incubator more than 5 minutes
• Don’t get eggs too close to heat source• Wash hands before/after handling
Lets Candle Some EGGS!!
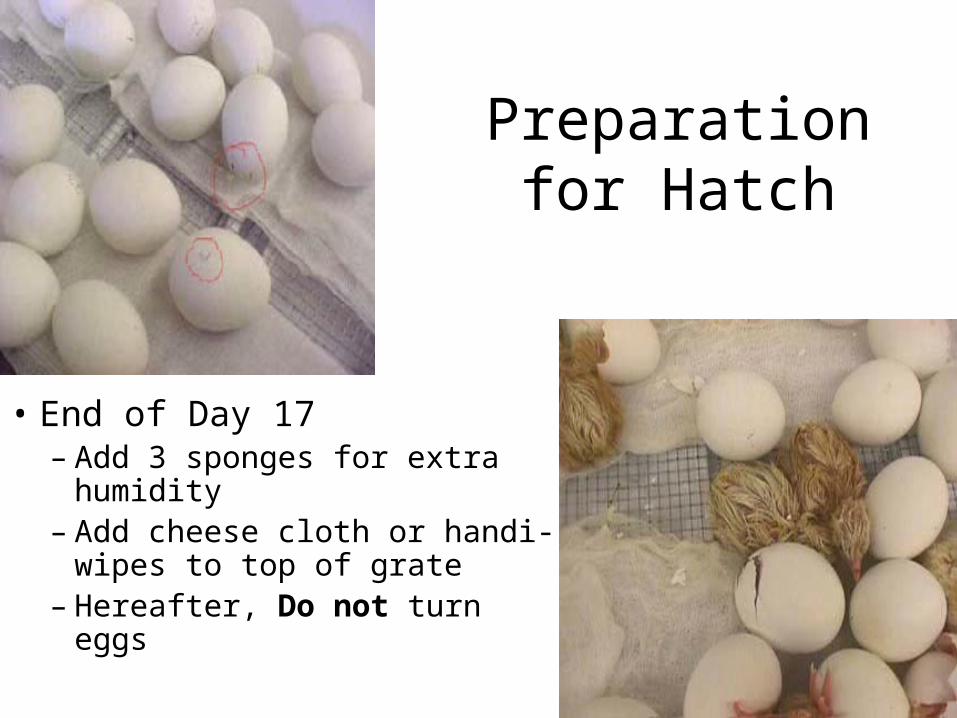
Preparation for Hatch
• End of Day 17– Add 3 sponges for extra
humidity– Add cheese cloth or handi-
wipes to top of grate– Hereafter, Do not turn eggs

http://www.youtube.com/watch?v=PedajVADLGw
Hatching• Remove chicks from incubator when they are dry
and fluffy (22 days from start). If the chicks are not dry at the end of the school day leave the chicks in the incubator until the next morning.
• Plan on removing chicks from the incubator once a day.
• If incubator has good humidity levels, chicks may not dry. Place in brooder to dry.
• Remove and discard all unhatched eggs 60 hr after first chick hatches
• Clean and disinfect incubator when done
Power Outage
• Place large cardboard box over top of incubator• Extreme circumstances, place candles under box• Embryos can survive at 70° F for short period• Some can survive at temp below 90° F for up to
18 hr• Do not give up

Brooder
• Container• Litter source• Feeder and feed• Waterer and water• Heat source• Chicken wire
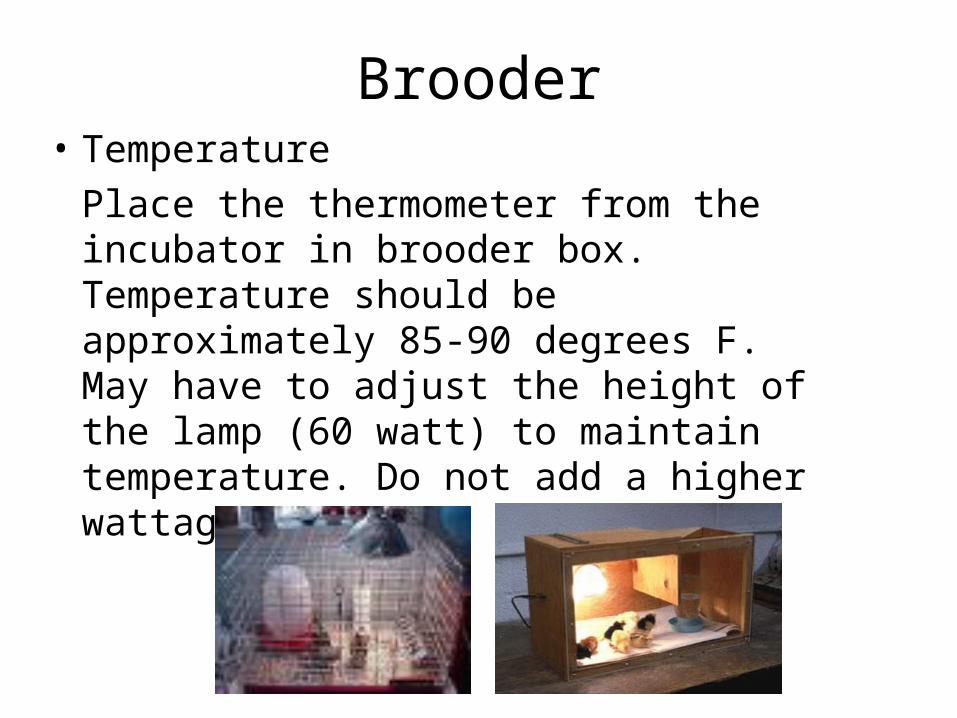
Brooder• Temperature
Place the thermometer from the incubator in brooder box. Temperature should be approximately 85-90 degrees F. May have to adjust the height of the lamp (60 watt) to maintain temperature. Do not add a higher wattage bulb!
Long-Term Brooding• Requirements – heat, space, litter, feed,
water, environment• Temperature – 85-90° F (1st week)
80-85° F (2nd week)• Leave heat lamp on 24 hr/day• Feed – chick starter – jar lids, egg cartons,
tuna type cans
Long-Term Brooding• Water – fresh daily – marbles in dish• Litter/Bedding – Use pinewood/cedar
shavings – replace wet/dirty with dry/clean as needed (daily)
• Space – enough to move around• Environment – no drafts, isolation, no direct
light from outside
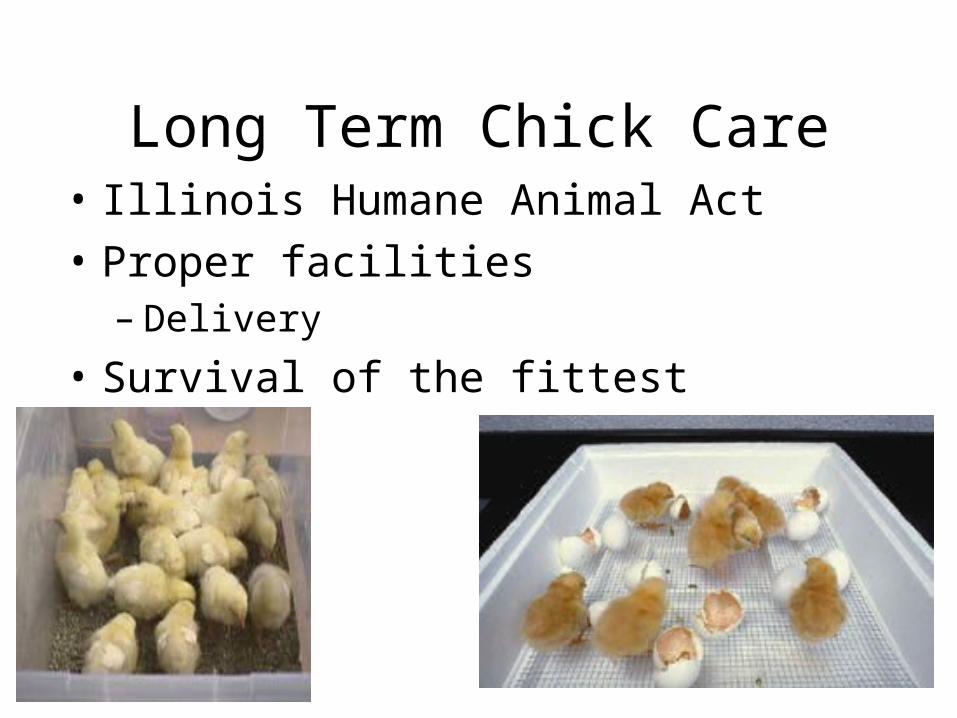
Long Term Chick Care• Illinois Humane Animal Act• Proper facilities
– Delivery• Survival of the fittest

Support• Support
– Local University of Extension Office• Ken Koelkebeck, PhD [email protected]
– Questions– Web sites– Other teachers

Embryonic Development