Novell ZENworks Configuration Management within the National Health Service
Upload
amelia-sodenCategory
view
219download
2
IPPS – PC TECHNICIAN -
IMAGINGImaging and application deployment using Novell Zenworks Configuration
Management 10
Christopher Ward - Computer Support Technician of College of The Albemarle – [email protected]

Outline of Topics
Imaging using Zenworks Configuration Management 10 (ZCM 10)
Deploying Datatel UI 2.3 through ZCM 10
Roundtable discussion on imaging and application deployment

What is Novell Zenworks Configuration Management?
System Management Software from Novell that allows for the management of Workstations and Servers
It is the successor to Novell Zenworks Desktop Management 7.x with ZCM including support for Windows Vista
Made up three product editions: Standard, Advanced, and Enterprise

Basic Capabilities of ZCM 10 Imaging Policy Based Management of workstation or severs
Browser Bookmarks Dynamic Local User Local File Rights Printer Remote Management Roaming Profile SNMP Windows Group Zenworks Explorer Configuration
Software Deployment Inventory Reporting Windows updates and 3rd party application updates through Patch
Management software Which can be purchase separately and setup independently of ZCM 10 Integration into ZCM 10 through purchasing the Advanced and Enterprise Editions
of ZCM

Server Hardware Requirements
Novell Recommendations: CPU operating at 2.8 GHz or greater 2 GB of RAM minimum, 4 GB of RAM recommended Display resolution: 1024 × 768 with 256 colors Disk space: 2 GB minimum for installing, 4 GB for running.
Add an additional 10 GB if running path management
Recommendations (not from Novell): Dual core or Quad core processor 4 GB of RAM if installing 32 bit operating system , if
running 64 bit operating system load up on RAM Disk space: Will depend on how much content you plan to
upload to ZCM – recommend over 500 GB

Supported Server Operating Systems for Primary and Satellite Servers SUSE Linux Enterprise Server 10 x86, x86-64 Open Enterprise Server 2 (OES Linux) x86, x86-
64 Windows 2003 Server SP1 x86, x86-64 Windows 2003 Server R2 x86, x86-64
*.NET Framework 2.0 is required for all Windows 2003 servers

Workstation Hardware Requirements
Novell Recommendations: CPU operating at 700 MHz or greater 256 MB of RAM minimum, 512 MB of
RAM recommended Display resolution: 1024 × 768 with 256
colors
Recommendations (not from Novell): CPU operating at 2.0 GHz or greater 40 GB Hard Drive or greater

COA Workstation Base Line HP/Compaq Evo D510 Convertible Desktop
CPU: P4 2.0 GHzMemory: 512 MBHard drive: 40 GB
HP/Compaq D530 series Convertible DesktopCPU: P4 2.66 GHzMemory: 512 MBHard drive: 40 GB

Support Workstation Operating Systems Windows 2000 Professional SP4 x86 Windows Embedded XP SP2 Windows Embedded XP SP3 Windows Vista x86, x86-64 (Business, Ultimate,
and Enterprise versions only; Home versions are not supported)
Windows Vista SP1 x86, x86-64 (Business, Ultimate, and Enterprise versions only; Home versions are not supported)
Windows XP Professional SP2 x86 and SP3 x86 Windows XP Tablet PC Edition SP2

More Information on ZCM 10 Novell Documentation
http://www.novell.com/documentation/zenworks.html
Novell Product Support Forumhttp://forums.novell.com/novell-product-support-
forums/zenworks/ Zenworks Configuration Management SP
Previewhttp://www.novell.com/communities/node/6889/
service-pack-2-zenworks-configuration-management-coming

More Information on ZCM 10 (continue) Zenworks Configuration Management
Recordinghttp://www.novell.com/communities/node/
7144/zenworks-configuration-management-recordings-coming-soon

Methods for taking or deploying an image Preboot Services (PXE) ZCM 10 Boot CD/DVD
Windows: installation_path\novell\zenworks\bin\preboot\
Linux:
/opt/novell/zenworks/zdm/winutils/ ZCM 10 Partition

Creating a Windows XP Image Run a BIOS Hard Drive Test and make sure the
hard drive passes the test Use a Windows operating system CD and install
the Windows operating system onto a computer. Name the computer something that you will never use on your network to prevent a duplication error from happening
During the installation windows will ask you to create a user account. Name the account, but when you log into windows for the first time change the way the user log on and off. Uncheck fast user switching and welcome screen

Creating a Windows XP Image (cont.) Log off the computer and log into the
computer as Administrator and delete the account that was creating during installation by deleting the profile first and then delete that particular account itself
Create a folder name Compaq on the root of C:
Copy the driver folder of the particular model into the Compaq folder

Creating a Windows XP Image (cont.) Install all necessary drivers for the
computer Uninstall MSN explorer windows
component Install the latest Windows Updates Download the complete Zenworks Agent
into the Compaq folder in a folder named Agent x_xx_xx (x_xx_xx represents the date of download of the agent)

Creating a Windows XP Image (cont.) Run IE so that you go through the customization page
and also set the home page to www.albemarle.edu Make sure automatic updates and the firewall are turned
off You might have to plug the computer back onto the
network to make sure that the firewall is reading as turned off. At any case unplugged computer from network once you are sure that the firewall is reading as turned off
Turn off security message center notifications (3 settings) by opening the security center in the control panel and going to change the way the security center alerts me

Creating a Windows XP Image (cont.) Unplug computer from network Run check desk on hard drive Delete Temp Internet Files along with
the temps files in:
C:\Windows\Temp
C:\Documents and Settings\Administrator\Local Settings\Temp

Creating a Windows XP Image (cont.) Delete old update files located in C:\Windows
(they are the hidden folders with the $) Make sure see hidden files is not on and empty
recycle bin Clear last user logged on field:
run regedit
browse to: hkey_local_machine\software\microsoft\win dowsNT\CurrentVersion\Winlogon
Double click on DefaultUserName string
Clear the value data and click ok

Creating a Windows XP Image (cont.) Turn off system restore Run Defrag Turn system restore back on Make sure simple file sharing is disable Run Zenworks agent, but don’t reboot at the
end of install. Run C:\Program Files\Novell\Zenworks\Bin\
Preboot\ziswin.exe Click Edit and clear image safe data and
save

Creating a Windows XP Image (cont.) Select No to the question about just image
setting Optional: Run the following command: “C:\
Program Files\Novell\Zenworks\Bin\zac.exe fsg –d”
The above command is suppose to delete the GUID file, but this command is untested as I only recently discovered the command in the Novell docs. You can go on to the next step to delete the GUID file manually if the above command does not do it

Creating a Windows XP Image (cont.) Delete DeviceGUID file located at: C:\
Program Files\Novell\ZENworks\conf Restart computer and boot to Zenworks
Imaging using PXE (Ctrl-Alt) – Imaging Maintenance Mode
At command line: zisedit –c
Which is the command used to clear any image safe data

Creating a Windows XP Image (cont.) Type in: img
Which is the command used to launch the Zenworks imaging system
Select Make Image – Compression Level needs to be set to compress for size
Type ip address for Zenworks server where the image will be stored and give name to image based on the computer model number
Information:
Author:
Description: For HP/Compaq <model> computers. <Operating System> <Date>
<Zenworks version>

Creating a Windows XP Image (cont.) After creating the image you will need to edit the image
using Zenworks Image Explorer:
Open the image using image explorer
Right click on the partition and select properties
In the original size field specify the new partition size, which should be: 999,070,049
Click save
Basically you are changing the properties of the partition so that when imaging Zenworks will use the whole hard drive as long as the drive is less than 990 GB in size.

Deploying an image
Boot into your imaging environment Delete all partitions on the computer
img –pd –all Create a new single partition and make
it active
img pc1 ntfs
img pa1 Naming the computer
zisedit

Deploying a image (cont.) Enter the following information in the
designated fields:
Computer Name:
Workgroup:
DNS Hostname:
***netbios name and dns hostname are the name of the computer ***
***both field should have the same name****

Deploying a image (cont.) Exit out of zisedit menu From the command prompt enter the
following to deploy image
img rp <ip address of server> <image name>.zmg a1:p1
You will have to manually restart the computer after it has finish imaging.

Deploying a image (cont.) Once the computer is registered with
ZCM you can deploy an image remotely (from ZCC, Zenworks Control Center) using PXE boot or using the Zenworks partition if the Zen partition is install locally on the computer

DEPLOYING DATATEL UI 2.3
THROUGH ZCM 10

Creating ZCM 10 Datatel Bundle
1. Create an empty Windows bundle
2. Add Action (Install) – Install Directory
Source directory: License Files (content will be uploaded to server)
Destination directory:
%ProgramFiles%\Novell\ZENworks\cache\zmd\ZenCache\License Files
Copy Option: Copy Always

Creating ZCM 10 Datatel Bundle (cont.) Add Action – Delay (60 seconds) Add Action – Install MSI
Select the datatel msi file along with other files to upload to server MSI Properties:
DATABASEDIR
%ProgramFiles%\Novell\ZENworks\cache\zmd\ZenCache\License Files

Creating ZCM 10 Datatel Bundle (cont.) SETUPTYPE Standard ALLUSERS 1 PLATFORMGROUP 1 INSTALLDIR
C:\Program Files\Datatel\UI HOSTNAME grace.albemarle.edu DBNAME production DBPATH /datatel/coll18/
production/apphome

Creating ZCM 10 Datatel Bundle (cont.) Add Action – Delay (30 seconds) Add Action – Launch Windows Executable
Launch Windows Executable
Command: %ProgramFiles%\Datatel\UI\datatel.exe
Command Line Parameters:
/n "C:\Documents and Settings\All Users\Application Data\Datatel\startup.wis"
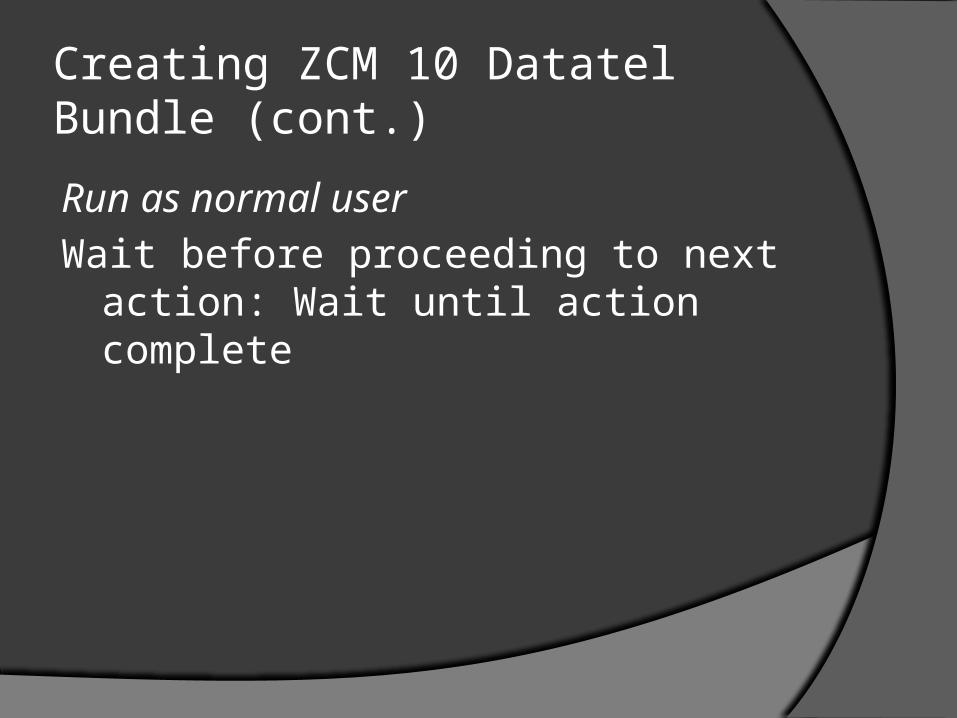
Creating ZCM 10 Datatel Bundle (cont.)
Run as normal user
Wait before proceeding to next action: Wait until action complete

Creating ZCM 10 Datatel Bundle (cont.) Add Action – Delay (15 seconds) Add Action – Install File
Source directory: (content will be uploaded to server)
File to be installed: DATATEL.INI
Destination directory: %userprofile%\My Documents\Datatel\
Copy Option: Copy Always

Creating ZCM 10 Datatel Bundle (cont.) Once the application has been created go to the
Uninstall Tab and enable the uninstall option:
Select the Uninstall Tab-Options and enable:
Enable Uninstall
Allow user to perform uninstall
Click Apply Zenworks keeps track of all the actions created
in a bundle, so when you enable the uninstall option it, which is not enable by default, all the uninstall options are set

ROUNDTABLE DISCUSSION ON IMAGING AND
APPLICATION DEPLOYMENT