Html frames
16
HTML Frames - Dividing Up the Page Presentation by Nobel Mujuji B.Sc. Hons Information Systems (WUA) 2009
-
Upload
nobel-mujuji -
Category
Design
-
view
60 -
download
1
Transcript of Html frames

HTML Frames - Dividing Up the Page
Presentation by Nobel Mujuji B.Sc.
Hons Information Systems (WUA) 2009

Aims
1. To understand what frames are and why they would be used
2. To put together a simple site with 3 frames
3. How to use the TARGET attribute of links to load pages in different frames
4. To learn how to use nested frames to split your site in different directions
5. To highlight potential issues/problems with using frames
What are frames? Why would you want to use them?
Frames are a way of organizing your website. They allow you to divide up your window into various segments for different purposes. For example, you might want to have a website that is selling sweets. You may want to have a panel of special offers or bulk-buy discounts which is always visible to your customers, so they are more likely to buy.
Frames are individual segments of a window, each having its own page loading in it and being able to work separately or with the other frames as you set them up to work. This gives greater flexibility than just simply dumping everything onto one page.
Note: This definition will prove to be important because you will have one 'page' which literally just sets up the frames and then you will need a separate file (which is also a complete HTML document) for each of the different parts.
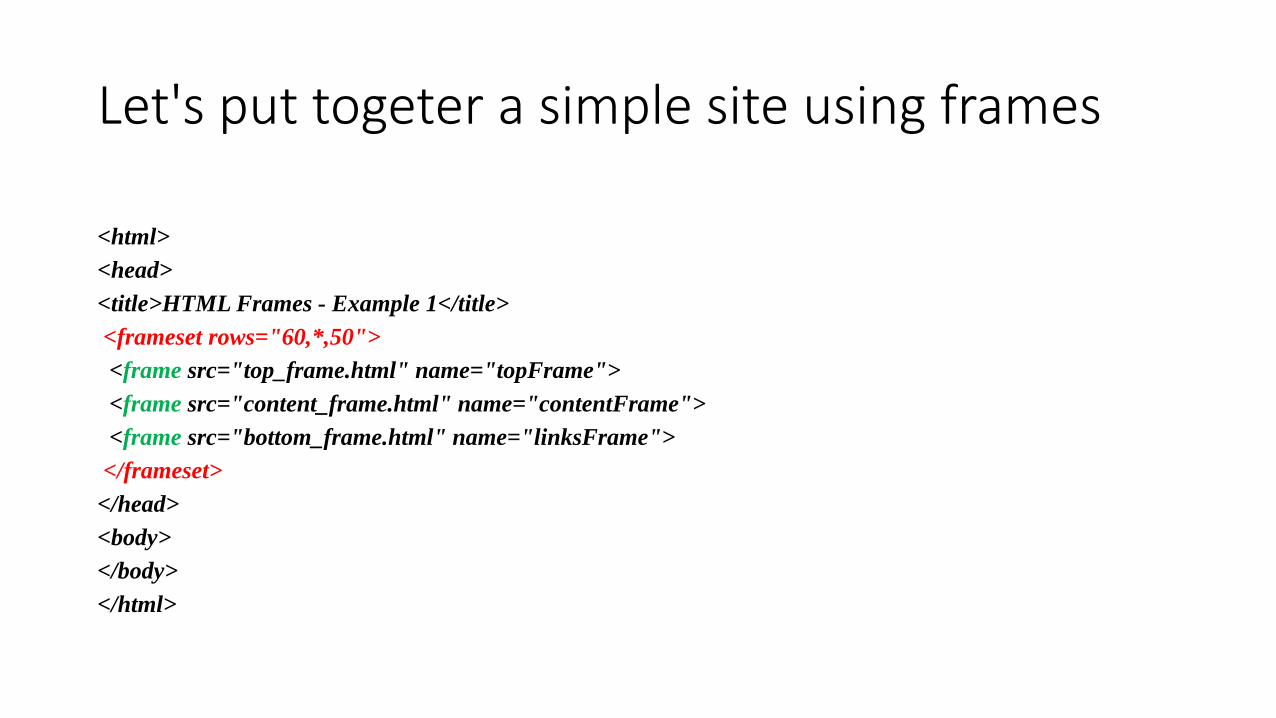
Let's put togeter a simple site using frames
<html>
<head>
<title>HTML Frames - Example 1</title>
<frameset rows="60,*,50">
<frame src="top_frame.html" name="topFrame">
<frame src="content_frame.html" name="contentFrame">
<frame src="bottom_frame.html" name="linksFrame">
</frameset>
</head>
<body>
</body>
</html>

FRAMESET Tag• Everything that defines a set of frames, goes between FRAMESET tags (don't forget the closing tag). Seems simple enough? Good!
The other important thing here is to see that the FRAMESET tags and the subsequent FRAMEs are set up in the <head> of your document, not in the body. It is not necessary to have anything in the body at all. Remember, I said that the page is being divided up into sections - this document only does the 'slicing'.
• The really important bit is coming up now though, so watch closely. Decide in advance whether you want to divide your page upinto horizontal or vertical segments. It is possible to divide your page in both directions, but we will warm up to that!
• If you want to divide up your page into horizontal segments then you need to define a ROWS attribute. If you want to divide yourpage up into vertical segments then you need to define a COLS attribute. For this tutorial, we will follow the examples and showthem in action.
• So above we have rows="60,*,50". There are three parts to this definition, each separated by a comma. This means I intend to divide up the screen into 3 separate parts from top to bottom. The first and last parts are, in this example, defined by absolute numbers - aiming for 60px and 50px. The middle section just has an asterisk and this means 'everything else'. The reason one of your sections ought to have an asterisk is that people have different screen resolutions and then people can change the size of their browser windows and you easily cannot control or predict this. With this definition, our top and bottom frames will always be 60 and 50, but the middle frame will resize with the screen resolution or the window size.
• Note: You can use percentages when defining segments, however this does mean your site will not look the same on everyone's computer, which is not ideal. Using absolute figures gives you an element of control.

FRAME tag• You must have a FRAME tag for each of the segments defined in your FRAMESET. So in this example, we have
set up 3 areas, so we must have 3 FRAME tags.
• The FRAME tag does not need a closing tag. This tag is also easier to understand. Honestly.
• SRC Attribute: this is the file you want to load into the frame. This is relative to your FRAMESET file, so if your individual segment files are in the same folder as your frameset, then that's OK. But if they're in a separate folder, then make sure you put the folder name in as well, else you will come across 'NOT FOUND' error messages. Not good. So you will see that each frame tag above has a separate HTML file in it - these are complete HTML files.
• Name Attribute: Is it really important that you give EACH frame a unique name. You will see one reason why shortly.
• Your FRAME tags must be put in, in the same order you have defined them. So topFrame is the 60-high one,
bottomFrame is the 50-high one and contentFrame fills the rest of the window. Make sense?

Targeting Different Frames
One great usage for frames is to keep the links to your different pages always on-screen, instead of letting them scroll down your page and have to scroll back up again to find your other pages. In the example above I have only set up one 'live' link,but the bottom frame serves to keep links to to other pages on-screen.
This leads to another advantage of frames: when you add or remove pages from your site, you need only change one page (unless you have links elsewhere in your site). This reduces greatly maintenance time on a website.
Let's look at the code for the link in that example:-
<a href="content_frame.html" target="contentFrame">Welcome to My Site!</a>
Cont…
• The only new bit here for you is the TARGET attribute. Remember giving the frames a unique name earlier? This is where it is important, because you put in the TARGET the name of the frame you want the page to load in. Glance Up at that code and spot the frame that is called "contentFrame".
• If you do not set a target, the link will load in the same frame that link is in, which can get very messy. So as good practice, if you're building a site using frames, ALWAYS use the TARGET attribute so that you're aware of where each link is loading.

Take Control of Your Frames!
You don't want people to change your carefully written website willy-nilly do you? Your visitors should not be in control of the layout of your site!
Depending on which browser you are using (and your window/screen size) you may have seen an attempt to put scrollbars in the top and bottom frames. This definitely happened with Firefox on my computer.
Who should have the control? You should, that's who? So it's time to take back that control - and it's REALLY simple to get rid of these bugbears.
Removing frame borders, not allowing frames to be resized To achieve this, you need one attribute in your FRAMESET tag, like this:-
<frameset rows="60,*,50" frameborder="0">
Cont…
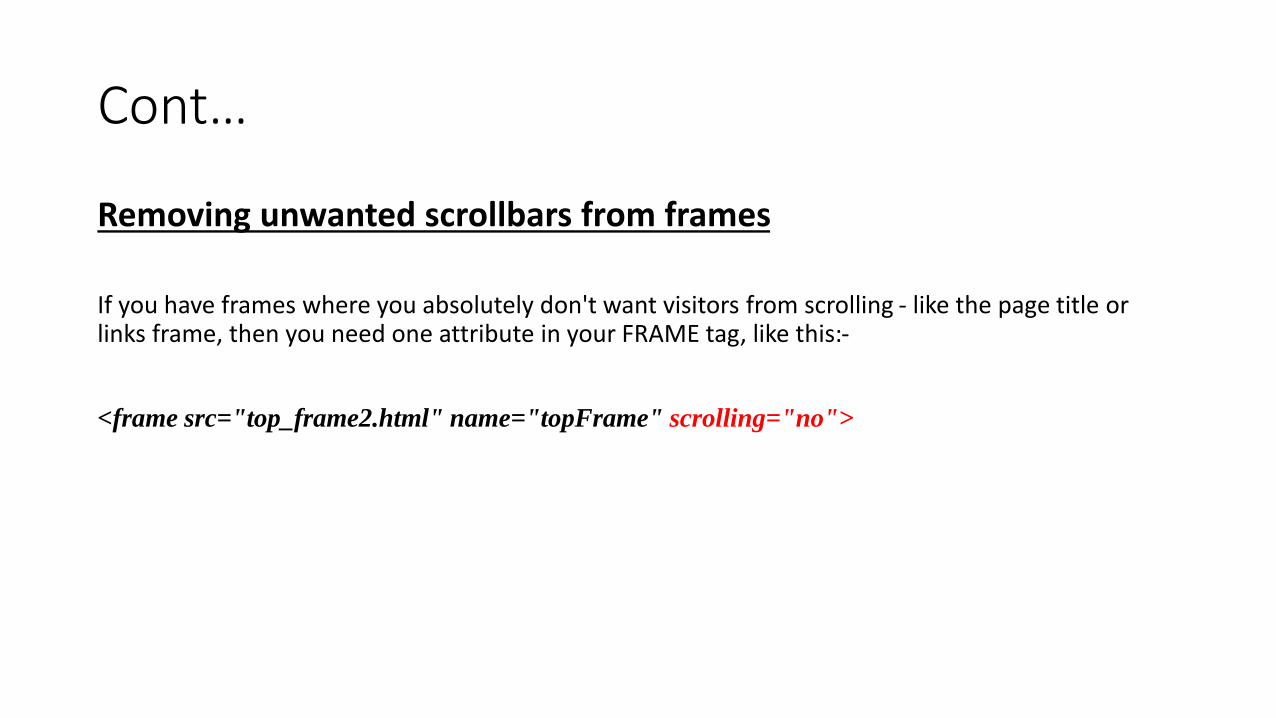
Removing unwanted scrollbars from frames
If you have frames where you absolutely don't want visitors from scrolling - like the page title or links frame, then you need one attribute in your FRAME tag, like this:-
<frame src="top_frame2.html" name="topFrame" scrolling="no">

Nested Frames
Nested Frames - Divide your page up in different directions.
Well here we go - I promised we would look at dividing up the site in both directions so that's what we're going to do!
If you have grasped the FRAMESET and FRAME tags then to set up frames in the opposite direction just involves adding in another frameset pair of tags where you want to create the new frames. Better use another example...

Example
<html>
<head>
<title>HTML Frames - Example 3</title>
<frameset rows="60,*,50" frameborder="0">
<frame src="top_frame3.html" name="topFrame" scrolling="no">
<frameset cols="200,*" frameborder="0">
<frame src="links_frame3.html" name="leftFrame" scrolling="no">
<frame src="content_frame3.html" name="contentFrame">
</frameset>
<frame src="bottom_frame3.html" name="linksFrame" scrolling="no">
</frameset>
</head>
</html>

Frame example Name it index.html<html>
<head>
<title>Example Frames Page</title></head>
<frameset framespacing="0" border="0" frameborder="0" rows="75,*">
<frame name="title" scrolling="no" noresize target="contents"
src="title.html" marginwidth="0" marginheight="0">
<frameset cols="150,*">
<frame name="contents" target="body" src="contents.html"
marginwidth="0" marginheight="0" scrolling="auto">
<frame name="body" src="main.html"
marginwidth="0" marginheight="0" scrolling="auto">
</frameset>
<noframes>
<body topmargin="0" leftmargin="0">
<p>This page uses frames. Your browser doesn't support them.
It's time for an upgrade!</p>
</body>
</noframes>
</frameset>
</html>

Title.html
<html>
<head>
<title>Title</title>
<base target="contents">
</head>
<body topmargin="15" leftmargin="15">
<p align="center"><b>
<font face="Arial" size="5">This is our Title</font></b></p>
</body>

Contents.html
<html>
<head>
<title>Contents</title>
<base target="main">
</head>
<body topmargin="5" leftmargin="5">
<p><font face="Arial" size="2">
<a href="second.html">Second Body Page</a></font></p>
<p><font face="Arial" size="2">
<a target="_top" href="index.html">Home</a></font></p>
</body>
</html>

Main.html
<html>
<head>
<title>Main</title>
<base target="_self">
</head>
<body topmargin="15" leftmargin="15">
<p>This is the Main page, which welcomes our visitors.</p>
<p>Welcome!</p>
</body>
</html>