How to Create Explosive Typographic Effects in Cinema 4D.pdf
45
How to Create Explosive Typographic Effects in Cinema 4D Oct 27 Photoshop In this tutorial I will walk through the steps I used to create this illustration to bring alive the word “collide.” While you may not find yourself needing to recreate the word “collide,” I hope you will find useful the techniques I will cover: - extruding text in Cinema 4d - using displacement maps in Cinema 4d - using the explosion deformer in Cinema 4d - exporting to photoshop from Cinema 4d - unique color enhancing techniques in Photoshop - various layer modes applied in Photoshop for great light effects (A basic knowledge of Cinema 4d and Photoshop is required) STEP 1: CREATING 3D TEXT
Transcript of How to Create Explosive Typographic Effects in Cinema 4D.pdf

How to Create Explosive Typographic Effects in Cinema 4D
Oct 27
Photoshop
In this tutorial I will walk through the steps I used to create this illustration to bring alive the word
“collide.” While you may not find yourself needing to recreate the word “collide,” I hope you will find
useful the techniques I will cover:
- extruding text in Cinema 4d
- using displacement maps in Cinema 4d
- using the explosion deformer in Cinema 4d
- exporting to photoshop from Cinema 4d
- unique color enhancing techniques in Photoshop
- various layer modes applied in Photoshop for great light effects
(A basic knowledge of Cinema 4d and Photoshop is required)
STEP 1: CREATING 3D TEXT

I created a new document in C4d and added some text with the built in text tool.

I typed the word COLLIDE in the Attributes manager.

I applied Extrude Nurbs by making it a parent of my text.

Parent/child relationship shown above in my Objects Manager.

There’s a small problem at this point: The word “collide” is treated as one object and I want to
manipulate the individual letters. In order to do that I need to Explode Segments from the Function
menu.

Now each part of each letter is broken into individual splines and I can extrude them separately as well
as manipulate them.

On a couple of the letters I need to Connect the inside spline and outside spline together. The “O” and
the “D” need to be connected because they are 2 individual splines as a result of the Explode Segments
function I applied. I selected the 2 splines and right clicked to pull up a menu. I chose Connect. Once
I’ve connected them I am ready to extrude each individual letter and place them where I want in my
composition.

I have applied an Extrude nurbs to each letter now. See my object window for clarity.

And now I’ve named each nurb so that I know what letter it is.
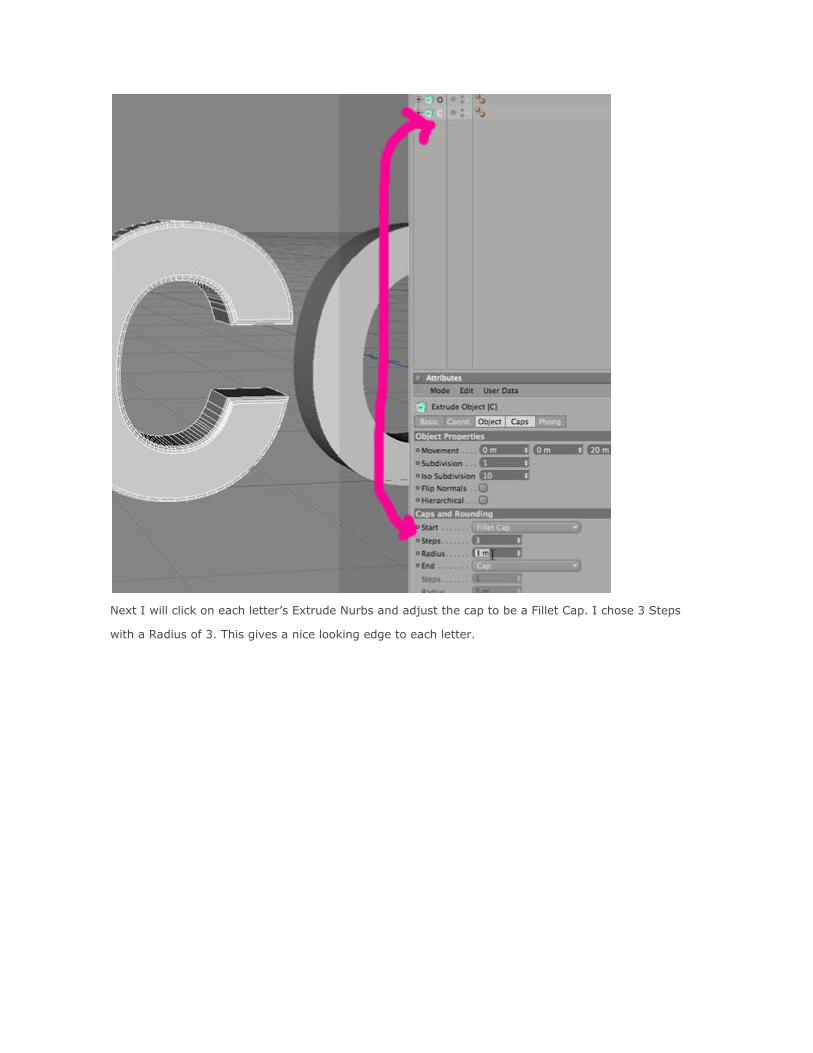
Next I will click on each letter’s Extrude Nurbs and adjust the cap to be a Fillet Cap. I chose 3 Steps
with a Radius of 3. This gives a nice looking edge to each letter.
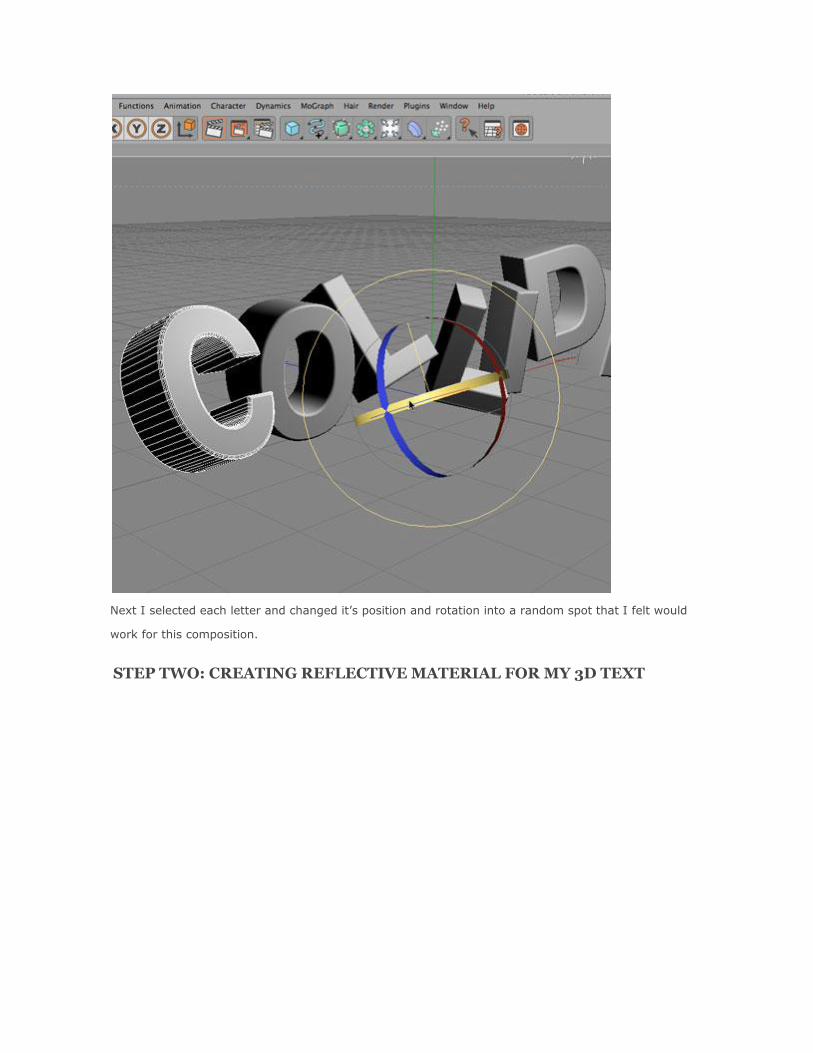
Next I selected each letter and changed it’s position and rotation into a random spot that I felt would
work for this composition.
STEP TWO: CREATING REFLECTIVE MATERIAL FOR MY 3D TEXT
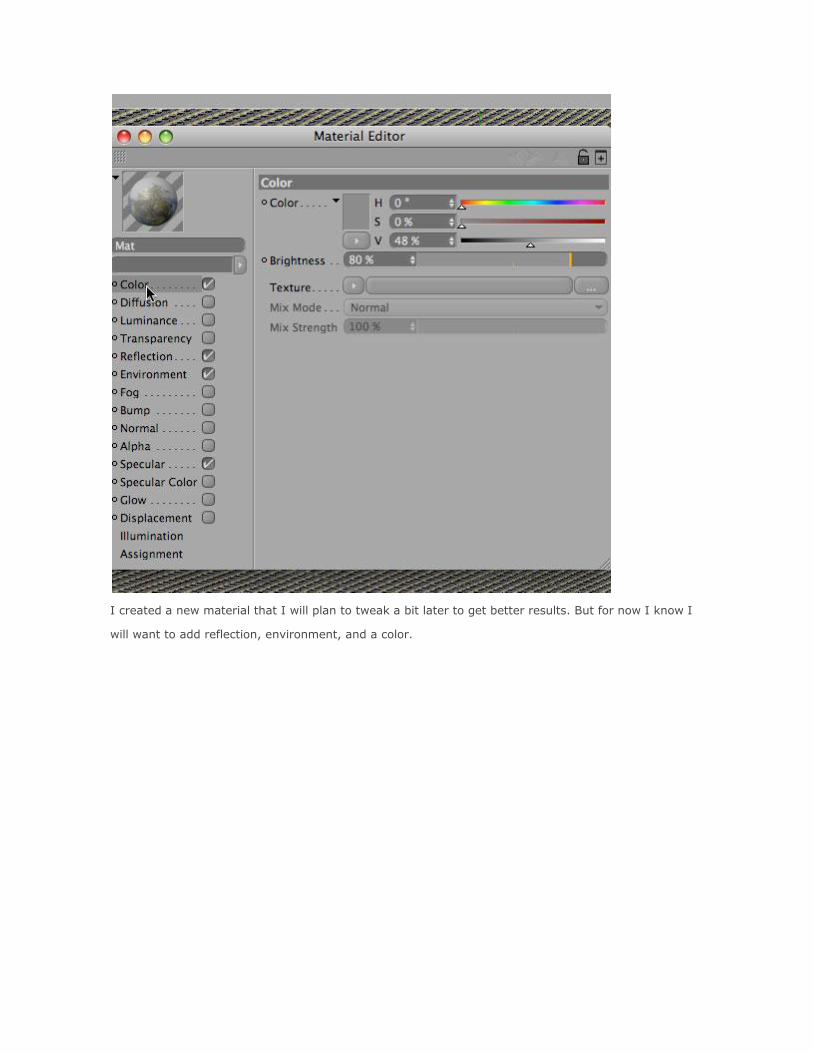
I created a new material that I will plan to tweak a bit later to get better results. But for now I know I
will want to add reflection, environment, and a color.

My reflection is set to 35% and I did the same for environment as well. These are just settings I am
randomly choosing and require some tweaking as the project progresses.
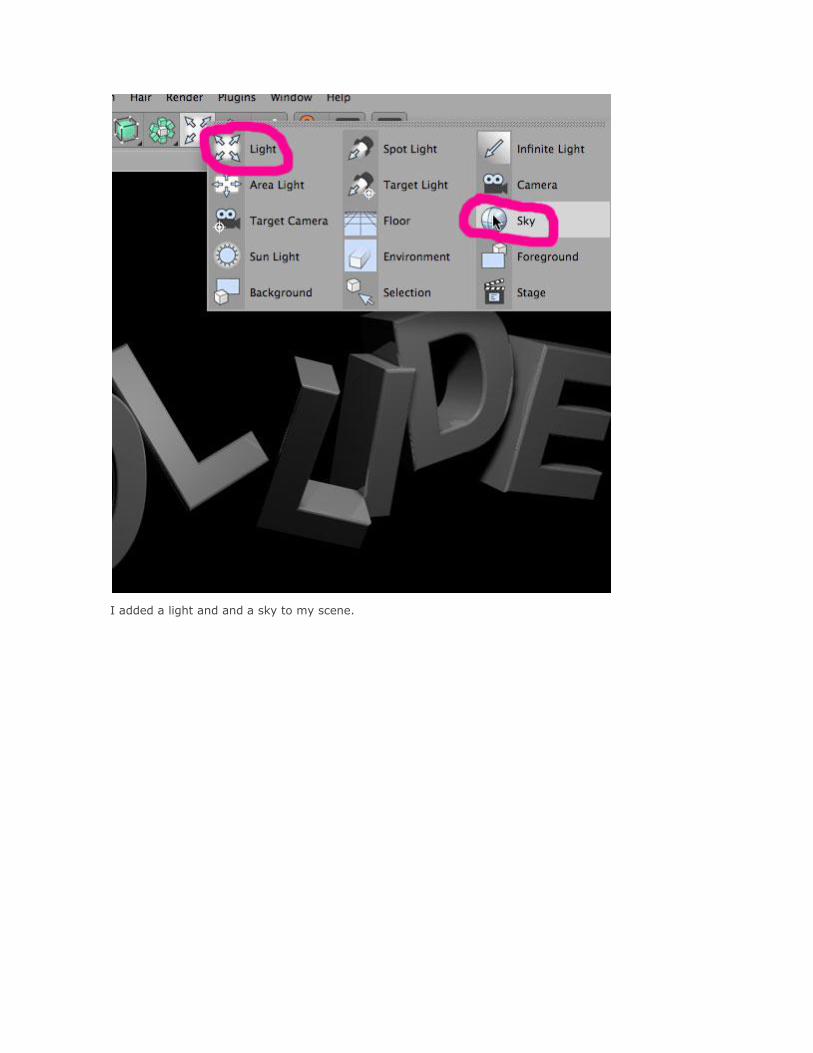
I added a light and and a sky to my scene.

I created a material to apply to my sky. I used a picture of a sky. There is definitely a lot of
experimenting that can be done with what you can place in the sky and how it will look in the
reflections of the material on the text.

I applied the new material to my sky and experimented with the Projection method. Cubic ended up
being what I chose based on the way it looked as it reacted with my text.
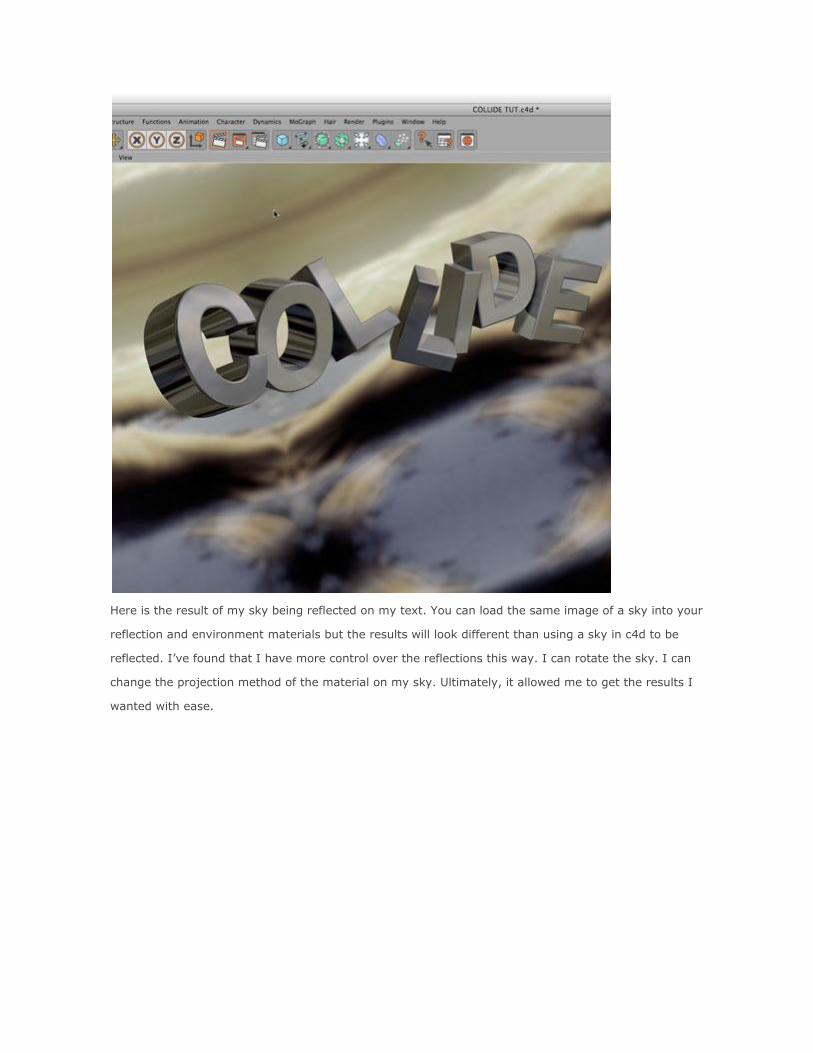
Here is the result of my sky being reflected on my text. You can load the same image of a sky into your
reflection and environment materials but the results will look different than using a sky in c4d to be
reflected. I’ve found that I have more control over the reflections this way. I can rotate the sky. I can
change the projection method of the material on my sky. Ultimately, it allowed me to get the results I
wanted with ease.
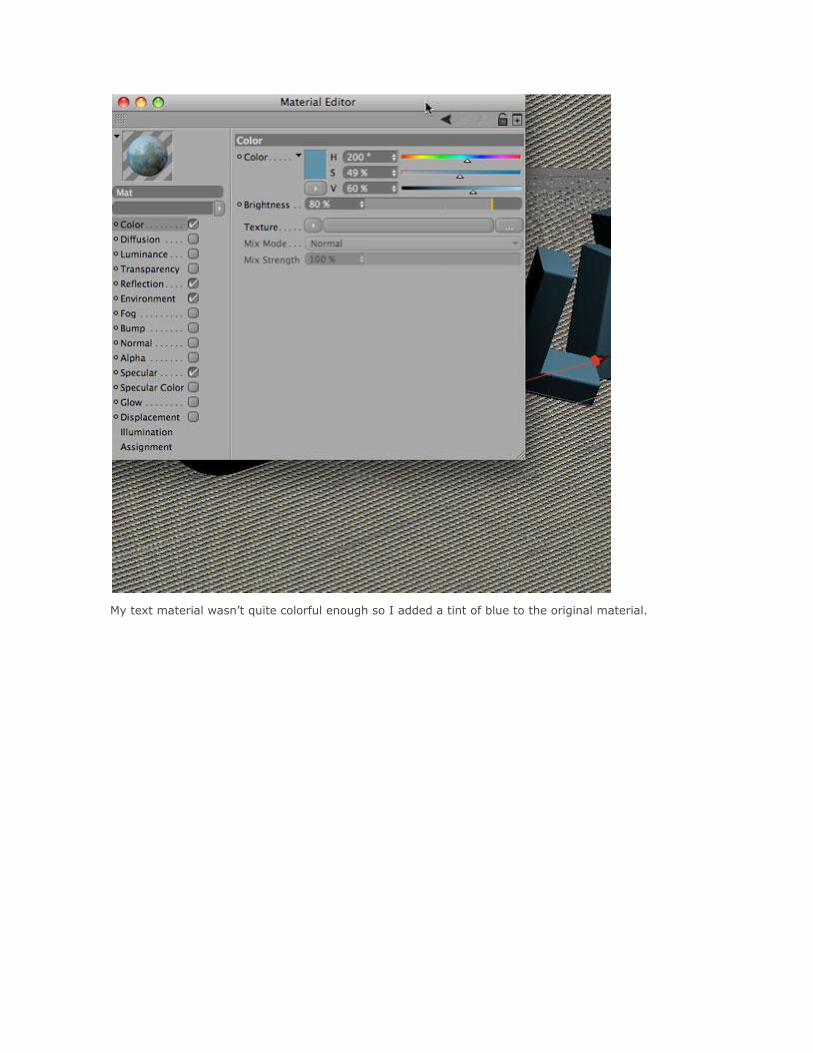
My text material wasn’t quite colorful enough so I added a tint of blue to the original material.
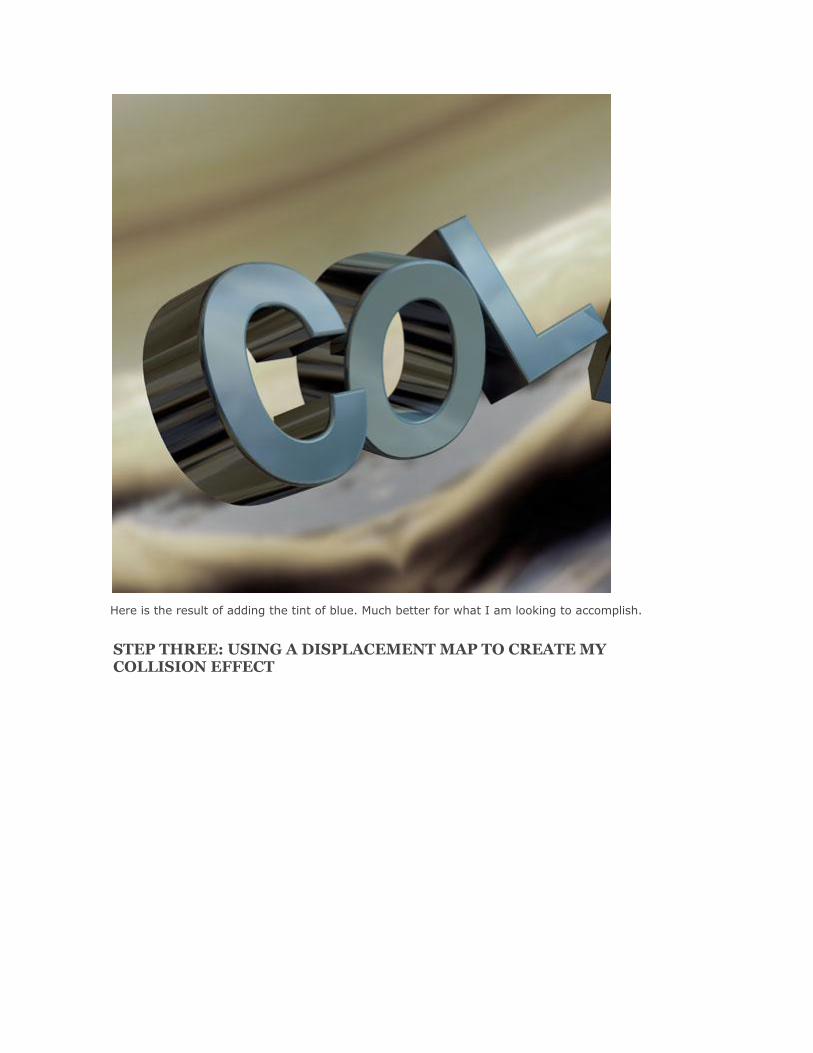
Here is the result of adding the tint of blue. Much better for what I am looking to accomplish.
STEP THREE: USING A DISPLACEMENT MAP TO CREATE MY COLLISION EFFECT

I copied several of my letter from the word “collide” and will apply a displacement map to those to
create the collision.

I copied my reflective material that I created for the word “collide” and then I checked the
“displacement” box and loaded a texture. Cinema 4d has built in textures you can experiment with for
the displacement. Usually something black and white will work best but it is not completely necessary. I
chose “brick” from the preset surfaces. I’ve also used black and white jpegs of stripes or other patterns
that I’ve created in Illustrator.

Here you can see I set the Height to 500m and kept the strength at 100%. This is definitely a step that
I could get lost in time experimenting with different heights, textures, and even projection methods for
this material. Each tweak will give you amazing new results to choose from.

Here is the result of my current settings on the displacement material.
STEP FOUR: ADDING EXPLODING BITS AND PIECES TO MY COLLISION

I added a pyramid to my scene that will be used as the object to explode. I increased the Segments to
5. The more segments you have, the more bits and pieces to explode.
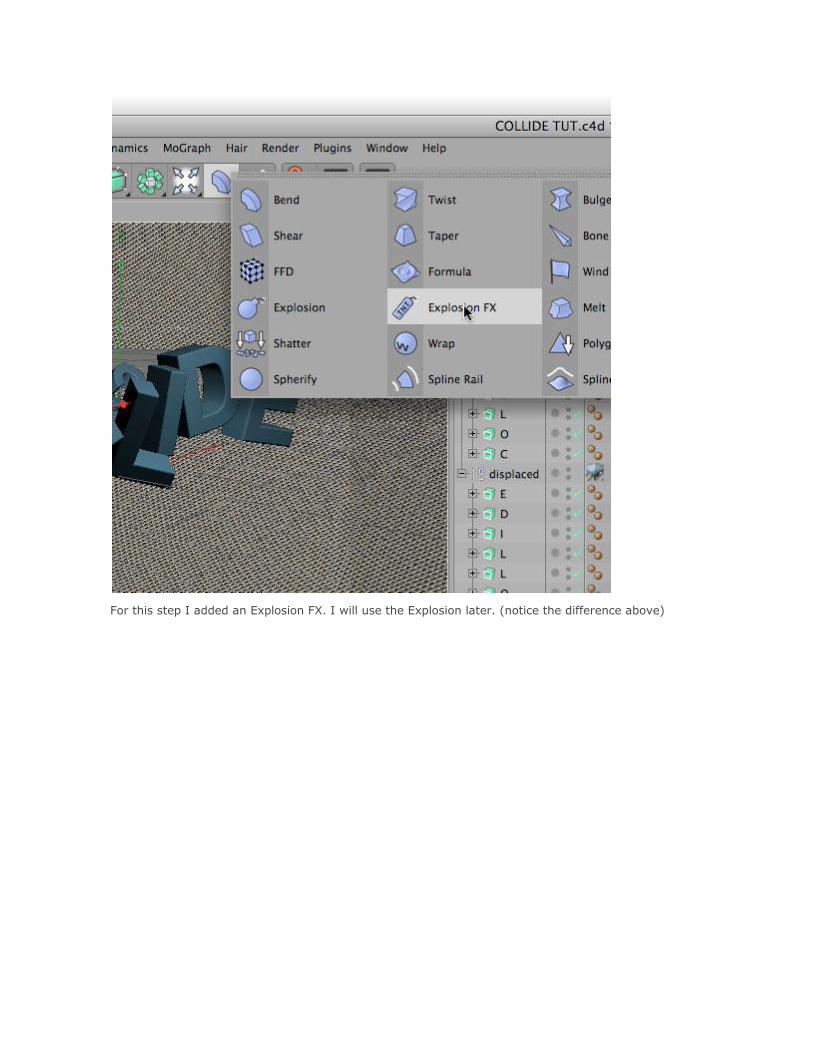
For this step I added an Explosion FX. I will use the Explosion later. (notice the difference above)

In order for the Explosion FX to work, it must be a child of the parent (the object to be exploded being
the parent). I adjusted the Thickness until I found a setting I liked.

Here is the what my exploding pyramid looks like after playing with the Time and Strength of the
explosion.

Next I copied my pyramid twice. On one of them I left the settings but moved the position of the
pyramid to quickly double the amount of exploding segments. Then on my 3rd copy of the pyramid I
added an Explosion rather than Explosion FX. This gave me a bunch of tiny specs of metal flying
through the air rather than the large chunks created from my other 2 pyramids.
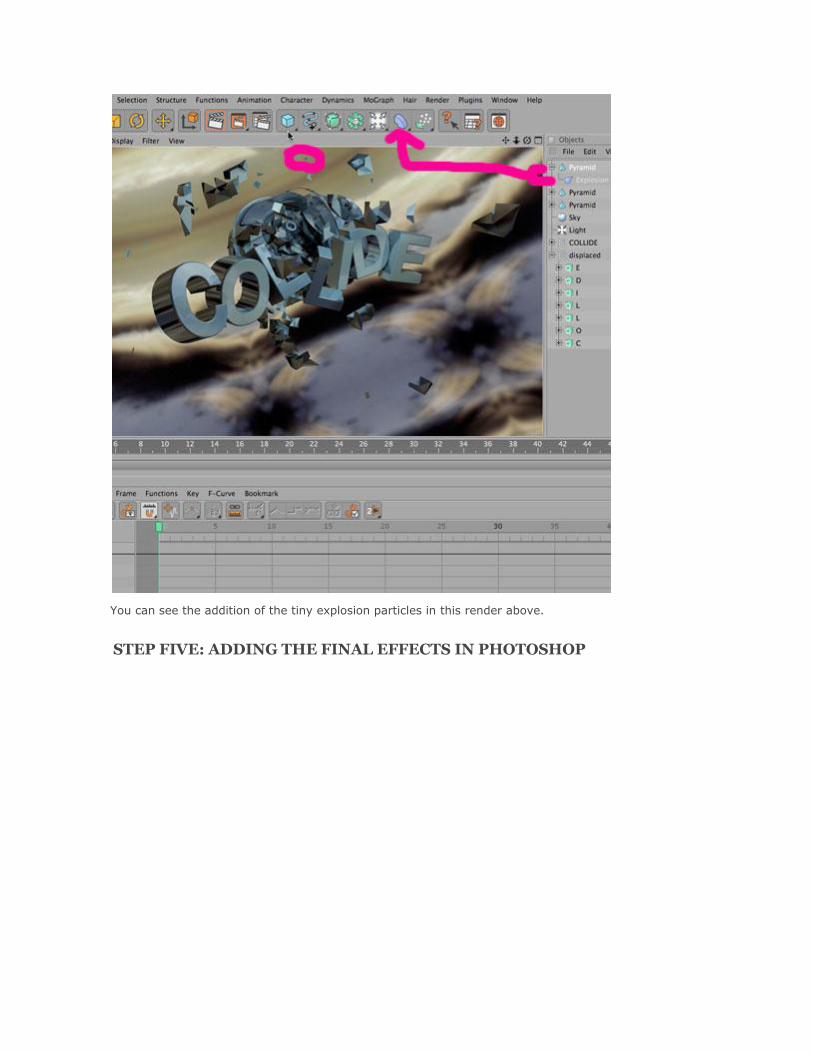
You can see the addition of the tiny explosion particles in this render above.
STEP FIVE: ADDING THE FINAL EFFECTS IN PHOTOSHOP

In my Render Settings, I made sure Alpha Channel is checked. Then I make my final render by
choosing Render to Picture Viewer from the C4d Render menu.
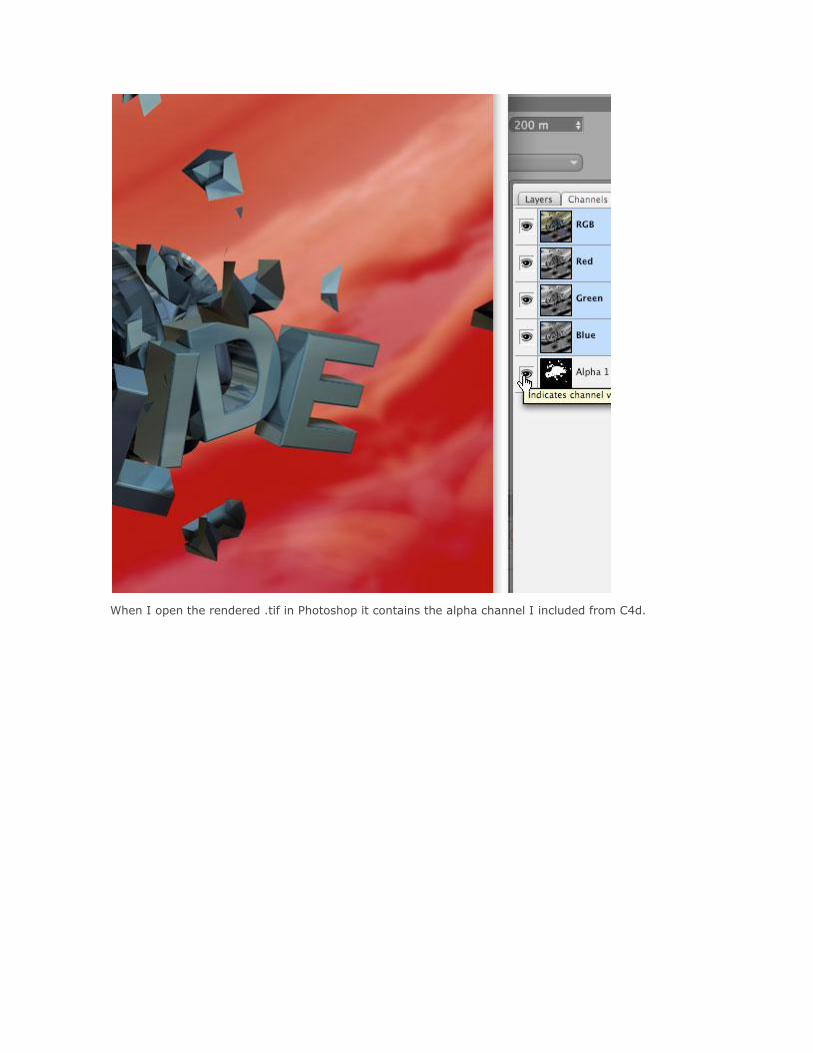
When I open the rendered .tif in Photoshop it contains the alpha channel I included from C4d.
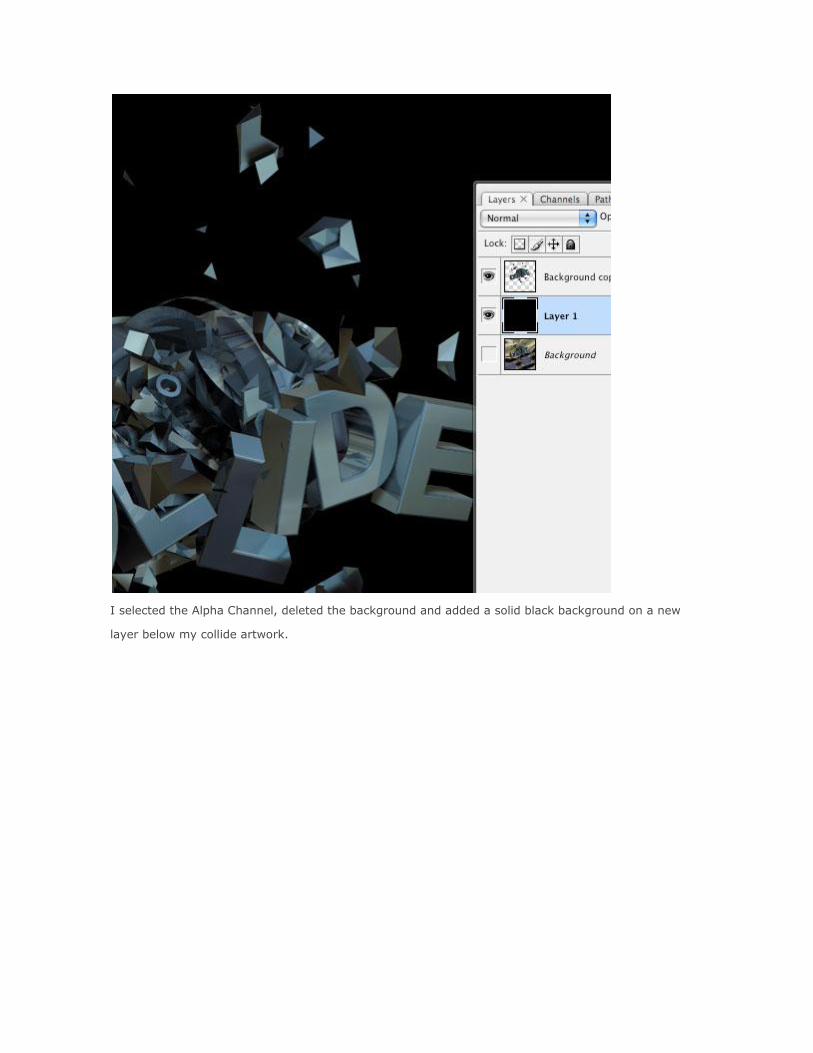
I selected the Alpha Channel, deleted the background and added a solid black background on a new
layer below my collide artwork.

I wanted a feeling of air & space around my artwork rather than just solid black, so I added clouds
from the Photoshop Filter menu.

Next I made a selection around a portion of the clouds and feathered the edge using the Refine Edge
button.

I deleted the extra part of the clouds with my selection and adjusted the Levels of the layer.
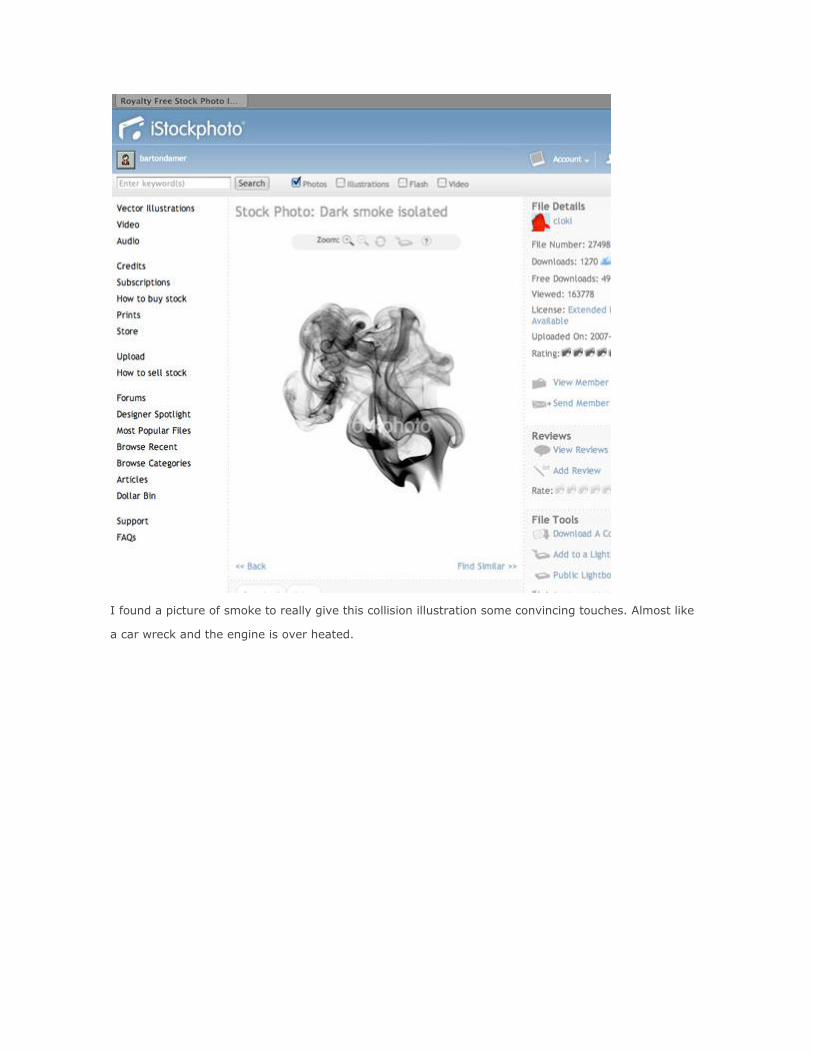
I found a picture of smoke to really give this collision illustration some convincing touches. Almost like
a car wreck and the engine is over heated.
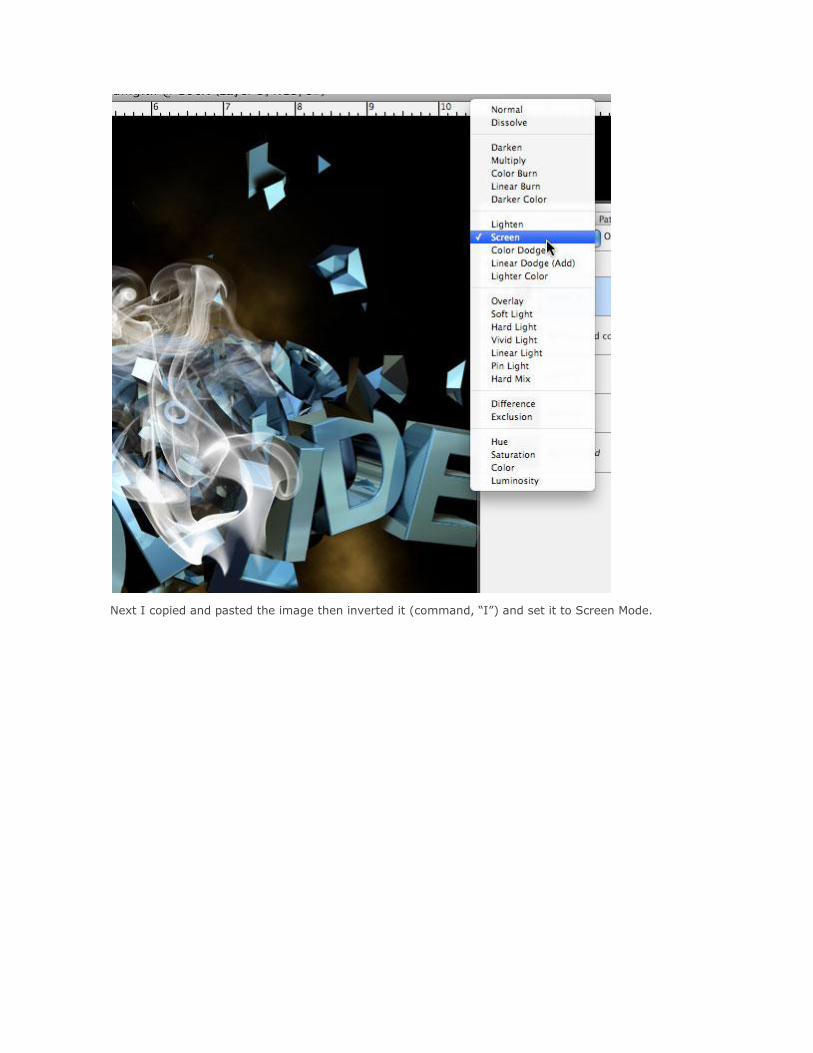
Next I copied and pasted the image then inverted it (command, “I”) and set it to Screen Mode.

I added a layer mask and revealed all. Then I went in with an airbrush on the layer mask and started
erasing different areas of the smoke to make it look like it was interacting with the “collide” rather than
just placed on top.

Here is what my smoke looks like after erasing bits of it. Next, I copied that layer and repeated the
same steps to add some more smoke toward the bottom of my composition.
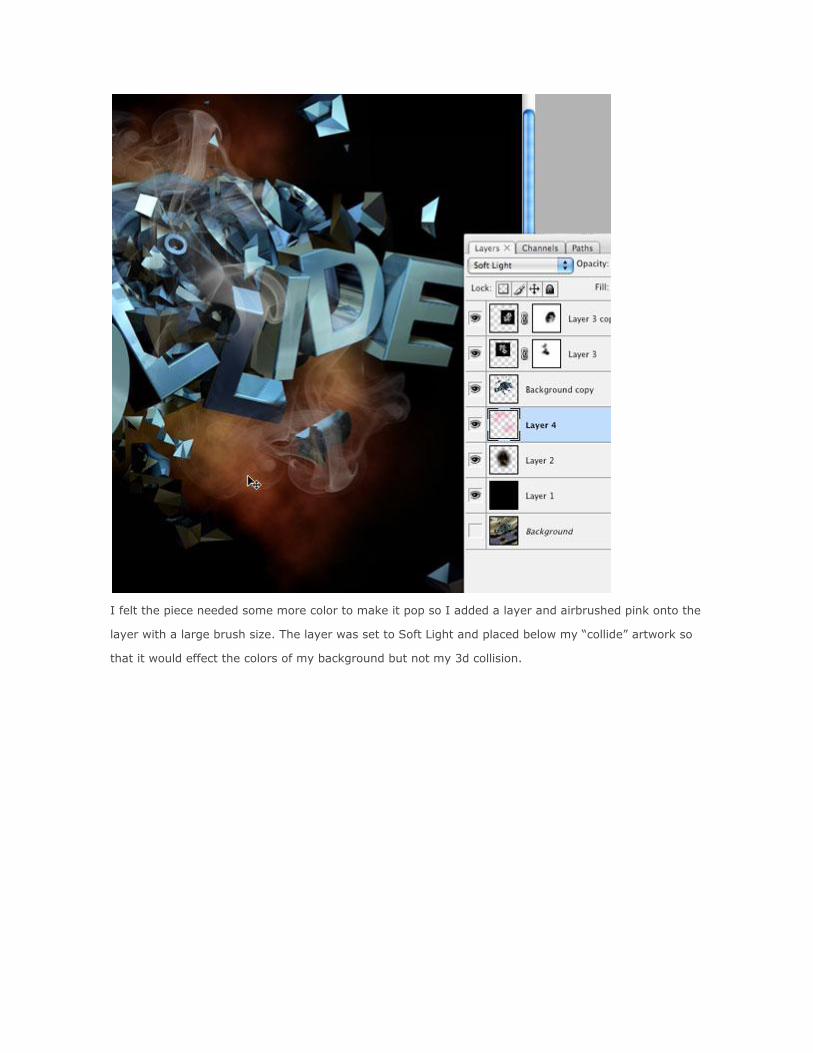
I felt the piece needed some more color to make it pop so I added a layer and airbrushed pink onto the
layer with a large brush size. The layer was set to Soft Light and placed below my “collide” artwork so
that it would effect the colors of my background but not my 3d collision.

I wanted to spice things up a bit and throw some lighting into my collision.
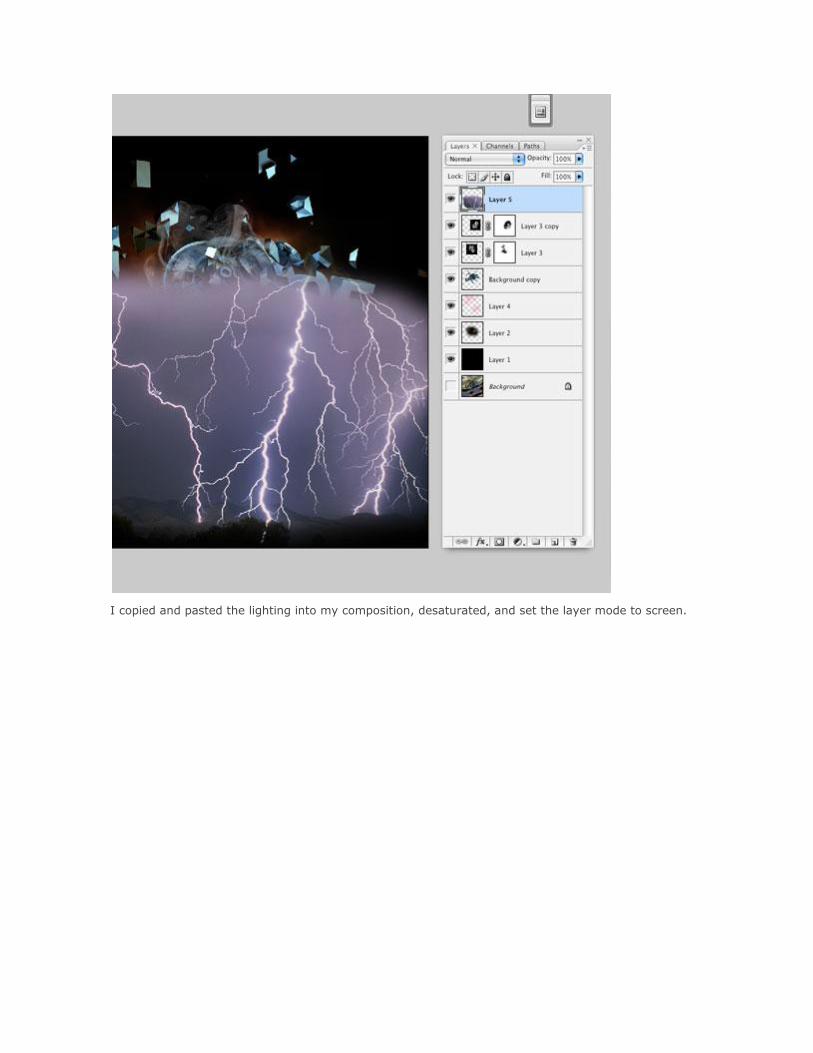
I copied and pasted the lighting into my composition, desaturated, and set the layer mode to screen.

Then I copied my layer of lighting and added a gaussian blur to the copied layer. I set both layers to
Add and moved them below the layer I airbrushed with color earlier. This created some nice color
through my lightning streaks.
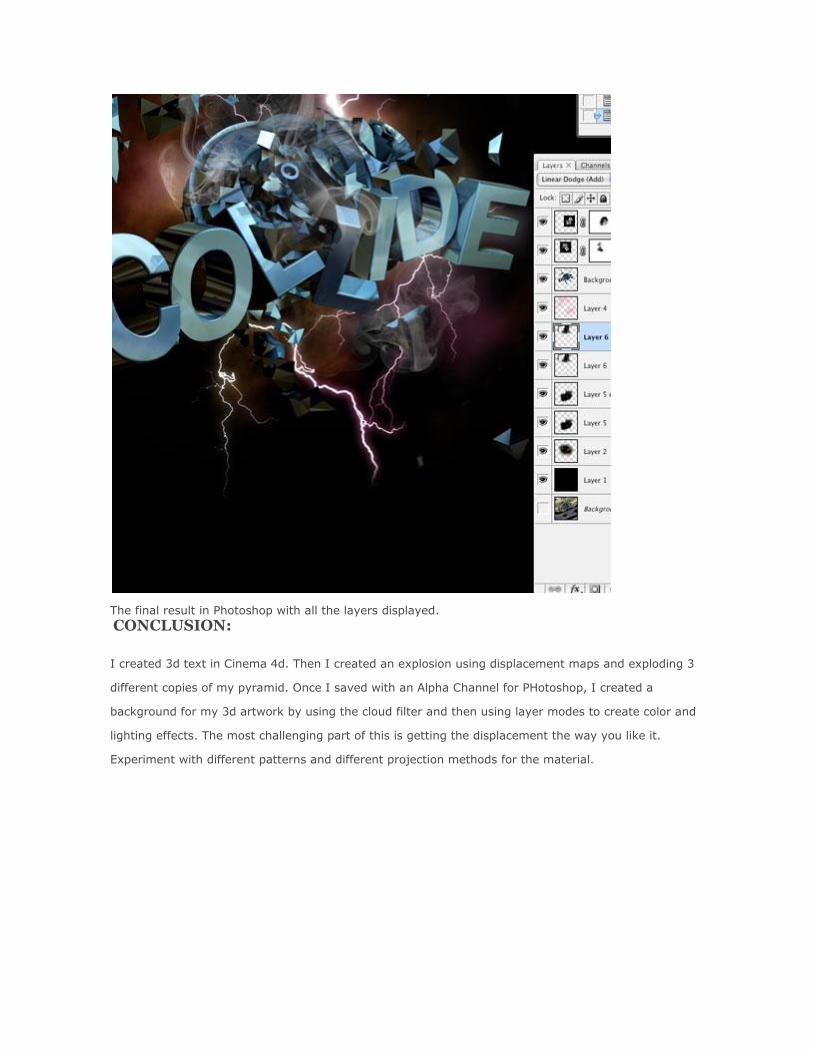
The final result in Photoshop with all the layers displayed.
CONCLUSION:
I created 3d text in Cinema 4d. Then I created an explosion using displacement maps and exploding 3
different copies of my pyramid. Once I saved with an Alpha Channel for PHotoshop, I created a
background for my 3d artwork by using the cloud filter and then using layer modes to create color and
lighting effects. The most challenging part of this is getting the displacement the way you like it.
Experiment with different patterns and different projection methods for the material.