How Are Building Materials Joined Together?€¦ · Some non-permanent joints, such as hinges,...
5
Focus: Students explore how building materials are joined together to form structures. How Are Building Materials Joined Together? Specific Curriculum Outcomes Students will be expected to: • 25.0 investigate ways to join materials and identify the most appropriate methods for the materials to be joined [GCO 1/3] • 26.0 use appropriate tools in safely cutting, shaping, making holes through, and assembling materials [GCO 1/3] Performance Indicators Students who achieve these outcomes will be able to: • identify several types of joints and fasteners • explain why various fasteners are better suited to certain materials • record their observations in a manner of their choosing NOTES: Unit 2: Materials and Structures 45
Transcript of How Are Building Materials Joined Together?€¦ · Some non-permanent joints, such as hinges,...

Focus: Students explore how building materials are joined together to form structures.
How Are Building Materials Joined Together?
Specific Curriculum OutcomesStudents will be expected to:
• 25.0 investigate ways to join materials and identify the most appropriate methods for the materials to be joined [GCO 1/3]
• 26.0 use appropriate tools in safely cutting, shaping, making holes through, and assembling materials [GCO 1/3]
Performance IndicatorsStudents who achieve these outcomes will be able to:
• identify several types of joints and fasteners
• explain why various fasteners are better suited to certain materials
• record their observations in a manner of their choosing
NOTES:
Unit 2: Materials and Structures 45

Attitude Outcome StatementsEncourage students to:
• work with others in exploring and investigating [GCO 4]
Cross-Curricular ConnectionsMathIt is expected that students will:
• describe 3-D objects according to the shape of the faces and the number of edges and vertices [3SS6]
English Language ArtsStudents will be expected to:
• use writing and other forms of representation to explore, clarify, and reflect on their thoughts, feelings, experiences, and learnings, and to use their imaginations [GCO 8]
• You may choose to have students wear safety goggles and aprons while they are working with the tools and fasteners in this lesson.
• Review appropriate safety rules with students before giving them access to any tools.
• Because structures have more than one part, they inevitably have joints, or places where two parts are attached. Some joints are created permanently, such as by welding. Some joints are created with fasteners, such as nails.
Getting OrganizedComponents Materials Before You Begin Vocabulary• Student
Magazine pages 20–21
• IWB Activity 6
• sheets of construction paper• index cards (1 per student)• markers and crayons• large supply of Lego blocks• samples of various fasteners (e.g., glue, different
kinds of tape, staples, twist ties, pipe cleaners, string, modelling clay, brass fasteners, Velcro, elastic bands, buttons, marshmallows)
• samples of various materials (e.g., wooden sticks, straws, paper, stir sticks, fabric)
• various tools (scissors, hole-punch, stapler, glue gun)• safety equipment for all students (goggles, aprons)• digital cameras (optional)• students’ Science Journals• foam blocks• poster-making materials
• Prepare a collection of fastener samples and material samples for each group.
• Prepare a collection of tools for each group.
• fastener• gusset• joint
Safety
Science Background
46

Some non-permanent joints, such as hinges, allow one or more of the structure’s parts to move while still remaining attached.
• The type of joint used depends on the purpose of the joint and on the material used in each part.
Joints and Fasteners
Write the word “joint” on a piece of coloured paper and tape it to the board. Ask students what word they can see in joint (join), and lead them to understand that a joint is a place where two or more parts of a structure are joined, or fastened together. Ask students how you formed a joint between the board and the piece of paper (you used tape as a fastener). Add the word “joint” to the Word Wall.
Write the word “fastener” on another piece of coloured paper and tape it to the board. Then tell the class that they are going to brainstorm other ways to fasten things together. Distribute index cards to all students and invite them to write or draw another kind of fastener (e.g., buttons, pushpins, shoelaces, staples, string). Students can be encouraged to explore the classroom for ideas, including the Curiosity Centre. Once students have filled in their index cards, they may attach them to the board with tape, under the word “fastener.” Add this word to the Word Wall.
Lego Joints
Have students form groups of three. Give each group a large supply of Lego blocks and have students build a simple wall of three columns, set side-by-side on a long foundation block. It is important that students do not stagger the blocks, but align them one on top of the other, creating two long vertical joints. When their walls are done, groups should experiment with wiggling the foundation block and observing what happens to the wall. Then, groups can create another wall, this time staggering the blocks to create zigzagged joints. The wiggle test should produce very different results.
ACTIVATE
Word
CONNECT
Unit 2: Materials and Structures 47
Ask:
• Which kinds of joints are more stable: ones that go up in a straight line, or ones that are zigzagged? Why do you think so?
Alternatively, you could have half the groups build the wall one way and the other half build it the second way. Ask students to wiggle the foundation blocks and compare their observations.
Pros and Cons
Invite students to read the text on pages 20–21 of the Student Magazine. Have students identify the kinds of joints and fasteners they see on the spread. Explain that the photo of the grey posts shows a gusset, which is a thick, flat piece of strong material that is attached to a structure at a joint. This makes the joint stronger. Add the kinds of fasteners students identify to the list on the board. Add the word “gusset” to the Word Wall.
Discuss how students would use fasteners such as rubber bands, paper clips, and glue. Ask:
• What materials might you join with these fasteners?
Go through the list of fasteners noted on the board and ask students to identify the pros and cons of each. For example, rubber bands are flexible but they can break. Mortar is very strong, but it is not flexible. Point out to students that fasteners have properties, just like building materials do. Ask them how they think they would choose the correct fastener for a joint they need to make. Allow for a short discussion.
Experimenting With Fasteners
Provide small groups with a variety of fasteners (e.g., glue, different kinds of tape, staples, twist ties, pipe cleaners, string, modelling clay, brass fasteners, Velcro, elastic bands, buttons, marshmallows), materials (e.g., wooden sticks, straws, paper, stir sticks, fabric), and tools (e.g., scissors, hole-punch, stapler, glue gun). Students could wear aprons and safety goggles during this activity, and cover their work area with plastic or paper towels. Students should be encouraged to try many different combinations of materials and fasteners. Groups may choose to join two pieces of one material together or two different materials together. Groups should choose an appropriate method to record their observations in their Science Journals.
Note: This activity may require an adult volunteer to provide supervision and assistance as needed.
3-D Forms
Have students break into pairs. Have each pair decide on a 3-D form they wish to create such as a cube, pyramid, cone, or dome. You may wish to set parameters on the forms, such as that they must have at least two types of building materials and/or at least two types of fasteners. Partners should
Word
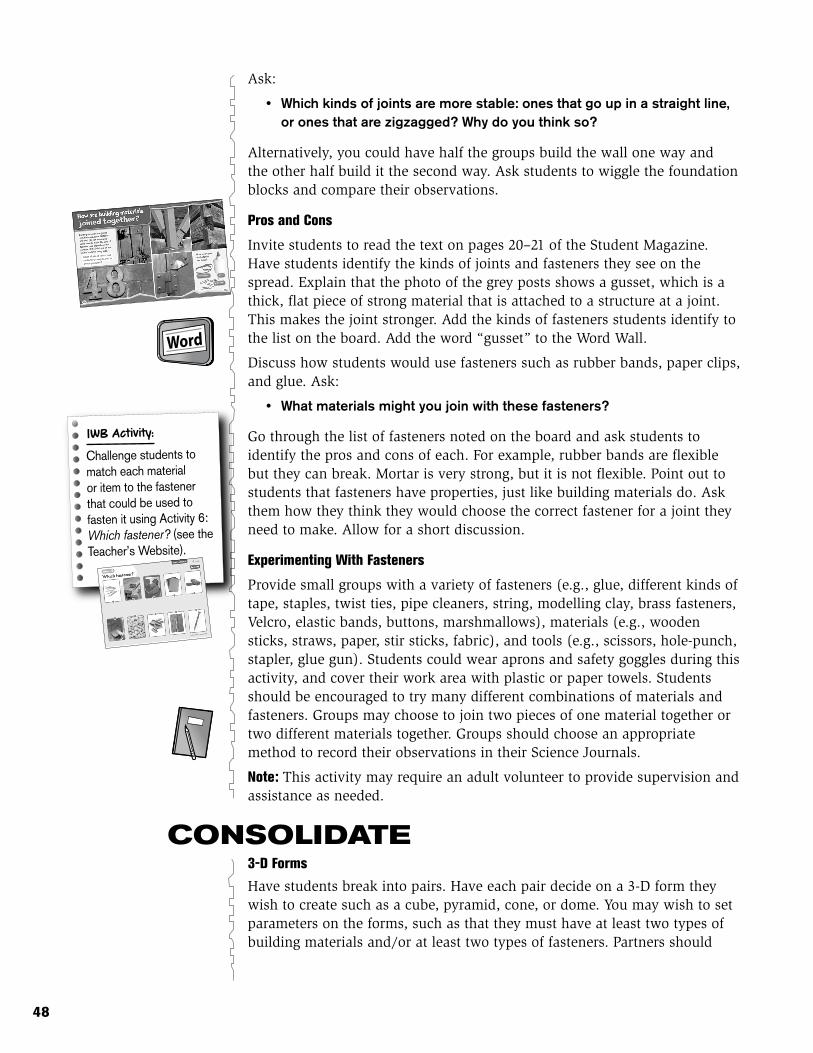
IWB Activity:
Challenge students to match each material or item to the fastener that could be used to fasten it using Activity 6: Which fastener? (see the Teacher’s Website).
CONSOLIDATE
48

discuss and choose materials and fasteners, sketch a labelled diagram for their form in their Science Journals, and construct it. Pairs should be prepared to explain why they chose the kinds of materials and fasteners they did. Students could also research and construct models of traditional shelters of the Innu, Inuit, or Mi’kmaq. Foam blocks could be used to construct the domed structure of an igloo which requires no posts or beams for support.
Fascinating Fastener Ads
Students can create a poster or a TV commercial that advertises a particular kind of fastener. The advertisement should include a list of the best materials to use with this kind of fastener, as well as its properties.
EXPLORE MORE
Unit 2: Materials and Structures 49