Helpful tips on · 2017-09-22 · Guidelines for Mountain Biking Trails For state trails, the...
12
Transcript of Helpful tips on · 2017-09-22 · Guidelines for Mountain Biking Trails For state trails, the...
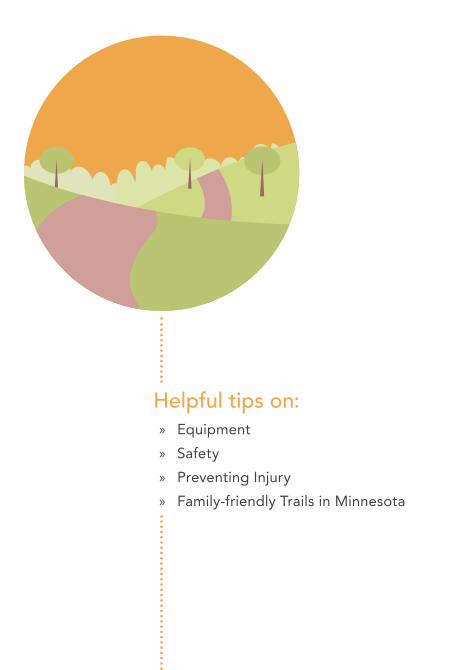
Helpful tips on: » Equipment » Safety » Preventing Injury » Family-friendly Trails in Minnesota
Happy Trails from Summit Orthopedics
It’s bike riding season in Minnesota and Summit Orthopedics has created this family fun guide to help you plan your summer biking excursions. Biking is one of the best ways to get exercise and enjoy family time together. This guide is a handy tool for getting your family prepared to get out and experience the great trails in the area and to have a fun-filled, safe ride. We are proud to be a part of this community where there are so many great bike riding options.
About Summit OrthopedicsSummit provides the Twin Cities and Greater Minnesota with the full spectrum of bone, joint, and muscle care, including subspecialty clinics, walk-in care at OrthoQUICK clinics, imaging, bracing, therapy, surgery, and Care Suites. Our expert team of physicians, physician assistants, certified athletic trainers, and therapists are part of the over 800 employees who partner to support healthier, more active lifestyles.
For tips, videos, articles, and more on how you can stay healthy and active, visit summitortho.com
OrthoQUICK: Walk-in Injury CareOur clinics are located in Woodbury, Eagan, and Vadnais Heights. Open 7 days a week, 10 a.m. to 8 p.m.

Basic Bicycle Safety Equipment » A good bike: The American Academy of Orthopedic Surgeons recommends the following: “Make certain the bicycle is the proper size for the rider. Appropriately sized frames, handlebar, and seat heights will improve your ability to control the bike and reduce the risk for overuse injuries. If you ride regularly, consider a professional fit from a bike shop.”
» Bike lamp and reflectors for nighttime and low-light riding (Minnesota Bicycle Law)
» A well-fitting helmet » A water bottle » Closed-toed shoes » Comfortable snug clothing, preferably reflective, that doesn’t hang
down near the tires or chain
Additional Items to Bring » Your cell phone » A light backpack » Easy-to-use tire repair kits
Hand SignalsMinnesota law requires cyclists to follow all traffic control signs and signals, just as a motorist would. Make sure you give motorists enough time to react; Minnesota requires 100 feet of continuously holding the hand signal or when stopped and waiting to turn. For kids or others, there is an exception to this rule if the arm is needed to control the bike.
Remember to yield to pedestrians and other motor vehicles.
SIGNALS VIEWED FROM BEHIND
STOPLEFT RIGHTNote: Bicyclists may use either method in Minnesota
» Trail map » Sunglasses » Biking gloves
Helmet FittingShopping guide for a bicycle helmet
» Certification—Make sure the helmet meets the standards of the Consumer Product Safety Commission or the Snell Memorial Foundation.
» Snug fit—When your helmet is the right size, it won’t slide from side to side or from front to back on your head.
» Level fit—The helmet should sit squarely on top of your head, covering the top of your forehead. If the helmet is tilting in any direction, it does not fit.
» Stability—Look for a chinstrap that is undamaged and buckles securely. When the chinstrap is fastened, the helmet should fit firmly, and should not rock on your head.
» Visibility—Chose your helmet color with safety in mind. You want a color that is easy for motorists to see.
» Kids' helmets—If you are buying a helmet for a child, buy one that fits now. Do not buy a helmet with “room to grow.”
Taking the time choose the right helmet and ensuring a good fit sets you up for the best outcomes if you do have an accident. Just wearing a helmet reduces the risk of serious head and brain injury by 85 percent.
Get a good helmet fit for safe cyclingWe love these great tips from the National Highway Traffic Safety Administration (NHTSA) to guide you when figuring out the right helmet fit:
» Size—Measure your head to find your size. Try on several helmets in your size until one feels right. Now put the helmet level on your head and adjust the sizing pads or fit ring until the helmet is snug.
» Position—The helmet should sit level on your head and low on your forehead, one or two finger-widths above your eyebrow.
» Side Straps—Adjust the slider on both straps to form a “V” shape under, and slightly in front of, the ears. Lock the slider if possible.
» Buckles—Center the left buckle under the chin. On most helmets, the straps can be pulled from the back of the helmet to lengthen or shorten the chin straps. This task is easier if you take the helmet off to make these adjustments.
» Chin Strap—Buckle your chin strap. Tighten the strap until it is snug, so that no more than one or two fingers fit under the strap.
Replace any helmet that is involved in a crash, damaged, or has been outgrown, or every 3 to 5 years.
5
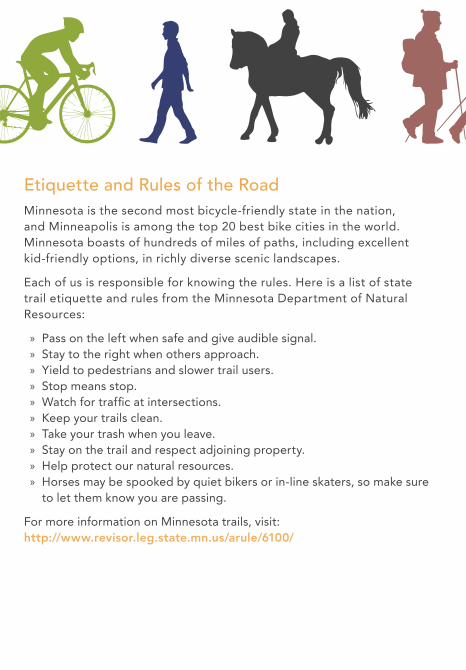
Etiquette and Rules of the RoadMinnesota is the second most bicycle-friendly state in the nation, and Minneapolis is among the top 20 best bike cities in the world. Minnesota boasts of hundreds of miles of paths, including excellent kid-friendly options, in richly diverse scenic landscapes.
Each of us is responsible for knowing the rules. Here is a list of state trail etiquette and rules from the Minnesota Department of Natural Resources:
» Pass on the left when safe and give audible signal. » Stay to the right when others approach. » Yield to pedestrians and slower trail users. » Stop means stop. » Watch for traffic at intersections. » Keep your trails clean. » Take your trash when you leave. » Stay on the trail and respect adjoining property. » Help protect our natural resources. » Horses may be spooked by quiet bikers or in-line skaters, so make sure
to let them know you are passing.
For more information on Minnesota trails, visit: http://www.revisor.leg.state.mn.us/arule/6100/
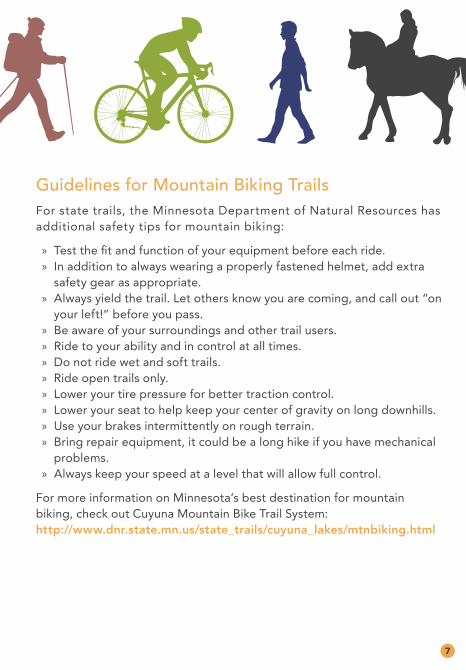
Guidelines for Mountain Biking TrailsFor state trails, the Minnesota Department of Natural Resources has additional safety tips for mountain biking:
» Test the fit and function of your equipment before each ride. » In addition to always wearing a properly fastened helmet, add extra
safety gear as appropriate. » Always yield the trail. Let others know you are coming, and call out “on
your left!” before you pass. » Be aware of your surroundings and other trail users. » Ride to your ability and in control at all times. » Do not ride wet and soft trails. » Ride open trails only. » Lower your tire pressure for better traction control. » Lower your seat to help keep your center of gravity on long downhills. » Use your brakes intermittently on rough terrain. » Bring repair equipment, it could be a long hike if you have mechanical
problems. » Always keep your speed at a level that will allow full control.
For more information on Minnesota’s best destination for mountain biking, check out Cuyuna Mountain Bike Trail System:http://www.dnr.state.mn.us/state_trails/cuyuna_lakes/mtnbiking.html
7

Hamstrings (back of thigh) » Place your left foot one stride
ahead of your right foot. Keeping your left knee and your back straight, bend forward at the hips, allowing your right knee to bend slightly. Shift your hips backward until you feel the stretch.
» You should feel this stretch through the back of your left thigh. Hold this position for 30 seconds.
» Repeat on the opposite leg and stretch each leg twice.
Seat Height GuideOne of the most basic yet important aspects of cycling comfort and fit is the bicycle seat height. A poorly adjusted seat can lead to knee, back, neck, and shoulder pain. Here are some easy steps to find your proper seat height:1. While the bike is either in a trainer or while
riding on a smooth open surface, place your heels on your pedals.
2. As you pedal, your knees should straighten out completely.
3. If your knees remain bent through the entire pedal stroke, your seat height is too low.
4. If you cannot keep your heels on the pedals without leaning down, your seat is too high.
Post-ride Stretches to Prevent Injuries Performing the following stretches after your ride will help you recover more quickly and gain flexibility where it matters most for cycling.
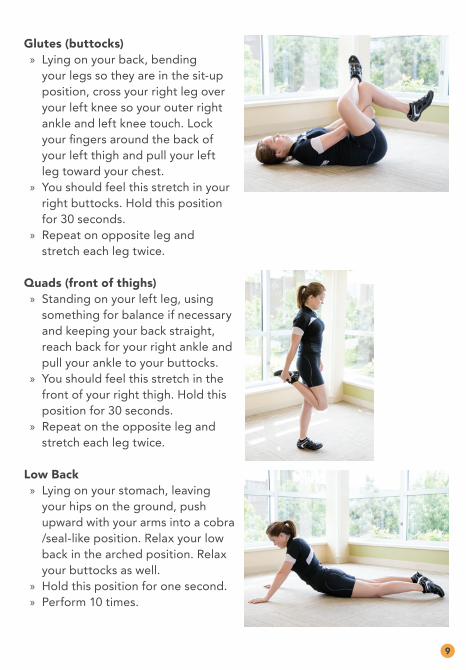
Glutes (buttocks) » Lying on your back, bending
your legs so they are in the sit-up position, cross your right leg over your left knee so your outer right ankle and left knee touch. Lock your fingers around the back of your left thigh and pull your left leg toward your chest.
» You should feel this stretch in your right buttocks. Hold this position for 30 seconds.
» Repeat on opposite leg and stretch each leg twice.
Quads (front of thighs) » Standing on your left leg, using
something for balance if necessary and keeping your back straight, reach back for your right ankle and pull your ankle to your buttocks.
» You should feel this stretch in the front of your right thigh. Hold this position for 30 seconds.
» Repeat on the opposite leg and stretch each leg twice.
Low Back » Lying on your stomach, leaving
your hips on the ground, push upward with your arms into a cobra /seal-like position. Relax your low back in the arched position. Relax your buttocks as well.
» Hold this position for one second. » Perform 10 times.
9
Dakota Rail Regional TrailWest Metrowww.threeriversparks.org/location/dakota-rail-regional-trail/
» Wayzata, Orono, Mound, and St. Bonifacius, MN
» 13mi (paved) No pass requiredMultiple stops along the way for refilling water, taking a bathroom break, snacks.
Luce Line — West Metro www.luceline.com
» Plymouth to Cosmos, MN » 63mi No pass required
Multiple stops along the way for refilling water, taking a bathroom break, snacks.
LRT Trail — West Metro www.traillink.com/trail/lake-minnetonka-lrt-regional-trail/
» Hopkins to Victoria, MN » 15mi No pass required
Limited stops along the way for refilling water, taking a bathroom break, snacks.
Grand Rounds — Metro www.exploreminnesota.com/travel-ideas/grand-rounds-scenic-byway-showcases-minneapolis/
» 55mi (paved) No pass requiredMultiple stops along the way for refilling water, taking a bathroom break, snacks.
Cannon Valley Trail South of the Metrowww.cannonvalleytrail.com
» 19.7mi (paved) No pass requiredLimited stops along the way for refilling water, taking a bathroom break, snacks.
Root River State Trail — SE MNwww.dnr.state.mn.us/state_trails/root_river/index.html
» Lanesboro to Houston, MN » 42mi (paved) No pass required
Limited stops for refilling water,taking a bathroom break, snacks.
Recommended Trails for the Family
Blufflands State Trail Harmony: Preston Segment — SE MNwww.dnr.state.mn.us/state_trails/blufflands/harmony_preston.html
» Harmony to Preston, MN » 18mi (paved) No pass required
May not be suitable for all riders —several hills with strenuous inclines throughout the length of the trail.Limited stops for refilling water, taking a bathroom break, snacks.
Mesabi Trail — Northern MN www.mesabitrail.com
» Grand Rapids to Ely, MN » 155mi (paved)
Pass required : $5.00Obtain online, at an established vendor (see website), or at entry point self-pay boxes. Limited stops for refilling water, taking a bathroom break, snacks.
U.S. Bicycle Route 41 — St. Paul, MN to Grand Portage, MN www.dot.state.mn.us/bike/usbr41/
» CHS Field in St. Paul to Grand Portage, MN
» 355mi (paved) No pass requiredIncludes some riding on the shoulder of highways and main roads. Portions may not be suitable for younger riders under 10 years of age. Multiple stops for refilling water, taking a bathroom break, snacks. Long stretches where there are no rest stops—please consult trail map.
11

For even more articles and tips, visit us online at
summitortho.com/topic/cycling