Hands-on Cybersecurity Studies: Introduction to Web ...
23
ARL-SR-0441 ● MARCH 2021 Hands-on Cybersecurity Studies: Introduction to Web Application Security Part 2— Remediation by Dr Jaime Acosta, Rigoberto Quiroz, and Diana Ramirez Approved for public release: distribution unlimited.
Transcript of Hands-on Cybersecurity Studies: Introduction to Web ...

ARL-SR-0441 ● MARCH 2021
Hands-on Cybersecurity Studies: Introduction to Web Application Security Part 2— Remediation by Dr Jaime Acosta, Rigoberto Quiroz, and Diana Ramirez
Approved for public release: distribution unlimited.

NOTICES
Disclaimers
The findings in this report are not to be construed as an official Department of the
Army position unless so designated by other authorized documents.
Citation of manufacturer’s or trade names does not constitute an official
endorsement or approval of the use thereof.
Destroy this report when it is no longer needed. Do not return it to the originator.

ARL-SR-0441 ● MARCH 2021
Hands-on Cybersecurity Studies: Introduction to Web Application Security Part 2— Remediation
Jaime C Acosta Computational and Information Sciences Directorate, DEVCOM Army Research Laboratory
Rigoberto Quiroz and Diana Ramirez University of Texas at El Paso
Approved for public release: distribution unlimited.

ii
REPORT DOCUMENTATION PAGE Form Approved
OMB No. 0704-0188
Public reporting burden for this collection of information is estimated to average 1 hour per response, including the time for reviewing instructions, searching existing data sources, gathering and maintaining the
data needed, and completing and reviewing the collection information. Send comments regarding this burden estimate or any other aspect of this collection of information, including suggestions for reducing the
burden, to Department of Defense, Washington Headquarters Services, Directorate for Information Operations and Reports (0704-0188), 1215 Jefferson Davis Highway, Suite 1204, Arlington, VA 22202-4302.
Respondents should be aware that notwithstanding any other provision of law, no person shall be subject to any penalty for failing to comply with a collection of information if it does not display a currently
valid OMB control number.
PLEASE DO NOT RETURN YOUR FORM TO THE ABOVE ADDRESS.
1. REPORT DATE (DD-MM-YYYY)
March 2021
2. REPORT TYPE
Special Report
3. DATES COVERED (From - To)
June 2020–September 2021
4. TITLE AND SUBTITLE
Hands-on Cybersecurity Studies: Introduction to Web Application Security Part
2 — Remediation
5a. CONTRACT NUMBER
5b. GRANT NUMBER
5c. PROGRAM ELEMENT NUMBER
6. AUTHOR(S)
Dr Jaime C Acosta, Rigoberto Quiroz, and Diana Ramirez
5d. PROJECT NUMBER
5e. TASK NUMBER
5f. WORK UNIT NUMBER
7. PERFORMING ORGANIZATION NAME(S) AND ADDRESS(ES)
DEVCOM Army Research Laboratory
ATTN: FCDD- RLC-ND
Adelphi, MD 20783-1138
8. PERFORMING ORGANIZATION REPORT NUMBER
ARL-SR-0441
9. SPONSORING/MONITORING AGENCY NAME(S) AND ADDRESS(ES)
10. SPONSOR/MONITOR'S ACRONYM(S)
11. SPONSOR/MONITOR'S REPORT NUMBER(S)
12. DISTRIBUTION/AVAILABILITY STATEMENT
Approved for public release: distribution unlimited.
13. SUPPLEMENTARY NOTES
ORCID ID(s): Jaime C Acosta, 0000-0003-2555-9989
14. ABSTRACT
Healthcare systems are now taking advantage of computing and networking technology to improve patient care and employee
services. Healthcare databases are used for storage, integrity maintenance, and rapid accessibility of hospital data such as
patient information, financial records, employee information, and patient-care services records. It is important for developers
and administrators to understand the potential security concerns in these types of systems due to the information that they
contain. This report describes the second of a set of two hands-on exercises focused on web application systems, using a mock
healthcare system as the platform. The first exercise focused on informing the audience about potential risks involved when
hosting sensitive healthcare information on a networked system. This second report focuses on implementing remediations. 15. SUBJECT TERMS
security awareness, web application security, security remediation, hands-on cybersecurity, CyberRIG
16. SECURITY CLASSIFICATION OF: 17. LIMITATION OF ABSTRACT
UU
18. NUMBER OF PAGES
23
19a. NAME OF RESPONSIBLE PERSON
Jaime C Acosta
a. REPORT
Unclassified
b. ABSTRACT
Unclassified
c. THIS PAGE
Unclassified
19b. TELEPHONE NUMBER (Include area code)
(575) 993-2375 Standard Form 298 (Rev. 8/98)
Prescribed by ANSI Std. Z39.18
iii
Contents
List of Figures iv
1. Introduction 1
1.1 Security Testing 1
1.2 Identifying Artifacts for Remediation 1
1.3 Remediation 2
2. Setup and Configuration 2
3. Learning Objectives 3
4. Exercise 4
4.1 Activity 1: Confirm that Services are Running 4
4.2 Activity 2: Access the Website’s Data from the Host Machine 6
4.3 Activity 3: Understand SQL Queries 7
4.4 Activity 4: Understand Patient Login PHP Code 10
4.5 Activity 5: Investigate the Search Field 13
5. Conclusion 14
6. References 15
List of Symbols, Abbreviations, and Acronyms 16
Distribution List 17

iv
List of Figures
Fig. 1 Test scenario ......................................................................................... 5
Fig. 2 MedBlue’s website view from host ...................................................... 6
Fig. 3 Terminal output example after docker container is started ................... 8
Fig. 4 Terminal output example of MySQL command prompt in docker container ................................................................................................ 8
Fig. 5 LoginHandle.php file opened using Nano text editor ......................... 11
Fig. 6 LoginHandle.php template file opened using a text editor ................. 11
Fig. 7 Location of change needed in loginHandle.php template file ............ 12
Fig. 8 Location of second change needed in the loginHandle.php template file ....................................................................................................... 12
Fig. 9 Location and change needed in search.php file .................................. 13

1
1. Introduction
The availability of healthcare information through the web has brought many
conveniences and efficiencies to caretakers and patients. However, it has also
introduced novel security concerns that need special attention by all users of these
systems.
This report describes the second of a set of two hands-on exercises focused on web
application systems, using a mock healthcare system as the platform. The first
exercise focused on informing the audience about potential risks involved when
hosting sensitive healthcare information on a networked system. This second report
focuses on implementing remediations.
1.1 Security Testing
The Department of the Interior defines basic procedures for security testing using
a technique called penetration testing.1 It is common for system owners to invest in
third-party organizations to complete this testing to obtain an unbiased analysis of
system weaknesses. Depending on requirements, these testing organizations can
work together with developers (white box approach) or take outsider perspectives
to test the system (black box approach). The identified weaknesses are then
weighed against system needs and requirements. The calculated risk is a major
guiding factor in determining priority. The weaknesses are then fixed, many times
in the form of a manufacturer's patch, but in some cases by implementing additional
defense-in-depth. This report guides participants through basic remediations for a
simple web server.
1.2 Identifying Artifacts for Remediation
Many security organizations in the private sector provide training and expertise on
how to conduct penetration tests. Infosec defines vulnerability analysis as the phase
during testing during which tools are used to understand how a system is designed
and identify weaknesses. Additionally, these testers document potential impacts
and many times develop proof of concepts to measure these impacts. The entire
process and the results are documented by the testing organization and then
provided to system owners so that they may execute remediations.2
During this exercise, participants are given a set of known weaknesses and are
tasked with evaluating and fixing them.
2
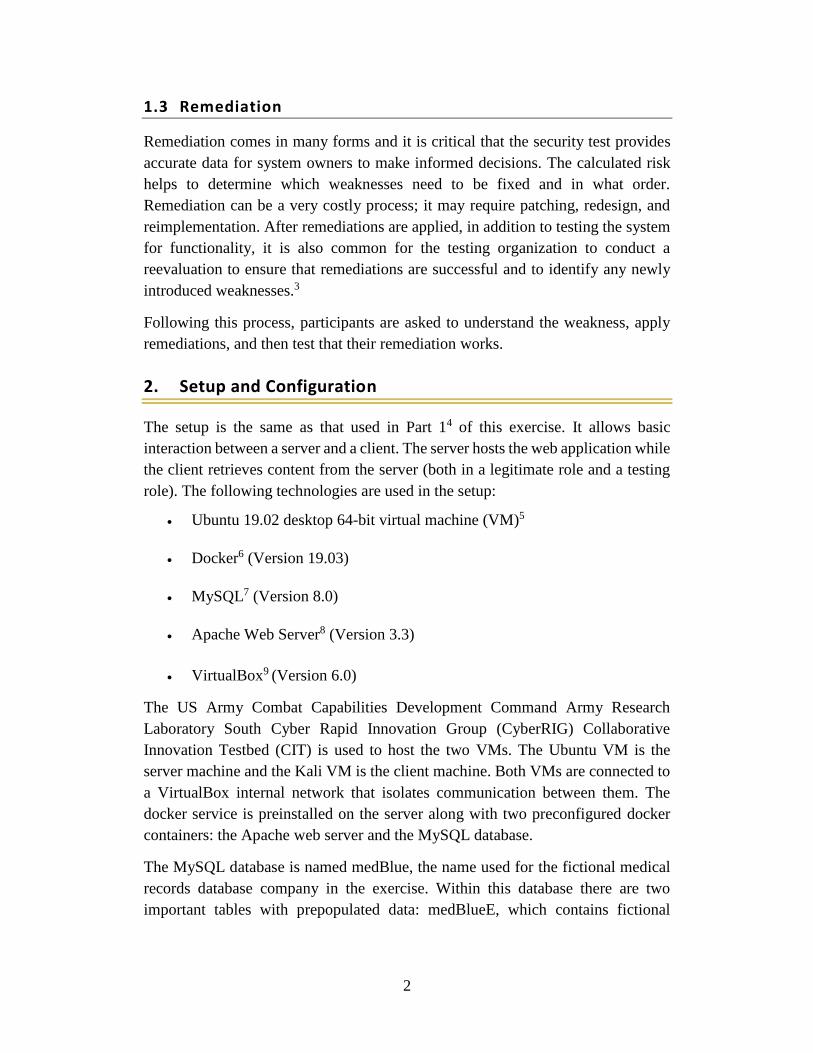
1.3 Remediation
Remediation comes in many forms and it is critical that the security test provides
accurate data for system owners to make informed decisions. The calculated risk
helps to determine which weaknesses need to be fixed and in what order.
Remediation can be a very costly process; it may require patching, redesign, and
reimplementation. After remediations are applied, in addition to testing the system
for functionality, it is also common for the testing organization to conduct a
reevaluation to ensure that remediations are successful and to identify any newly
introduced weaknesses.3
Following this process, participants are asked to understand the weakness, apply
remediations, and then test that their remediation works.
2. Setup and Configuration
The setup is the same as that used in Part 14 of this exercise. It allows basic
interaction between a server and a client. The server hosts the web application while
the client retrieves content from the server (both in a legitimate role and a testing
role). The following technologies are used in the setup:
Ubuntu 19.02 desktop 64-bit virtual machine (VM)5
Docker6 (Version 19.03)
MySQL7 (Version 8.0)
Apache Web Server8 (Version 3.3)
VirtualBox9 (Version 6.0)
The US Army Combat Capabilities Development Command Army Research
Laboratory South Cyber Rapid Innovation Group (CyberRIG) Collaborative
Innovation Testbed (CIT) is used to host the two VMs. The Ubuntu VM is the
server machine and the Kali VM is the client machine. Both VMs are connected to
a VirtualBox internal network that isolates communication between them. The
docker service is preinstalled on the server along with two preconfigured docker
containers: the Apache web server and the MySQL database.
The MySQL database is named medBlue, the name used for the fictional medical
records database company in the exercise. Within this database there are two
important tables with prepopulated data: medBlueE, which contains fictional

3
employee records, and medBlueP, which contains fictional patient records
information.
The web server contains several PHP files that together provide a realistic
experience for participants when interacting with the system. Communication
between the web server and database occurs through Transmission Control Protocol
Port 8000. During the exercise, participants try to gain access to database content
using several testing tools and techniques using a login page. The username and
password submission logic intentionally allows an unbounded number of attempts.
The site also includes a search field for text entry. This field is used to test against
cross-site scripting (XSS). The employee login page is used to test against
Structured Query Language (SQL) injection.
Participants mitigate the weaknesses that were identified in the previous exercise
by interacting with the MySQL database docker container and fixing PHP code
using text editors found on the host machine.
3. Learning Objectives
The purpose of the exercise, described in the next section, is to demonstrate the
implementation and testing of remediations after identifying weaknesses in a
database and a website. The following are the general cybersecurity topics
emphasized in the exercise:
Penetration Testing: Security test during which an organization identifies
system weaknesses, which can range from host to network to human-
focused. The testing organization usually provides a listing of findings as
well as their potential impacts and remediations. Adequate testing is critical
as it provides system owners with the ability to make informed decisions
about what needs to be fixed, how, and in what order.
Vulnerability: A weakness in the system. This weakness can allow a
malicious or non-malicious actor to have unintended impacts on the system.
These weaknesses are many times documented by manufacturers and third
parties (e.g., on the National Institute for Standards and Technologies
[NIST] National Vulnerability Database [NVD]),10 and in many cases
remediations are also documented.
Remediation: Eradicating a previously found weakness. This process
requires an understanding of why the vulnerability exists and what changes
need to be made to apply a fix. For large systems, this can be a very costly
process due to the need for expertise in the subject matter and can
sometimes result in downtime and large-scale modifications.

4
The learning objectives associated with the tool usage during the exercise are as
follows:
Basic docker functionality used to start, stop, interact, and modify
containers. Participants will have to modify a running database and web
application, which would result in downtime in a real environment, to
understand weaknesses and remediate them.
Basic understanding of MySQL queries to understand the inner workings of
a database with mock data. Participants will develop new remediations and
also learn how to enable existing remediations that come prepackaged with
the database software.
Basic understanding of PHP syntax and how it is used to provide
functionality in a website. Participants will write basic logic that will invoke
functions to validate user input before it is processed by the backend system
logic.
4. Exercise
The following exercise is presented to participants in a step-by-step fashion.
Participants will complete several tasks through the CIT system. All the data and
systems in the exercise are fictional and are on isolated VMs using isolated
networks.
4.1 Activity 1: Confirm that Services are Running
MedBlue is a fictitious new health records maintenance company. You are a web
developer testing a new website that will be made available to patients and
employees. You want to test the security on the website to make sure that it is safe
to deploy. Afterward you will patch any weaknesses that you find on the site.
The image in Fig. 1 is a picture of the internal network your website is part of. You
will utilize the Kali machine as an “attacker” computer to test your remediation
actions of the website’s found vulnerabilities. The Ubuntu 19 machine will act as a
“host” computer for your website.

5
Fig. 1 Test scenario
Login to the Host Machine using the given credentials.
1. Open a terminal and start the medBlue web service by executing the
following.
cd web_dev
sudo docker-compose up -d
(password is user)
2. Start the Mozilla web browser.
3. To access medBlue’s website type this in the browser’s address bar and
press Enter. The IP address of the Host machine is 10.10.10.3 (so you are
accessing the website on your own machine).
10.10.10.3:8000
4. If the website is running correctly, you should see a page that resembles
that shown in Fig. 2.

6
Fig. 2 MedBlue’s website view from host
4.2 Activity 2: Access the Website’s Data from the Host Machine
Now that you have finished testing the website’s security through the attacker’s
machine (Part 1), you can now analyze the code present in the host machine.
1. Begin by opening a new tab in the terminal.
Click on the symbol near the top right corner of the terminal window.
2. Navigate to the folder with the website content using the following
command:
cd ~/web_dev/php/ -access the PHP and HTML/CSS code for the
website
3. In this php directory, you will find all the files associated with the website.
You can open files using the nano text editor (do not make any changes
yet). The following commands show the basic usage of nano. You can also
use gedit, or vi if you prefer those editors.
nano [filename] -opens the file (substitute [filename] with the name)
ctrl + X -exits the text editor
(Select yes if prompted to Save modified buffer)
The following is a listing of the files; some have descriptions, some do not. Open
the files with missing descriptions and do your best to briefly indicate their
purpose here. (If you get stuck, do not worry, you can move on.)

7
a. login.php: _________________________________________________
b. employeelogin.php:____________________________________________
c. includes/db-handle.php: ________________________________________
d. includes/loginHandle.php: ______________________________________
e. includes/employeeloginHandle.php:_______________________________
f. includes/logout.php: __________________________________________
******************************************************************
4. What username and password are used to connect to and access the
database?
__________________________________________________________________
5. What database name (dBName) is used to access the database?
__________________________________________________________________
6. What is the last thing that happens when a user logs out of the system?
__________________________________________________________________
******************************************************************
4.3 Activity 3: Understand SQL Queries
To prevent any further brute force attacks, the first step will be to interact directly
with the database handling the company records by executing a few SQL queries.
To begin the remediation of this vulnerability we will access medBlue’s database
MySQL container. This container was created using docker and is available for you
to access and alter.
******************************************************************
MySQL is software used to create and manage relational databases. It is open
source, and among the most popular and widely used.
An SQL Query: A command used to alter or retrieve data from an SQL database.
Letter case does not matter.
******************************************************************
1. To gain root access to the MySQL container, execute the following
commands in the terminal:

8
cd ~/web_dev -Navigate to directory
~/web_dev
docker exec -it mysql8 /bin/bash -Interact with the MySQL
docker container
You should see an output that resembles that shown in Fig. 3.
Fig. 3 Terminal output example after docker container is started
******************************************************************
The following is a command template that shows how to connect to a database
(no spaces immediately after -u and -p and do not include the brackets):
mysql -u[insert_user] -p[insert_password]
******************************************************************
2. Use the template command above and fill in the user/password that you
identified in the PHP files (Activity 2, Question 4) to connect to the
database.
If the username and password are correct, you should get a MySQL
command prompt in the terminal resembling the output shown in Fig. 4.
Fig. 4 Terminal output example of MySQL command prompt in docker container
3. With the command prompt shown above, you can access all the
container’s databases and its contents by executing SQL queries. Type in
the following query for a list of all the databases in the container:

9
show databases;
4. Since we are concerned only with the medBlue database, type in the
following query to access a specific database:
use medBlue;
5. MySQL databases store information in tables. To see all the tables inside
this database, type in the following query:
show tables;
The two tables shown manage two separate records within the medBlue
database. The medBlueP table manages the patients’ information, while
medBlueE table manages the employees’ information.
6. To see all the contents of any table, use the following query (substitute
[nameOfTable] with the results from Question 5).
SELECT * FROM [nameOfTable];
******************************************************************
To prevent any further brute force attacks, we will create a counter column
within this table, and a MySQL event. The counter column will keep track
of the number of failed login attempts for each user, and the MySQL event
will reset the value of counter after a specified time.
The following is a template for adding a column to a table:
ALTER TABLE [Table_Name] ADD
COLUMN [Column_Name] [Column_Data_Type];
******************************************************************
7. To create the counter column for all users in the Patients table use the
following command:
ALTER TABLE medBlueP ADD COLUMN counter INT NOT
NULL;
The query above will create a column named Counter Initialized to 0 for
all users. You can verify the column was created by executing a query to
show the contents of the updated table.
Hint: Look again at your answer to the previous question

10
8. Execute the following queries to create a MySQL event for the counter
column:
show variables like ‘event_scheduler’; -check if event scheduler is
ON
set global event_scheduler = on; -if scheduler is OFF, change
state to ON
CREATE EVENT counter_event ON SCHEDULE EVERY 1
MINUTE DO UPDATE medBlueP SET counter=‘0’;
The event you just created will reset the value of the counter column to 0 after one
minute (on a real system, this would vary).
Now that you have created the counter variable for each user, the system can keep
track of the number of failed login attempts.
4.4 Activity 4: Understand Patient Login PHP Code
The database is now set up. Now you will add some code snippets to the
loginHandle.php file. This file configures the communication between the website
and the database of patients.
PHP Language: Scripting language primarily used for web development. Can be
used along HTML, but its main feature is its communication capability between
website and servers.
1. Open a new terminal and navigate to the directory that contains the
loginHandle.php file and see its contents.
cd ~/web_dev/php/includes/
nano loginHandle.php
You should see output that resembles that shown in Fig. 5.

11
Fig. 5 LoginHandle.php file opened using Nano text editor
In addition to the description from Activity 2, this code also manages the
hashing of passwords and the SQL queries that are executed when a user
attempts to login to the medBlue’s Patient table in the medBlue database.
On the host machine’s desktop, there are two PHP files. These files will
serve as a template to improve on the currently executed loginHandle.php
file (the one you have open in nano), which is in the includes folder. Right
click on the loginHandle.php file on the desktop, select the “Open With
Another Application” option, and from the new “Open With” window select
the “Text Editor” application. The template should resemble the code in
Fig. 6.
Fig. 6 LoginHandle.php template file opened using a text editor
In the file you just opened, locate the line that starts with the
following:

12
Uncomment (remove the //) and make changes to the line so it looks
like the following:
$sql1 = “UPDATE medBlue.medBlueP SET counter=counter+1
WHERE userID=?;”
This code defines an SQL query and saves it in a variable named sql1.
2. Save your changes to the file by pressing Ctrl + s
3. For this query to be executed, our PHP code should bind the variable
where the connection was initialized with the new query. Complete the
snippet of code by replacing the hints surrounded by the square brackets
for the correct arguments. This part of the code determines whether the
inputted password matches the password on file. Make the change
indicated in Fig. 7.
Fig. 7 Location of change needed in loginHandle.php template file
This snippet of code will ensure that the new query gets executed. Save
your changes after you complete the piece of code.
4. You should also include what to do if the user has more than a certain
number of failed attempts. To do this, find the comment in the file that
indicates where the counter value is checked. Complete the conditional
statement as shown in Fig. 8.
Fig. 8 Location of second change needed in the loginHandle.php template file
if(!mysqli_stmt_prepare($stmt,$sql1))){
if(!mysqli_stmt_prepare($stmt,$sql1))){

13
5. After you finish adding all the new code, you can save and close the text
editor.
6. Now, replace the old file with your changed file by executing the
following in the terminal:
cp ~/Desktop/loginHandle.php ~/web_dev/php/includes/loginHandle.
php
7. To test if our fixes were successful, click on Patient Login on the website.
Try logging in four times with username pAmidala and any incorrect
password (you must do this within 60 s or else the counter will reset).
What happens after the third attempt?
4.5 Activity 5: Investigate the Search Field
Remember how the search field was executing scripts? A simple solution to this
XSS attack vulnerability found in Part 1 is to sanitize the input. Remember that an
XSS attack is performed by attaching or injecting malicious scripts to websites.
1. Recall the vulnerability from Part 1 that allows you to insert scripts into
input boxes. You can try this again on the website by entering <script>
alert(“Hi”); </script> into the search box now. Let us apply a quick
short-term fix for this.
2. PHP offers a special function, called htmlspecialchars(), this function
detects characters such as <, >, or /, and translates them to their HTML
entities. This means that PHP will take these characters and strip them of
their properties not allowing them to be executed.
Open the ~/web_dev/php/search.php using nano. This file has logic for
the search box and it should contain the contents shown in Fig. 9.
Fig. 9 Location and change needed in search.php file
Insert the htmlspecialchars function in this code to prevent any other
scripts from being executed, as shown above. This function takes in one
parameter that should contain the characters to be translated. Save the file
and close the nano text editor.
<?php echo
htmlspecialchars($_POST[‘search’]);?>
14
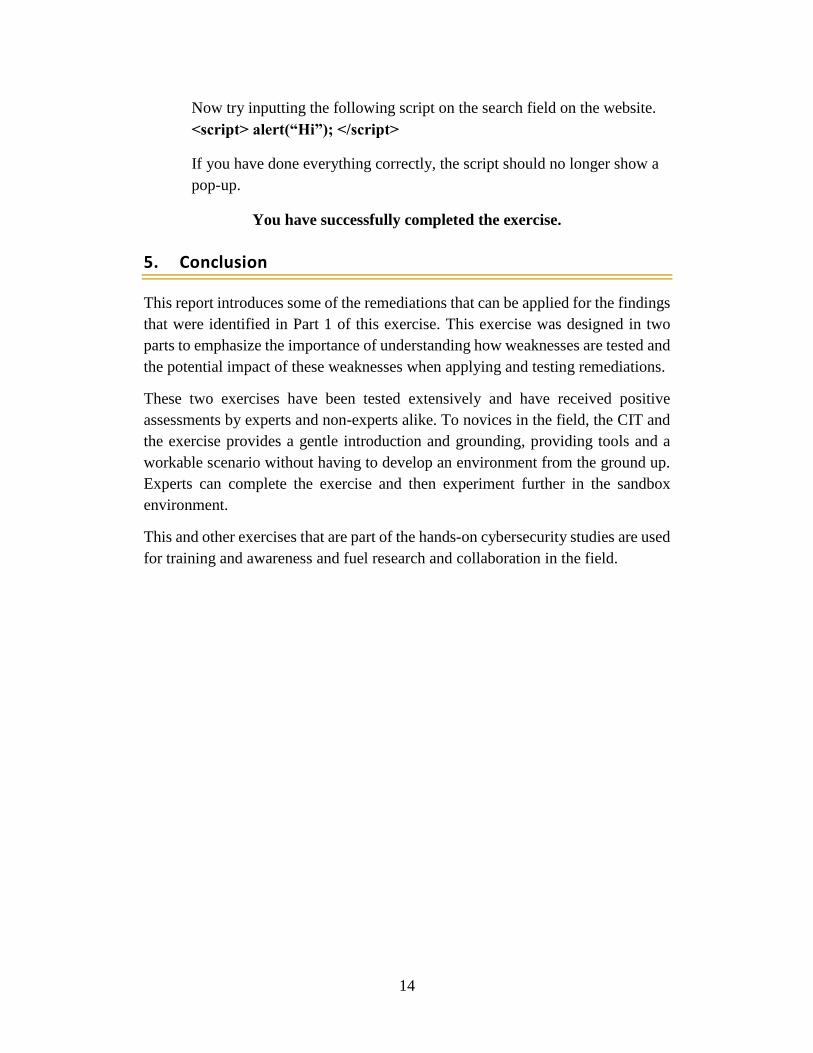
Now try inputting the following script on the search field on the website.
<script> alert(“Hi”); </script>
If you have done everything correctly, the script should no longer show a
pop-up.
You have successfully completed the exercise.
5. Conclusion
This report introduces some of the remediations that can be applied for the findings
that were identified in Part 1 of this exercise. This exercise was designed in two
parts to emphasize the importance of understanding how weaknesses are tested and
the potential impact of these weaknesses when applying and testing remediations.
These two exercises have been tested extensively and have received positive
assessments by experts and non-experts alike. To novices in the field, the CIT and
the exercise provides a gentle introduction and grounding, providing tools and a
workable scenario without having to develop an environment from the ground up.
Experts can complete the exercise and then experiment further in the sandbox
environment.
This and other exercises that are part of the hands-on cybersecurity studies are used
for training and awareness and fuel research and collaboration in the field.

15
6. References
1. Penetration testing [accessed 2021 Feb].
https://www.doi.gov/ocio/customers/penetration-testing.
2. INFOSEC. Introduction to information gathering [accessed 2020 Dec].
https://resources.infosecinstitute.com/topic/information-gathering/.
3. Rapid7. Penetration testing [accessed 2021 Jan].
https://www.rapid7.com/fundamentals/penetration-testing/.
4. Acosta JC, Quiroz R, Ramirez D. Hands-on cybersecurity studies: introduction
to web application security Part 1 - testing. DEVCOM Army Research
Laboratory (US); 2021 Feb. Report No.: ARL-SR-0439.
5. Ubuntu 19.02 [accessed 2021 Jan]. http://old-
releases.ubuntu.com/releases/19.04/.
6. Docker [accessed 2021 Jan]. https://www.docker.com/.
7. MySQL [accessed 2021 Jan]. https://www.mysql.com/.
8. Apache web server. [accessed 2021 Jan]. https://httpd.apache.org/.
9. VirtualBox. [accessed 2021 Jan]. https://www.virtualbox.org/.
10. National Institute for Standards and Technologies. National Vulnerability
Database [accessed 2021 Feb]. https://nvd.nist.gov/.

16
List of Symbols, Abbreviations, and Acronyms
CIT Collaborative Innovation Testbed
CSS Cascading Style Sheets
HTML Hypertext Markup Language
IP Internet Protocol
PHP Hypertext Preprocessor
SQL Structured Query Language
VM virtual machine
XSS cross-site scripting

17
1 DEFENSE TECHNICAL
(PDF) INFORMATION CTR
DTIC OCA
1 DEVCOM ARL
(PDF) FCDD RLD CL
TECH LIB
2 DEVCOM ARL
(PDF) FCDD RLC ND
J CLARKE
J ACOSTA