Grade K Rainy Day Color Wheel - lwsd.org · primary and secondary ... The development of this Lake...
25
Color Grade K –Rainy Day Color Wheel
Transcript of Grade K Rainy Day Color Wheel - lwsd.org · primary and secondary ... The development of this Lake...

Color
Grade K –Rainy Day Color Wheel

What do you see?
Untitled, 1984, Keith Haring

Artistic Focus: Color
COLOR is the visible range of reflected light. Color has three properties:• Hue• Value• Intensity (brightness or dullness)
Today’s objective:
1. To tell the difference between primary and secondary colors.
2. To demonstrate artistic expression by embellishing the artwork with self-selected details.
WA State Visual Arts StandardDescribe what an image represents. (VA:Re7.2.K)
Untitled, 1984, Keith Haring

Color Wheel
A Color Wheel
shows us colors.

Color Wheel
Red Yellow
Blue
Primary Colors
are the colors from which all other colors are made.

Color Wheel
Orange
GreenViolet
Secondary Colors
are made by mixing two primary colors.

Color Wheel
Complementary Colors
are colors that are opposite one another on the color wheel.
When you put two complementary colors together, your art will “pop” and stand out.

Keith Haring
• Keith Haring 1958 – 1990• Lived in New York• He studied in Pennsylvania and in
New York at the School of Visual Arts• His painting have bright colors and
fun energy• His work was about uniting people
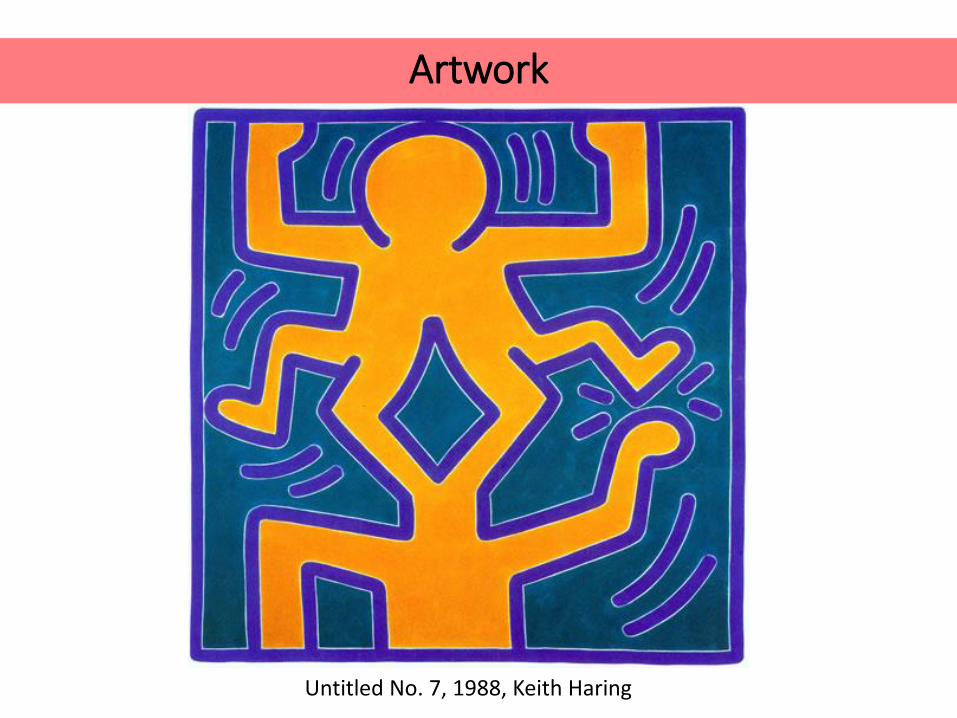
Artwork
Untitled No. 7, 1988, Keith Haring

Artwork
Pop Shop 1, 1987

Artwork
Capoeira Dancers, 1987, Keith Haring

Materials
Acrylic or stiff paperPainting pallet Tempera paint
Paper towels Water cups
Sharpie, pencil, and paintbrush
Markers

Example of Today’s Project

Before You Begin
1. Write your name in pencil on the back of the paper.
2. Flip over your paper.
3. Roll up your sleeves!

Step 1
• Draw a triangle without the top (trapezoid) at the bottom of your color wheel umbrella.
• Draw a diagonal line in your trapezoid to make a raincoat.
trapezoid
Diagonal lines

Step 2
• Draw three lines at the bottom of your raincoat to make two legs.
• Then add curved lines for the front of the boots.
• Draw a straight line for the bottom of the boots.

Step 3
Add details, such as: • A pocket• Buttons• Boot lines• Puddle• The ground • You choose! You’re the artist!
Types of pockets
Note: We will add the rain at the very end when we use markers.

Step 4
• When you’re done drawing the person, trace over your pencil lines with a Sharpie marker.
• Put the cap back on the Sharpie when you are finished. It should click!
Note: We will add the rain at the very end when we use markers.

Step 5
• Get ready to paint.
• Remember to roll up your sleeves!
• First, we are going to paint the primary colors.
• Remember to leave an empty triangle between each color!

Step 6
• Now we are going to paint the secondary colors.
• Start by mixing the red and yellow.
• What color do you get?
• Paint the area between the red and yellow with the new color.

Step 7
• Now we are going to paint another secondary color.
• Mix the red and blue.
• What color do you get?
• Paint the area between the red and blue with the new color.

Step 8
• Now we are going to paint the last secondary color.
• Mix the yellow and blue.
• What color do you get?
• Paint the area between the yellow and blue with the new color.

Step 9
• Now it’s time to color everything else with markers.
• Use a marker to add raindrops.

Reflection
• What did you think of using both tempera paints and markers to make your picture?
• Can you name one of the primary colors you used today?
• Can you name one of the secondary colors you made today?
• What was your favorite part of our project?
• Would anyone like to share their art?

Credits
The development of this Lake Washington School District art docent lesson was made possible by a grant from the Lake Washington Schools Foundation.
1. http://drydenart.weebly.com/fugleblog/category/tutorials/2
2. http://www.haring.com
3. http://forum.artscow.com/ShowPost.aspx?ThreadId=50410
4. https://en.wikipedia.org/wiki/Keith_Haring
5. http://criscoart.blogspot.com/search/label/umbrella
6. http://www.youtube.com/watch?feature=player_detailpage&v=eGrGkJtSLsk
7. http://www.teachingideas.co.uk/colour/mixing-colours
8. Original LWSD sample art, used with permission.