Fundamentals of Fingerprinting K nowledge of proper techniques. A wareness of good quality...
31
Fundamentals of Fingerprinting Knowledge of proper techniques. Awareness of good quality fingerprints, which include clarity and pattern recognition. Practice.
-
Upload
andra-sabina-baker -
Category
Documents
-
view
216 -
download
0
Transcript of Fundamentals of Fingerprinting K nowledge of proper techniques. A wareness of good quality...

Fundamentals of Fingerprinting
Knowledge of proper techniques. Awareness of good quality
fingerprints, which include clarity and pattern recognition.
Practice.

Preparation
Prior to recording an individual’s fingerprints on a LiveScan Unit , the operator should take a couple of minutes and perform a few pre-printing operations.

Preparation The individual being fingerprinted should
stand directly in front of the LiveScan unit, approximately a forearm’s length away.
The printing surface of the platen should be from 39 to 42 inches from the floor.
In most cases the individual should stand to the right of the operator. This will enable the operator to control the individual’s movement. (DEMO)
Preparation
The operator should not allow the person to “help” while taking the fingerprints.
The person’s fingers should be held with both hands. One hand should hold the tip of their finger, while the other hand holds the middle joint of their finger. ( DEMO)
Preparation If the image appears to be too dark,
check for perspiration or try using less pressure.
If the image appears to be too light, increase the pressure slightly, or try using the “Optimize/Contrast” tab.
If the image is still too light, use a PreScan block.(DEMO)

Recording the Images
The operator will record the fingerprints in the following manner:
Slaps or Plain impressions Right Thumb Right Four fingers Left Thumb Left Four Fingers

Recording the Slaps Place the Right
Thumb on the Platen
(DEMO)

Recording the Slaps
The slaps or plain impressions should be taken as straight up and down as possible. (DEMO)
Recording the Slaps
When recording the slaps, the operator should avoid “cutting” off the tops of the fingers.
Ideally, you should see the impressions and the first crease.
(DEMO)

Recording the Slaps
The impressions SHOULD NOT look like this
(DEMO)
Recording the Slaps
If the individual has large hands it may be necessary to angle the fingers SLIGHTLY to fit them in the box
The angle SHOULD NOT be more than 30 degrees.
If the angle is too severe, this may cause false sequencing errors.

Recording the Slaps
Avoid severe angles(DEMO)
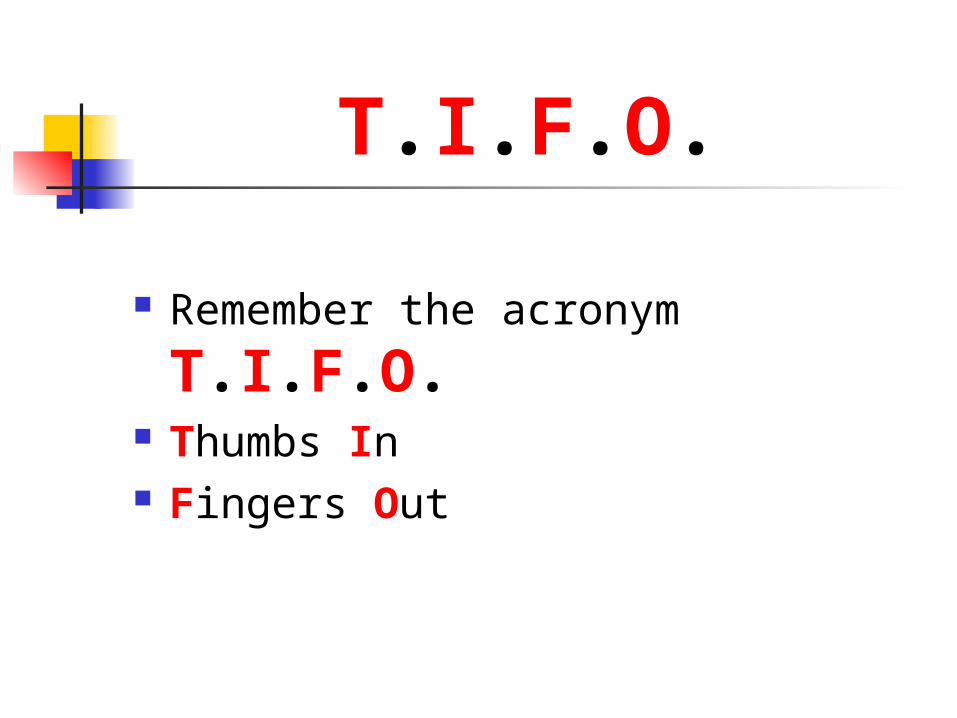
T.I.F.O.
Remember the acronym
T.I.F.O. Thumbs In Fingers Out

Fingerprinting Techniques The Thumbs of the person being
fingerprinted should be rolled In towards their body
The Fingers should be rolled Out or away from their body.
This movement allows the fingers to be rolled from an awkward position to a comfortable position.

Recording Rolled ImpressionsPosition Finger on Cross Hair
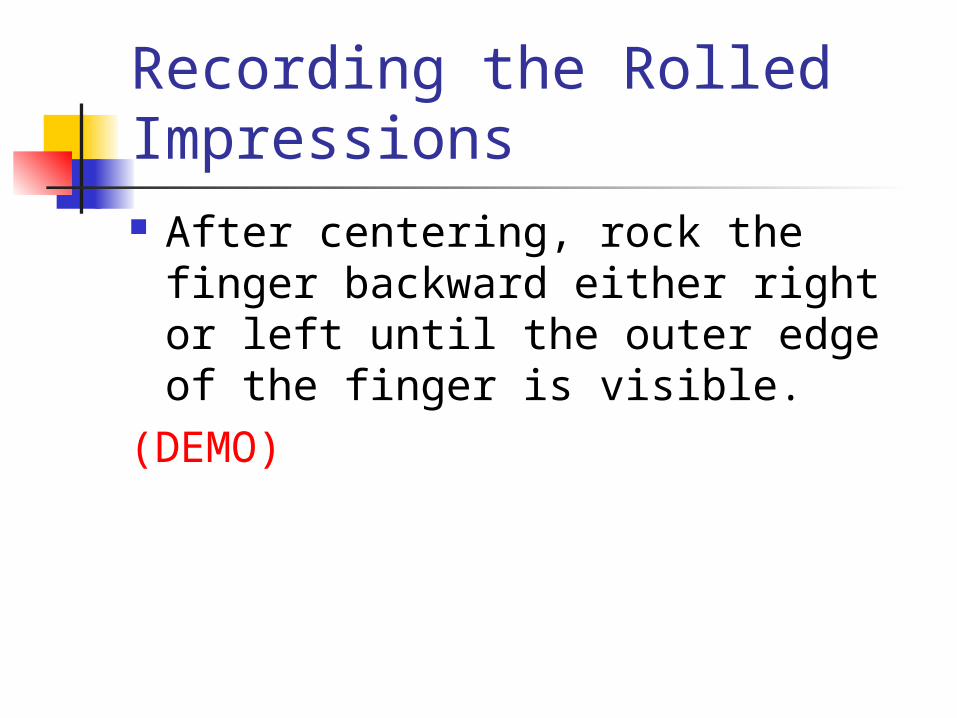
Recording the Rolled Impressions After centering, rock the finger
backward either right or left until the outer edge of the finger is visible.
(DEMO)

Recording Rolled ImpressionsRock Back on Finger

Recording the Rolled Impressions Step on the foot
pedal, when you hear the beep, begin to roll the finger on the platen.
Continue rolling until you reach the opposite side of the finger.

Recording the Rolled Impressions When the roll is
completed, roll the finger backwards slightly. This will stop the camera.
This is the Rock and Roll method.
Roll the remaining fingers in this manner.
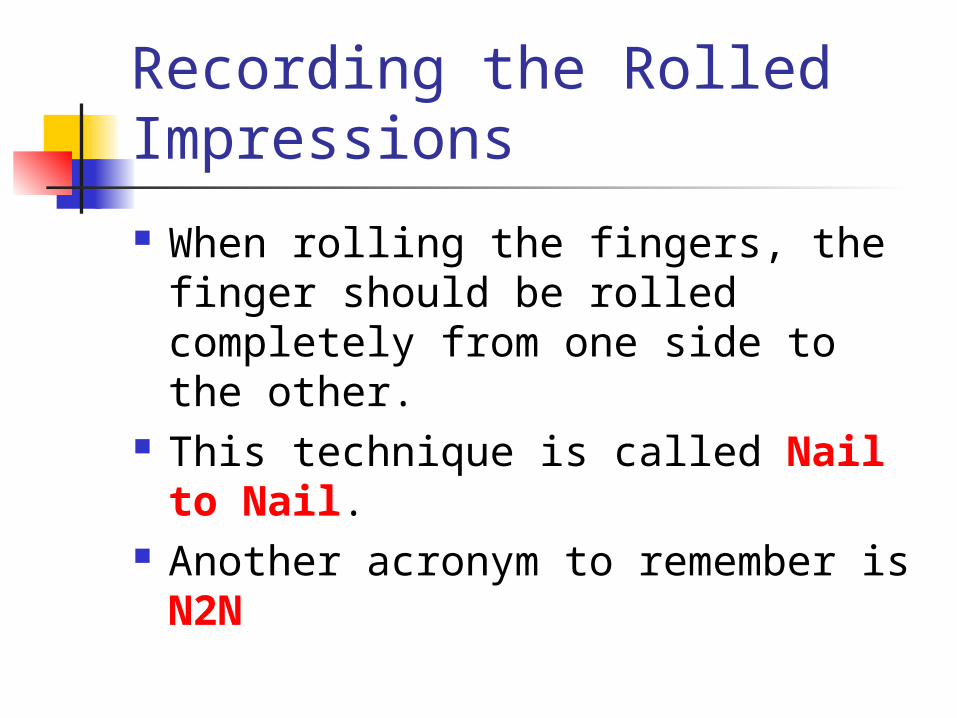
Recording the Rolled Impressions
When rolling the fingers, the finger should be rolled completely from one side to the other.
This technique is called Nail to Nail.
Another acronym to remember is N2N

Recording the Rolled Impressions
Another acronym to remember is N2N Nail to Nail.
When rolling the fingers, the finger should be rolled completely from one side to the other.

Fundamentals of Fingerprinting
Knowledge of proper techniques. Awareness of good quality
fingerprints, which include clarity and pattern recognition.
Practice.
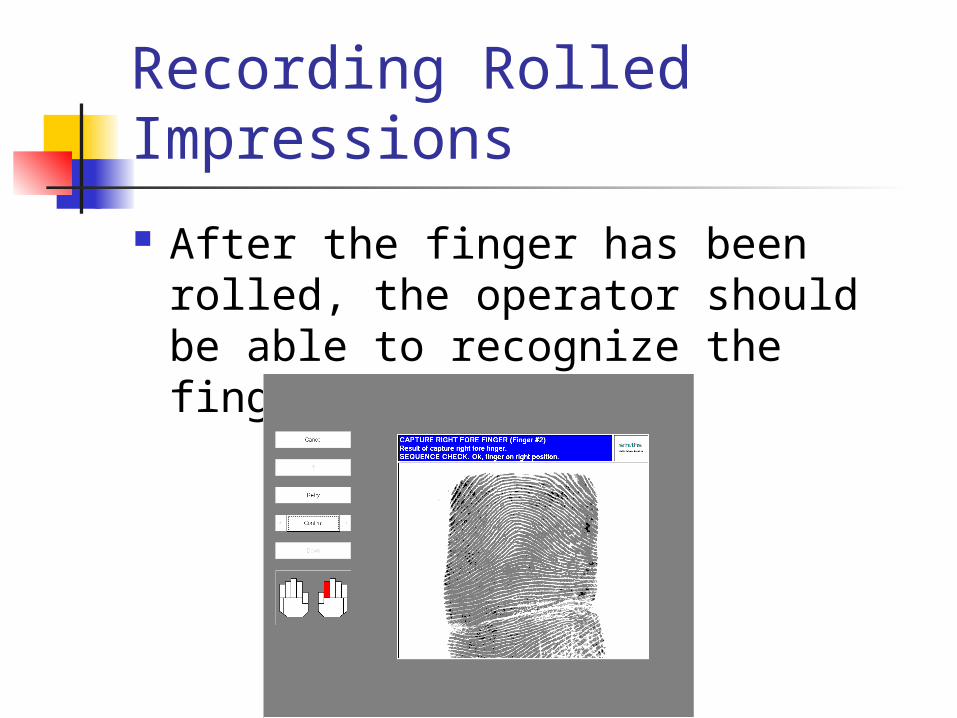
Recording Rolled Impressions
After the finger has been rolled, the operator should be able to recognize the fingerprint pattern.

LAWLoops Arches Whorls
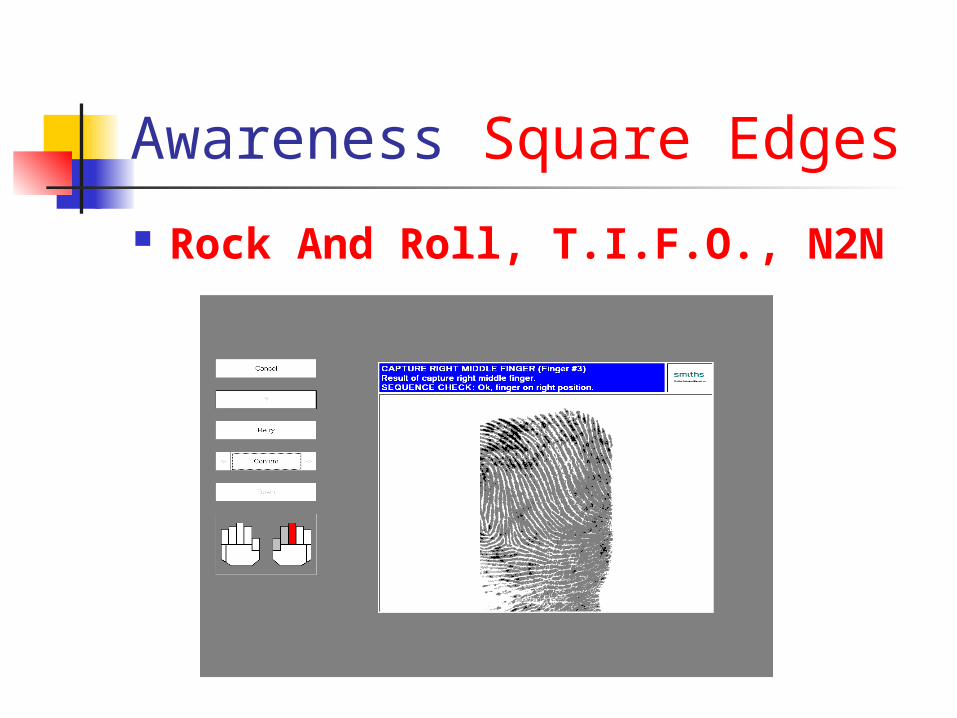
Awareness Square Edges
Rock And Roll, T.I.F.O., N2N
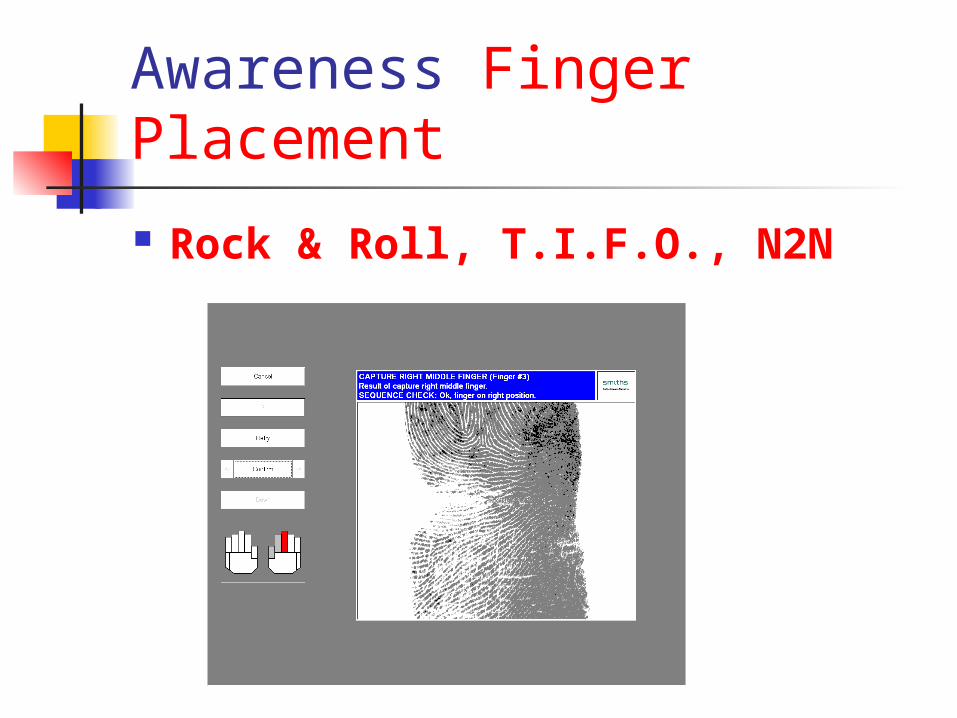
Awareness Finger Placement
Rock & Roll, T.I.F.O., N2N

Awareness Niblet
Rock & Roll, T.I.F.O., N2N

Awareness Slippage
Rock & Roll, T.I.F.O., N2N
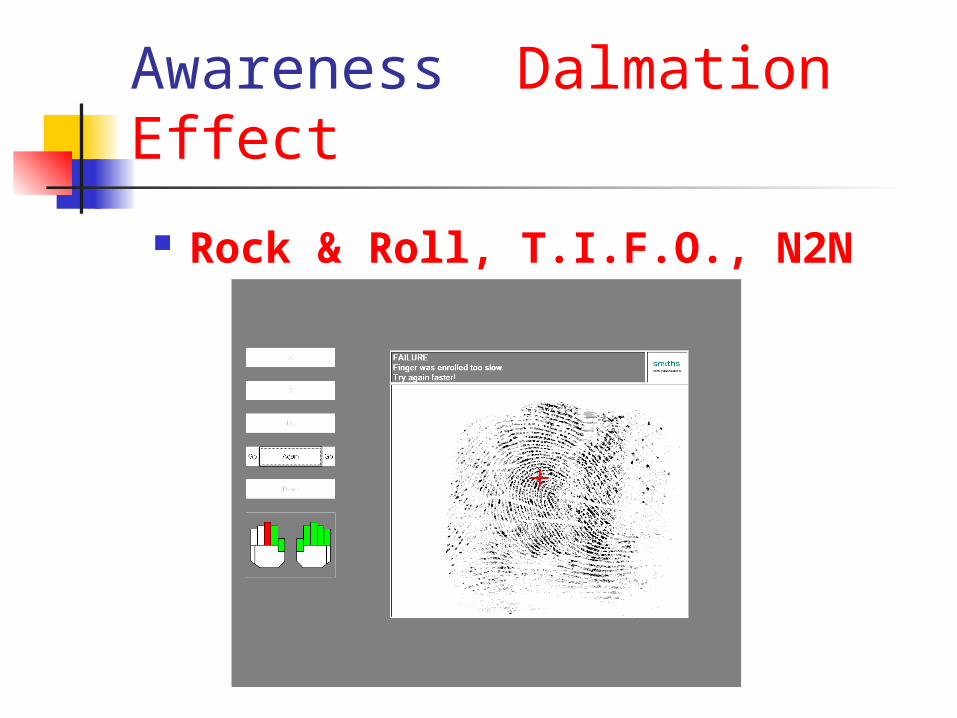
Awareness Dalmation Effect
Rock & Roll, T.I.F.O., N2N

Fundamentals of Fingerprinting
Knowledge of proper techniques. Awareness of good quality
fingerprints, which include clarity and pattern recognition.
Practice.

Thank You!Thank You!