
From VMs to Containers: Decompose and Migrate Old Legacy JavaEE Application
72
From VMs to Containers Decompose and Migrate Old Legacy Java EE Applications
-
Upload
jelastic -
Category
Technology
-
view
7.700 -
download
1
Transcript of From VMs to Containers: Decompose and Migrate Old Legacy JavaEE Application

From VMs to Containers
Decompose and Migrate Old Legacy Java EE Applications

The Evolution Doesn’t Stay

VMs vs Containers on Bare Metal

Density and Isolation
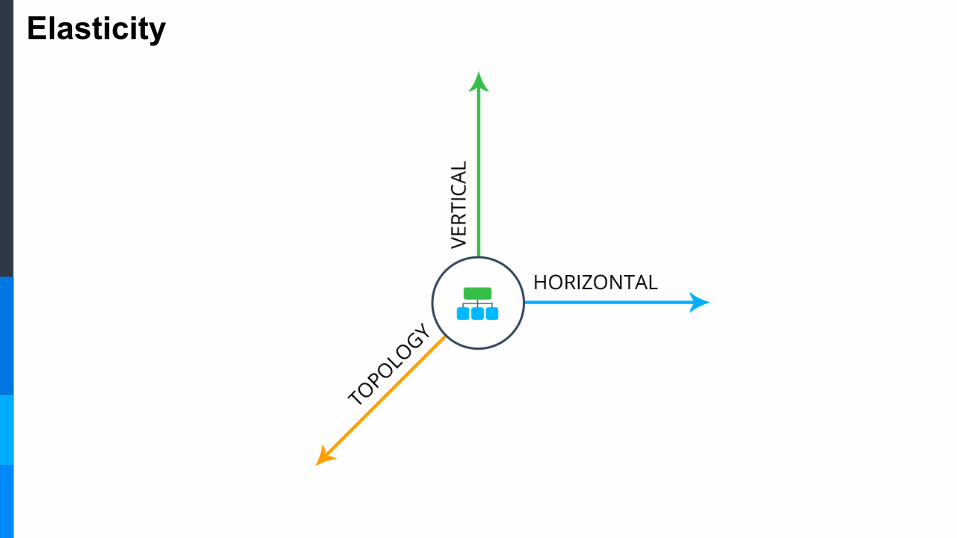
Elasticity

Scalability
Unlike VMs, resizing of resource limits in Containers:
● can be performed without reboot of the running instances
● easier achieved on the fly
● cheaper and faster than moving to larger VMs
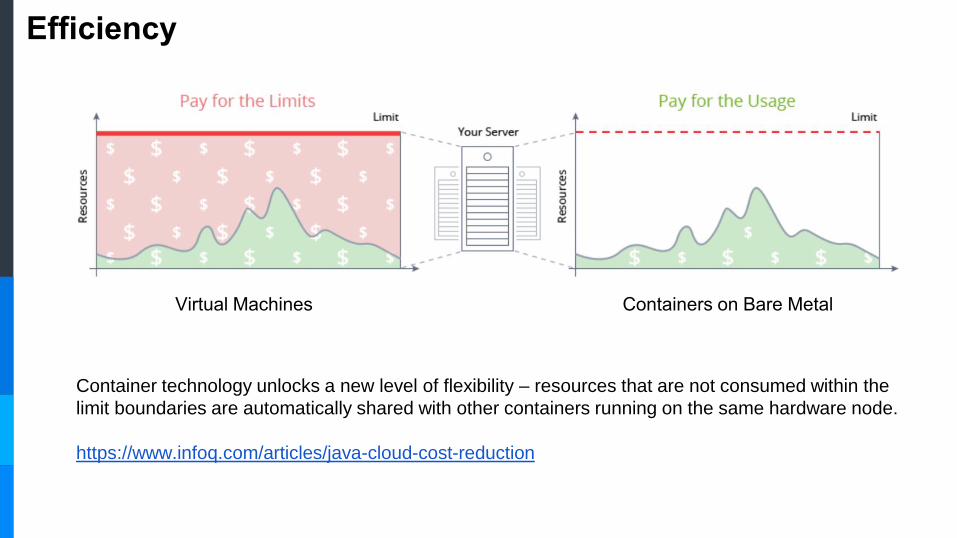
Efficiency
Virtual Machines Containers on Bare Metal
Container technology unlocks a new level of flexibility – resources that are not consumed within the
limit boundaries are automatically shared with other containers running on the same hardware node.
https://www.infoq.com/articles/java-cloud-cost-reduction

Feel the Difference
Re
so
urc
es, R
AM
Used Resources vs Scaling Limits

Templates Packaging
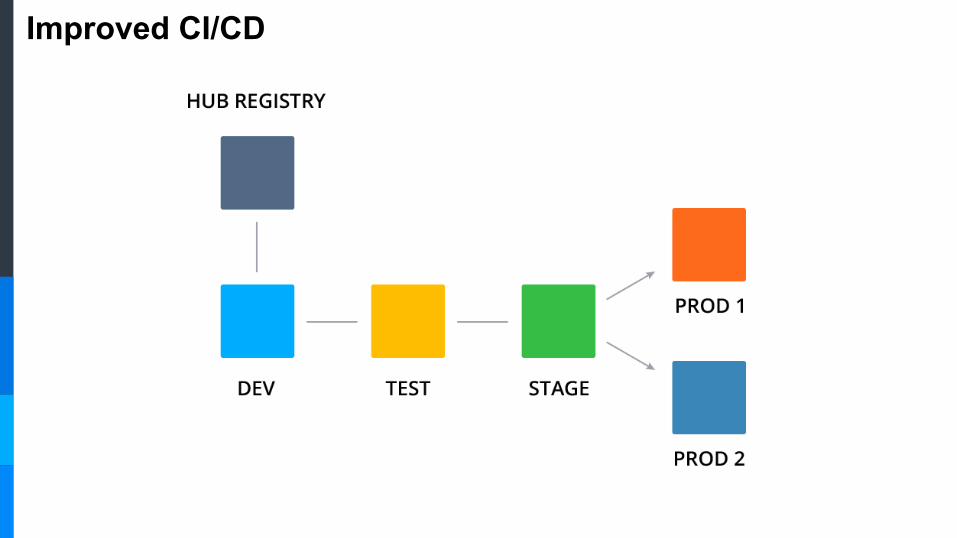
Improved CI/CD
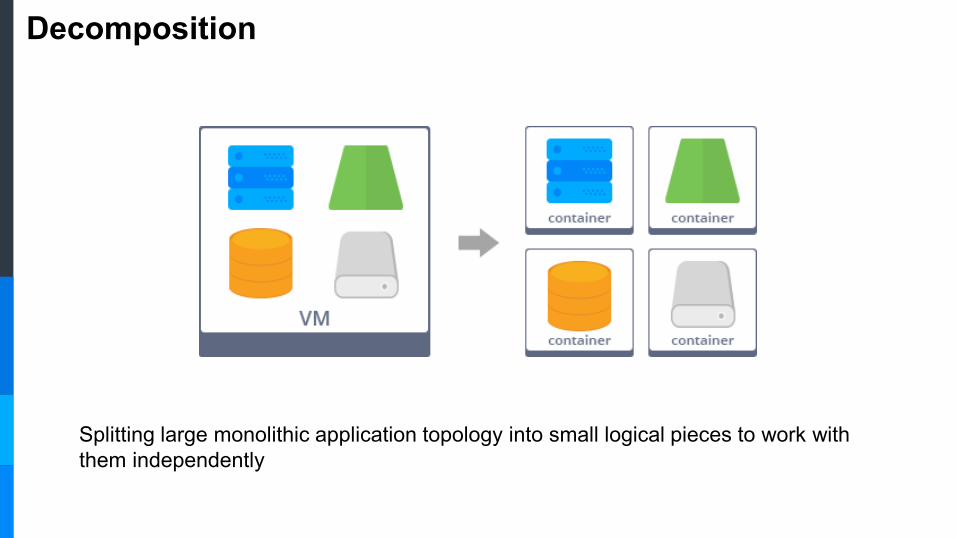
Decomposition
Splitting large monolithic application topology into small logical pieces to work with
them independently

Can Seem Problematic with Legacy Applications
Picture by Daniel Story
But Reachable with the Right Plan and Tools
Tame Your
Legacy Software
Dragon!

Let’s See How This Works with GlassFish

GlassFish Server in VM

Scaling GlassFish Server in VM
● Provision a new VM with preconfigured GlassFish template
● Configure SSH connect and add this VM as an SSH Node to the DAS
● Create a new remote Worker Instance on a Node via DAS UI or asadmin CLI

Application Container + System Container
Pros
● IP, hostname and local stored
data survive downtimes
● No need in a port mapping
● Better isolation and virtualization
of resources
● Compatible with SSH based
config tools
● Provide live migration of memory
state
Cons
● Start-up time is slower

GlassFish in Container
https://github.com/oracle/docker-images/tree/master/GlassFish/5.0

Scaling GlassFish in Containers
Worker nodes can be added / removed automatically as well as can be attached to
DAS node using container orchestration platform and a set of automation scripts
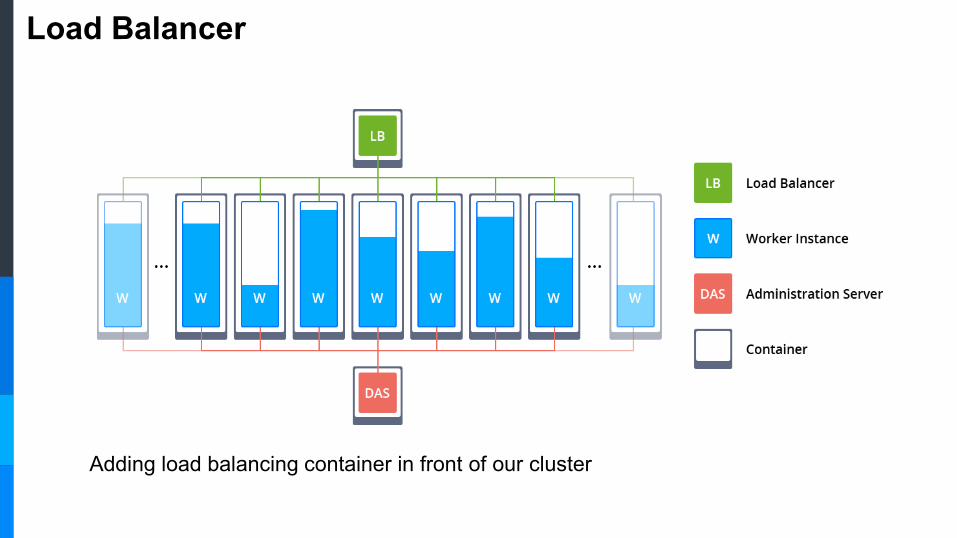
Load Balancer
Adding load balancing container in front of our cluster
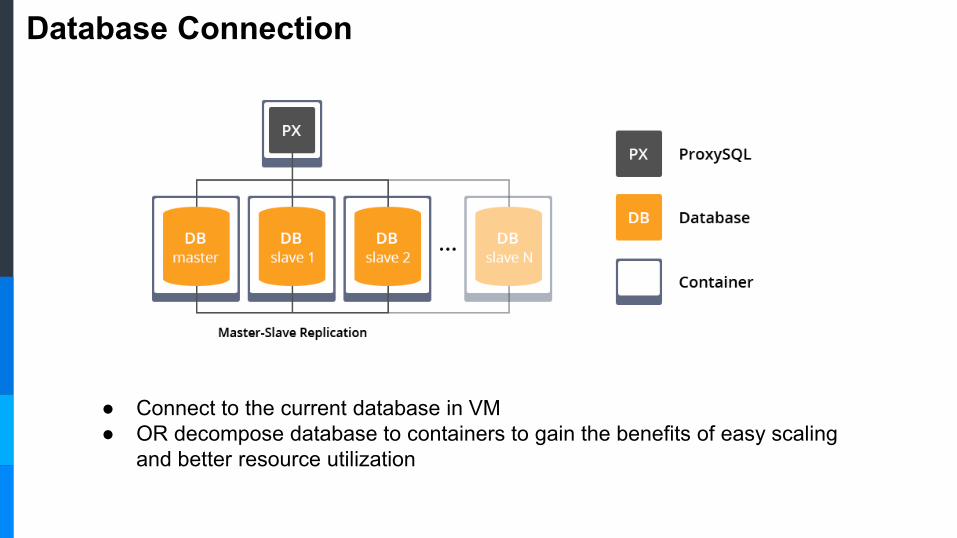
Database Connection
● Connect to the current database in VM
● OR decompose database to containers to gain the benefits of easy scaling
and better resource utilization

DEMO

Scenario
● Create standalone GlassFish
● Create MySQL master-slave database cluster
● Connect GlassFish to Databases
● Deploy application
● Scale GlassFish and add NGINX load balancer
● Clone the environment
● Install Traffic Distributor and connect it to the two envs (original and clone)

Create Standalone GlassFish Server

Choose GlassFish and set the limits
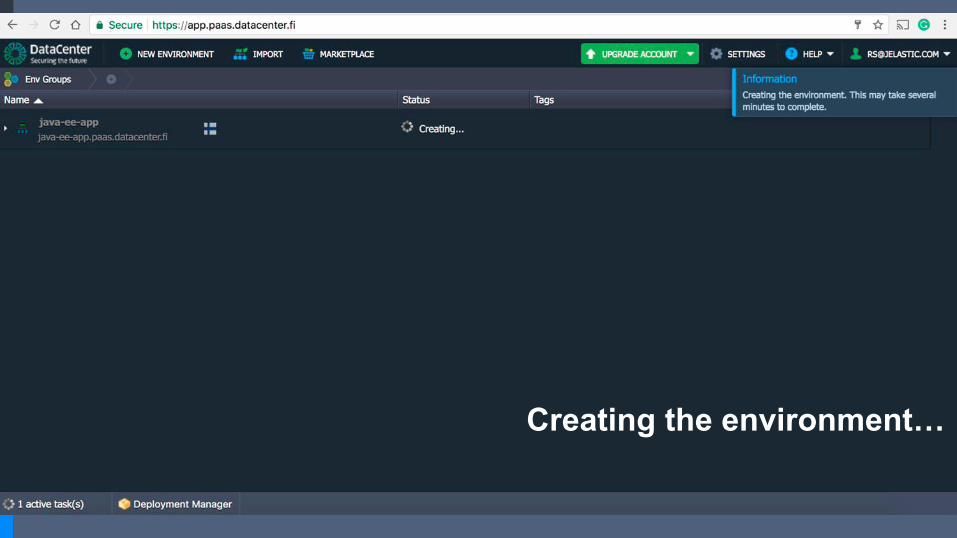
Creating the environment…

Standalone Server > Successfully Created

Float Menu > Admin panel > Login

Enter credentials

Credentials are in your email box
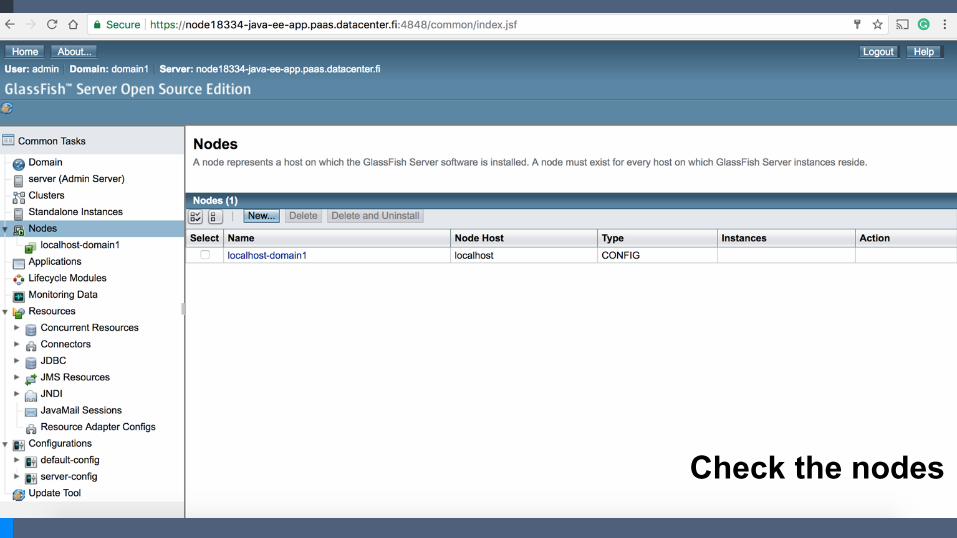
Check the nodes

Create MySQL Cluster
MySQL Cluster + ProxySQL (PX)

Import JPS manifesthttps://github.com/jelastic-jps/mysql-cluster/tree/master/mysql-cluster-orchestrator

Give a name and press “Install”

Your credentials to DB in UI and email box
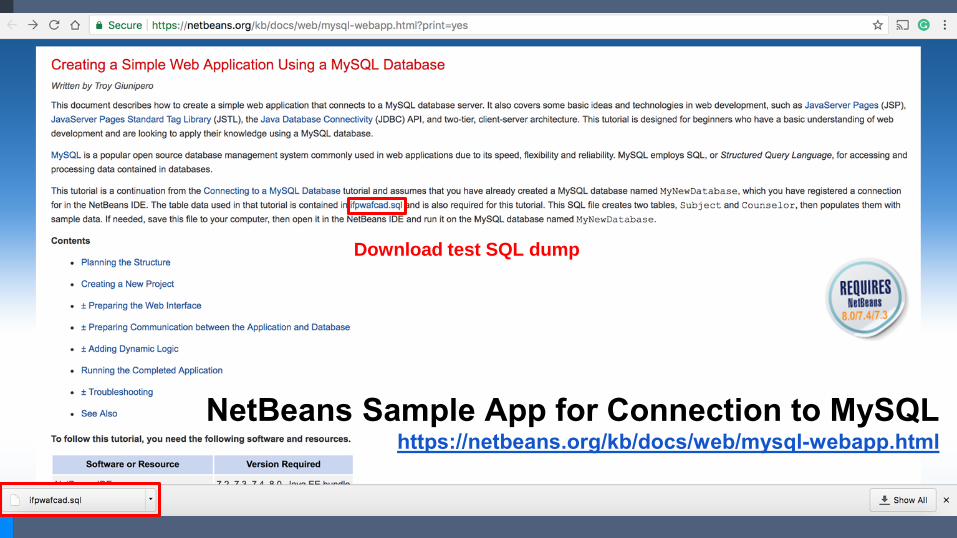
Download test SQL dump
NetBeans Sample App for Connection to MySQLhttps://netbeans.org/kb/docs/web/mysql-webapp.html
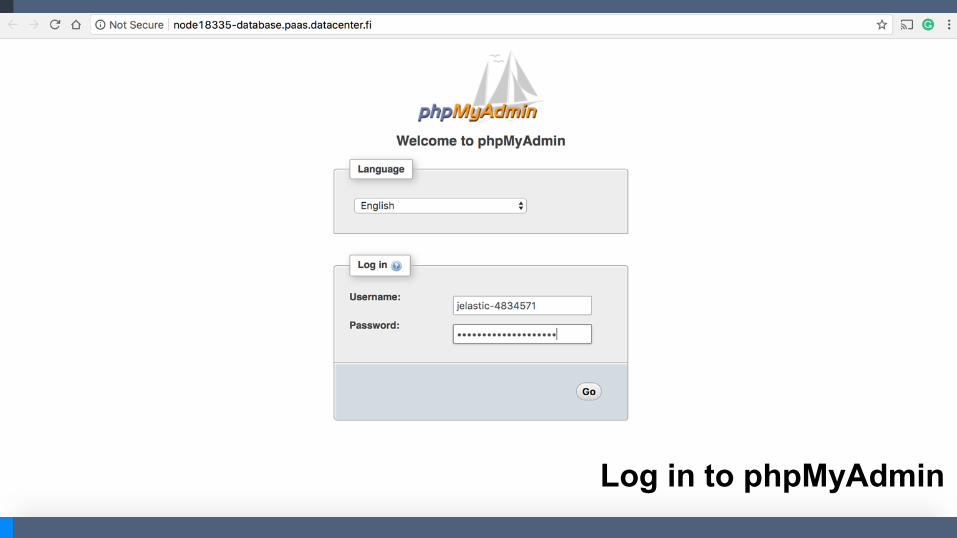
Log in to phpMyAdmin

Create a new database

Import SQL dump
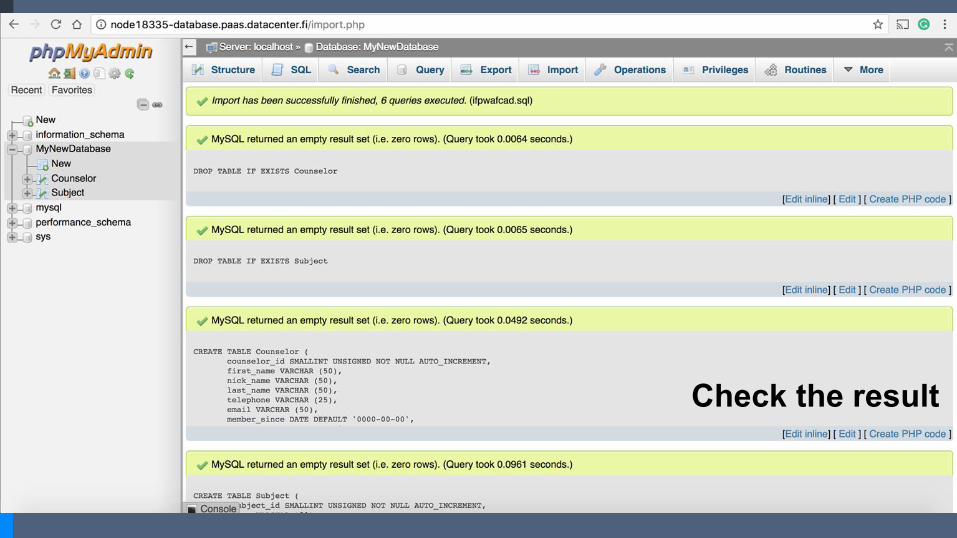
Check the result

Set up JDBC connection pool

Set up JDBC connection pool
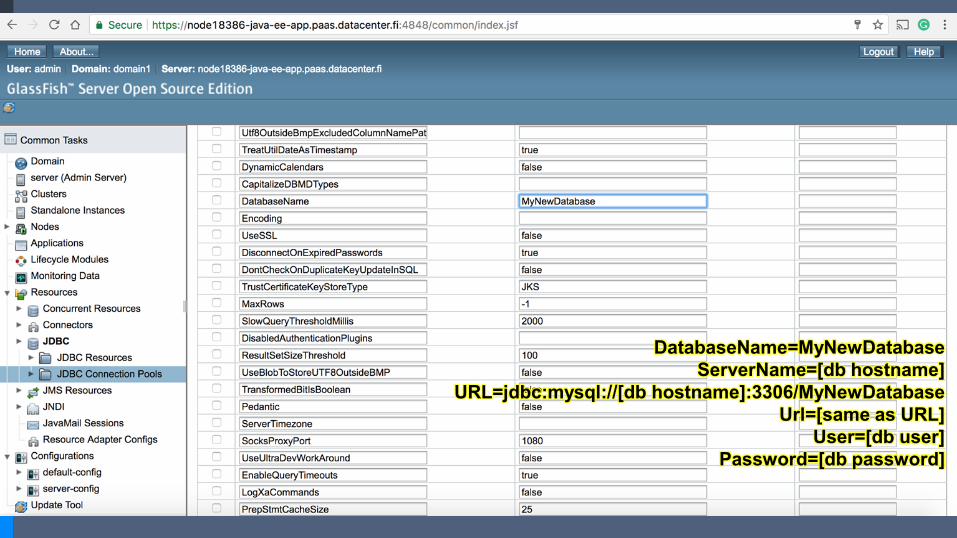
DatabaseName=MyNewDatabase
ServerName=[db hostname]
URL=jdbc:mysql://[db hostname]:3306/MyNewDatabase
Url=[same as URL]
User=[db user]
Password=[db password]
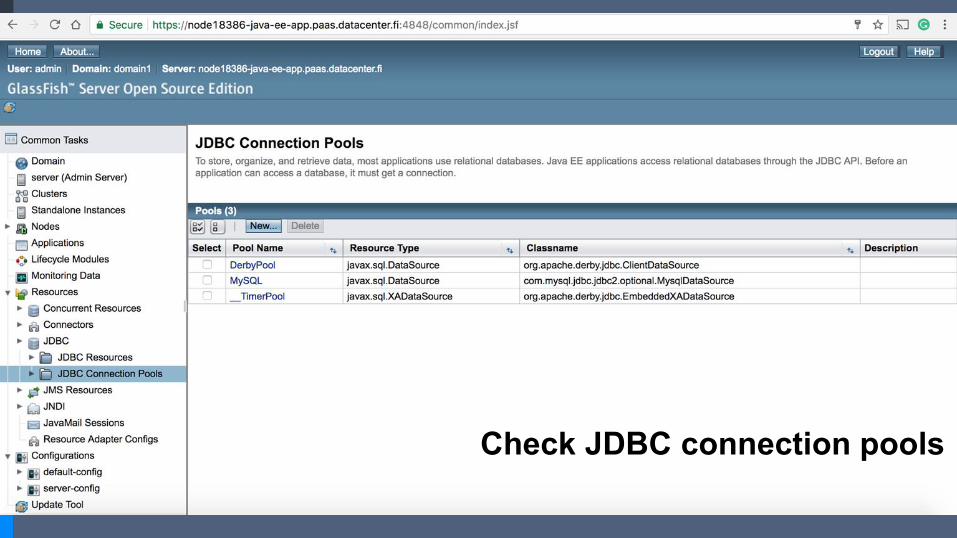
Check JDBC connection pools

Edit JDBC resource

Simple Decomposed Topology

Download the sample application
Download source and build “war” archive
https://netbeans.org/kb/docs/web/mysql-webapp.html

Upload and deploy application

Press “Deploy”

Float menu > Open in browser
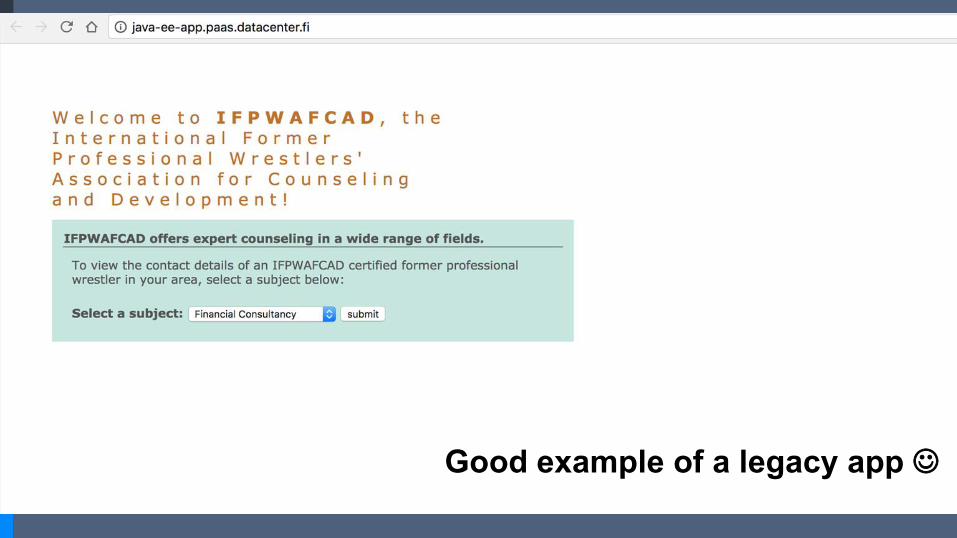
Good example of a legacy app

Delve into the depths of your subconscious

Check location of the deployed application

Scale the Topology

Float menu > Change the topology

Add one more GF node (1) and extra resources (2)
1
2
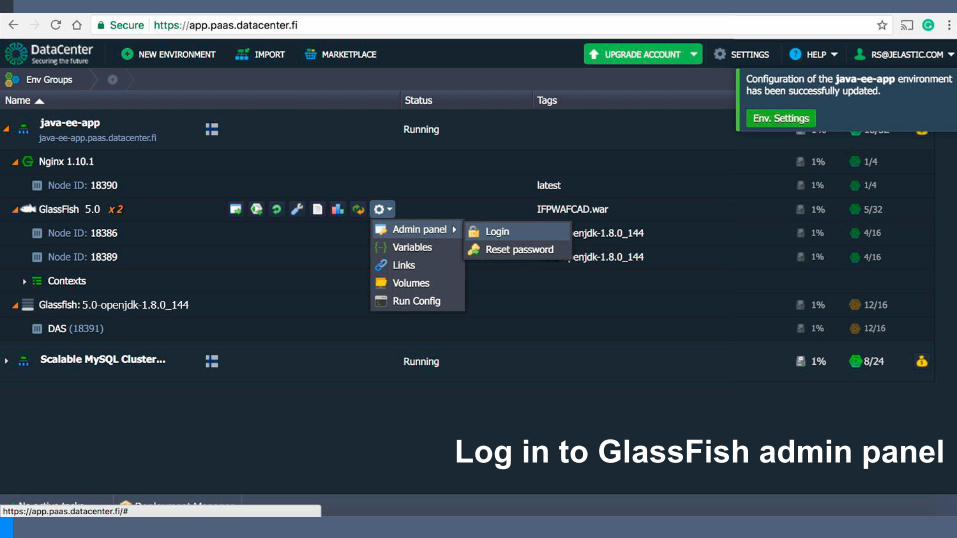
Log in to GlassFish admin panel
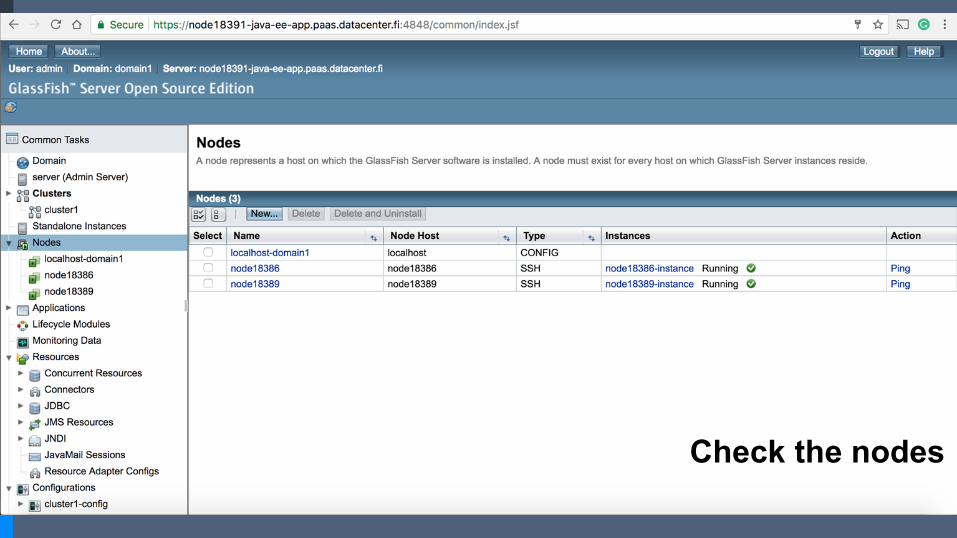
Check the nodes

Go to the cluster1 > Check the GMS
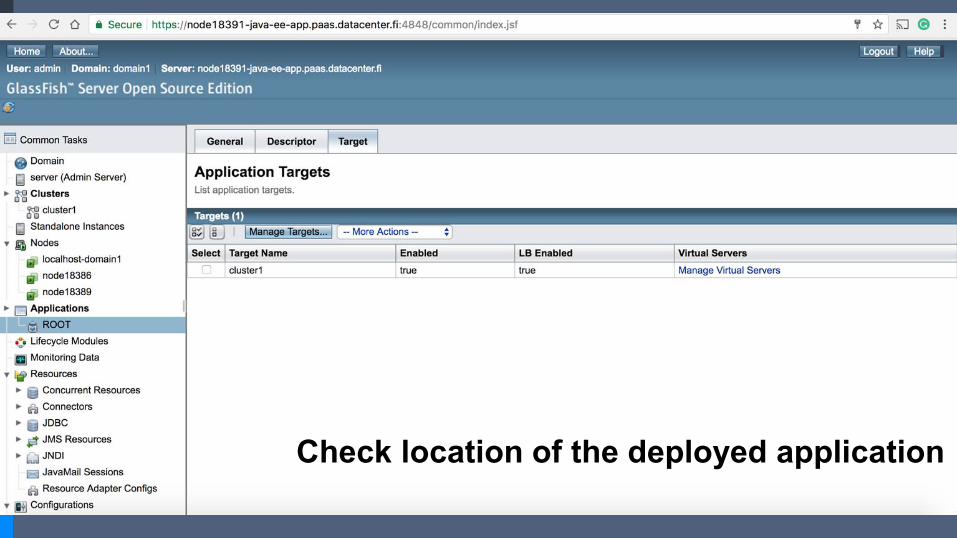
Check location of the deployed application
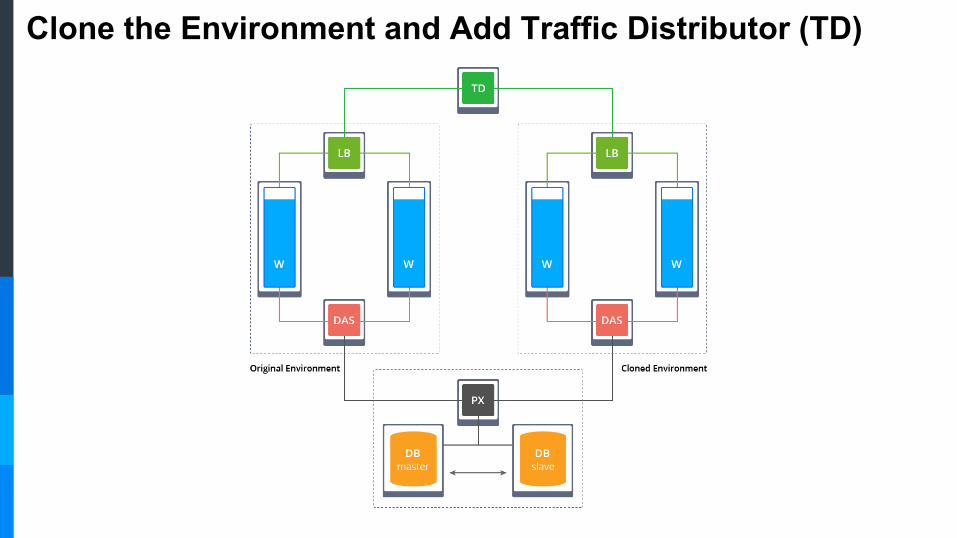
Clone the Environment and Add Traffic Distributor (TD)

Float menu > Clone environment

Press “Clone”

Environment has been cloned

Log in to GF admin panel of the cloned environment

Check the nodes

Marketplace > Traffic Distributor (TD)
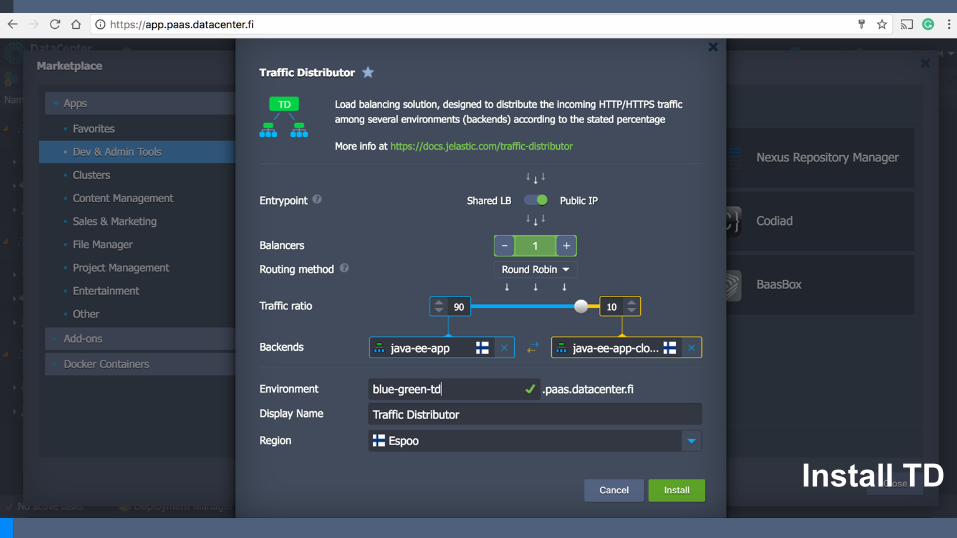
Install TD

Press “Open in browser”
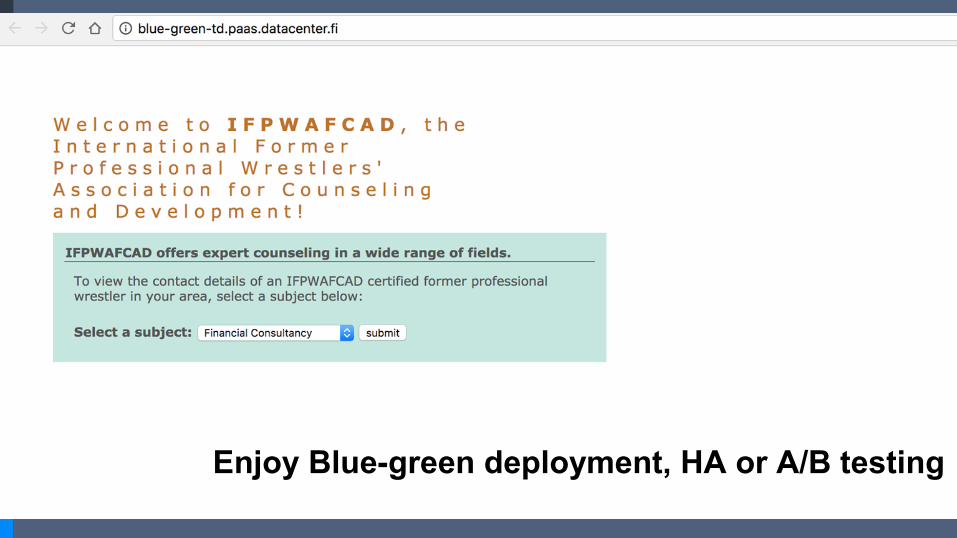
Enjoy Blue-green deployment, HA or A/B testing
Get in touch to find out more
@siruslan
@Jelastic