Francis Hodgson Burnett Literature Lapbook with...
12
Grades 2-7 A Journey Through Learning www.ajourneythroughlearning.com The Secret Garden Francis Hodgson Burnett Literature Lapbook with Study Guide A J T L Copyright 2014 A Journey Through Learning 1 SAMPLE PAGE
Transcript of Francis Hodgson Burnett Literature Lapbook with...
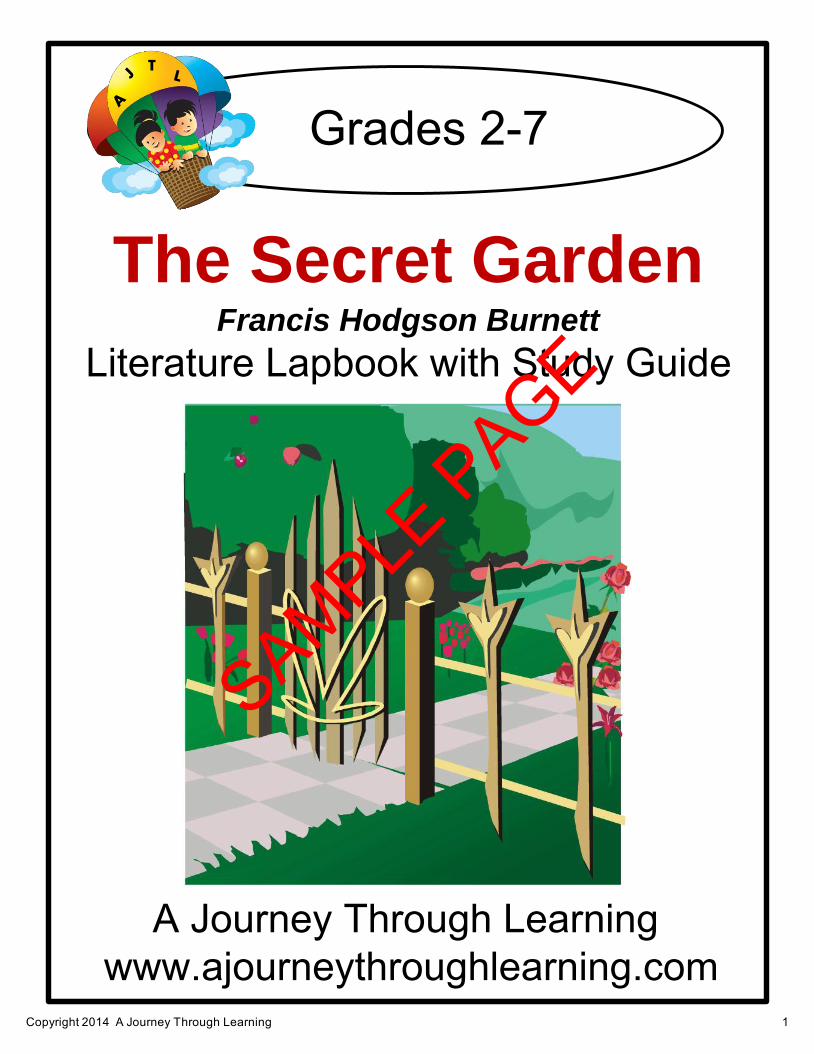
Grades 2-7
A Journey Through Learning www.ajourneythroughlearning.com
The Secret GardenFrancis Hodgson Burnett
Literature Lapbook with Study Guide
A
JT
L
Copyright 2014 A Journey Through Learning 1
SAMPLE PAGE

Authors-Paula Winget and Nancy FilecciaCopyright © 2014 A Journey Through Learning
Pages may be copied for other members of household only. For group use, please see our website to purchase a classroom/co-op license.
Please check our website at:www.ajourneythroughlearning.com
While you are there, sign up for our email newsletter and receive a FREE lapbook!
You’ll also receive great discount codes, special offers, find out what’s new and what’s to come!
Join us on Facebook!
Clipart is from www.clipart.com with permission
Copyright 2014 A Journey Through Learning 2
SAMPLE PAGE
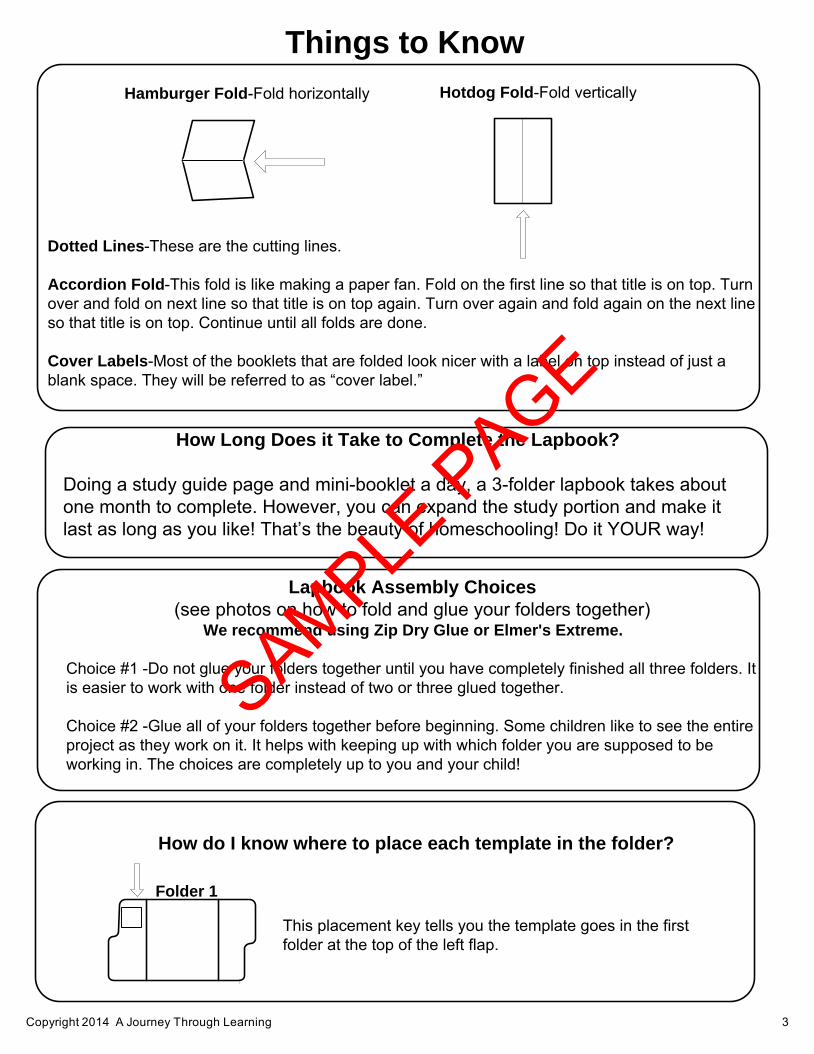
Things to Know
Hamburger Fold-Fold horizontally Hotdog Fold-Fold vertically
Dotted Lines-These are the cutting lines.
Accordion Fold-This fold is like making a paper fan. Fold on the first line so that title is on top. Turn over and fold on next line so that title is on top again. Turn over again and fold again on the next line so that title is on top. Continue until all folds are done.
Cover Labels-Most of the booklets that are folded look nicer with a label on top instead of just a blank space. They will be referred to as “cover label.”
Folder 1
This placement key tells you the template goes in the first folder at the top of the left flap.
How do I know where to place each template in the folder?
How Long Does it Take to Complete the Lapbook?
Doing a study guide page and mini-booklet a day, a 3-folder lapbook takes about one month to complete. However, you can expand the study portion and make it last as long as you like! That’s the beauty of homeschooling! Do it YOUR way!
Lapbook Assembly Choices
(see photos on how to fold and glue your folders together)We recommend using Zip Dry Glue or Elmer's Extreme.
Choice #1 -Do not glue your folders together until you have completely finished all three folders. It is easier to work with one folder instead of two or three glued together.
Choice #2 -Glue all of your folders together before beginning. Some children like to see the entire project as they work on it. It helps with keeping up with which folder you are supposed to be working in. The choices are completely up to you and your child!
Copyright 2014 A Journey Through Learning 3
SAMPLE PAGE
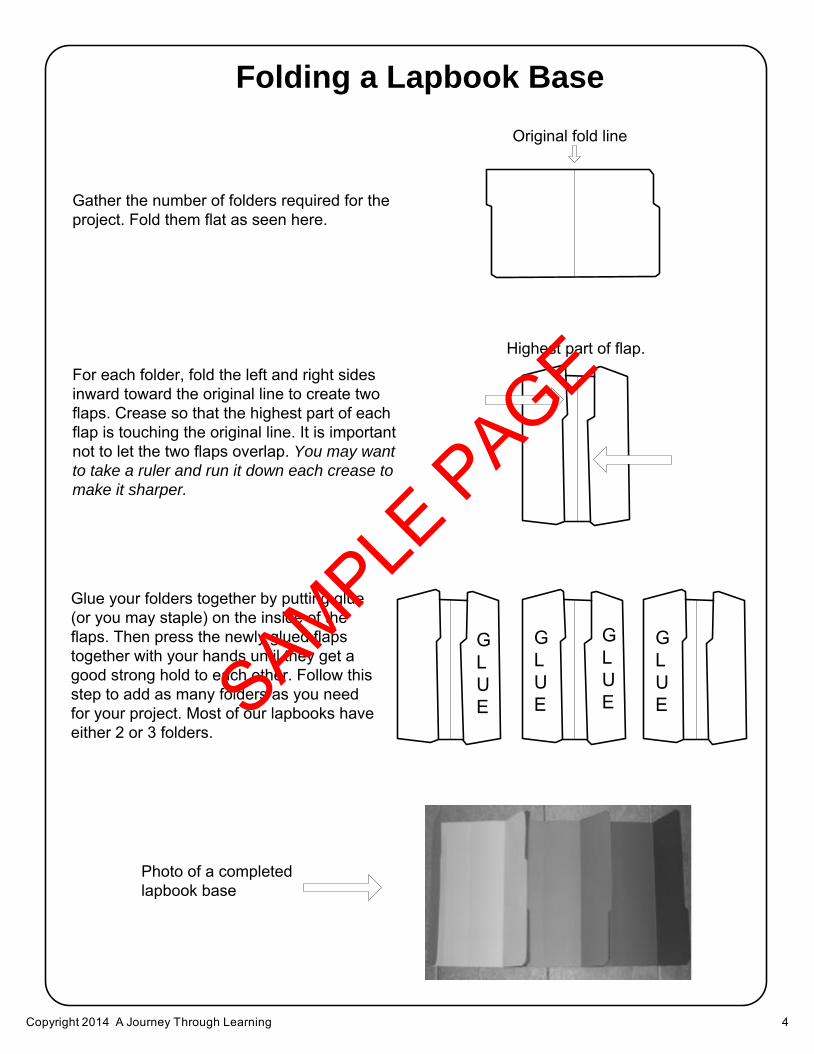
Folding a Lapbook Base
Gather the number of folders required for the project. Fold them flat as seen here.
Original fold line
For each folder, fold the left and right sides inward toward the original line to create two flaps. Crease so that the highest part of each flap is touching the original line. It is important not to let the two flaps overlap. You may want
to take a ruler and run it down each crease to
make it sharper.
Highest part of flap.
GLUE
GLUE
Glue your folders together by putting glue (or you may staple) on the inside of the flaps. Then press the newly glued flaps together with your hands until they get a good strong hold to each other. Follow this step to add as many folders as you need for your project. Most of our lapbooks have either 2 or 3 folders.
GLUE
GLUE
Photo of a completedlapbook base
Copyright 2014 A Journey Through Learning 4
SAMPLE PAGE
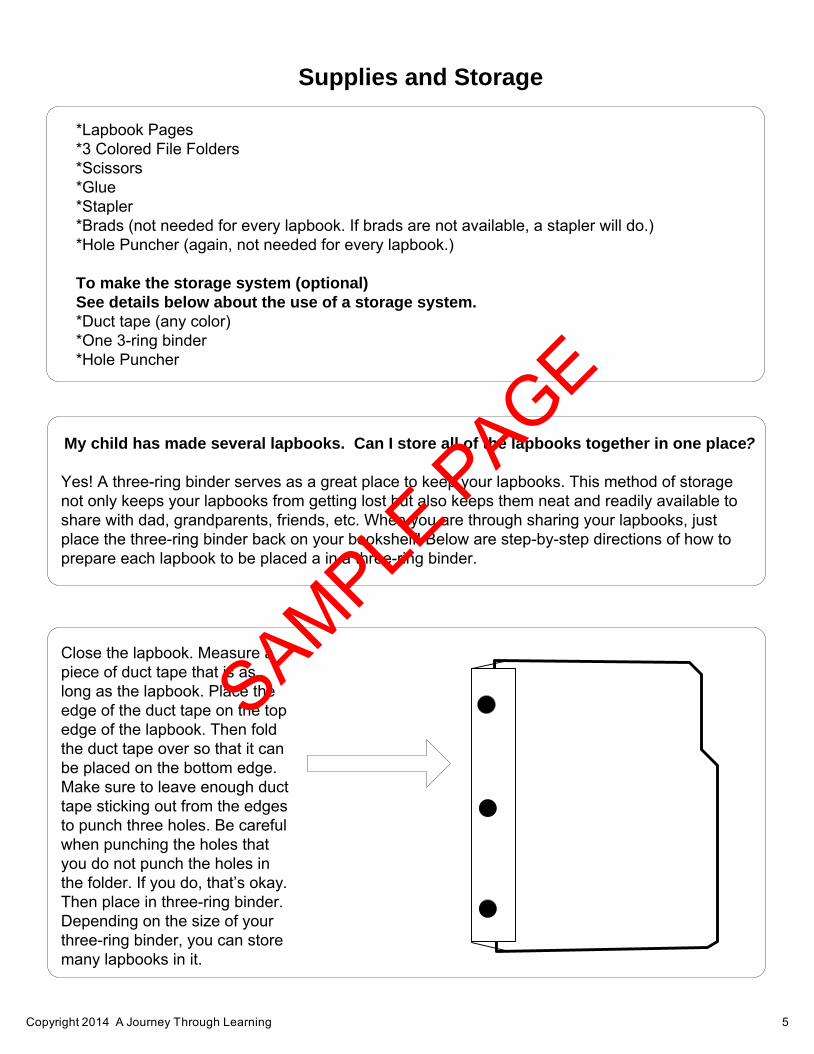
*Lapbook Pages*3 Colored File Folders*Scissors*Glue*Stapler*Brads (not needed for every lapbook. If brads are not available, a stapler will do.)*Hole Puncher (again, not needed for every lapbook.)
To make the storage system (optional)
See details below about the use of a storage system.
*Duct tape (any color)*One 3-ring binder*Hole Puncher
My child has made several lapbooks. Can I store all of the lapbooks together in one place?
Yes! A three-ring binder serves as a great place to keep your lapbooks. This method of storage not only keeps your lapbooks from getting lost but also keeps them neat and readily available to share with dad, grandparents, friends, etc. When you are through sharing your lapbooks, just place the three-ring binder back on your bookshelf! Below are step-by-step directions of how to prepare each lapbook to be placed a in a three-ring binder.
Supplies and Storage
Close the lapbook. Measure a piece of duct tape that is as long as the lapbook. Place the edge of the duct tape on the top edge of the lapbook. Then fold the duct tape over so that it can be placed on the bottom edge. Make sure to leave enough duct tape sticking out from the edges to punch three holes. Be careful when punching the holes that you do not punch the holes in the folder. If you do, that’s okay. Then place in three-ring binder. Depending on the size of your three-ring binder, you can store many lapbooks in it.
Copyright 2014 A Journey Through Learning 5
SAMPLE PAGE
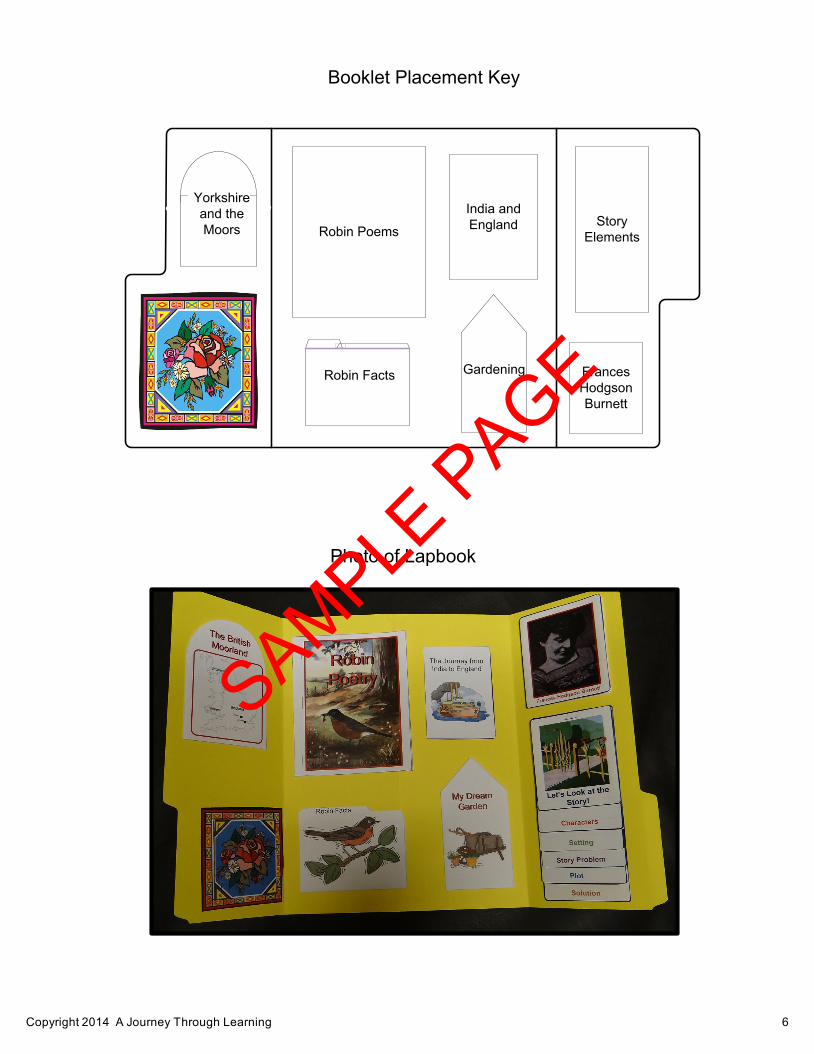
Robin Poems
Frances Hodgson Burnett
India and England
Yorkshire and the Moors
GardeningRobin Facts
Booklet Placement Key
StoryElements
Photo of Lapbook
Copyright 2014 A Journey Through Learning 6
SAMPLE PAGE
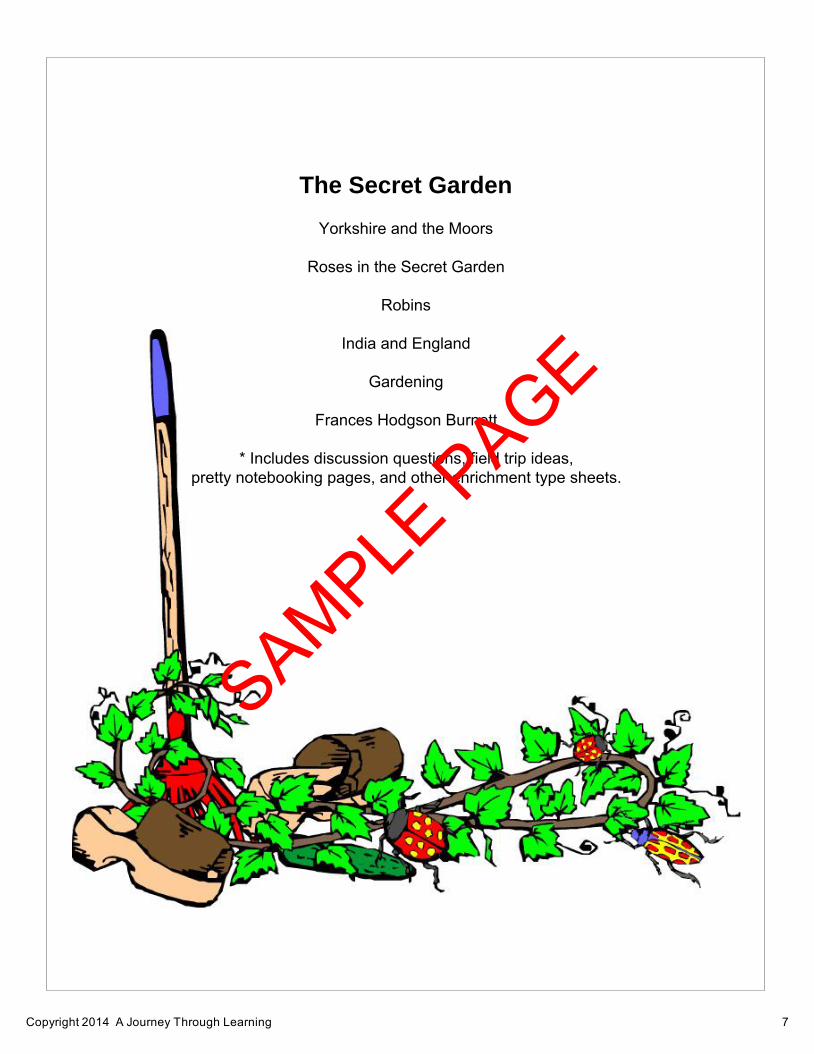
The Secret Garden
Yorkshire and the Moors
Roses in the Secret Garden
Robins
India and England
Gardening
Frances Hodgson Burnett
* Includes discussion questions, field trip ideas, pretty notebooking pages, and other enrichment type sheets.
Copyright 2014 A Journey Through Learning 7
SAMPLE PAGE
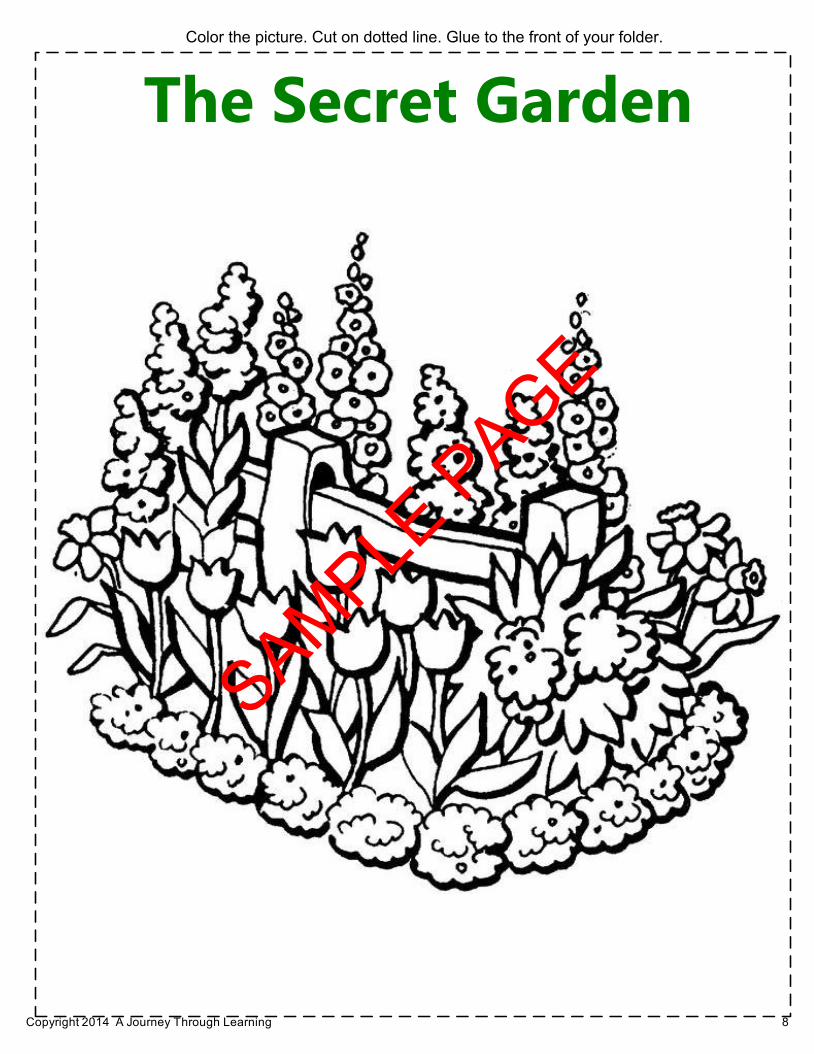
Color the picture. Cut on dotted line. Glue to the front of your folder.
The Secret Garden
Copyright 2014 A Journey Through Learning 8
SAMPLE PAGE
Yorkshire and the Moors
After the death of her parents, Mary Lennox left India and went to live with her uncle in Yorkshire, England. Nestled in the North of England, Yorkshire is the largest county in the United Kingdom. It is divided into smaller sections called ridings. The landscape is varied and includes coastal areas, hills and valleys.
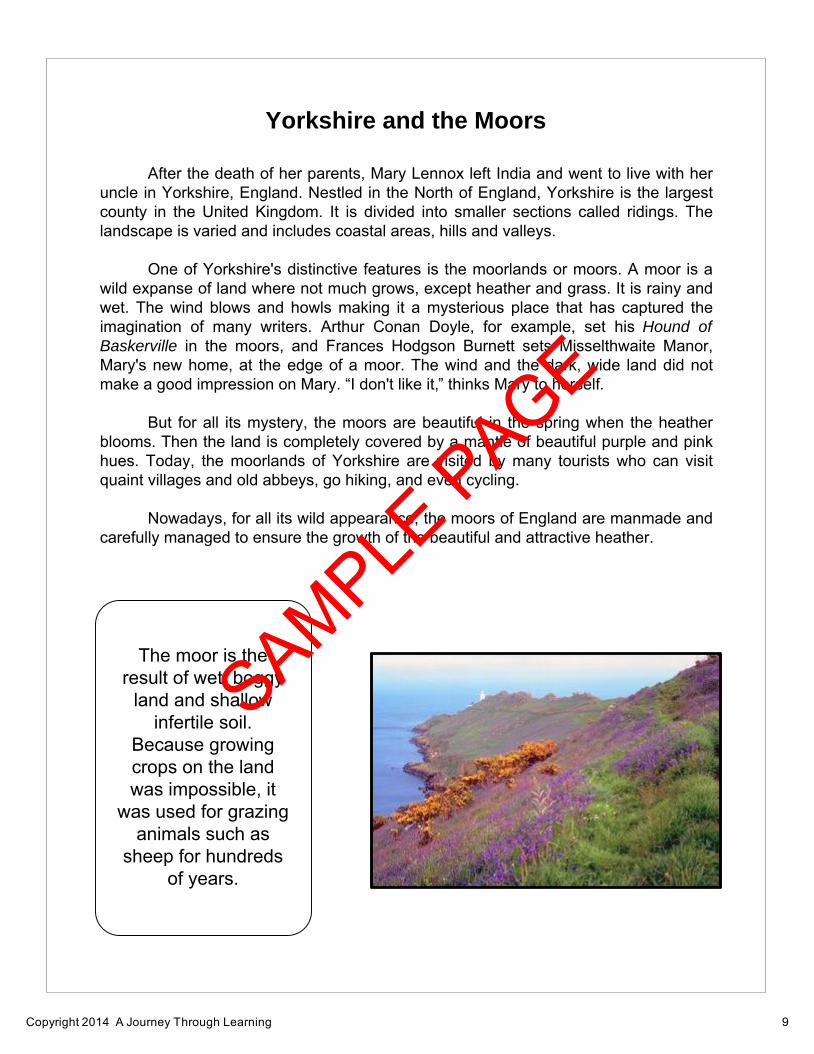
One of Yorkshire's distinctive features is the moorlands or moors. A moor is a wild expanse of land where not much grows, except heather and grass. It is rainy and wet. The wind blows and howls making it a mysterious place that has captured the imagination of many writers. Arthur Conan Doyle, for example, set his Hound of
Baskerville in the moors, and Frances Hodgson Burnett sets Misselthwaite Manor, Mary's new home, at the edge of a moor. The wind and the dark, wide land did not make a good impression on Mary. “I don't like it,” thinks Mary to herself.
But for all its mystery, the moors are beautiful in the spring when the heather blooms. Then the land is completely covered by a mantle of beautiful purple and pink hues. Today, the moorlands of Yorkshire are visited by many tourists who can visit quaint villages and old abbeys, go hiking, and even cycling.
Nowadays, for all its wild appearance, the moors of England are manmade and carefully managed to ensure the growth of the beautiful and attractive heather.
The moor is the result of wet, boggy
land and shallow infertile soil.
Because growing crops on the land was impossible, it
was used for grazing animals such as
sheep for hundreds of years.
Copyright 2014 A Journey Through Learning 9
SAMPLE PAGE
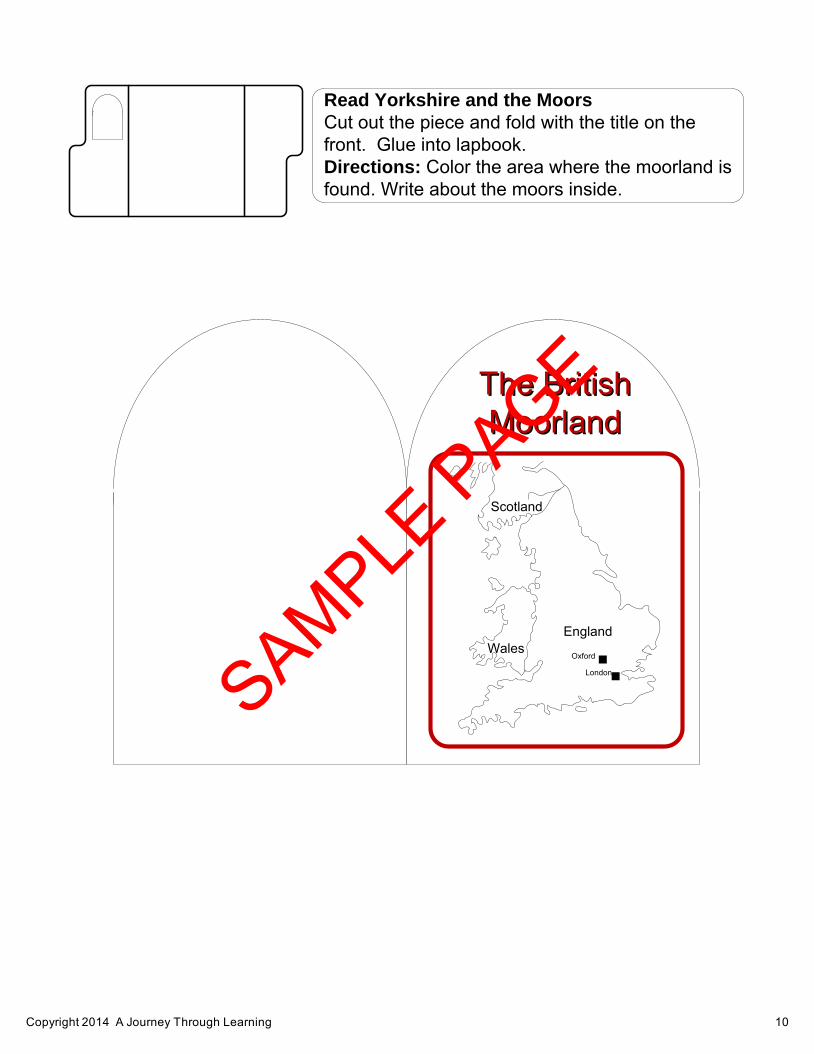
Wales
Scotland
England.London.Oxford
The British Moorland
The British Moorland
Read Yorkshire and the Moors
Cut out the piece and fold with the title on the front. Glue into lapbook. Directions: Color the area where the moorland is found. Write about the moors inside.
Copyright 2014 A Journey Through Learning 10
SAMPLE PAGE
Roses in the Secret Garden
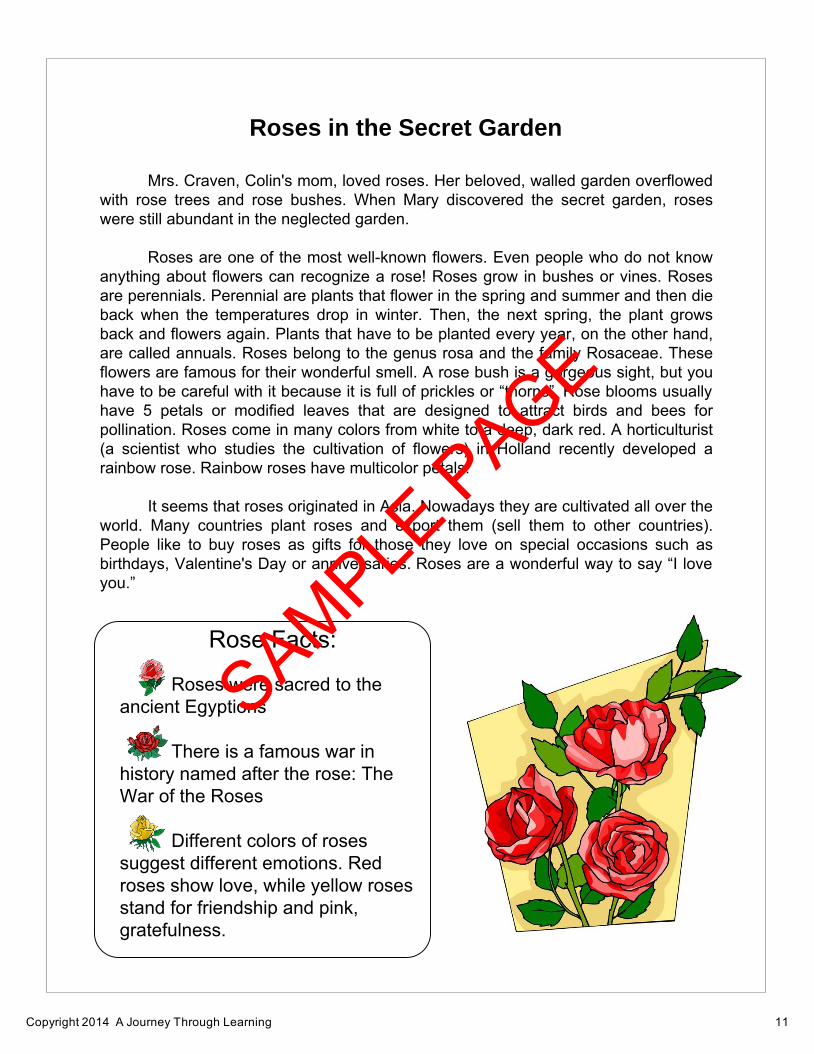
Mrs. Craven, Colin's mom, loved roses. Her beloved, walled garden overflowed with rose trees and rose bushes. When Mary discovered the secret garden, roses were still abundant in the neglected garden.
Roses are one of the most well-known flowers. Even people who do not know anything about flowers can recognize a rose! Roses grow in bushes or vines. Roses are perennials. Perennial are plants that flower in the spring and summer and then die back when the temperatures drop in winter. Then, the next spring, the plant grows back and flowers again. Plants that have to be planted every year, on the other hand, are called annuals. Roses belong to the genus rosa and the family Rosaceae. These flowers are famous for their wonderful smell. A rose bush is a gorgeous sight, but you have to be careful with it because it is full of prickles or “thorns”. Rose blooms usually have 5 petals or modified leaves that are designed to attract birds and bees for pollination. Roses come in many colors from white to a deep, dark red. A horticulturist (a scientist who studies the cultivation of flowers) in Holland recently developed a rainbow rose. Rainbow roses have multicolor petals.
It seems that roses originated in Asia. Nowadays they are cultivated all over the world. Many countries plant roses and export them (sell them to other countries). People like to buy roses as gifts for those they love on special occasions such as birthdays, Valentine's Day or anniversaries. Roses are a wonderful way to say “I love
you.”
Rose Facts:
Roses were sacred to the ancient Egyptions
There is a famous war in history named after the rose: The War of the Roses
Different colors of roses suggest different emotions. Red roses show love, while yellow roses stand for friendship and pink, gratefulness.
Copyright 2014 A Journey Through Learning 11
SAMPLE PAGE
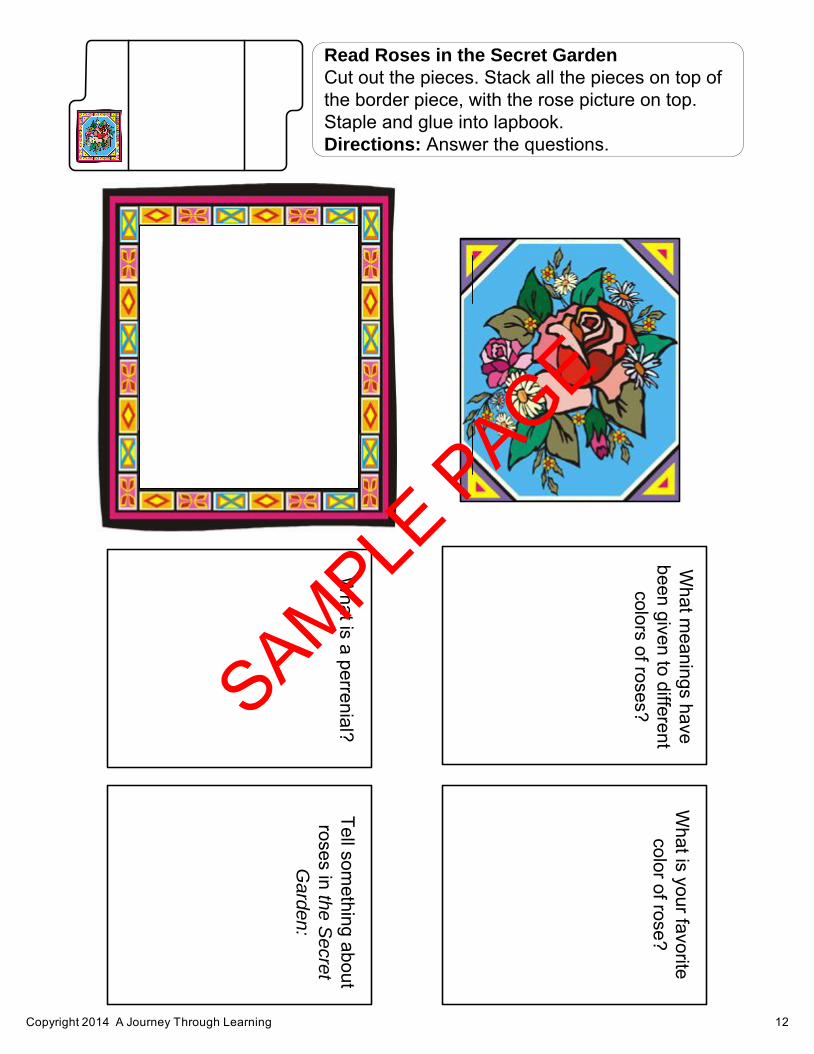
What is a perrenial?
Tell something about
roses in the
Se
cre
t
Ga
rde
n:
What m
eanings have been given to different
colors of roses?
What is your favorite
color of rose?
Read Roses in the Secret Garden
Cut out the pieces. Stack all the pieces on top of the border piece, with the rose picture on top. Staple and glue into lapbook. Directions: Answer the questions.
Copyright 2014 A Journey Through Learning 12
SAMPLE PAGE