Email - UNM Onlineonline.unm.edu/help/learn/common/pdfs/communication.pdf · • Email programs,...
15
Email The email tool allows you to send email to other people in your course without launching an external email program, such as Gmail, Hotmail, or Yahoo. You can send email to individual users or to groups of users. Important: Blackboard Learn keeps no record of sent or received email. When you receive or send an email, the email appears in the inbox of your external email program. Keep a copy of important messages in case you need them at a later date. You can send email to the following users: • All Users: All users in your course. • All Groups: All groups in your course. • All Student Users: All students in your course. • All Teaching Assistant Users: All teaching assistants in your course. 1 Reviewed March 2017
Transcript of Email - UNM Onlineonline.unm.edu/help/learn/common/pdfs/communication.pdf · • Email programs,...

The email tool allows you to send email to other people in your course without launching an external emailprogram, such as Gmail, Hotmail, or Yahoo. You can send email to individual users or to groups of users.
Important: Blackboard Learn keeps no record of sent or received email. When you receive or send anemail, the email appears in the inbox of your external email program. Keep a copy of importantmessages in case you need them at a later date.
You can send email to the following users:
• All Users: All users in your course.
• All Groups: All groups in your course.
• All Student Users: All students in your course.
• All Teaching Assistant Users: All teaching assistants in your course.
1
Reviewed March 2017

• All Instructor Users: All instructors in your course.
• All Observer Users: All of the observers in your course.
• Select Users: Select the users from a list.
• Select Groups: Select groups from a list.
• Single/Select Observer users: Send email to a single observer or select observers in your course.
Note: Recipients of each email will not see the email addresses of other recipients.
Before You Begin
• UNM Learn is configured to send email to your UNM-preferred address. If necessary, this can be
updated to use a different address (e.g. yahoo mail or gmail) via Demographic Self Service:
https://dss.unm.edu/
• Blackboard Learn requires some text content in the subject line to send email successfully. If you leavethe subject line blank, the message will not be delivered.
How to Send Email
1. On the course menu, click the Tools link. On the Tools page, click Send Email.
-OR-
On the Control Panel, expand the Course Tools section and click Send Email.
-OR-
On the My Institution tab, in the Tools panel, click Send Email and select a course.
2. On the Send Email page, click a link, such as All Users.
3. For Select Users or Select Groups, select the recipients in the Available to Select box and click theright-pointing arrow to move them into the Selected box. A back arrow is available to move a user outof the recipient list. Click Invert Selection and selected users are no longer highlighted and those usersthat are not selected will be highlighted.
2

Tip: For Windows, to select multiple users in a list, press the Shift key and click the first and lastusers. To select users out of sequence, press the Ctrl key and click each user needed. For Macsystems, press the Command key instead of the Ctrl key. You can also use the Select All functionto send an email to all users.
4. Type your Subject. Your message will not be delivered without a subject.
5. Type a Message.
6. Click Attach a file to browse for file from your computer. You can attach multiple files. After you addone file, the option to attach another file appears.
7. Click Submit.
After you send an email, a message appears at the top of the Send Email page listing all recipients. The messageis not a confirmation that any users received the message. It only confirms that the message was sent.
How to Add an Email Link to the Course Menu
You can add an link to the course menu for one-click access to the email tool. You can also customize the name ofthe link.
1. Change Edit Mode to ON and point to the plus sign above the course menu. The Add Menu Item drop-down list appears.
2. Click Tool Link.
3. Type a Name for the link.
4. From the Type drop-down list, click Email.
5. Select the Available to Users check box.
6. Click Submit.
3

The new tool link appears last in the course menu list. Press and drag the arrows icon to move the link into a newposition. Access the link's contextual menu to rename, delete, or hide the link from students.
Troubleshooting
• Your email address is not visible unless you choose to make it visible to course members. Find this setting in the global navigation menu > Settings > Personal Information > Set Privacy Options. On this page, you can choose the information you want course members to see.
• You can change your external email address used in your course. Change your email address by accessing the global navigation menu > SettingsPersonal Information > Edit Personal Information. Type your preferred email address and click Submit. Some institutions do not allow users to change their email addresses of record. To learn more, contact your institution.
• Email programs, such as Gmail, Hotmail, or Yahoo, may identify email from Blackboard as junk mail, andeither automatically delete it or move it to a junk mail folder. If you have problems, check your userpreferences or options for settings regarding the handling of junk email.
4

Course Messages
Course messages are private and secure text-based communication that occurs within your course and amongcourse members. Although similar to email, you must be logged in to a course to read and send course messages.Using the course messages tool instead of the email tool can also be more reliable. Problems with incorrect orout-of-date student email addresses do not affect course communication.
Note: Course messages are not the same as messages sent using My Blackboard. To learn more, see About Messages.
The What's New module on the My Institution tab and the Home Page notifies you when you receive newcourse messages.
Both incoming and outgoing messages are saved in the course messages tool. The course messages area has twofolders—Inbox and Sent—that you cannot rename or delete. You can delete a message—the action is final andirreversible.
Note: Your institution can choose to allow or not allow users to create personal folders and add fileattachments. By default, users may notnot create personal folders and add file attachments.
5

How to Send a Course Message
1. On the course menu, click the Tools link. On the Tools page, click Course Messages.
-OR-
On the Control Panel, expand the Course Tools section and click Course Messages.
2. On the Course Messages page, click Create Message on the action bar.
3. On the Compose Message page, click To and a list of course members appears.
4. In the Select Recipients: To line box, select the recipients and click the right-pointing arrow to movethem to the Recipients box. You can use the Cc, and Bcc functions to send the message to those usersthat may be interested in the message, but are not the primary recipients. When using Bcc, otherrecipients do not know that the users listed in the Bcc field are receiving the message.
Tip: For Windows, to select multiple users in a row, press the Shift key and click the first and lastnames. To select users out of sequence, press the Ctrl key and click each name needed. For Macsystems, press the Command key instead of the Ctrl key. You can also select all course memberswith the Select All function.
5. Type the Subject and Body. You may only attach files from Course Files or the Content Collection.
6. Click Submit.
6
Course Messages Folders
If allowed by your institution, you can create personal folders to help organize your course messages. Personalfolders are only for storing messages. Messages received always appear in the Inbox folder. Messages sentalways appear in the Sent folder. After a message appears, you can move it into a personal folder.
dotwebb
Typewritten Text
dotwebb
Typewritten Text
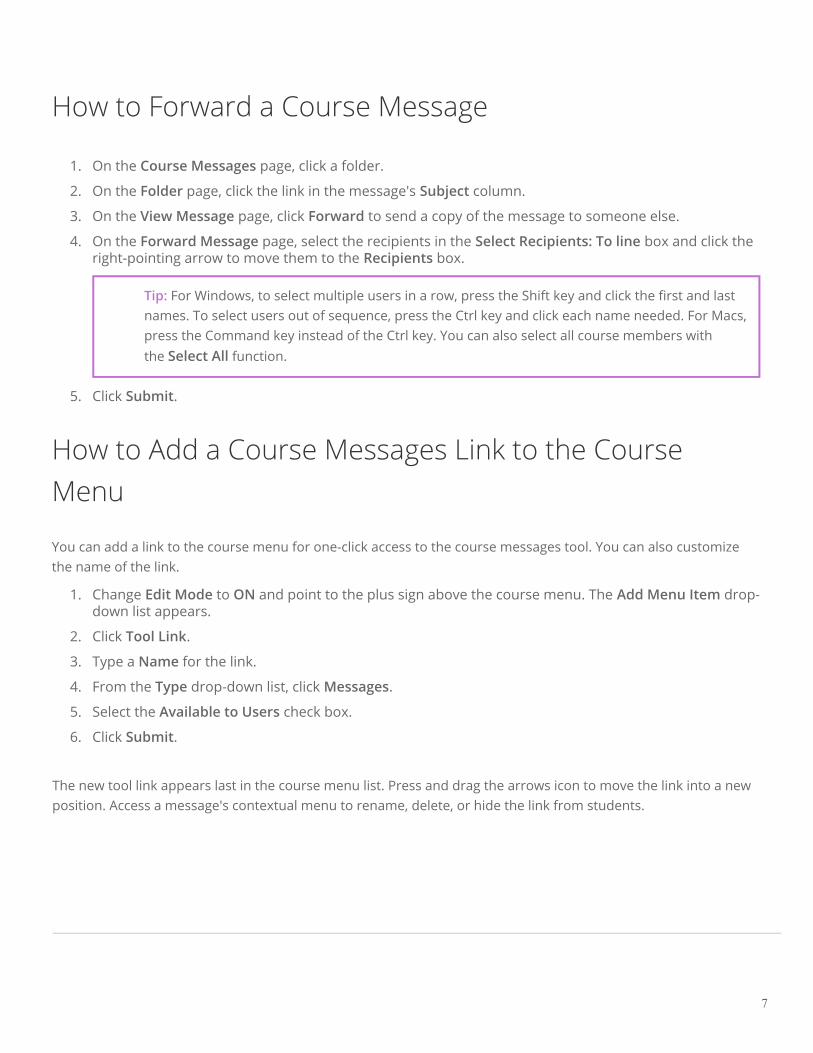
How to Forward a Course Message
1. On the Course Messages page, click a folder.
2. On the Folder page, click the link in the message's Subject column.
3. On the View Message page, click Forward to send a copy of the message to someone else.
4. On the Forward Message page, select the recipients in the Select Recipients: To line box and click theright-pointing arrow to move them to the Recipients box.
Tip: For Windows, to select multiple users in a row, press the Shift key and click the first and lastnames. To select users out of sequence, press the Ctrl key and click each name needed. For Macs,press the Command key instead of the Ctrl key. You can also select all course members withthe Select All function.
5. Click Submit.
How to Add a Course Messages Link to the CourseMenu
You can add a link to the course menu for one-click access to the course messages tool. You can also customizethe name of the link.
1. Change Edit Mode to ON and point to the plus sign above the course menu. The Add Menu Item drop-down list appears.
2. Click Tool Link.
3. Type a Name for the link.
4. From the Type drop-down list, click Messages.
5. Select the Available to Users check box.
6. Click Submit.
7
The new tool link appears last in the course menu list. Press and drag the arrows icon to move the link into a newposition. Access a message's contextual menu to rename, delete, or hide the link from students.

Announcements
With announcements, you can post timely information critical to course success. On the Announcements page,you can add, edit, and delete announcements. This is an ideal place to post time-sensitive material including:
• Due dates for assignments and projects.
• Changes to your syllabus.
• Corrections/clarifications of materials.
• Exam schedules.
When you add an announcement, you can also send the announcement as an email to students in your course.This ensures that students receive the announcement even if they do not log in to your course. If you include linksto course content, the email will not include links to that content.
8

How to Create Announcements
Announcements appear in the order posted, with the most recent announcements appearing first.
1. On the Control Panel, expand the Course Tools section and click Announcements.
2. On the Announcements page, click Create Announcement on the action bar.
3. On the Create Announcement page, type a Subject. This becomes the title of the announcement onthe Announcements page.
4. Type your message.
5. In the Web Announcements Options section, click:
Not Date Restricted to keep the announcement visible until you remove it.
-OR-
Date Restricted to limit the announcement's visibility by date and time.
6. Select the Display After and Display Until check boxes to enable the date and time selections.
7. Select the Email Announcement check box to send students an email containing the announcement.The email is sent to all students, even those who choose not to receive announcement notificationsthrough email. Your institution determines if this option is available.
8. Optionally, in the Course Link section, click Browse to link to a course area, tool, or item.
9. Click Submit.
9

Reorder Announcements
Announcements appear directly below the repositionable bar. Reorder by dragging the bar or announcements tonew positions. Move priority announcements above the repositionable bar to pin them to the top of the list andprevent new announcements from superseding them. The order shown is the order presented to students.Students do not see the bar and cannot reorder announcements.
Edit and Delete Announcements
To edit or delete an announcement, access its contextual menu and click Edit or Delete. The deletion action is final
and irreversible.
10

Calendar
You can use the course calendar to provide students with dates for course-related events. Course calendar eventsappear to all members of the course. Common entries include the following items:
• Meetings
• Instructor office hours
• Exams
• Guest speakers
• Course items with due dates
Note: Instructors and your institution control which tools are available.
The calendar displays a consolidated view of all your institution, course, organization, and personal calendarevents. You can view events by day, week, or month. You can view and organize upcoming and past events intocategories.
You can also set the first day of your week by changing your personal settings in My Blackboard.
Course calendar events appear to all members of the course. Common entries include upcoming tests, due datesfor assignments, or special lectures. Course items with due dates automatically appear in the course calendar.Only instructors may create course calendar events.
11

The Calendar Interface
You can access the calendar from your course, from the Tools panel on the My Institution tab, or from the MyBlackboard menu.
1. View events by day, week, or month.
2. Navigate to another month.
3. Click the plus (+) to create a new event. You can also click a date to create an event. Assign the event tothe appropriate calendar, select the date and time, and add a description.
Note: Students cannot create an event on a course and institution calendar. Instructorscannot create an event for the institution calendar unless they have administrator privileges.
4. Click an event to manage it. You can also press and drag an event to change the date.
5. Select the calendars you want to show, such as institution, personal, or course. By default, allcalendars are visible. Optionally, change the color of each calendar to suit your preference. Using a
12

distinct color for each calendar easily displays which calendar the event is associated to withoutopening the event.
Note: All institution events appear in the institution calendar. All course events, such asassignments due, appear in the course calendar. If your system administrator has upgradedto the October 2014 release, any courses you hide in the My Courses module on the MyInstitution page, will also be hidden in the Calendars list.
6. Get an iCal URL for importing your Blackboard Learn calendar into an external calendar application.After the Learn iCal URL is set up in an external calendar, it is updated dynamically with new Learncalendar events. For example, log in to Google Calendar and access the Other Calendar drop-downlist. Select Add by URL and paste the iCal URL generated by Blackboard Learn.
Note: You cannot import external calendars into this calendar.
How to Create an Event
1. On the calendar, click the plus (+) to create a new event. You can also click a specific date to create anevent.
2. Type the New Event Name.
3. Select a calendar to associate the event to, such as your personal calendar.
Note: Only instructors and administrators can add events to the course and institutioncalendars.
4. Select the Start and End times.
5. Type the Event Description. There is a 4,000 character limit for event descriptions.
6. Click Save.
Recurring Events
Optionally, you can make events repeat by selecting the Repeat check box. Additional options appear that allowyou to create multiple events based on a repeating pattern.
Specifics on Repeating Events and Limitations
Repeat Options Daily, Weekly, and Monthly Supported
Daily End after X number of times -OR- on a particular date.
13

Repeat Options Daily, Weekly, and Monthly Supported
Weekly Repeat Day of the week supported. End after X number of times -OR- on a particular date.
Monthly Repeat Day of the month (1-31) or day of week (first Sunday, second Monday, and so on)supported. End after X number of times -OR- on a particular date.
Bulk Add (Series) Create a series with the repeat options.
Bulk Delete (Series) Delete the entire series created using the repeat options.
Edit an Instance Edit an instance of the series. If you change the date/time of the instance, that particularinstance has a “broken” icon to indicate that it no longer conforms with the originalseries rules.
Note: Changing the name or description of an instance does notdoes not break theinstance from the series.
Edit Series (KnownLimitation)
At this time, you cannotcannot edit the series. After you create a series, you can bulk delete ormake changes to individual instance.
Edit or Delete an Event
On the calendar, navigate to the date of the event in the main view to perform the following tasks:
• Click the event to edit or delete it.
• Press and drag an event to another date in the main view to change the date of the event. The time of theevent and calendar it is associated with remain the same.
• Press and drag an event from the main view to another date on the smaller monthly view to change thedate.
14

Calendar Display Modes
You can choose from four calendar display modes:
• Gregorian only
• Gregorian-formatted with Hirji date conversion in parentheses
• Hijri only
• Hijri-formatted with Gregorian date conversion in parentheses
Course Items With Due Dates
When you create items with due dates, such as tests or assignments, the calendar event automatically appears onthe course calendar for that day.
Note: For calendar events associated to content items, all adaptive release and availability rules arehandled, ensuring that the release of an item is in synch with the calendar.
How to Add a Calendar Link to the Course Menu
If you want students to access the course calendar from your course, you can add a link to the course menu forone-click access to the tool. You can also customize the name of the link.
1. Point to the plus sign above the course menu. The Add Menu Item drop-down list appears.
2. Select Tool Link.
3. Type a Name for the link.
4. From the Type drop-down list, select Calendar.
5. Select the Available to Users check box.
6. Click Submit.
15


