DATABASE USERS AUTHENTICATION OBIEE 11G.pdf
72
PREPARED BY RAVI KUMAR LANKE Page 1 DATABASE USER AUTHENTICATION OBIEE 11G
-
Upload
ravi-kumar-lanke -
Category
Documents
-
view
78 -
download
2
description
DATABASE USERS AUTHENTICATION OBIEE 11G.pdf
Transcript of DATABASE USERS AUTHENTICATION OBIEE 11G.pdf

PREPARED BY RAVI KUMAR LANKE Page 1
DATABASE USER AUTHENTICATION OBIEE 11G

PREPARED BY RAVI KUMAR LANKE Page 2
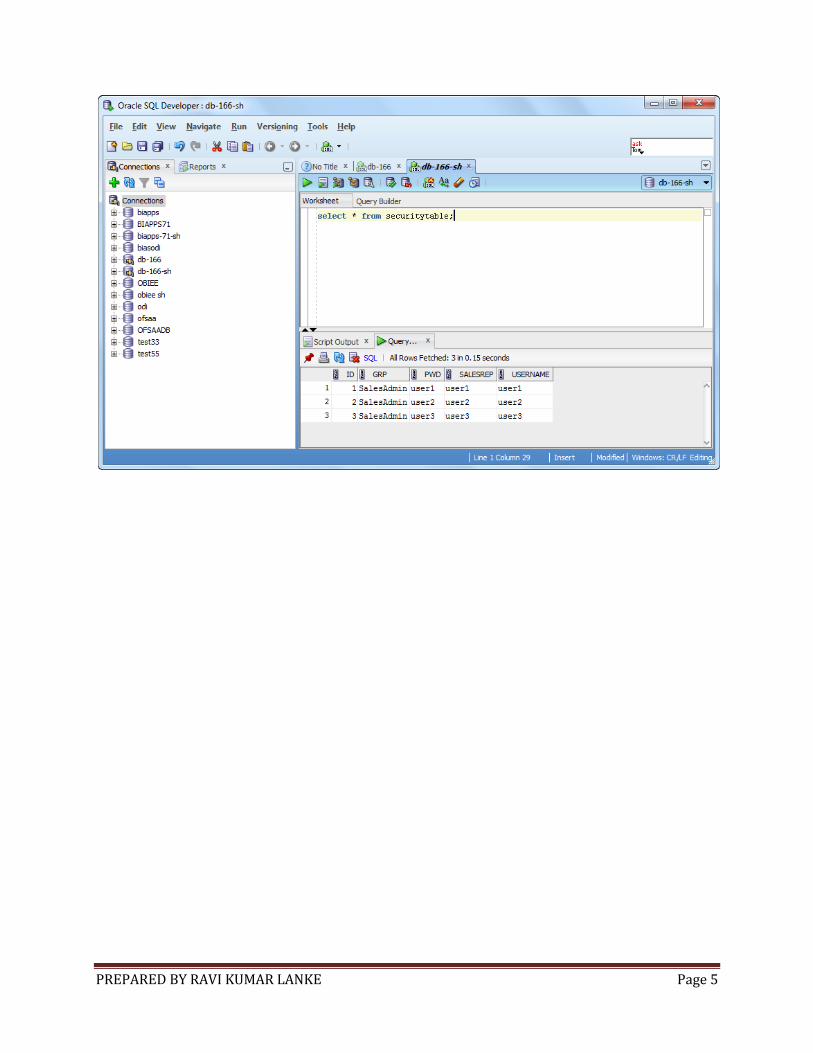
Here I am going to demonstrate where on set of users present in the LDAP server
as well as another set of users and passwords present in an External Oracle
Database Table (here “SECURITYTABLE”) can login into
thehttp://localhost:9704/analytics, the Oracle Analytics
Create the oracle database table for external authentication as shown
below:

PREPARED BY RAVI KUMAR LANKE Page 3

PREPARED BY RAVI KUMAR LANKE Page 4
PREPARED BY RAVI KUMAR LANKE Page 5

PREPARED BY RAVI KUMAR LANKE Page 6
Open the “Oracle BI Administration Tool” and “Open Offline”

PREPARED BY RAVI KUMAR LANKE Page 7

PREPARED BY RAVI KUMAR LANKE Page 8

PREPARED BY RAVI KUMAR LANKE Page 9
PREPARED BY RAVI KUMAR LANKE Page 10

PREPARED BY RAVI KUMAR LANKE Page 11

PREPARED BY RAVI KUMAR LANKE Page 12
PREPARED BY RAVI KUMAR LANKE Page 13
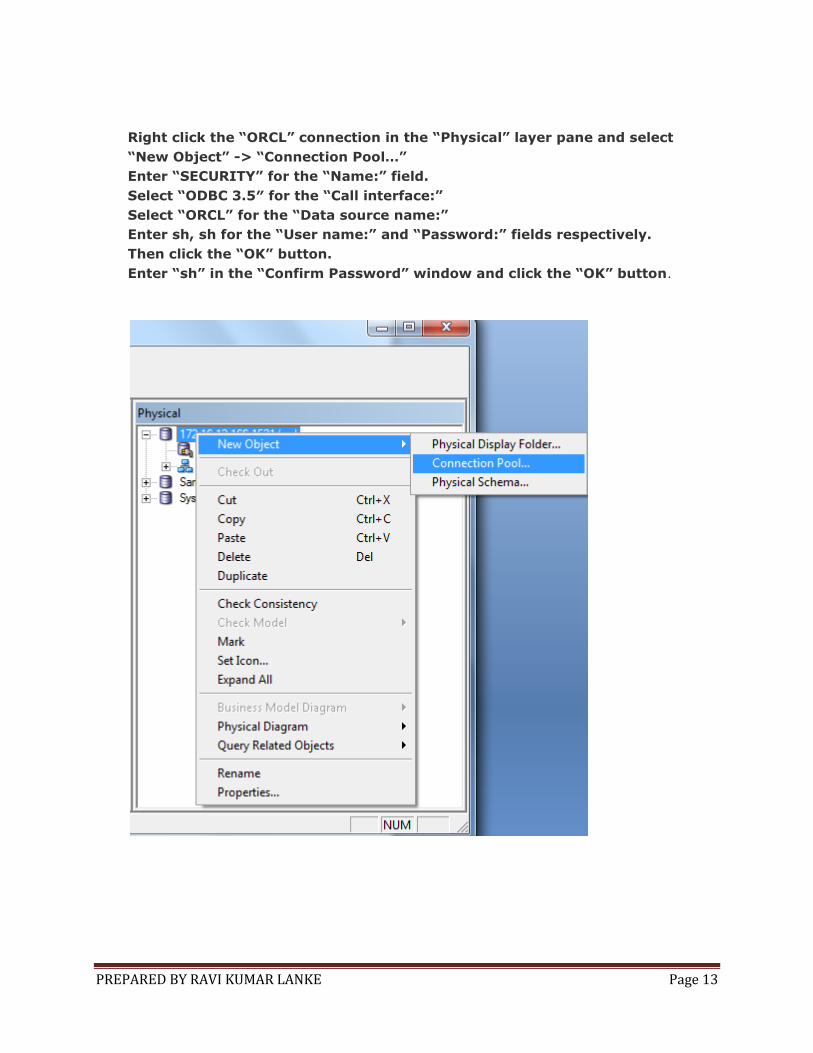
Right click the “ORCL” connection in the “Physical” layer pane and select
“New Object” -> “Connection Pool…”
Enter “SECURITY” for the “Name:” field.
Select “ODBC 3.5″ for the “Call interface:”
Select “ORCL” for the “Data source name:”
Enter sh, sh for the “User name:” and “Password:” fields respectively.
Then click the “OK” button.
Enter “sh” in the “Confirm Password” window and click the “OK” button.

PREPARED BY RAVI KUMAR LANKE Page 14

PREPARED BY RAVI KUMAR LANKE Page 15

PREPARED BY RAVI KUMAR LANKE Page 16
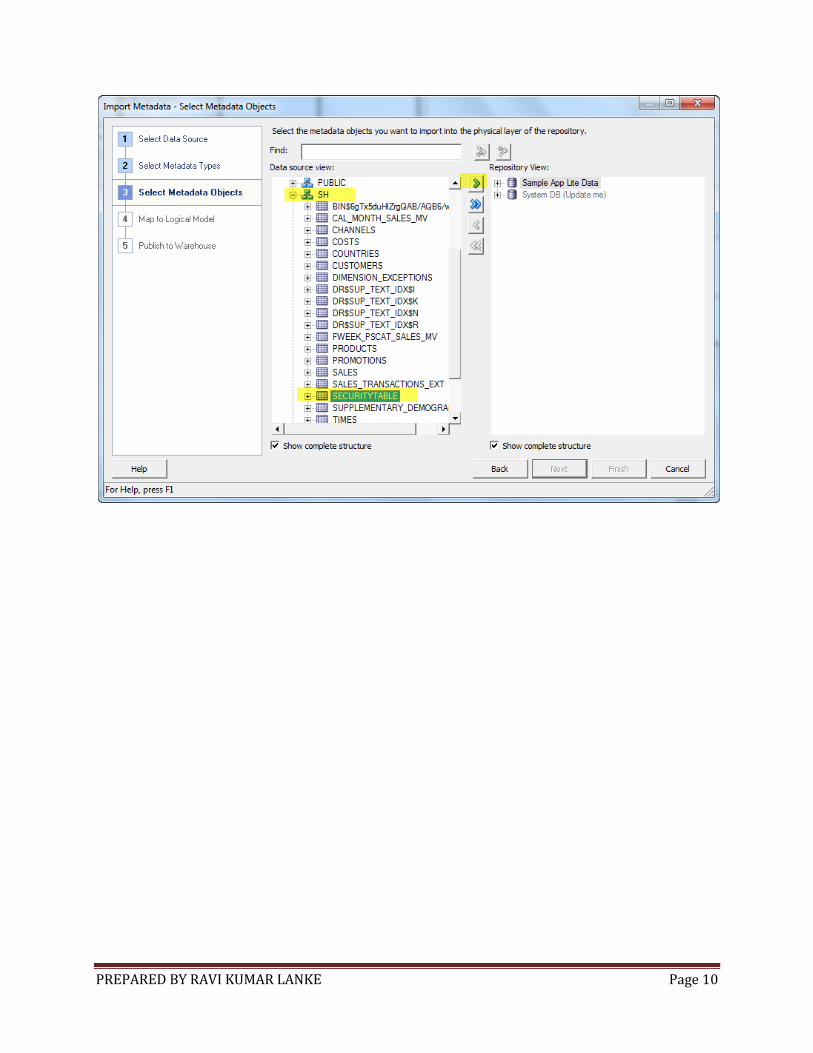
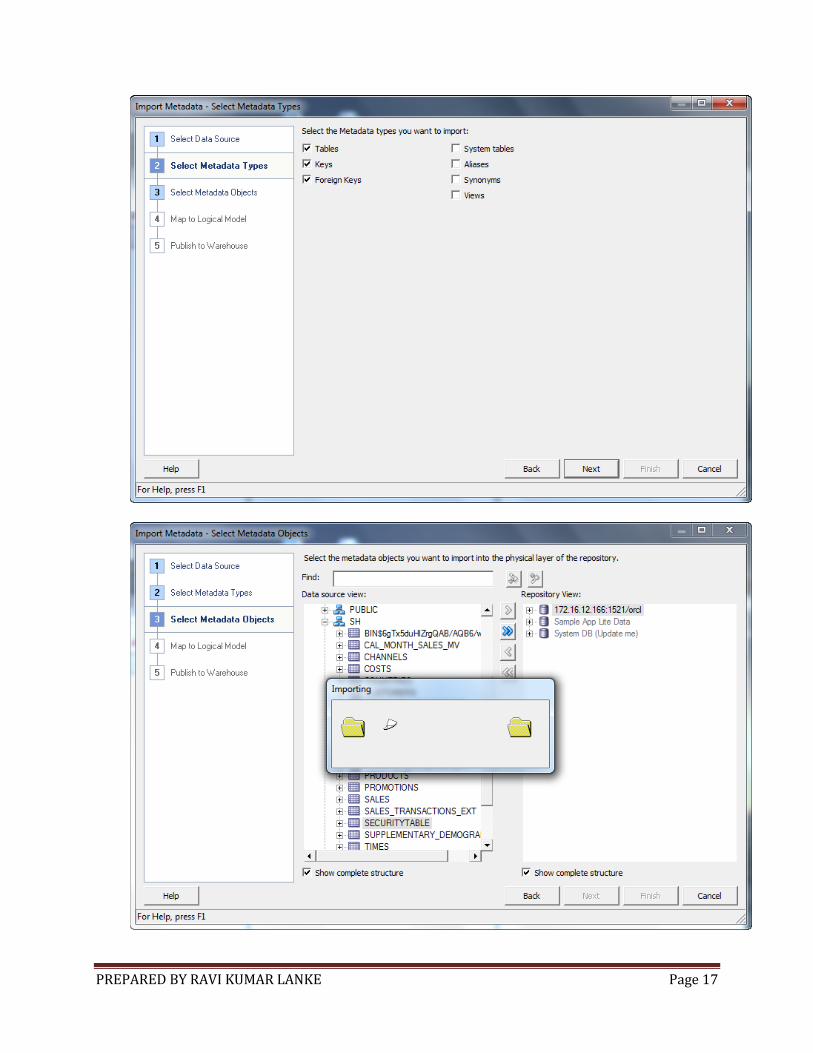
Right Click the “SECURITY” connection pool in the “Physical” layer pane
and select “Import Metadata”
PREPARED BY RAVI KUMAR LANKE Page 17

PREPARED BY RAVI KUMAR LANKE Page 18
PREPARED BY RAVI KUMAR LANKE Page 19
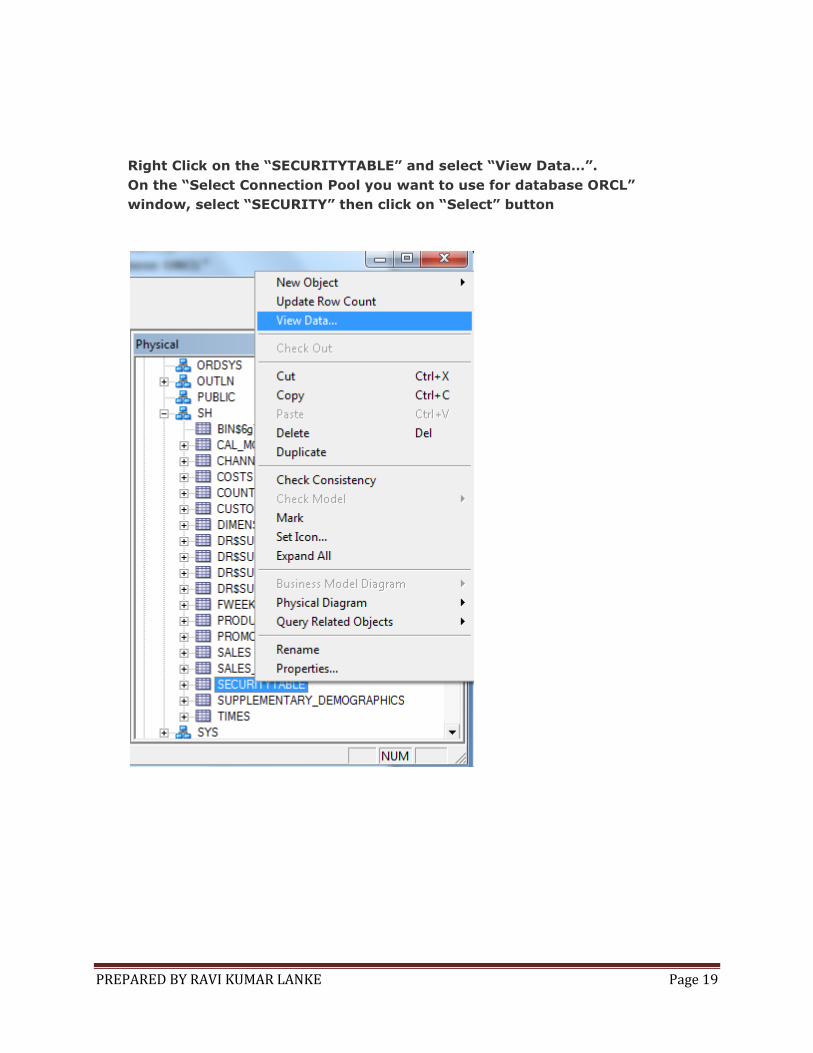
Right Click on the “SECURITYTABLE” and select “View Data…”.
On the “Select Connection Pool you want to use for database ORCL”
window, select “SECURITY” then click on “Select” button

PREPARED BY RAVI KUMAR LANKE Page 20

PREPARED BY RAVI KUMAR LANKE Page 21
On the Administration Tool Menu select “Manage” -> “Variables…”

PREPARED BY RAVI KUMAR LANKE Page 22
PREPARED BY RAVI KUMAR LANKE Page 23

PREPARED BY RAVI KUMAR LANKE Page 24
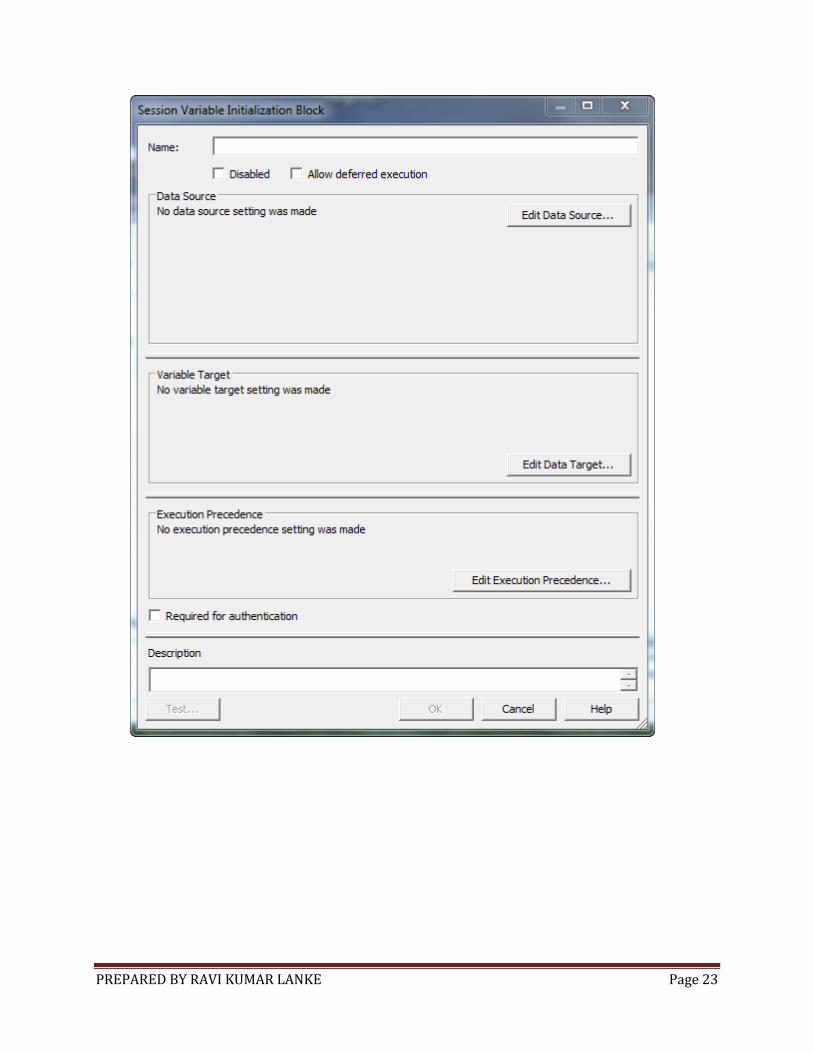
On the “Session Variable Initialization Block” window click the “Edit Data
Source…” button.
In the “Session Variable Initialization Block Data Source” window select
“Database” for the “Data Source Type:” field
Select the “Default initialization string” button and enter the below SQL:
SELECT GRP, SALESREP, USERNAME, 2 FROM SECURITYTABLE WHERE USERNAME =
':USER' AND PWD = ':PASSWORD'
Click the “Browse…” button and in the “Select Connection Pool” window
select “SECURITY” the click the “Select” button as show below:

PREPARED BY RAVI KUMAR LANKE Page 25
Then click “OK” button to close the “Session Variable Initialization Block
Data Source” window.
PREPARED BY RAVI KUMAR LANKE Page 26
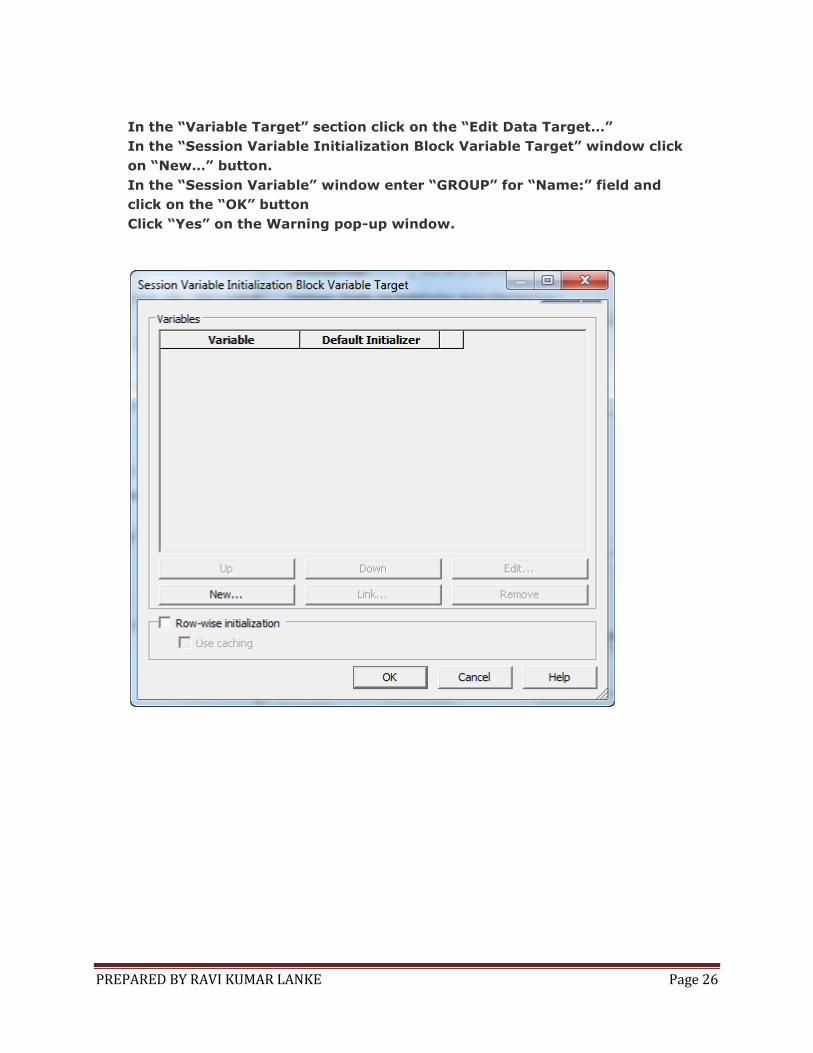
In the “Variable Target” section click on the “Edit Data Target…”
In the “Session Variable Initialization Block Variable Target” window click
on “New…” button.
In the “Session Variable” window enter “GROUP” for “Name:” field and
click on the “OK” button
Click “Yes” on the Warning pop-up window.

PREPARED BY RAVI KUMAR LANKE Page 27

PREPARED BY RAVI KUMAR LANKE Page 28

PREPARED BY RAVI KUMAR LANKE Page 29
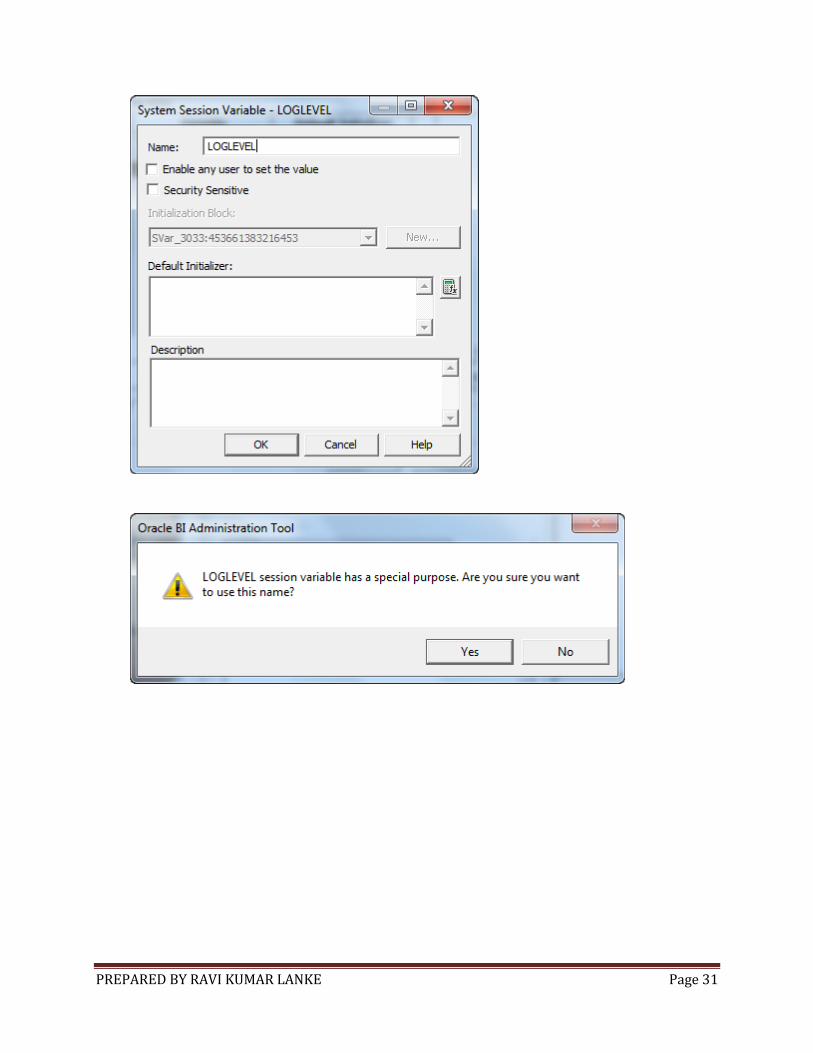
Similarly create all 4 Session Variables: GROUP, DISPLAYNAME, USER and
LOGLEVEL as show below.
Click on the “OK” button to close the window.

PREPARED BY RAVI KUMAR LANKE Page 30
PREPARED BY RAVI KUMAR LANKE Page 31

PREPARED BY RAVI KUMAR LANKE Page 32
Finally on the “Session Variable Initialization Block” window enter
“Security” for the “Name:” field.
Make sure “Required for authentication” check box is NOT Selected.
Verify entries as in below screenshot and Click “OK” button

PREPARED BY RAVI KUMAR LANKE Page 33

PREPARED BY RAVI KUMAR LANKE Page 34
On the “Variable Manager” select “Action” -> “Close”.
On the “Administration Tool” window menu select “Save”.
Select “Yes” to the “Do you wish to check global consistency?” and make
sure no Warnings or Errors are shown.

PREPARED BY RAVI KUMAR LANKE Page 35

PREPARED BY RAVI KUMAR LANKE Page 36

PREPARED BY RAVI KUMAR LANKE Page 37
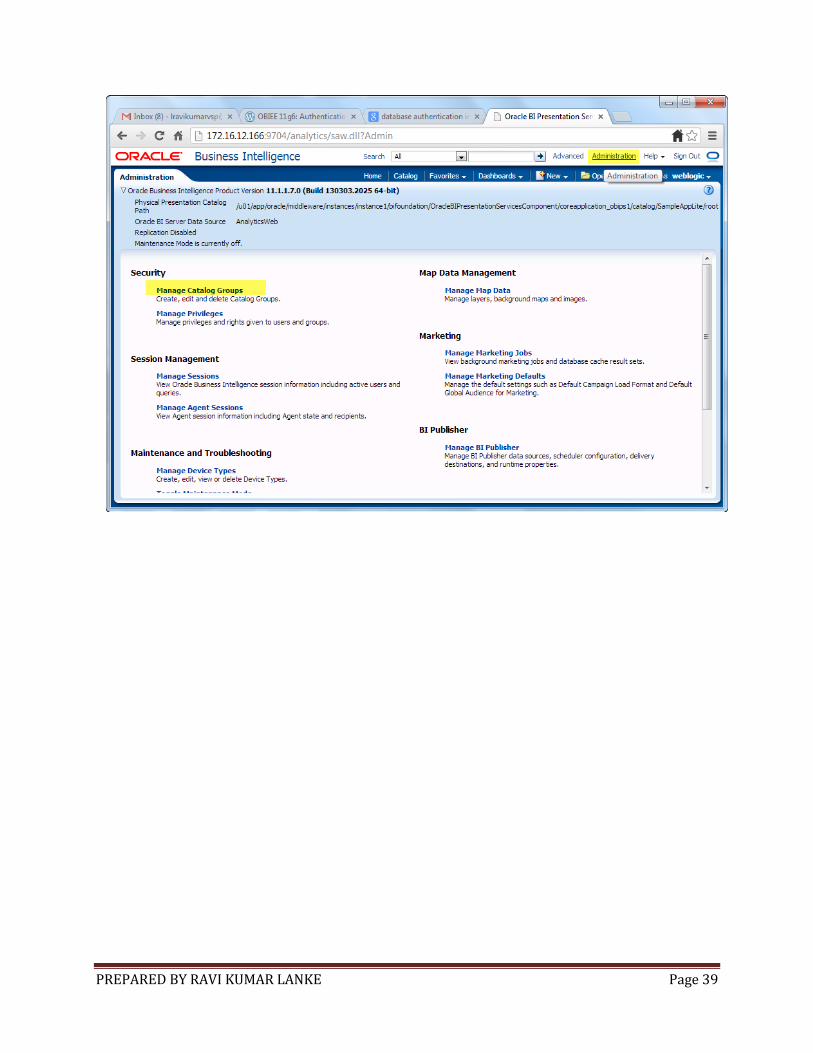
Now go to the URL: http://locahost:9704/analytics and login with the
admin user “weblogic” .
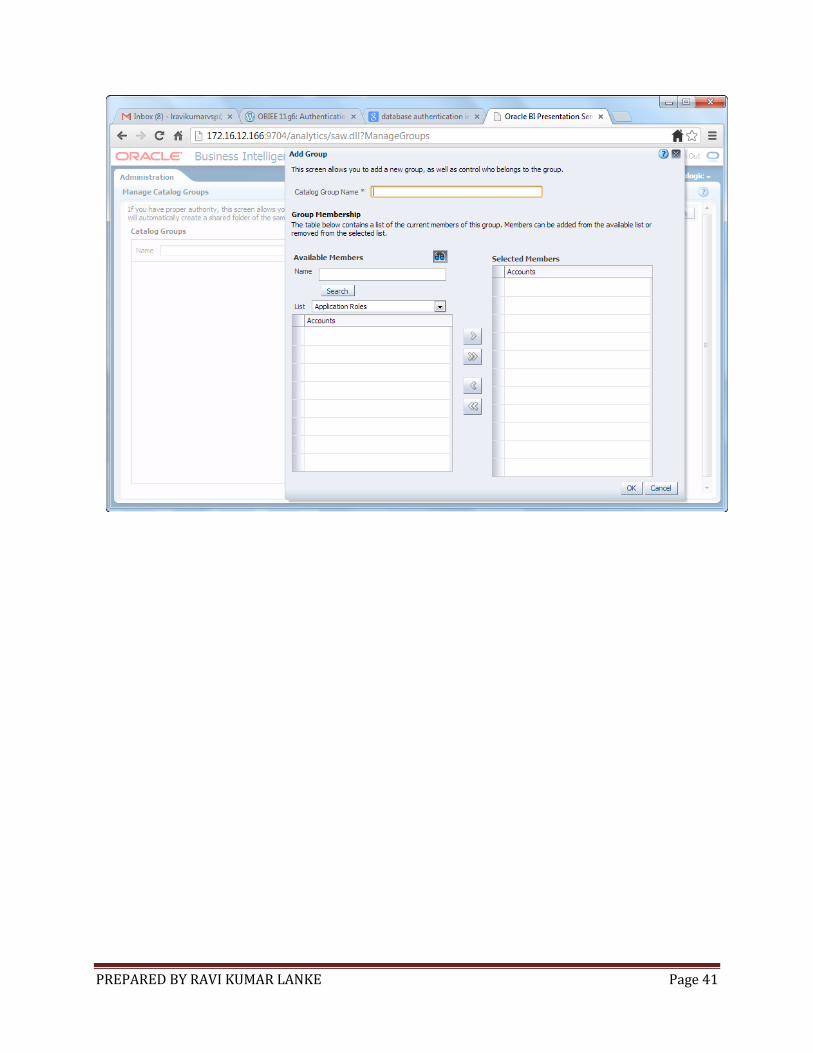
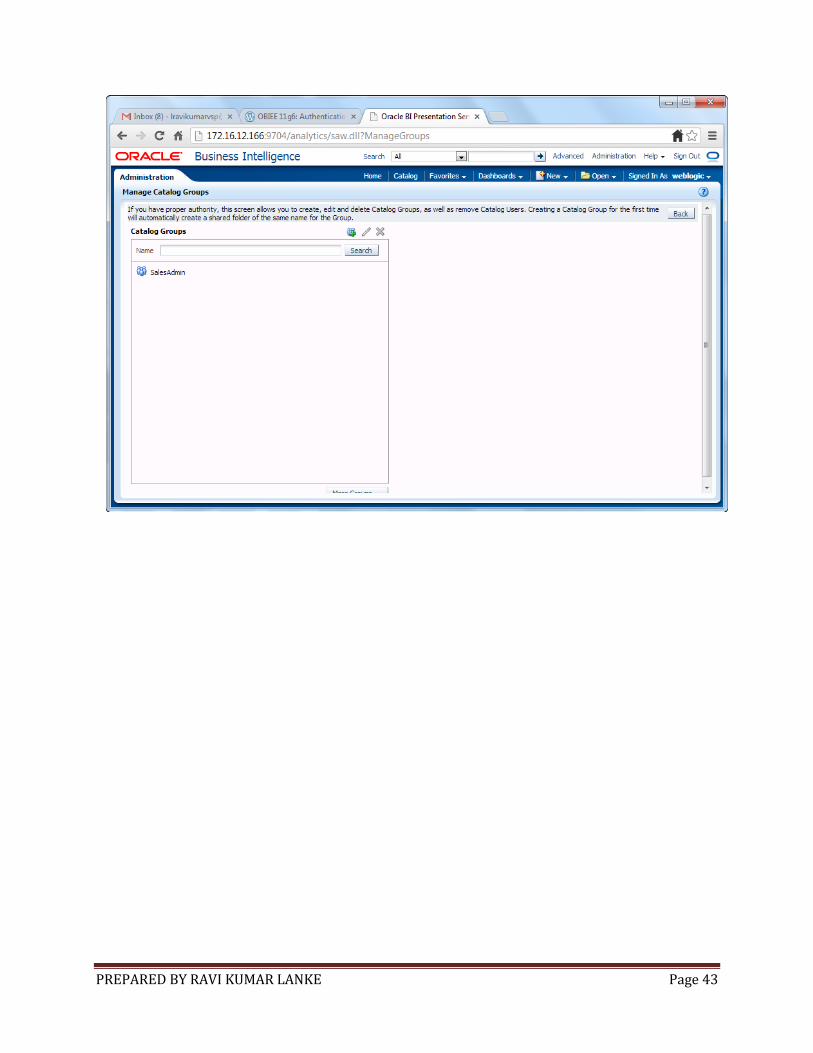
Goto “Administration” on the top menu and under “Security” section
select “Manage Catalog Groups”
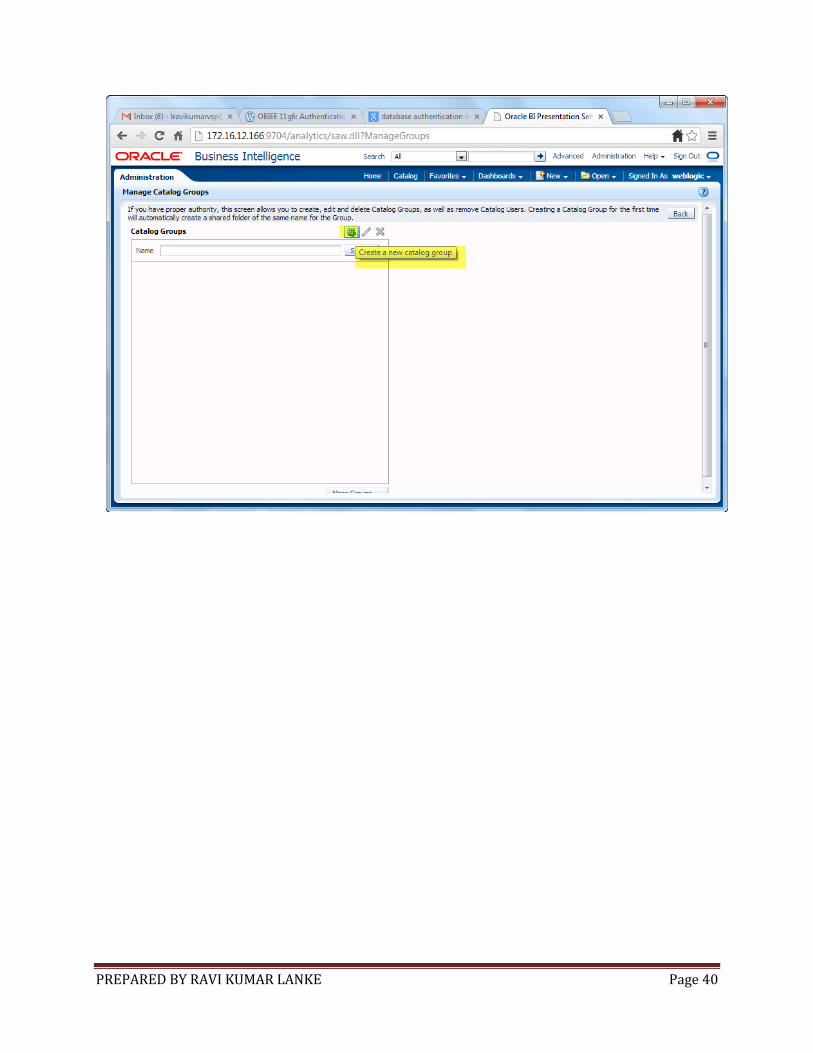
Click the “+” icon with “Create a new catalog group” tooltip.

PREPARED BY RAVI KUMAR LANKE Page 38
PREPARED BY RAVI KUMAR LANKE Page 39
PREPARED BY RAVI KUMAR LANKE Page 40
PREPARED BY RAVI KUMAR LANKE Page 41

PREPARED BY RAVI KUMAR LANKE Page 42
PREPARED BY RAVI KUMAR LANKE Page 43

PREPARED BY RAVI KUMAR LANKE Page 44
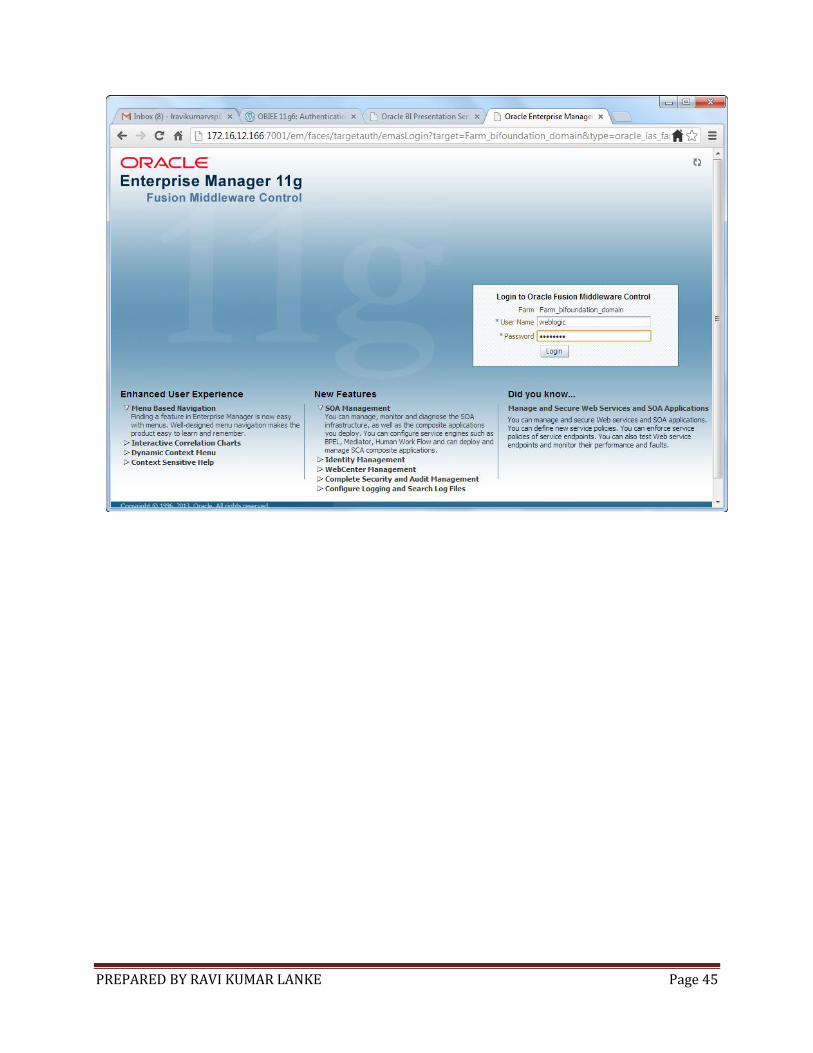
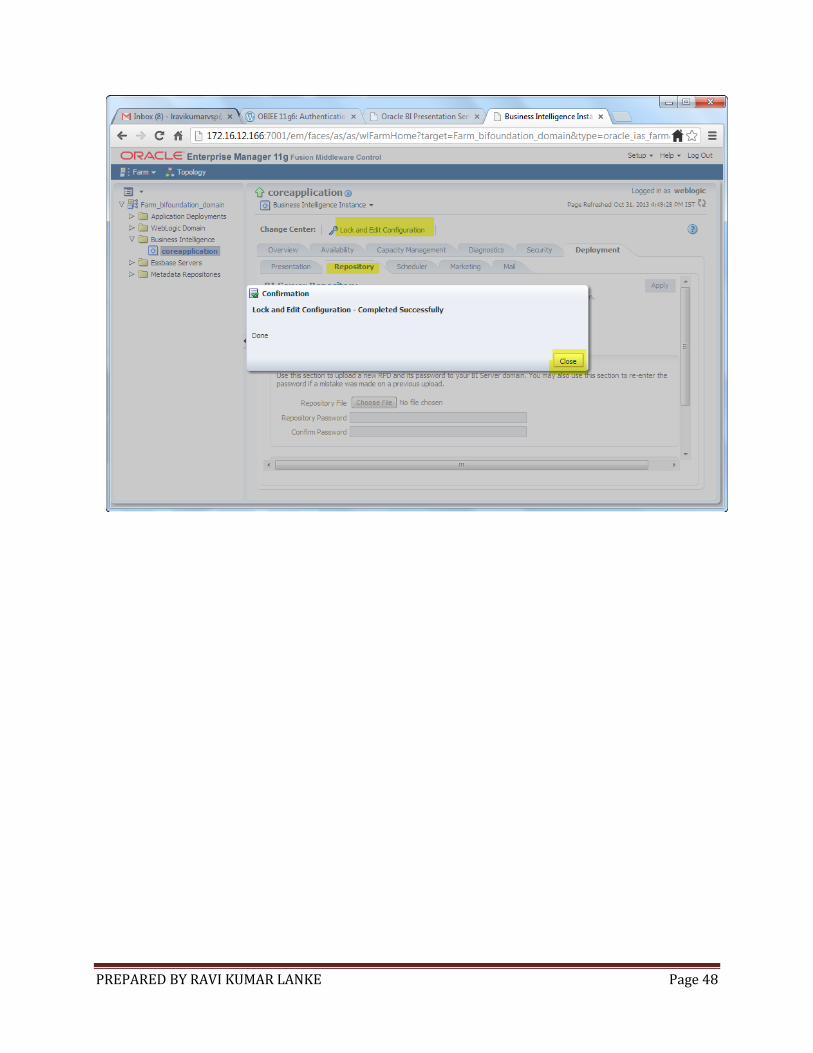
Now goto the URL: http://localhost:7001/em to deploy the latest
SampleAppLite.rpd that we modified above.
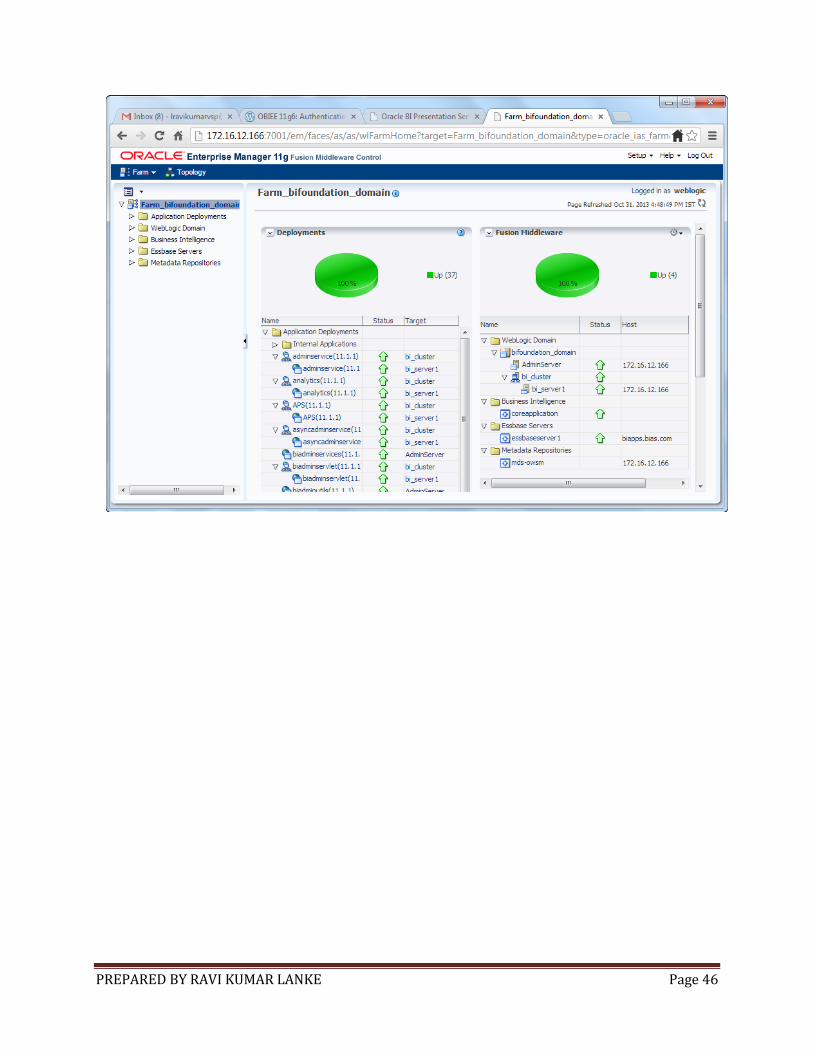
Goto the “Farm_bifoundation_domain” -> “Business Intelligence” ->
“coreapplication” on the left pane.
On the right pane select “Deployment” -> “Repository” tabs.
The click on the “Lock and Edit Configuration” link above the
“Deployment” tab.
Click the “Close” button once the pop-up window appears.
Select the “Browse…” button and goto the location of the
SampleAppLite.rpd file and click on “Open”.
Enter the “Repository Password” and “Confirm Password” entries as
“Admin123″.
Then click the “Apply” button on the top right.
Then click on the “Activate Changes” link.
Click “Close” button one “Activate Changes – Completed Successfully”
show up.
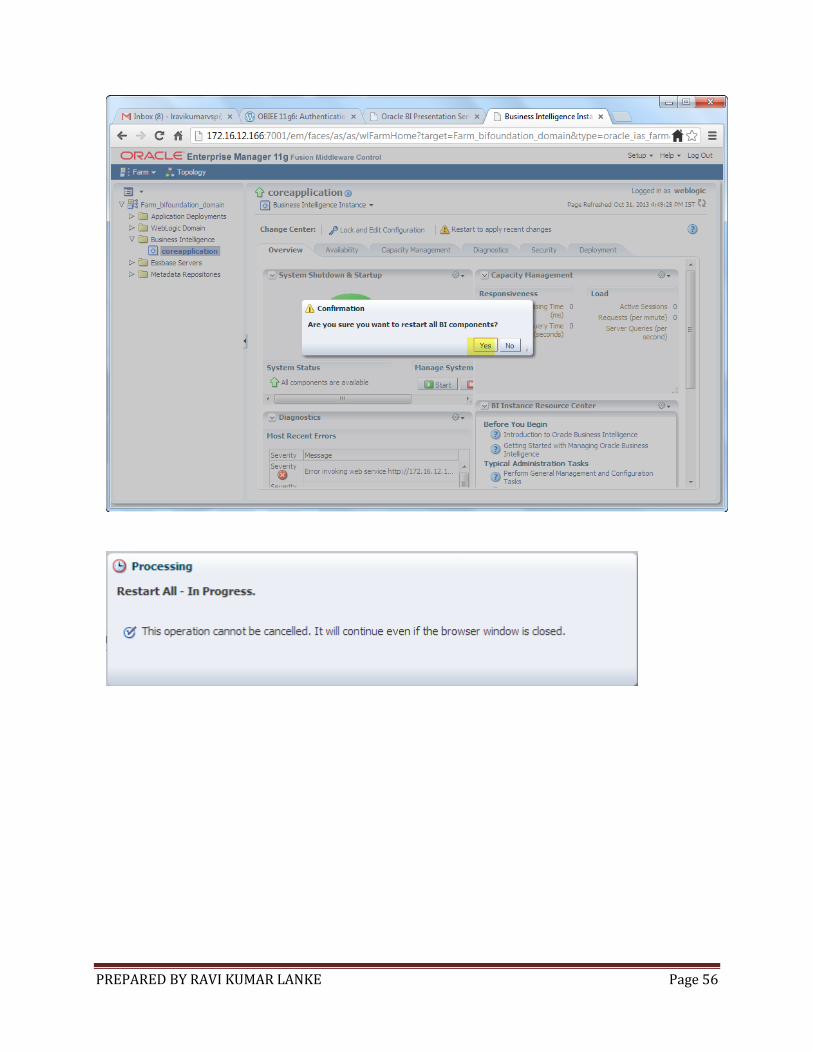
Then click on the “Restart to apply recent changes” link.
After the “Overview” screen show up click on the blue “Restart” button.
Click the “Yes” button when “Are you sure you want to restart all BI
components?” shows up
Click on the “Close” button one the “Restarted Successfully” shows up.
PREPARED BY RAVI KUMAR LANKE Page 45
PREPARED BY RAVI KUMAR LANKE Page 46

PREPARED BY RAVI KUMAR LANKE Page 47
PREPARED BY RAVI KUMAR LANKE Page 48

PREPARED BY RAVI KUMAR LANKE Page 49

PREPARED BY RAVI KUMAR LANKE Page 50

PREPARED BY RAVI KUMAR LANKE Page 51

PREPARED BY RAVI KUMAR LANKE Page 52

PREPARED BY RAVI KUMAR LANKE Page 53

PREPARED BY RAVI KUMAR LANKE Page 54

PREPARED BY RAVI KUMAR LANKE Page 55
PREPARED BY RAVI KUMAR LANKE Page 56

PREPARED BY RAVI KUMAR LANKE Page 57

PREPARED BY RAVI KUMAR LANKE Page 58
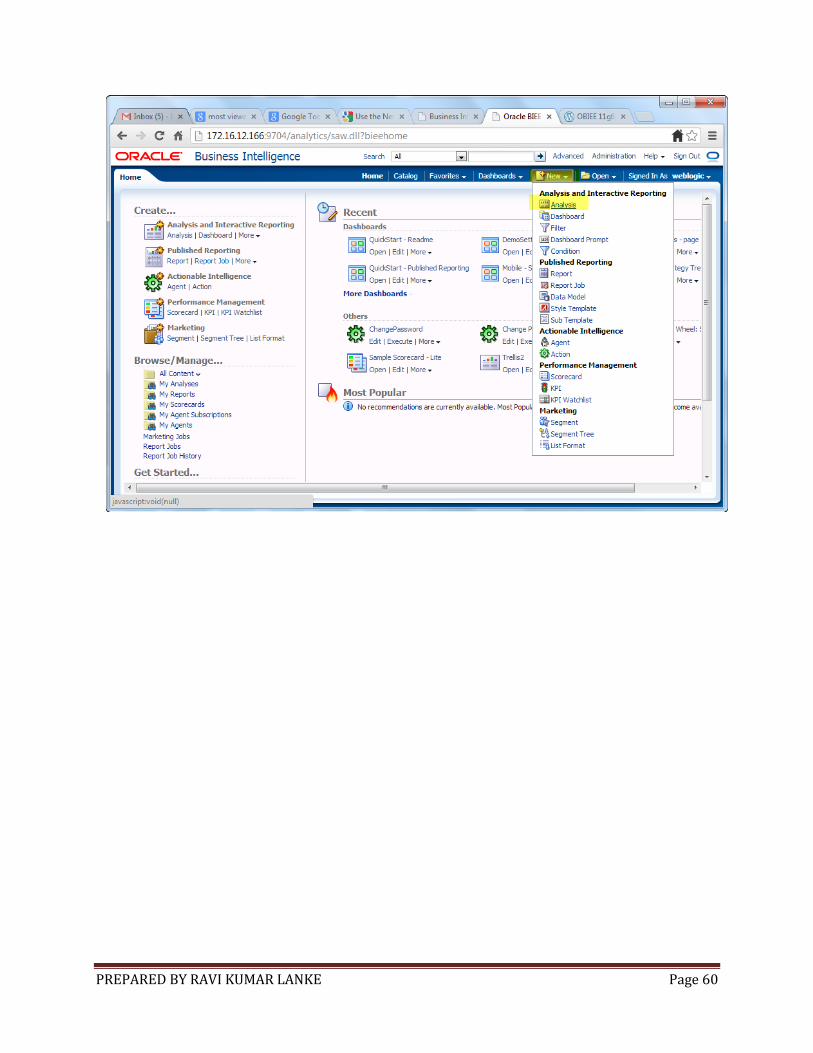
Now we are ready to test the LDAP and External Table authentication.
Goto the URL: http://localhost:9704/analytics and login as adminstrator
user “weblogic”
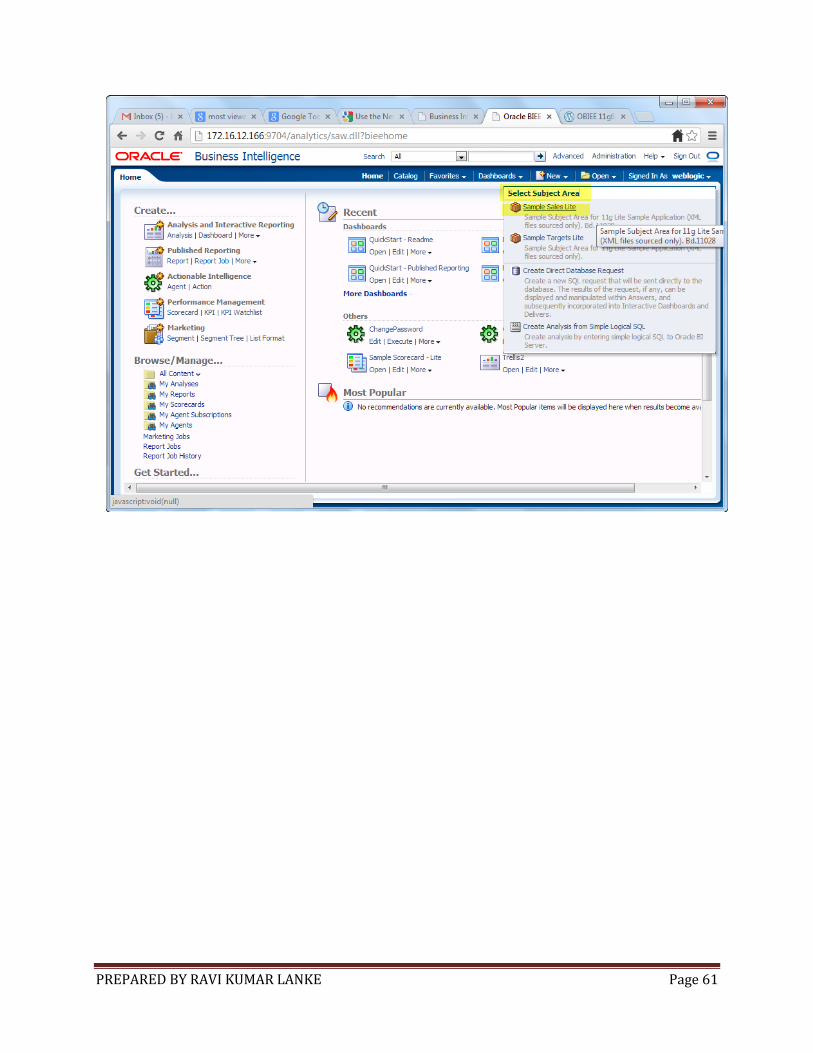
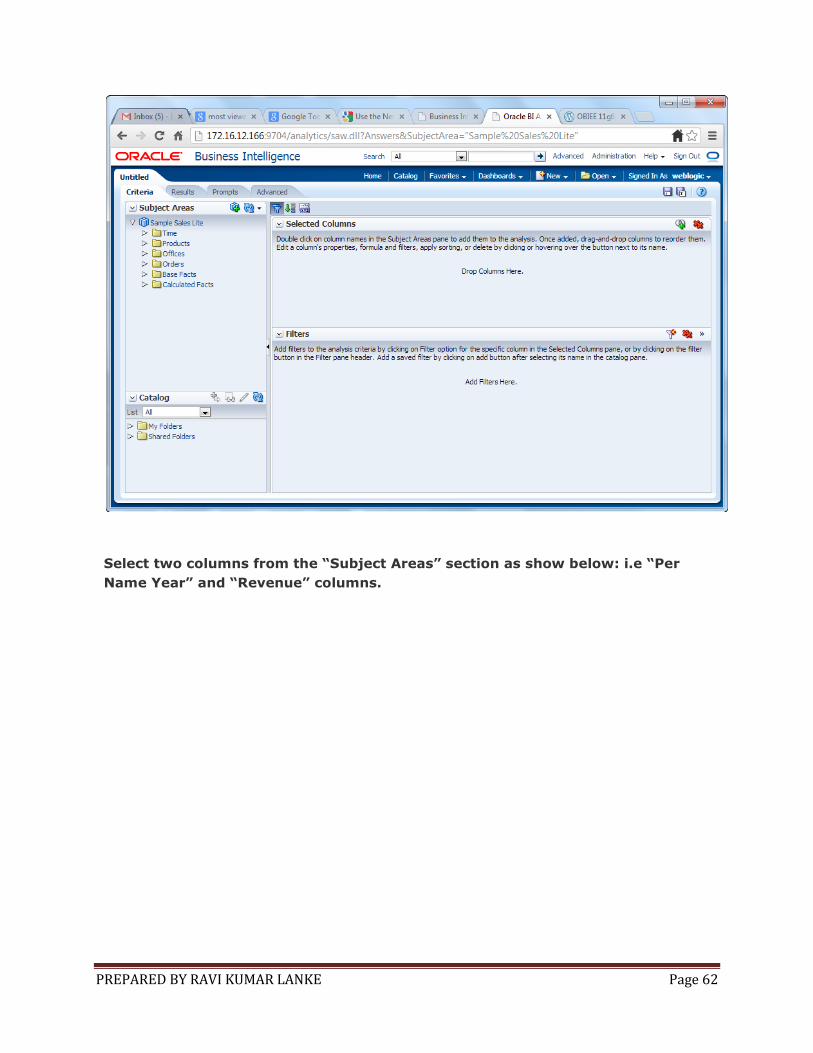
Select “New” -> “Analysis” -> “Sample Sales” in the “Home” section.

PREPARED BY RAVI KUMAR LANKE Page 59
PREPARED BY RAVI KUMAR LANKE Page 60
PREPARED BY RAVI KUMAR LANKE Page 61
PREPARED BY RAVI KUMAR LANKE Page 62
Select two columns from the “Subject Areas” section as show below: i.e “Per
Name Year” and “Revenue” columns.

PREPARED BY RAVI KUMAR LANKE Page 63
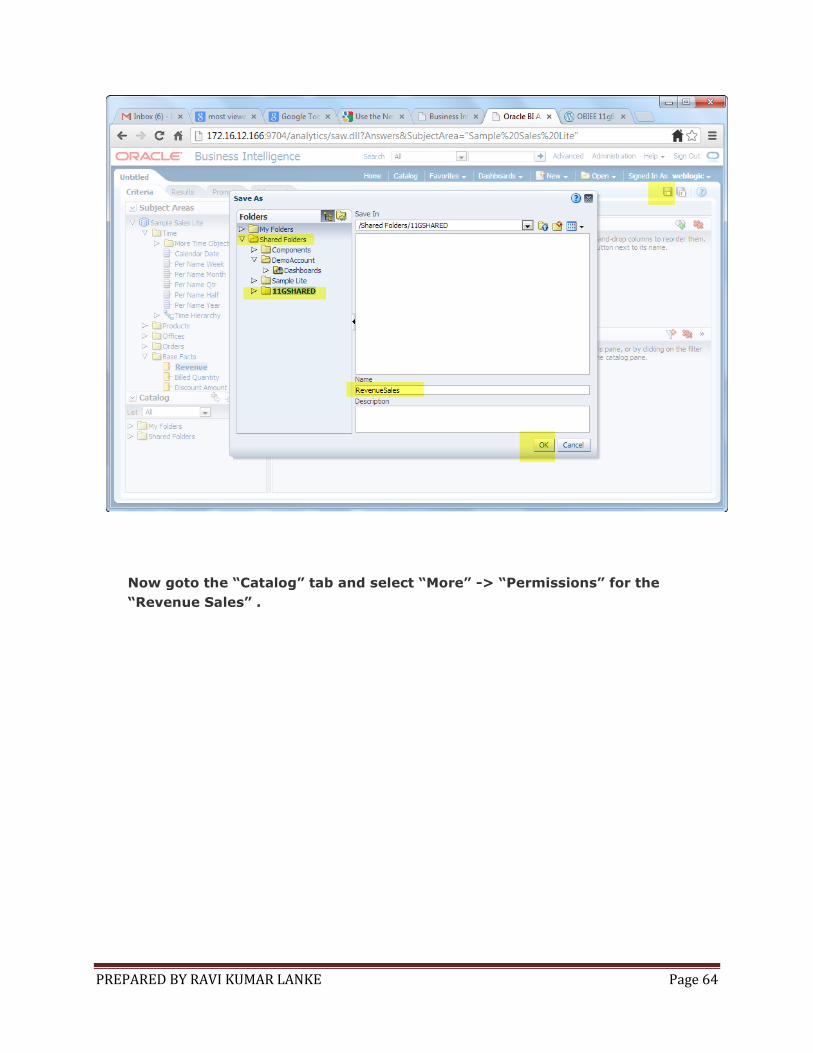
Click on the “Save Analysis” icon and browse to “Shared Folders” -> “11g
Shared” (if not there you can create one”
Enter “Revenue Sales” for the “Name” Field and click the “OK” button.
PREPARED BY RAVI KUMAR LANKE Page 64
Now goto the “Catalog” tab and select “More” -> “Permissions” for the
“Revenue Sales” .

PREPARED BY RAVI KUMAR LANKE Page 65
On the “Permission” window select the “BI Consumer Role” and click the
” X ” icon to delete that permission.
Click on the ” + ” icon to add a new permission.
On the “Add Application Roles, Catalog Groups and Users” window select
“Catalog Groups” for the “List” field and click the “Search” button.
Select the “SalesRep” on the left side and click the blue ” > ” icon to move
it to “Selected Members” on the right side as show below:
Click the “OK” button.

PREPARED BY RAVI KUMAR LANKE Page 66

PREPARED BY RAVI KUMAR LANKE Page 67

PREPARED BY RAVI KUMAR LANKE Page 68
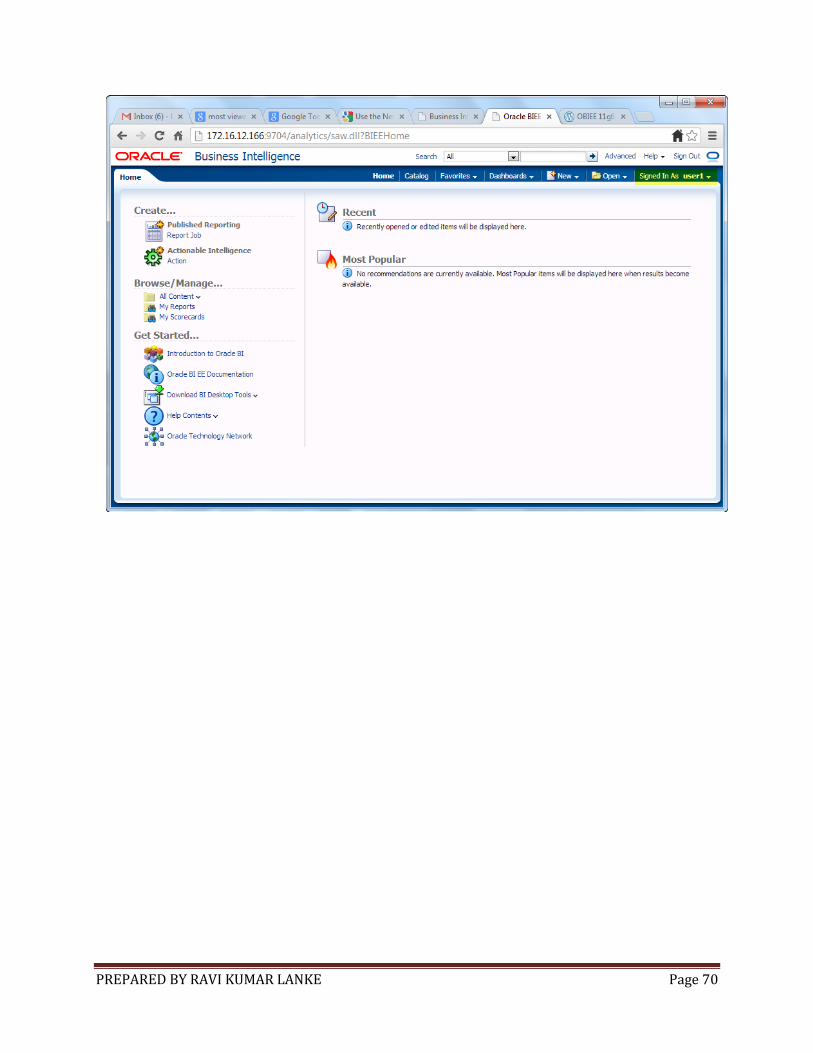
Now “Sign Out” as the “weblogic” user and login giving “User ID” and
“Password” as “USER1” and “USER1” respectively.
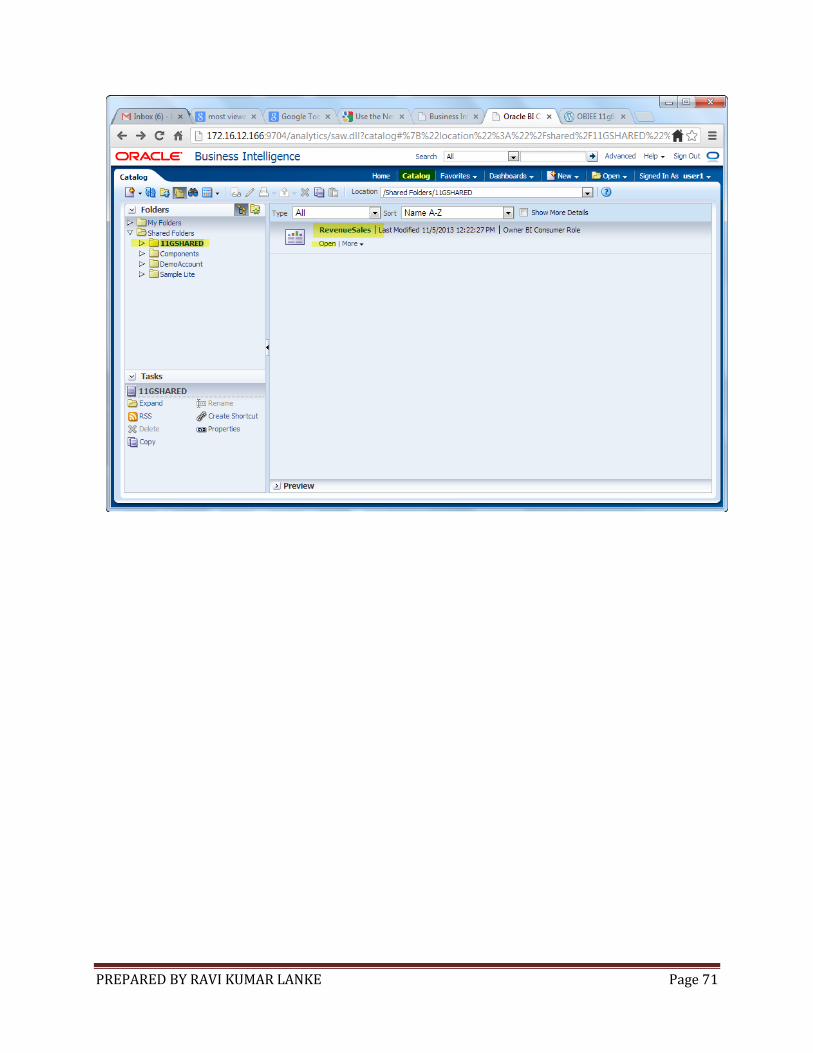
Click the “Catalog” tab browse to “Shared Folders” -> “11GSHARED”
folder.
On the Right click “Open” on the “Revenue Sales”.

PREPARED BY RAVI KUMAR LANKE Page 69
PREPARED BY RAVI KUMAR LANKE Page 70
PREPARED BY RAVI KUMAR LANKE Page 71

PREPARED BY RAVI KUMAR LANKE Page 72