CS2984: Introduction to Media Computation Using Loops for Pictures Conditionals Copying images.
52
CS2984: Introduction to Media Computation Using Loops for Pictures Conditionals Copying images
-
Upload
arthur-west -
Category
Documents
-
view
215 -
download
1
Transcript of CS2984: Introduction to Media Computation Using Loops for Pictures Conditionals Copying images.
CS2984:Introduction to Media Computation
Using Loops for Pictures
Conditionals
Copying images

Creating a negative
Let’s think it through R, G, B go from 0 to 255 Let’s say Red is 10. That’s very light red.
What’s the opposite? LOTS of Red! The negative of that would be 245: 255-10
So, for each pixel, if we negate each color component in creating a new color, we negate the whole picture.
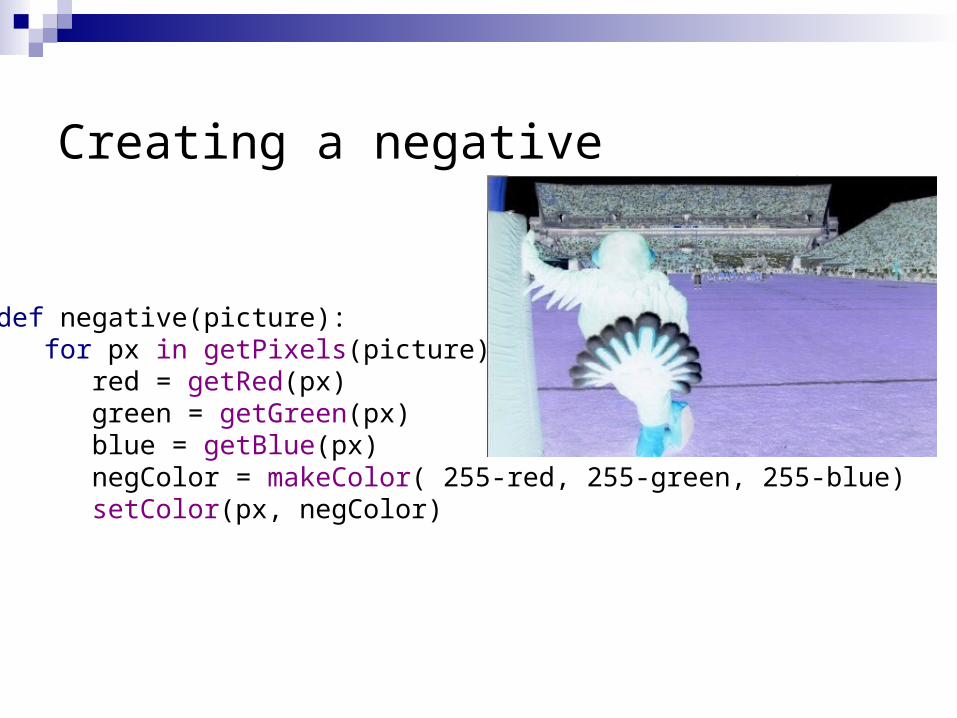
Creating a negative
def negative(picture): for px in getPixels(picture): red = getRed(px) green = getGreen(px) blue = getBlue(px) negColor = makeColor( 255-red, 255-green, 255-blue) setColor(px, negColor)

Original, negative, double negative
(This gives us a quick way to test our function:Call it twice and see if the result is equivalentto the original)

Converting to grayscale
We know that if red=green=blue, we get gray But what value do we set all three to?
What we need is a value representing the darkness of the color, the luminance
There are many ways, but one way that works reasonably well is dirt simple—simply take the average:
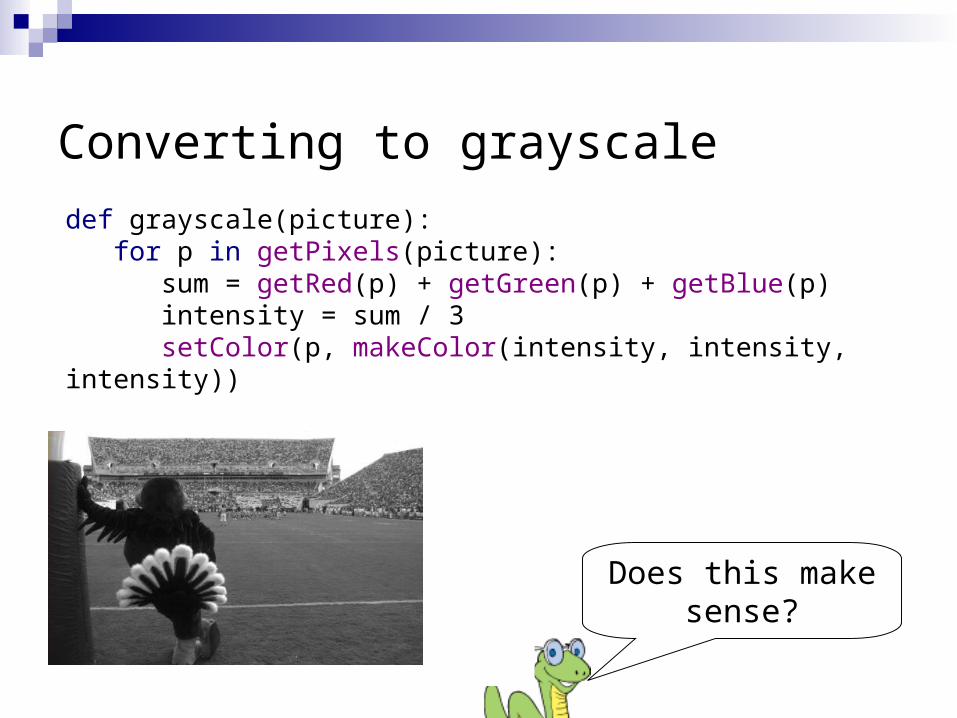
Converting to grayscale
def grayscale(picture): for p in getPixels(picture): sum = getRed(p) + getGreen(p) + getBlue(p) intensity = sum / 3 setColor(p, makeColor(intensity, intensity, intensity))
Does this makesense?

Why can’t we get back again?
Converting to grayscale is different from computing a negative. A negative transformation retains information.
With grayscale, we’ve lost information We no longer know what the ratios are between the
reds, the greens, and the blues We no longer know any particular value.
Media compressions are one kind of transformation. Some are lossless (like negative);Others are lossy (like grayscale)

But that’s not really the best grayscale
In reality, we don’t perceive red, green, and blue as equal in their amount of luminance: How bright (or non-bright) something is. We tend to see blue as “darker” and red as “brighter” Even if, physically, the same amount of light is coming
off of each
Photoshop’s grayscale is very nice: Very similar to the way that our eye sees it B&W TV’s are also pretty good
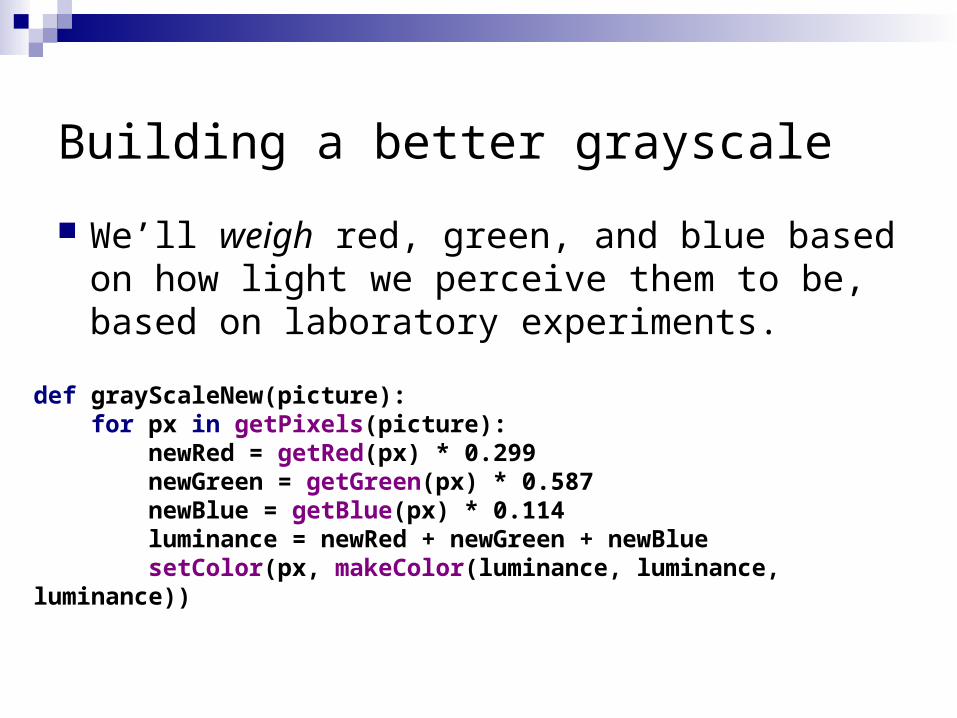
Building a better grayscale
We’ll weigh red, green, and blue based on how light we perceive them to be, based on laboratory experiments.
def grayScaleNew(picture): for px in getPixels(picture): newRed = getRed(px) * 0.299 newGreen = getGreen(px) * 0.587 newBlue = getBlue(px) * 0.114 luminance = newRed + newGreen + newBlue setColor(px, makeColor(luminance, luminance, luminance))

Let’s try making Barbara a redhead!
We could just try increasing the redness, but as we’ve seen, that has problems. Overriding some red spots And that’s more than just her hair
If only we could increase the redness only of the brown areas of Barb’s head…

Treating pixels differently
We can use the if statement to treat some pixels differently.
For example, color replacement: Turning Barbara into a redhead Use the MediaTools to find the RGB values for the brown
of Barbara’s hair Then look for pixels that are close to that color (within a
threshold), and increase by 50% the redness in those
Find the RGB ofthe brown color
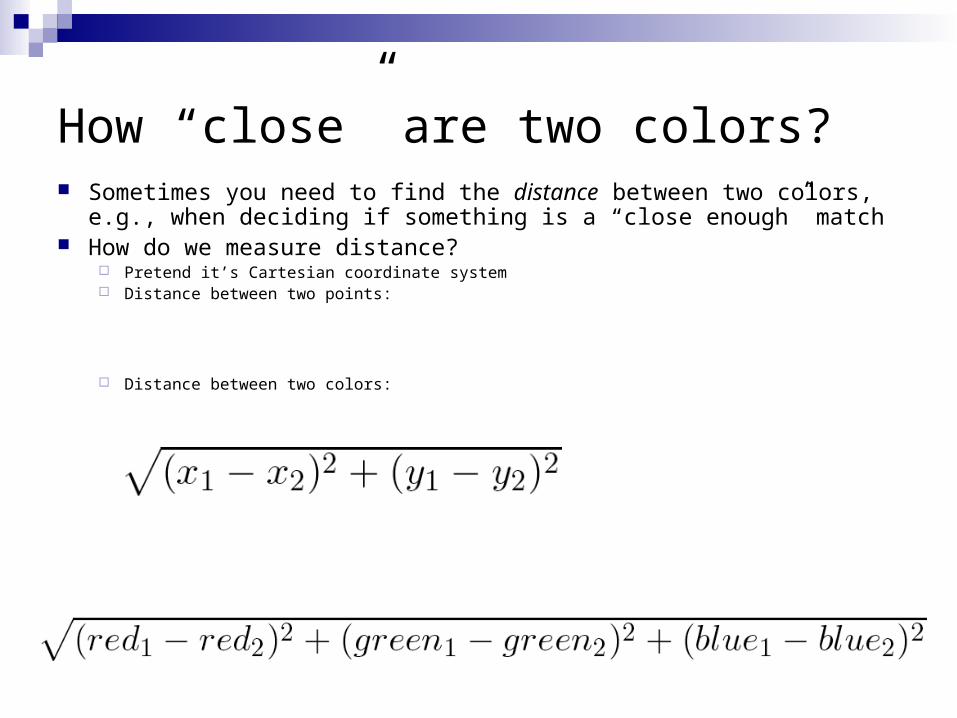
How “close” are two colors? Sometimes you need to find the distance between two colors, e.g., when
deciding if something is a “close enough” match How do we measure distance?
Pretend it’s Cartesian coordinate system Distance between two points:
Distance between two colors:
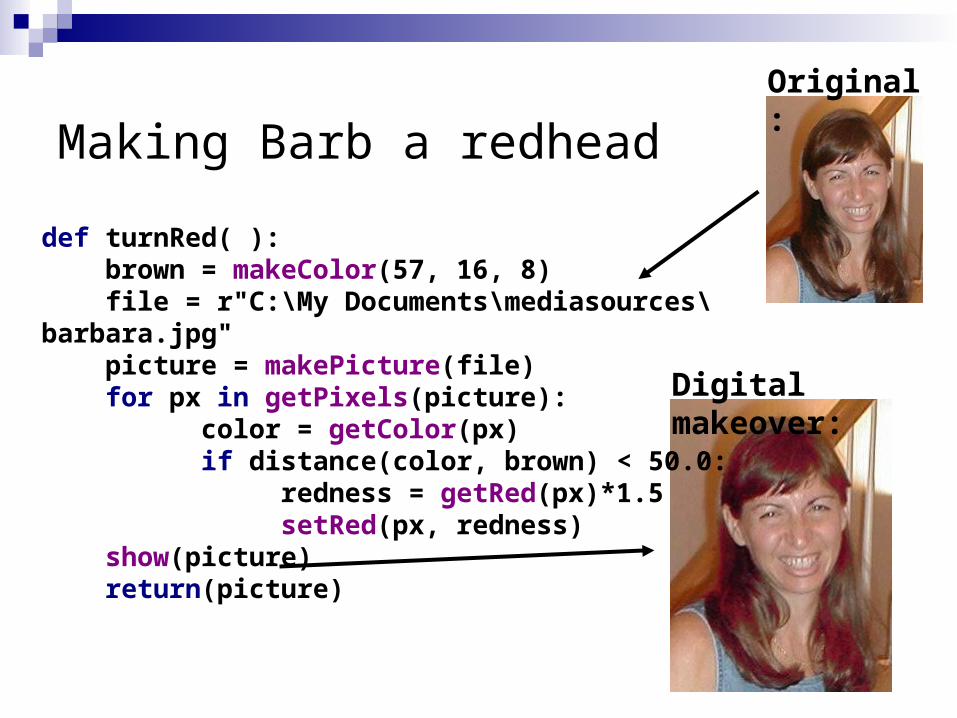
Making Barb a redhead
def turnRed( ): brown = makeColor(57, 16, 8) file = r"C:\My Documents\mediasources\barbara.jpg" picture = makePicture(file) for px in getPixels(picture): color = getColor(px) if distance(color, brown) < 50.0: redness = getRed(px)*1.5 setRed(px, redness) show(picture) return(picture)
Original:
Digital makeover:

Talking through the program slowly Why aren’t we taking any input? Don’t want any: Recipe is specific to
this one picture. The brown is the brownness that figured out from MediaTools The file is where the picture of Barbara is on the computer We need the picture to work with
def turnRed( ): brown = makeColor(57, 16, 8) file = r"C:\My Documents\mediasources\barbara.jpg" picture = makePicture(file) for px in getPixels(picture): color = getColor(px) if distance(color, brown) < 50.0: redness = getRed(px)*1.5 setRed(px, redness) show(picture) return(picture)
def turnRed( ): brown = makeColor(57, 16, 8) file = r"C:\My Documents\mediasources\barbara.jpg" picture = makePicture(file) for px in getPixels(picture): color = getColor(px) if distance(color, brown) < 50.0: redness=getRed(px)*1.5 setRed(px, redness) show(picture) return(picture)
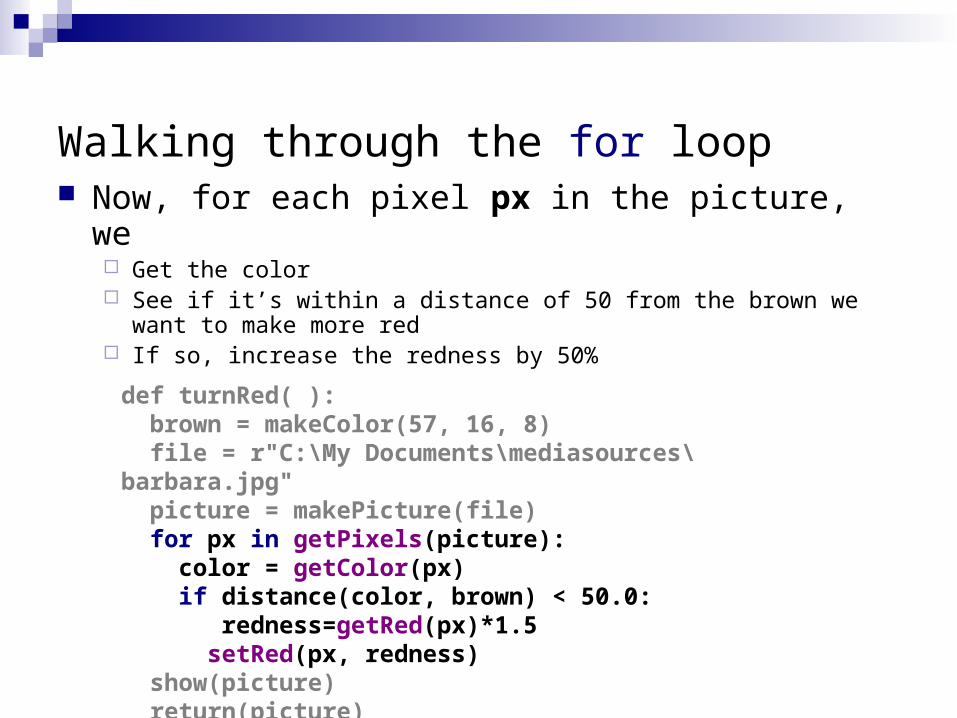
Walking through the for loop Now, for each pixel px in the picture, we
Get the color See if it’s within a distance of 50 from the brown we want to
make more red If so, increase the redness by 50%
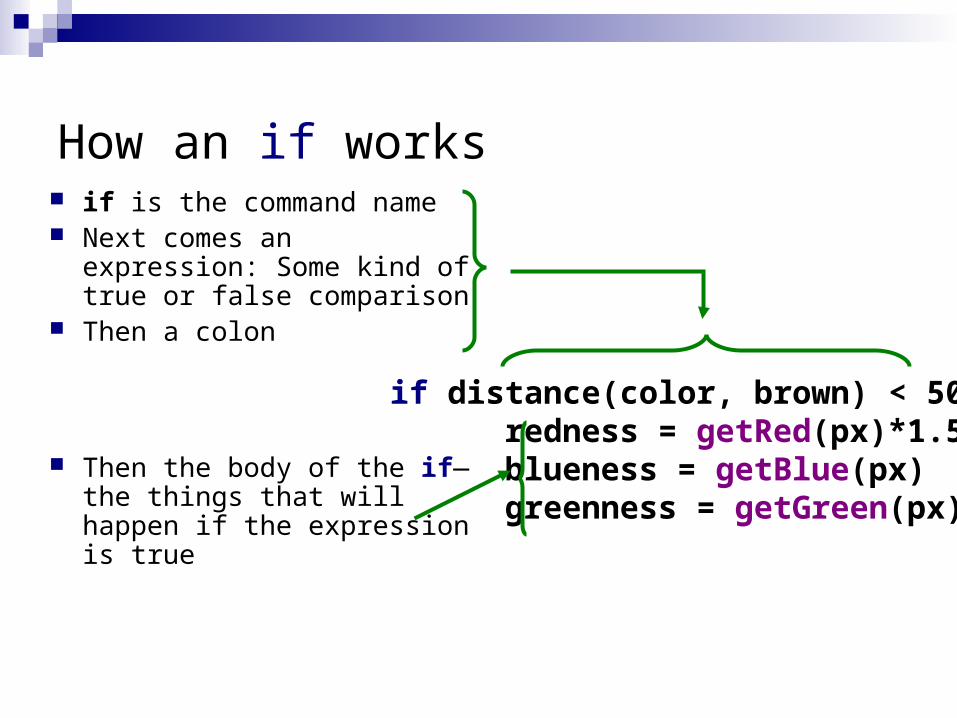
How an if works if is the command name Next comes an expression:
Some kind of true or false comparison
Then a colon
Then the body of the if—the things that will happen if the expression is true
if distance(color, brown) < 50.0: redness = getRed(px)*1.5 blueness = getBlue(px) greenness = getGreen(px)

Expressions
Can test equality with == Can also test <, >, >=, <=, <> (not equals) In general, 0 is false, 1 is true
So you can have a function return a “true” or “false” value.
Bug alert!
= means “make them equal!”== means “are they equal?”
if distance(color, brown) < 50.0: redness = getRed(px)*1.5 setRed(px, redness) show(picture) return(picture)
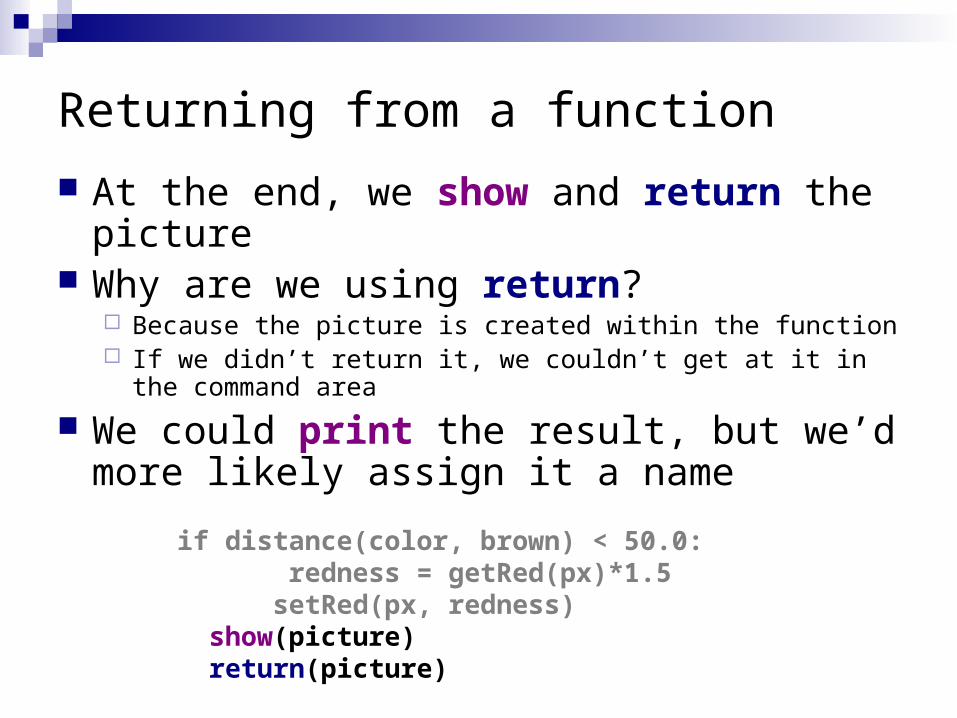
Returning from a function
At the end, we show and return the picture Why are we using return?
Because the picture is created within the function If we didn’t return it, we couldn’t get at it in the
command area
We could print the result, but we’d more likely assign it a name

Things to change
Lower the threshold to get more pixels But if it’s too low, you start messing with the wood
behind her
Increase the amount of redness But if you go too high, you can go beyond the range of
valid color intensities (i.e. more than 255)

Replacing colors using if We don’t have to do one-to-one changes or
replacements of color We can use if to decide if we want to make a
change. We could look for a range of colors, or one specific color. We could use an operation (like multiplication) to set the
new color, or we can set it to a specific value.
It all depends on the effect that we want.
Experiment!
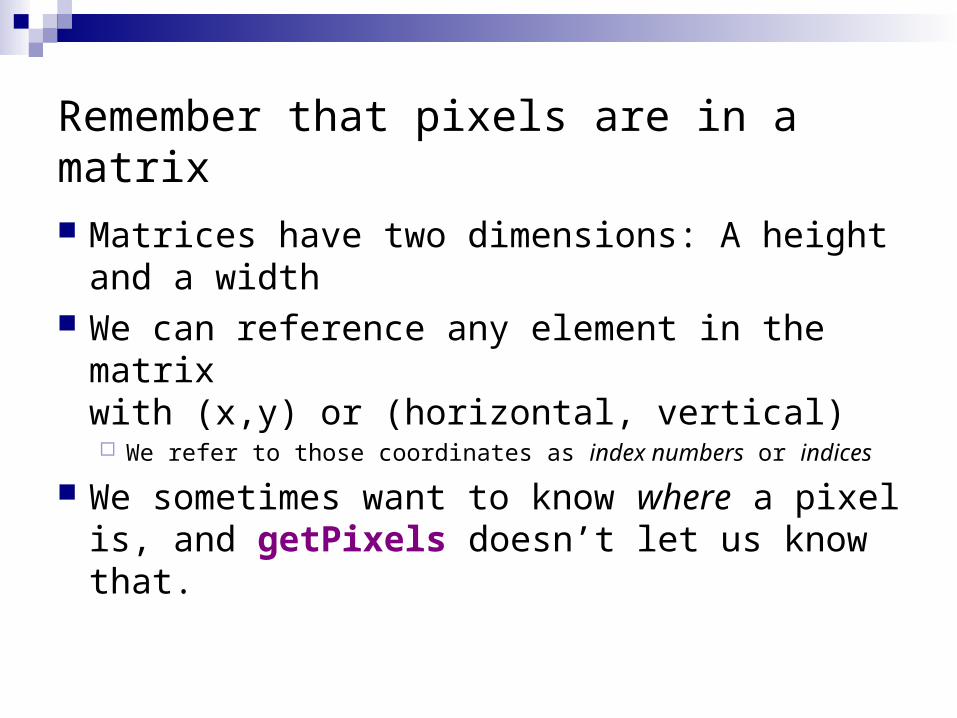
Remember that pixels are in a matrix
Matrices have two dimensions: A height and a width
We can reference any element in the matrix with (x,y) or (horizontal, vertical) We refer to those coordinates as index numbers or
indices
We sometimes want to know where a pixel is, and getPixels doesn’t let us know that.

Tuning our color replacement
If you want to get more of Barb’s hair, just increasing the threshold doesn’t work Wood behind becomes within the threshold value
How could we do it better? Lower our threshold, but then miss some of the hair Work only within a range…

Introducing the function range
Range returns a sequence between its first two inputs, possibly using a third input as the increment
>>> print range(1, 4)[1, 2, 3]>>> print range(-1, 3)[-1, 0, 1, 2]>>> print range(1, 10, 2)[1, 3, 5, 7, 9]
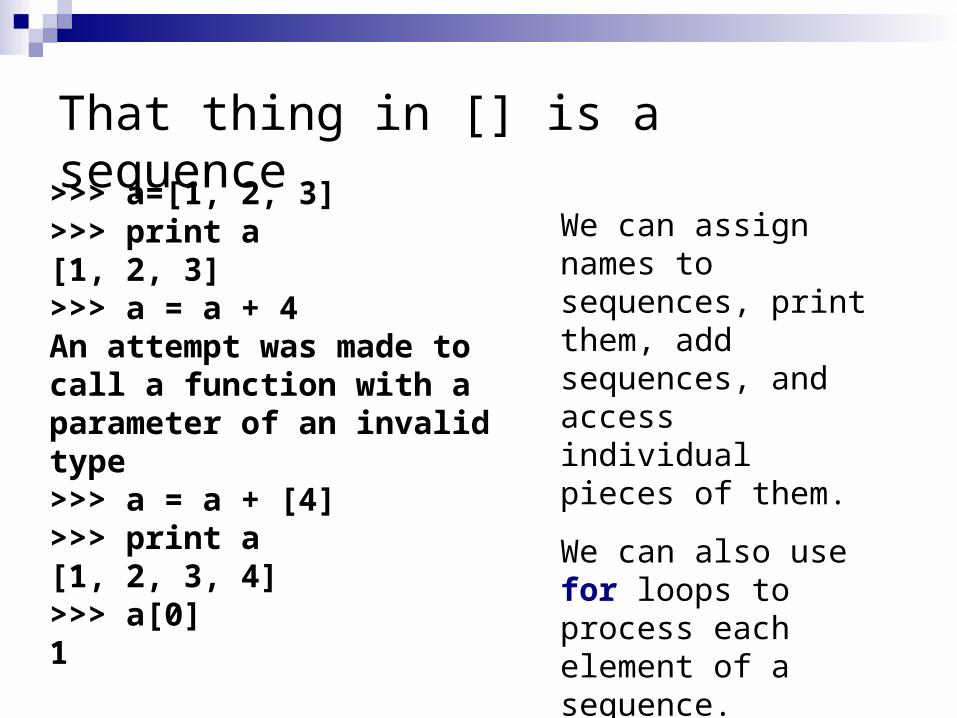
That thing in [] is a sequence>>> a=[1, 2, 3]>>> print a[1, 2, 3]>>> a = a + 4An attempt was made to call a function with a parameter of an invalid type>>> a = a + [4]>>> print a[1, 2, 3, 4]>>> a[0]1
We can assign names to sequences, print them, add sequences, and access individual pieces of them.
We can also use for loops to process each element of a sequence.
We can use range to generate index numbers
We’ll do this by working the range from 1 to the height, and 1 to the width
But we’ll need more than one loop. Each for loop can only change one variable,
and we need two for a matrix
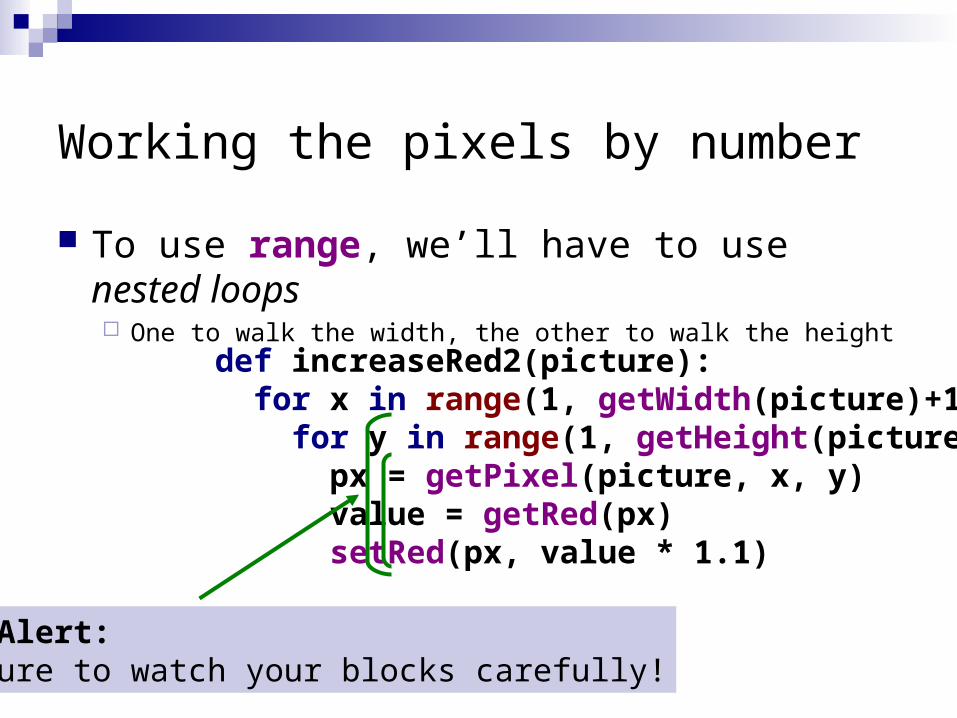
Working the pixels by number
To use range, we’ll have to use nested loops One to walk the width, the other to walk the height
def increaseRed2(picture): for x in range(1, getWidth(picture)+1): for y in range(1, getHeight(picture)+1): px = getPixel(picture, x, y) value = getRed(px) setRed(px, value * 1.1)
Bug Alert:Be sure to watch your blocks carefully!

What’s going on here?
def increaseRed2(picture): for x in range(1, getWidth(picture)): for y in range(1, getHeight(picture)): px = getPixel(picture, x, y) value = getRed(px) setRed(px, value * 1.1)
The first time through the first loop, x is the name for 1.
We’ll be processing the first column of pixels in the picture.

Now, the inner loop
Next, we set y to 1. We’re now going to process each of the pixels in column 1.
def increaseRed2(picture): for x in range(1, getWidth(picture)): for y in range(1, getHeight(picture)): px = getPixel(picture, x, y) value = getRed(px) setRed(px, value * 1.1)

Process a pixel
With x = 1 and y = 1, we get the leftmost pixel and increase its red by 10%
def increaseRed2(picture): for x in range(1, getWidth(picture)): for y in range(1, getHeight(picture)): px = getPixel(picture, x, y) value = getRed(px) setRed(px, value * 1.1)

Next pixel
Next we set y to 2 (next value in the sequence range(1,getHeight(picture))
def increaseRed2(picture): for x in range(1, getWidth(picture)): for y in range(1, getHeight(picture)): px = getPixel(picture, x, y) value = getRed(px) setRed(px, value * 1.1)
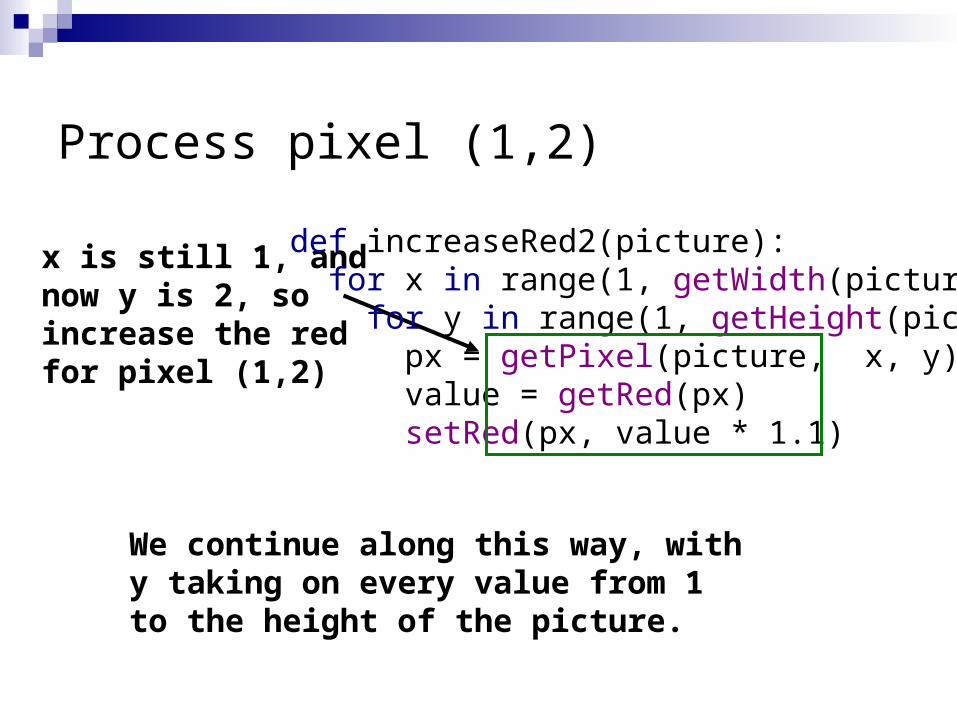
Process pixel (1,2)
x is still 1, and now y is 2, so increase the red for pixel (1,2)
We continue along this way, with y taking on every value from 1 to the height of the picture.
def increaseRed2(picture): for x in range(1, getWidth(picture)): for y in range(1, getHeight(picture)): px = getPixel(picture, x, y) value = getRed(px) setRed(px, value * 1.1)

Finally, next column
Now that we’re done with the loop for y, we get back to the for loop for x.
x now takes on the value 2, and we go back to the y loop to process all the pixels in the column x=2.
def increaseRed2(picture): for x in range(1, getWidth(picture)): for y in range(1, getHeight(picture)): px = getPixel(picture, x, y) value = getRed(px) setRed(px, value * 1.1)

Replacing colorsin a range
def turnRedInRange(): brown = makeColor(57, 16, 8) file = r"C\Documents\mediasources\barbara.jpg" picture = makePicture(file) for x in range(70, 168): for y in range(56, 190): px = getPixel(picture, x, y) color = getColor(px) if distance(color, brown) < 50.0: redness = getRed(px) * 1.5 setRed(px, redness) show(picture) return(picture)
Get the range using MediaTools

Walking this code Like last time:
Don’t need input parameters same color we want to change same file
make a picture def turnRedInRange(): brown = makeColor(57, 16, 8) file = r"C\Documents\mediasources\barbara.jpg" picture = makePicture(file) for x in range(70, 168): for y in range(56, 190): px = getPixel(picture, x, y) color = getColor(px) if distance(color, brown) < 50.0: redness = getRed(px) * 1.5 setRed(px, redness) show(picture) return(picture)
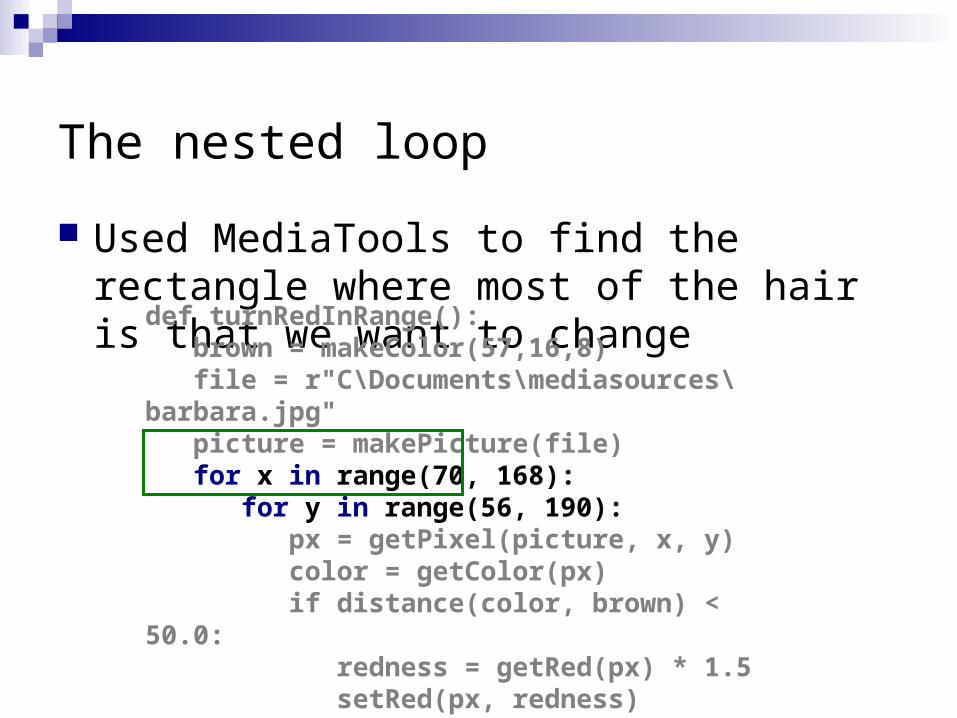
The nested loop
Used MediaTools to find the rectangle where most of the hair is that we want to change
def turnRedInRange(): brown = makeColor(57,16,8) file = r"C\Documents\mediasources\barbara.jpg" picture = makePicture(file) for x in range(70, 168): for y in range(56, 190): px = getPixel(picture, x, y) color = getColor(px) if distance(color, brown) < 50.0: redness = getRed(px) * 1.5 setRed(px, redness) show(picture) return(picture)

Scanning for brown hair
def turnRedInRange(): brown = makeColor(57, 16, 8) file = r"C\Documents\mediasources\barbara.jpg" picture = makePicture(file) for x in range(70, 168): for y in range(56, 190): px = getPixel(picture, x, y) color = getColor(px) if distance(color, brown) < 50.0: redness = getRed(px) * 1.5 setRed(px, redness) show(picture) return(picture)
We’re looking for a close-match on hair color, and increasing the redness
Similar to scanning whole picture
We could raise threshold now.(Why?…)
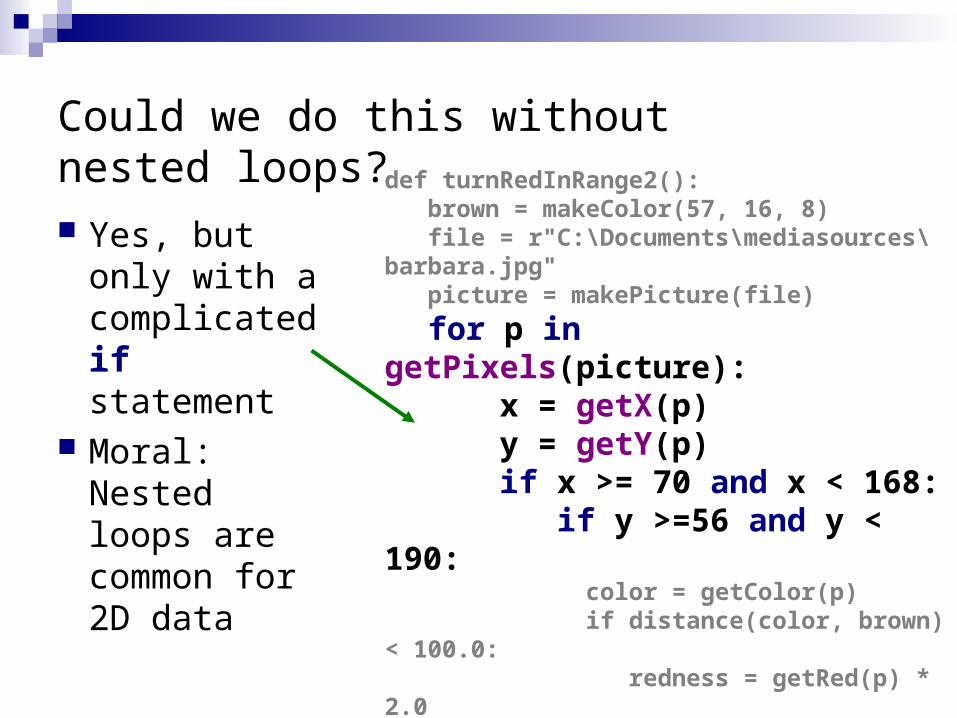
Could we do this without nested loops? Yes, but only
with a complicated if statement
Moral:Nested loops are common for 2D data
def turnRedInRange2(): brown = makeColor(57, 16, 8) file = r"C:\Documents\mediasources\barbara.jpg" picture = makePicture(file)
for p in getPixels(picture): x = getX(p) y = getY(p) if x >= 70 and x < 168: if y >=56 and y < 190: color = getColor(p) if distance(color, brown) < 100.0: redness = getRed(p) * 2.0 setRed(p, redness) show(picture) return picture

Moving pixels across pictures
We’ve seen using index variables to track the pixel position we’re working with in a picture.
We can copy between pictures, if we keep track of: The source index variables
Where we’re getting the pixels from The target index variables
Where we’re putting the pixels at
(Not really copying the pixels: Replicating their color.)

What can you do then?
What can you do when copying from one picture to another? Collages: Copy several pictures onto one Cropping: You don’t have to take the whole picture Scaling: Make a picture smaller, or larger when copying
it
Some Utility Functions
If you know the name of the file, searching for it with pickAFile() feels tedious
You can set and get a media folder (path) for remembering a place where your media will be coming from (or going to) setMediaPath() lets you pick a file in your media folder getMediaPath(basefilename) lets you generate a
complete filename out of only the last part

Example
>>> setMediaPath()New media folder: C:\Documents and Settings\Mark Guzdial\My Documents\mediasources\>>> getMediaPath("barbara.jpg")'C:\\Documents and Settings\\Mark Guzdial\\My Documents\\mediasources\\barbara.jpg'>>> barb=makePicture(getMediaPath("barbara.jpg"))

Blank files in mediasources
getMediaPath(“7inX95in.jpg”) gives you a JPEG canvas which prints out as 7x9.5 inches Letter-sized page with 1 inch margins
getMediaPath(“640x480.jpg”) gives a JPEG canvas at a common size: 640 pixels across by 480 pixels high

Scaling
Scaling a picture (smaller or larger) has to do with sampling the source picture differently When we just copy, we sample every pixel If we want a smaller copy, we skip some pixels
We sample fewer pixels If we want a larger copy, we duplicate some pixels
We over-sample some pixels

Scaling the picture downdef copyBarbsFaceSmaller(): # Set up the source and target pictures barbf=getMediaPath("barbara.jpg") barb = makePicture(barbf) canvasf = getMediaPath("7inX95in.jpg") canvas = makePicture(canvasf) # Now, do the actual copying sourceX = 45 for targetX in range(100,100+((200-45)/2)): sourceY = 25 for targetY in range(100,100+((200-25)/2)): color = getColor(getPixel(barb,sourceX,sourceY)) setColor(getPixel(canvas,targetX,targetY), color) sourceY = sourceY + 2 sourceX = sourceX + 2 show(barb) show(canvas) return canvas

Scaling Up: Growing the picture
To grow a picture, we simply duplicate some pixels
We do this by incrementing by 0.5, but only use the integer part
(Remember our x & y’s must be integer)
>>> print int(1)1>>> print int(1.5)1>>> print int(2)2>>> print int(2.5)2
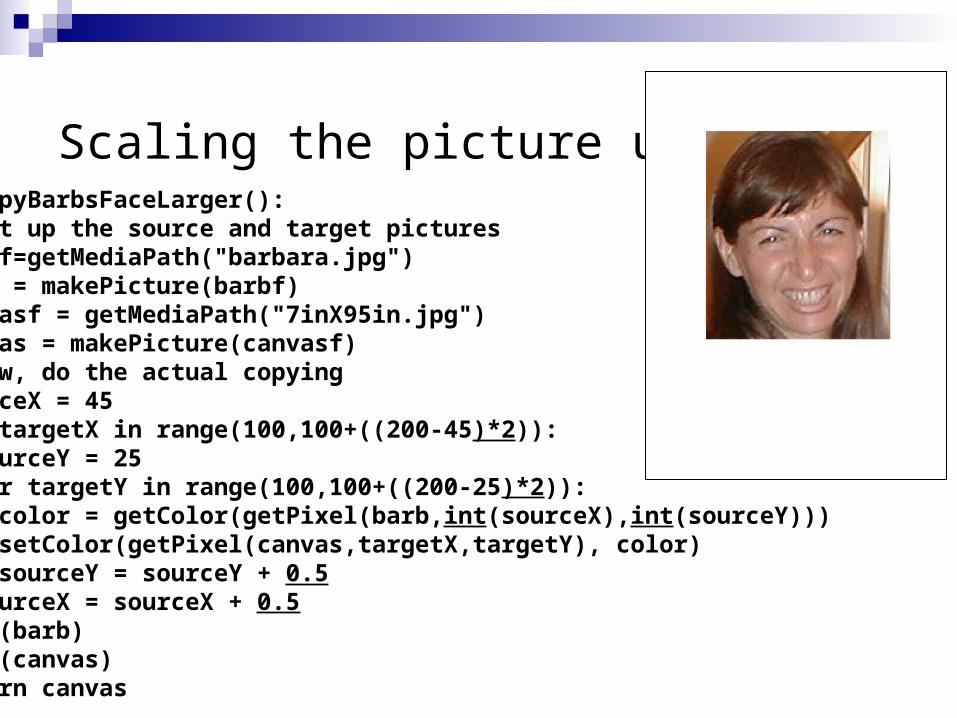
Scaling the picture updef copyBarbsFaceLarger(): # Set up the source and target pictures barbf=getMediaPath("barbara.jpg") barb = makePicture(barbf) canvasf = getMediaPath("7inX95in.jpg") canvas = makePicture(canvasf) # Now, do the actual copying sourceX = 45 for targetX in range(100,100+((200-45)*2)): sourceY = 25 for targetY in range(100,100+((200-25)*2)): color = getColor(getPixel(barb,int(sourceX),int(sourceY))) setColor(getPixel(canvas,targetX,targetY), color) sourceY = sourceY + 0.5 sourceX = sourceX + 0.5 show(barb) show(canvas) return canvas

Scaling up: How it works
Same basic setup as copying and rotating:

Scaling up: How it works 2
But as we increment by only 0.5, and we use the int() function, we end up taking every pixel twice.
Here, the blank pixel at (1,1) in the source gets copied twice onto the canvas.
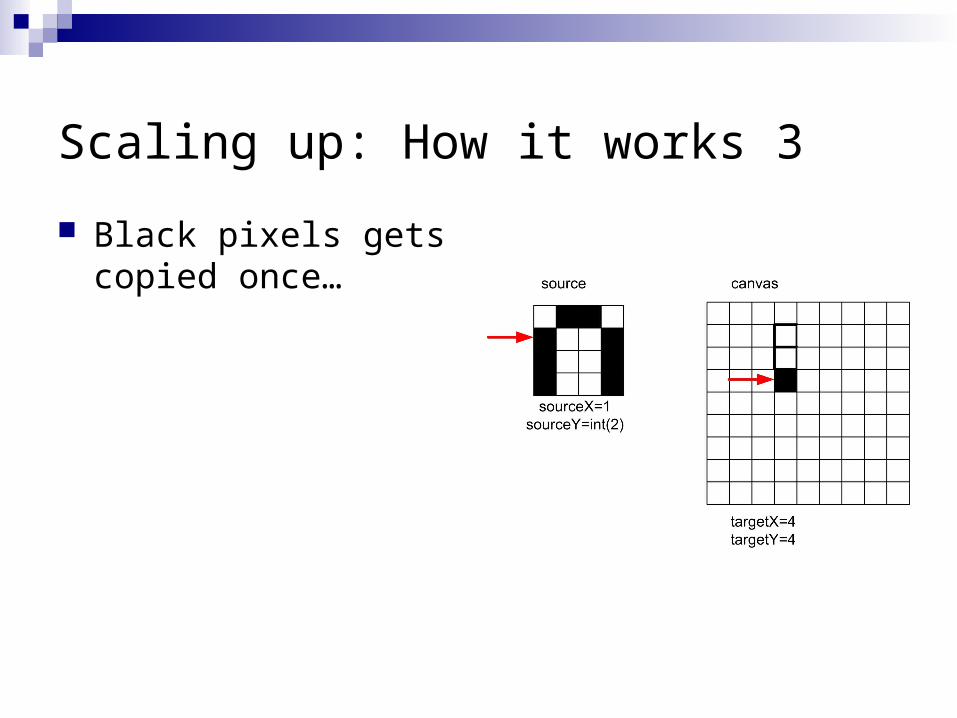
Scaling up: How it works 3
Black pixels gets copied once…
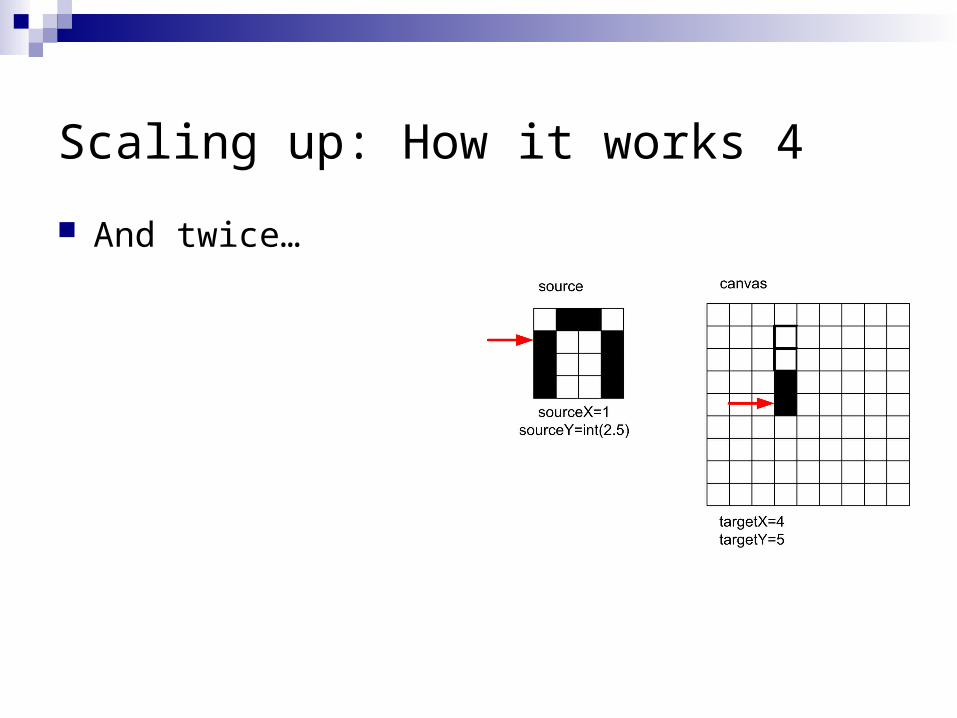
Scaling up: How it works 4
And twice…

Scaling up: How it works 5
The next “column” (x) in the source, is the same “column” (x) in the target.
source canvas
targetX=5targetY=2
sourceX=int(1.5)sourceY=int(1)

Scaling up: How it ends up
We end up in the same place in the source, but twice as much in the target.
Notice the degradation: Curves get “choppy”:
Pixelated
source canvas
targetX=11targetY=9
sourceX=int(4.5)sourceY=int(4.5)