Creating your blog
7
CREATING YOUR BLOG 1. Create a Google Account 2. Copy this information to a WORD Document
-
Upload
mrlawler -
Category
Technology
-
view
4.687 -
download
1
Transcript of Creating your blog
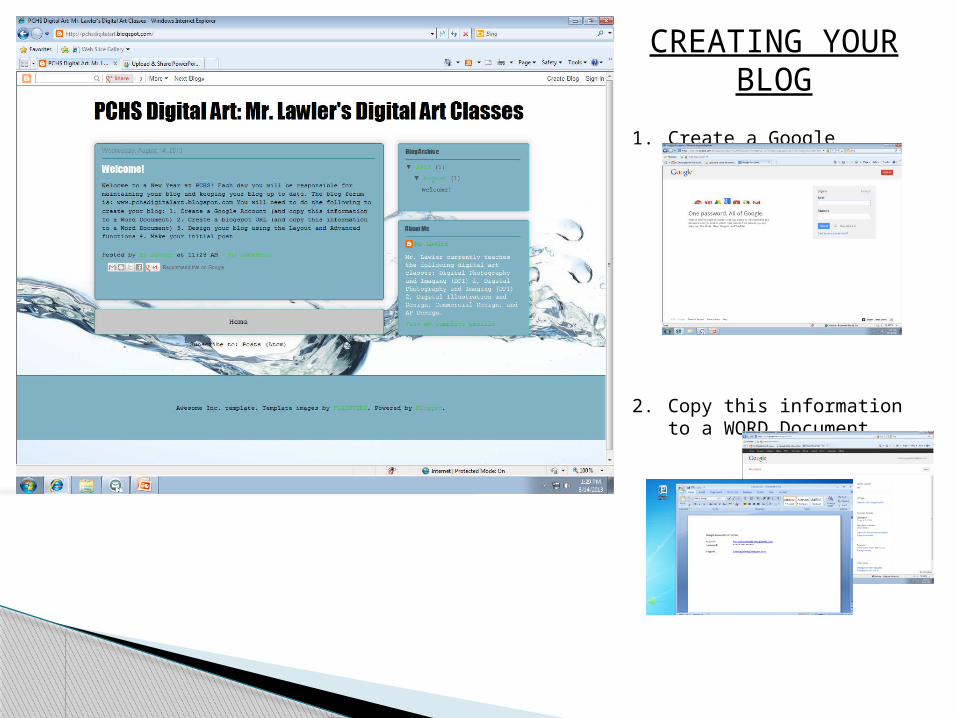
CREATING YOUR BLOG
1. Create a Google Account
2. Copy this information to a WORD Document

1. To begin editing your blog, choose the TEMPLATE or LAYOUT choices
2. Then, experiment with the styles and the templates
◦ Change colors ◦ Change fonts ◦ Add images
3. Make sure to “APPLY TO BLOG” when you are done
4. Save URL information to the same WORD DOC from before
Editing Your Blog >> Setting Up
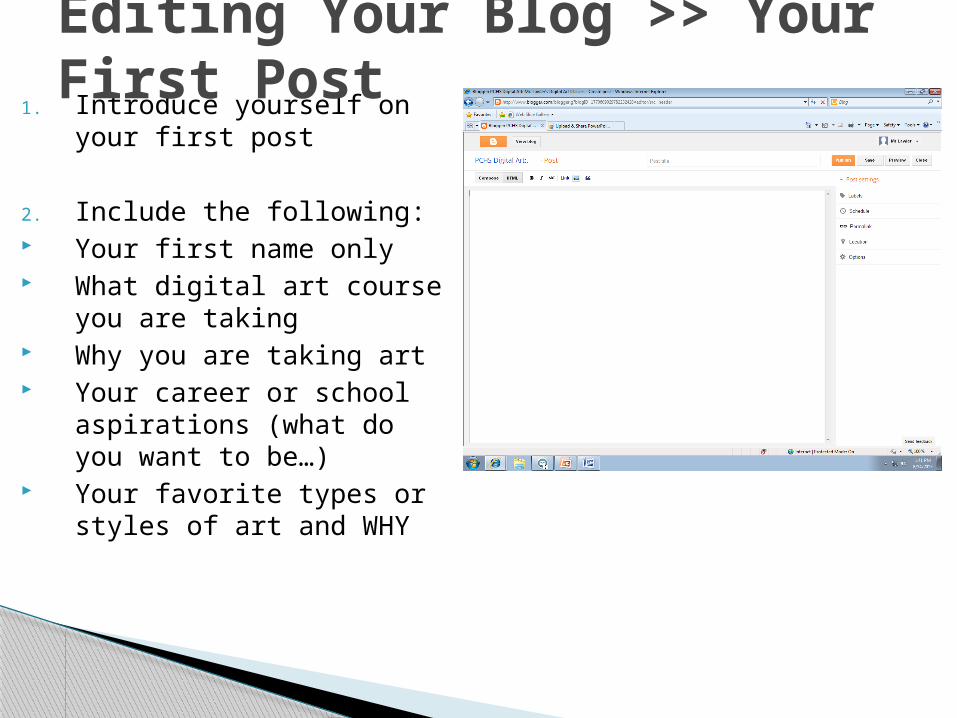
1. Introduce yourself on your first post
2. Include the following: Your first name only What digital art course
you are taking Why you are taking art Your career or school
aspirations (what do you want to be…)
Your favorite types or styles of art and WHY
Editing Your Blog >> Your First Post
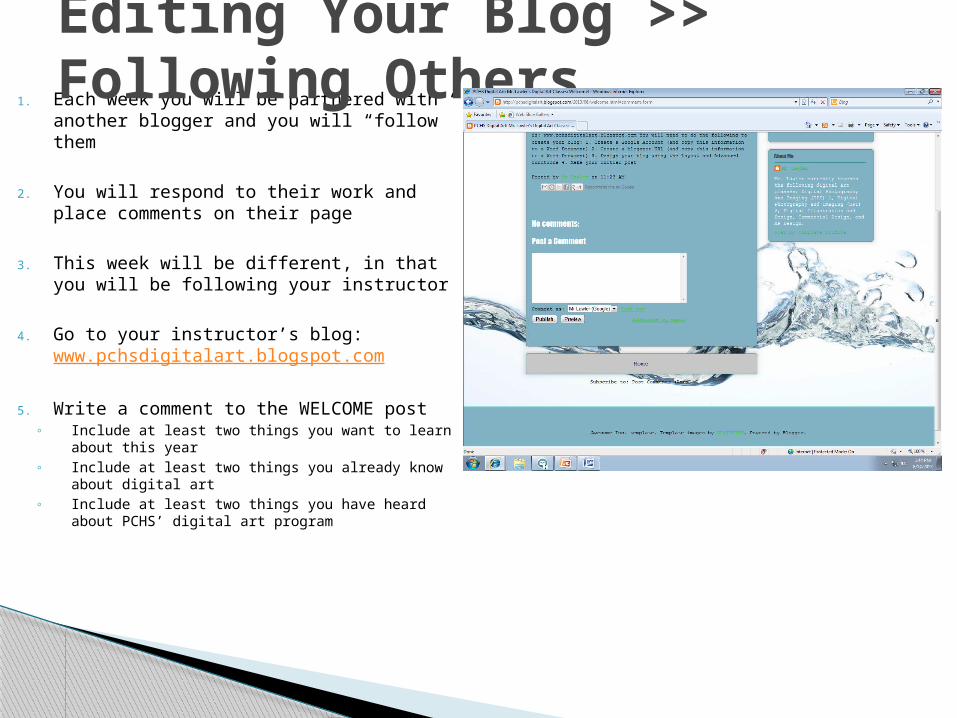
1. Each week you will be partnered with another blogger and you will “follow” them
2. You will respond to their work and place comments on their page
3. This week will be different, in that you will be following your instructor
4. Go to your instructor’s blog: www.pchsdigitalart.blogspot.com
5. Write a comment to the WELCOME post◦ Include at least two things you want to
learn about this year ◦ Include at least two things you already
know about digital art ◦ Include at least two things you have
heard about PCHS’ digital art program
Editing Your Blog >> Following Others
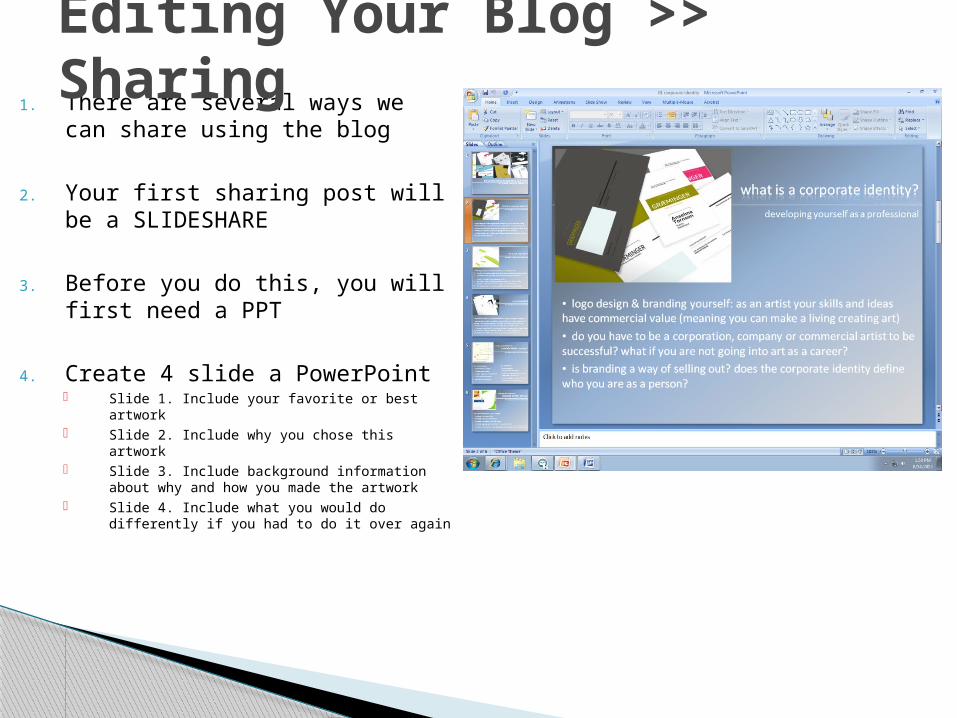
1. There are several ways we can share using the blog
2. Your first sharing post will be a SLIDESHARE
3. Before you do this, you will first need a PPT
4. Create 4 slide a PowerPoint Slide 1. Include your favorite or best
artwork Slide 2. Include why you chose this
artwork Slide 3. Include background information
about why and how you made the artwork Slide 4. Include what you would do
differently if you had to do it over again
Editing Your Blog >> Sharing
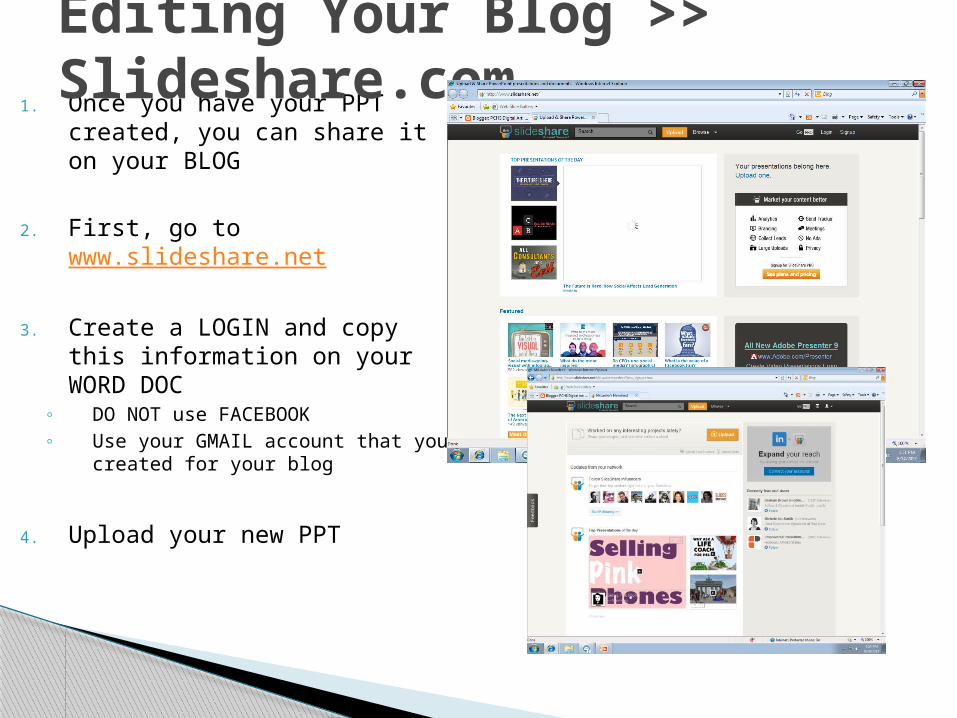
1. Once you have your PPT created, you can share it on your BLOG
2. First, go to www.slideshare.net
3. Create a LOGIN and copy this information on your WORD DOC
◦ DO NOT use FACEBOOK◦ Use your GMAIL account that
you created for your blog
4. Upload your new PPT
Editing Your Blog >> Slideshare.com
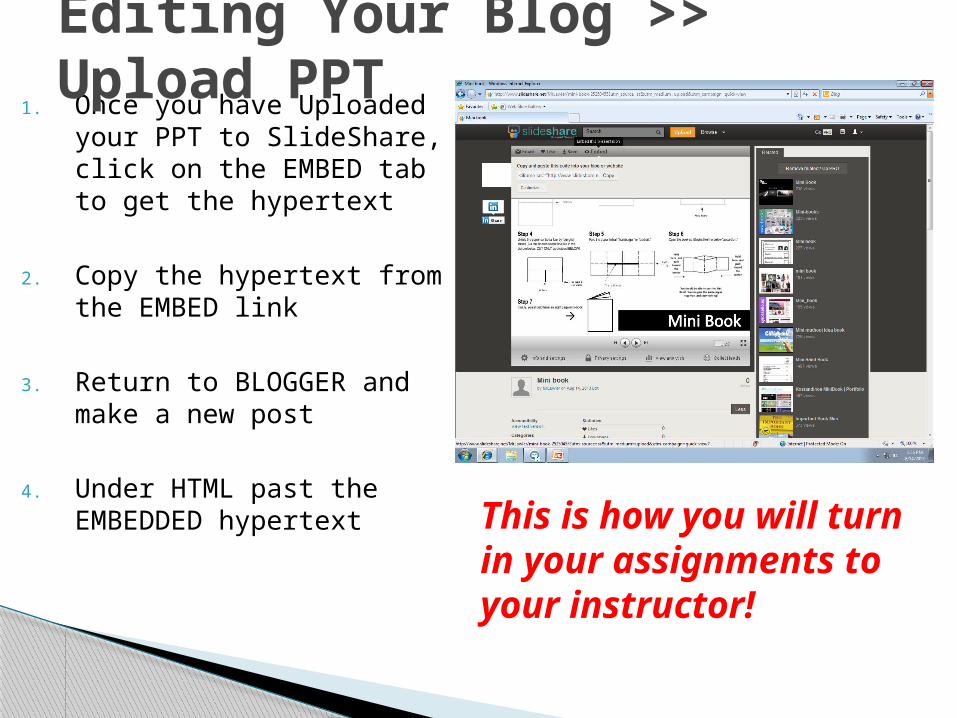
1. Once you have Uploaded your PPT to SlideShare, click on the EMBED tab to get the hypertext
2. Copy the hypertext from the EMBED link
3. Return to BLOGGER and make a new post
4. Under HTML past the EMBEDDED hypertext
Editing Your Blog >> Upload PPT
This is how you will turn in your assignments to your instructor!